This blog post is the second in a series covering custom API subscription approval flows for Amplify Central connected API gateways using agents. You can read part 1 here.
In part 1, we discussed what an API Subscription is and how to approve manually the API subscription request through the Amplify Central UI. However, manual approval requires the API Approver to know a request is pending and log into the Amplify Central UI in order to approve the request.
In this document, we will describe how Amplify Central enables us to enhance and automate this process to integrate it into your own subscription approval process.
As an example of a custom subscription approval flow, you can automatically notify the API Approver in MS Teams with a form that allows the API Approver to approve or reject the request. This helps expedite and automate the process.
There are two main capabilities of Amplify Central that facilitates integration with custom subscription approval flows:
- The ability to configure a subscription event Webhook in Amplify Central that will be triggered when a subscription event occurs (e.g., an API Consumer subscribes to an API).
- Amplify Central APIs for updating the state of a subscription.
In essence, your custom subscription approval flow must be able to:
- Respond to the Webhook.
- Parse the data sent in the Webhook.
- Make an authenticated API call to Amplify Central with the updated subscription state: approved or rejected.
This document covers agent-based integration and leverages the discovery agent’s capabilities to automatically do the following when configured properly:
- Set up the Webhook to trigger an external flow when an API is subscribed to.
- Detect that a subscription state has been Approved or Rejected and move the subscription to the correct state (e.g., Active).
- Configure Central to send an email with the API credentials to the subscriber.
Prerequisites
- You should already have your Gateway(s) connect to Amplify Central as described in the online docs: Axway API Manager and/or AWS Gateway.
- You should have APIs in your catalog that API consumers can subscribe to
- You should have the Axway Central CLI installed on your machine for creating a service account and retrieving a clientId and clientSecret (required for Central API access to approve/reject the request).
How it works
The triggering of your subscription approval flow is accomplished by setting up a Webhook in Amplify Central for your environment/Gateway. When a subscription event occurs (e.g., user subscribes to an API) your flow will be triggered by the Webhook. The Webhook body will contain all the information related to the subscription request.
Your custom subscription flow performs whatever actions are required to approve/reject the request using any software or process required.
When your custom subscription approval flow is finished, you need to make an authenticated API call to Central using the Central APIs. Your POST body contains the pertinent information to move the subscription request to the next state (approved, rejected,….).
Central will be configured to send an email to the API consumer with approval status and credentials (if approved).
Set up the Webhook
Edit your discovery_agent.yml and enable a subscription Webhook to the URL of your flow. For example, below, I am using requestbin for my Webhook so that I can inspect the payload.
.
.
.
subscriptions:
  approval:
    mode: webhook
    webhook:
      url: https://abcdefghijklmnop.x.pipedream.net
.
.
.
Alternatively, you can edit your da_env_vars.env as follows:
.
.
.
CENTRAL_SUBSCRIPTIONS_APPROVAL_MODE=webhook
CENTRAL_SUBSCRIPTIONS_APPROVAL_WEBHOOK_URL=https://abcdefghijklmnop.x.pipedream.net
.
.
.
Replace the URL above with the desired URL (e.g., the URL of your custom subscription approval flow). Note that while not shown, headers can be included with the Webhook call, if required by your custom subscription approval flow.
The following Webhook payload corresponds to a subscription request. Other subscription events (e.g., subscription deleted, …) will have a similar format.
{
  "id": "9f0cb122-845d-448d-a2d4-627a3cb4223c",
  "time": "2020-12-16T15:14:01.952+0000",
  "version": "v1",
  "product": "AmplifyCentral",
  "correlationId": "ae039156-7bca-4f0c-b61a-f88df750585d",
  "organization": {
    "id": "100000142"
  },
  "type": "SubscriptionUpdatedEvent",
  "payload": {
    "consumerInstance": {
      "kind": "ConsumerInstance",
      "name": "2104224d-ddcb-448f-b950-1dd3d201d2aa",
      "tags": ["APIID_94963a55-bacd-49d1-8c03-d4262000611f"],
      "group": "management",
      "metadata": {
        "id": "e4fda7a6746fbcdb01748e763cbb2979",
        "audit": {
          "createUserId": "DOSA_97c389b884314886a57467bcf0487e27",
          "createTimestamp": "2020-09-14T21:12:27.579+0000",
          "modifyTimestamp": "2020-10-27T22:58:23.218+0000"
        },
        "scope": {
          "id": "e4eca6cb72a28c140172b38f231e071f",
          "kind": "Environment",
          "name": "apigw",
          "selfLink": "/management/v1alpha1/environments/apigw"
        },
        "selfLink": "/management/v1alpha1/environments/apigw/consumerinstances/2104224d-ddcb-448f-b950-1dd3d201d2aa",
        "references": [...],
        "resourceVersion": "25947"
      },
      "apiVersion": "v1alpha1",
      "attributes": {
        "createdBy": "EnterpriseEdgeGatewayDiscoveryAgent",
        "externalAPIID": "2104224d-ddcb-448f-b950-1dd3d201d2aa"
      }
    },
    "subscription": {
      "id": "8a2e8c957647856801766c1d80493cd4",
      "name": "Test 001",
      "metadata": {
        "createUserId": "789f8247a10c466f36894f0f3cfdce19"
      },
      "properties": {
        "profile": {
          "appName": "Mission2020Tester"
        }
      },
      "currentState": "REQUESTED",
      "owningTeamId": "cf5da4c4-f2c2-440e-9032-5261220082dd",
      "relationships": [...],
      "nextPossibleStates": ["APPROVED", "REJECTED"],
      "currentStateDescription": ""
    },
    "catalogItem": {
      "id": "e4e91d23744bcb4d01748e7640e046cb",
      "name": "Stockquote (V7)",
      "owningTeamId": "cf5da4c4-f2c2-440e-9032-5261220082dd",
      "relationships": [...]
    }
  }
}
We will need the subscriptionId (id above) and the catalogItemId (catalogItem.id above) in order to make the API call to approve/reject the subscription request. We will cover making the API call in the next session.
Make API call to Amplify Central to Approve/Reject the Subscription Request
Note that the instructions for creating a service account and retrieving your client id and client secret described here have changed. The updated instructions can be found here.
In order to make API calls to Amplify Central, we need to get an access_token. In order to get an access_token, we need to create a service account in Amplify Central and obtain the clientId and clientSecret associated with that service account.
We will make the following commands in order to:
- Authenticate with the Amplify platform using your platform credentials.
- Create a service account in the platform for API access (this will get you the clientId and clientSecret).
Note that you will need jq installed on your environment for the authentication command shown below.
Enter your Organization ID (e.g. 100000142) and the serviceAccountName (e.g. catalog-integration) in the CLI command below and execute the following two commands manually. This is a one-time activity to retrieve the clientId and clientSecret.
axway auth logout --all

axway auth login

ORG_ID=100000142 && TOKEN=$(axway auth list --json | jq -r ".[] | select( .org.id == $ORG_ID ) | .auth.tokens.access_token") && curl -vv 'https://apicentral.axway.com/api/v1/serviceAccounts' --header "Authorization: Bearer ${TOKEN}" --header "X-Axway-Tenant-Id: ${ORG_ID}" --header 'Content-Type: application/json' --data-raw '{
  "serviceAccountType": "DOSA",
  "serviceAccountName": "catalog-integration",
  "clientAuthType": "SECRET"
}'
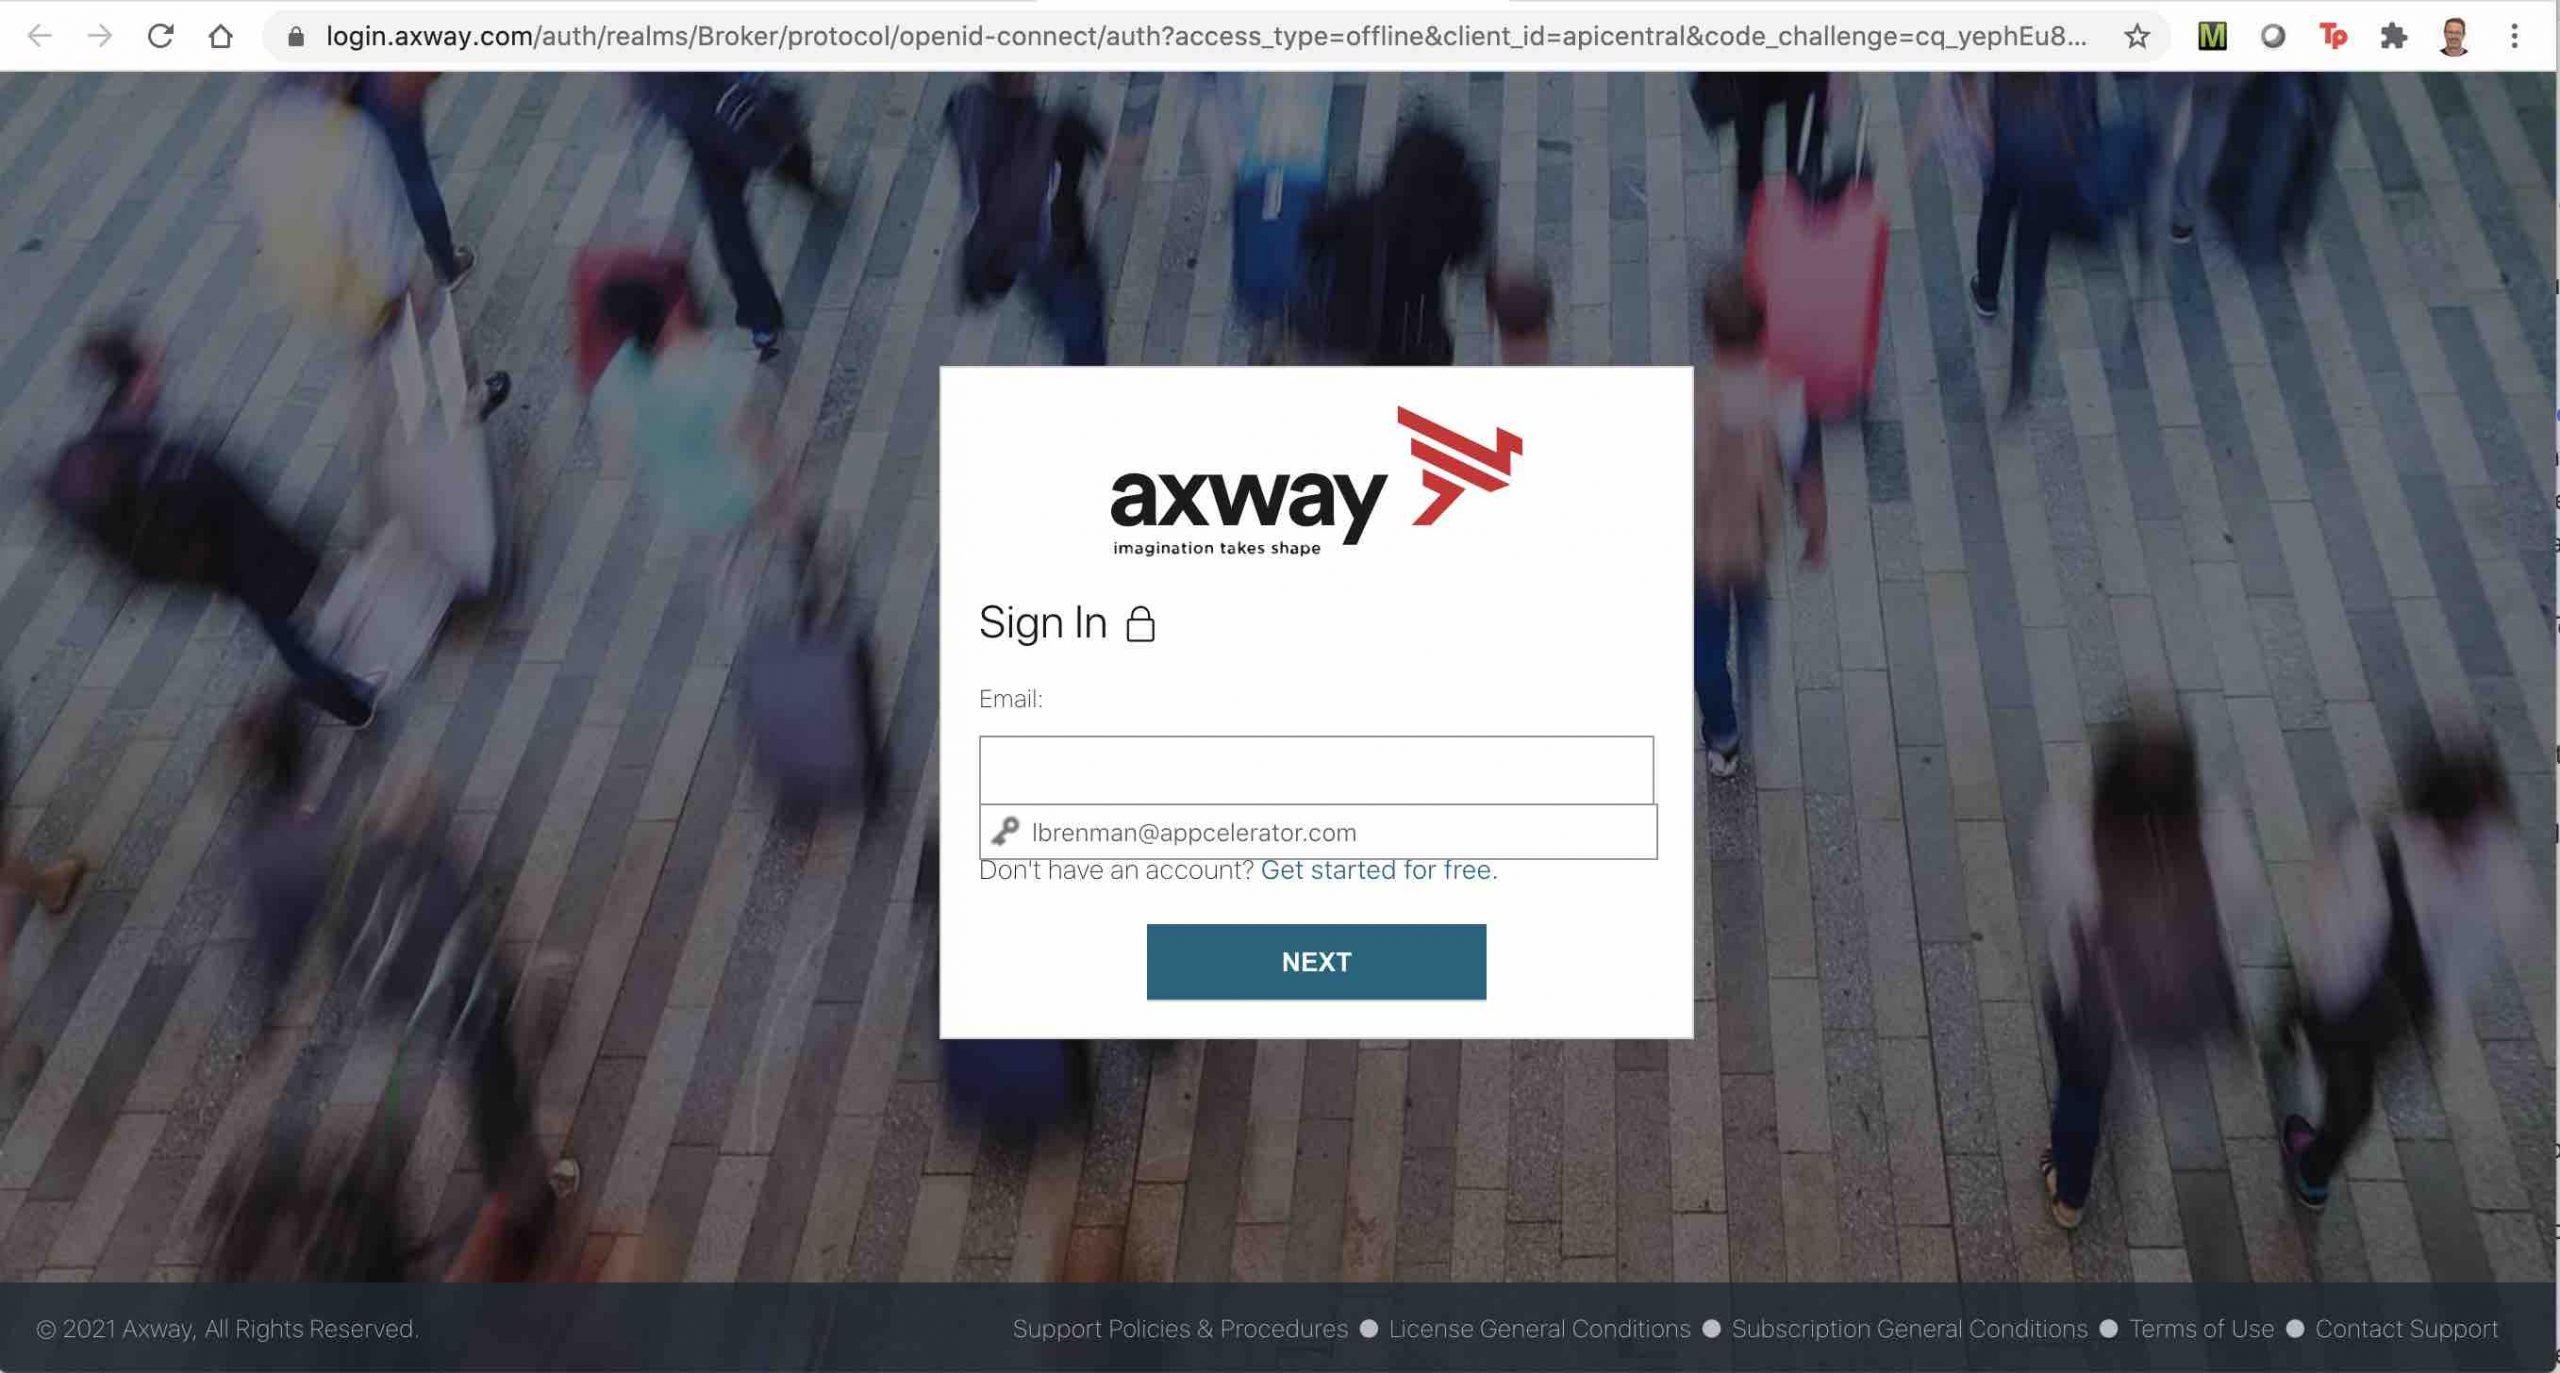
You will be prompted to log in to the Axway Platform in a browser as follows:

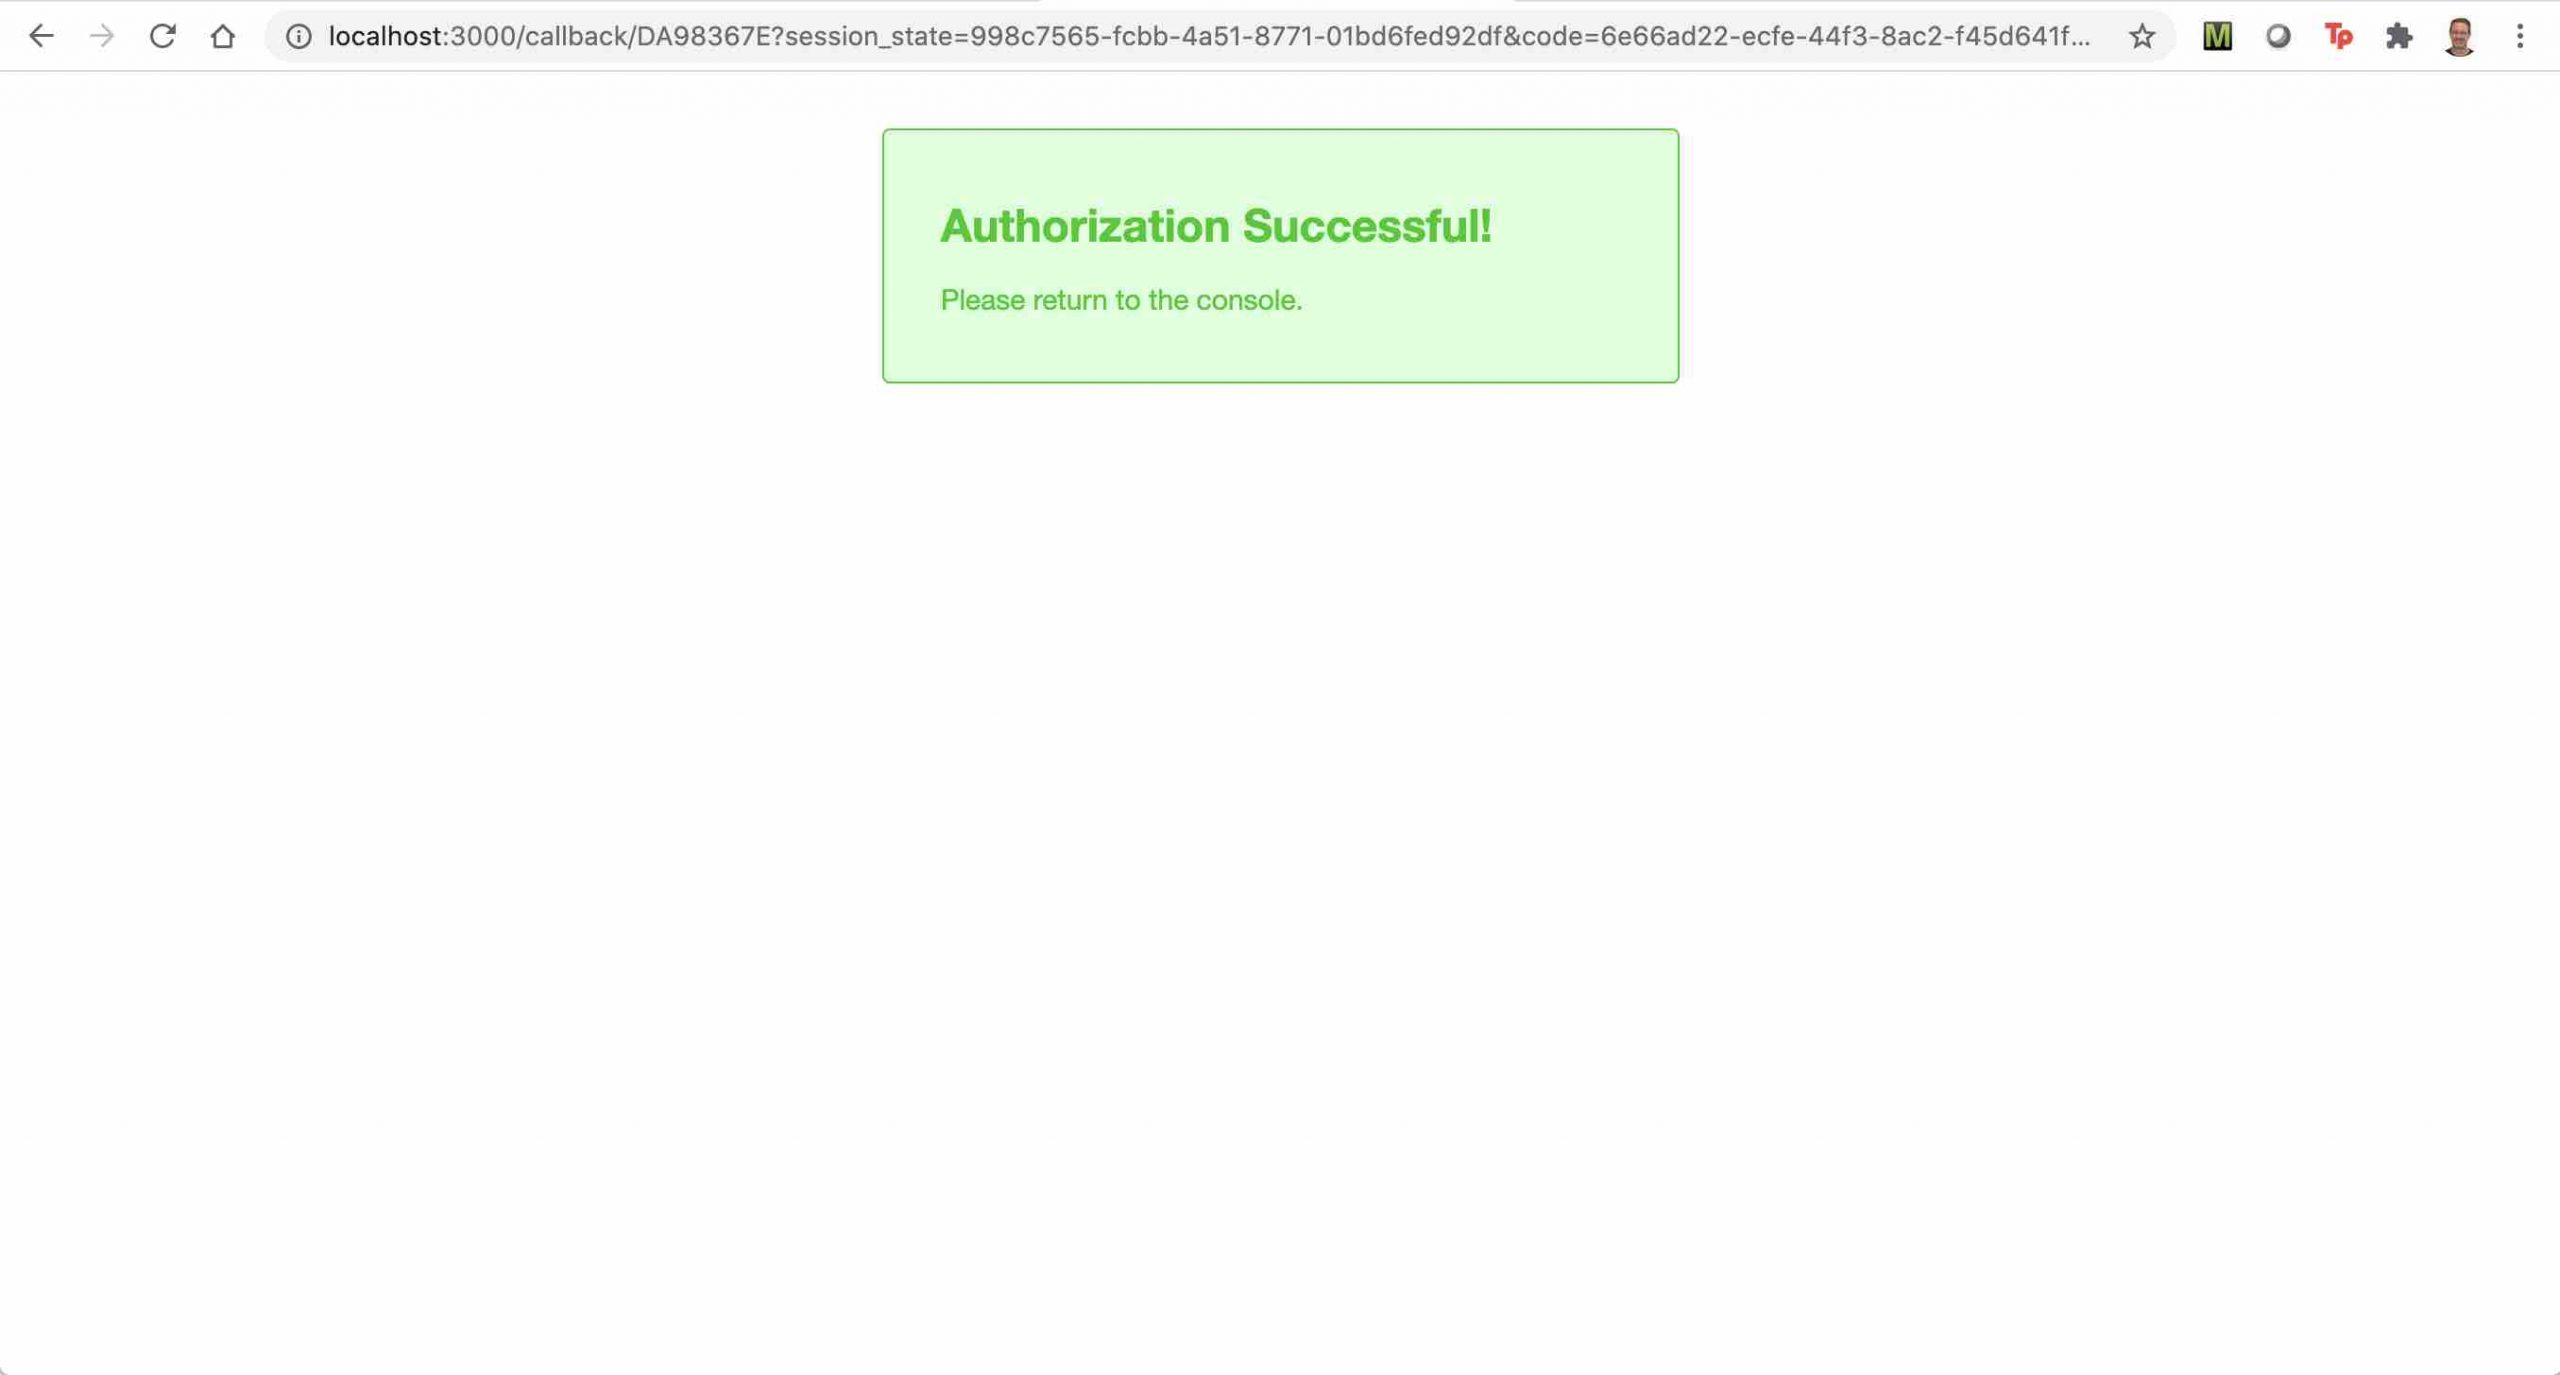
On success, you will see the following message:

The response to the curl command above will contain the clientId and clientSecret as follows:
{
  "name" : "catalog-integration",
  "type" : "DOSA",
  "clientId" : "DOSA_0d7....42c",
  "clientAuthType" : "SECRET",
  "clientSecret" : "d8---54a",
  "registrationToken" : "ey...6Y",
  "tokenUrl" : "https://login.axway.com/auth/realms/Broker/protocol/openid-connect/token",
  "aud" : "https://login.axway.com/auth",
  "realm" : "Broker",
  "certificate" : { },
  "metadata" : {
    "createTimestamp" : "2021-01-04T21:45:54.453Z",
    "createUserId" : "789f8247a10c466f36894f0f3cfdce19",
    "modifyTimestamp" : "2021-01-04T21:45:54.453Z",
    "modifyUserId" : "789f8247a10c466f36894f0f3cfdce19"
  }
}
Take note of the clientId and clientSecret as you will need it in the next step to retrieve an access_token.
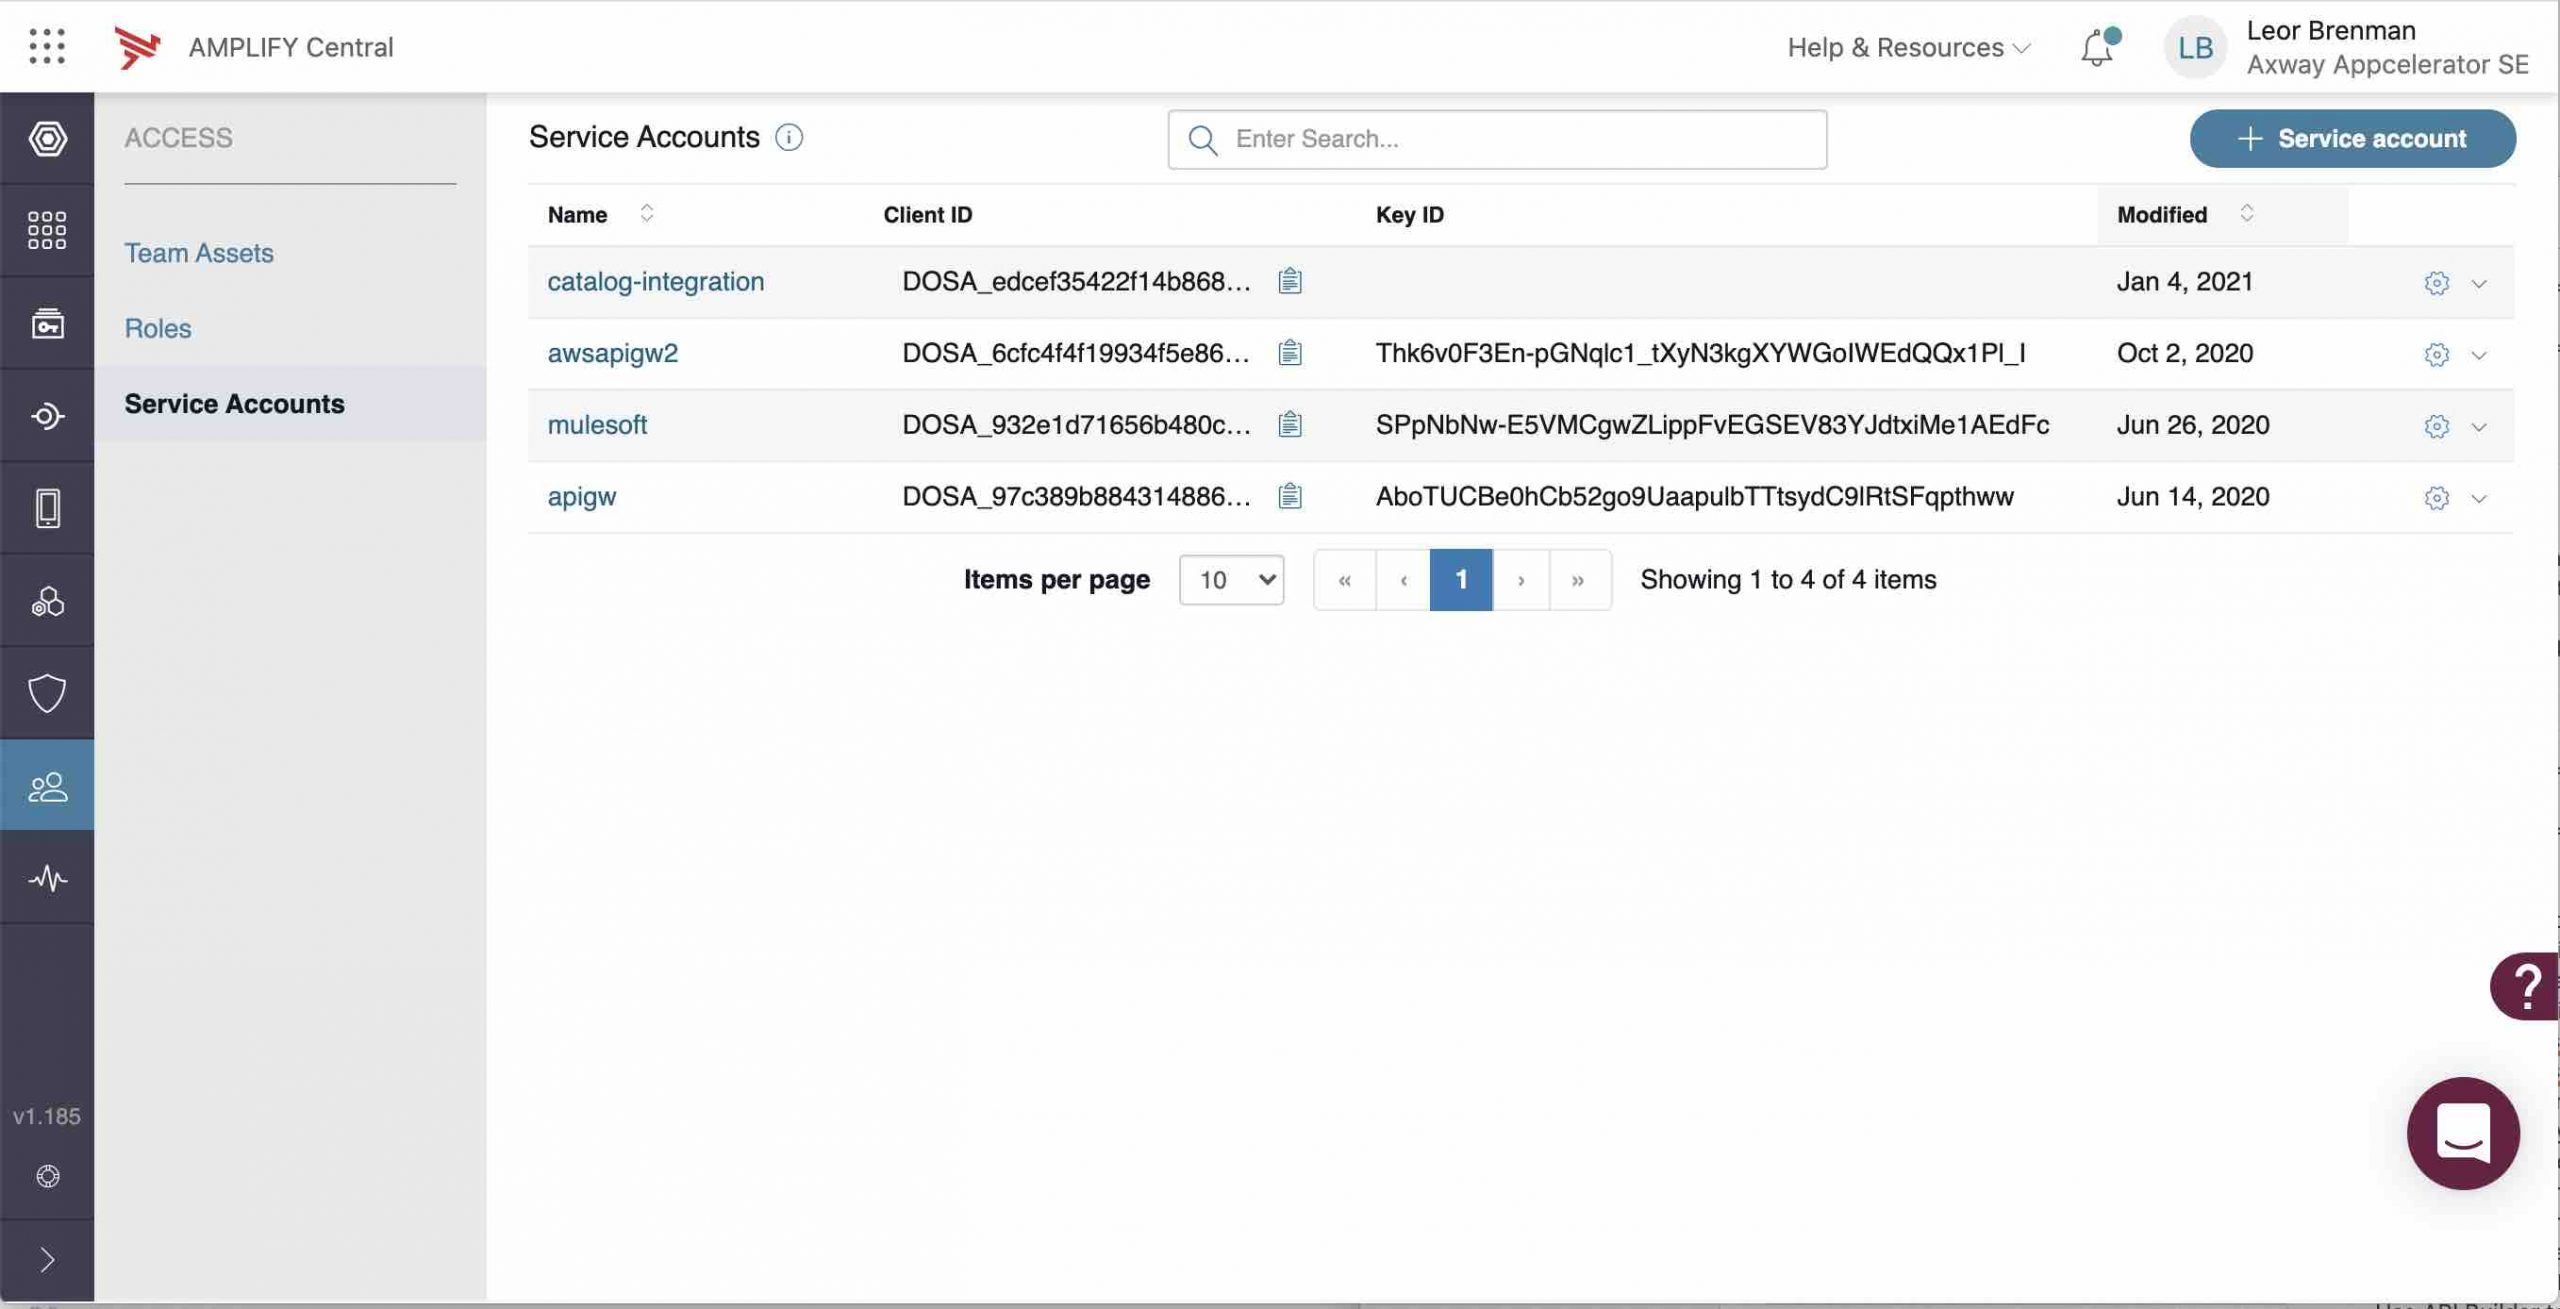
You will also see a new service account in Central (catalog-integration):

Now, you can work on your custom subscription flow and when you are ready to approve or reject the subscription request, you can do the following:
- Use the clientId and clientSecret to retrieve an access_token via the Axway token request API:
https://login.axway.com/auth/realms/Broker/protocol/openid-connect/token - The Token API request requires an Authorization header with value: ‘Basic base64encoded(clientId + ‘:’ + clientSecret)’.
- You will also need a Content-Type header with value application/x-www-form-urlencoded.
- Pass grant_type=client_credentials in the body.
- An example is shown below:
curl --location --request POST 'https://login.axway.com/auth/realms/Broker/protocol/openid-connect/token' \
--header 'Content-Type: application/x-www-form-urlencoded' \
--header 'Authorization: Basic <<<REPLACE WITH YOUR BASE64 ENCODED ID AND SECRET>>>' \
--data-urlencode 'grant_type=client_credentials'
The response to the API call above will contain the access_token as shown below:
{
  "access_token": "ey....KQ",
  "expires_in": 1800,
  "refresh_expires_in": 21600,
  "refresh_token": "eyJ...EeMA",
  "token_type": "bearer",
  "not-before-policy": 1571719187,
  "session_state": "1c6ed920-3255-48fd-a29a-d5f94b84acc8",
  "scope": "email profile"
}- Use your access_token to approve/reject the subscription request using the subscriptions API
https://apicentral.axway.com/api/unifiedCatalog/v1/catalogItems/{{catalogItemId}}/subscriptions/{{subscriptionId}}/statesusing the catalogItemId and subscriptionId corresponding to the subscription request that you received in the webhook. - The API request requires an Authorization header with the value ‘Bearer <<<ACCESS_TOKEN>>>‘
- Content-Type header should be set to application/json.
- The data should look like this:
{
  "description": "YOUR DESCRIPTION",
  "state": "APPROVED"
}- An example is shown below:
curl --location -g --request POST 'https://apicentral.axway.com/api/unifiedCatalog/v1/catalogItems/e4e91d23744bcb4d01748e7640e046cb/subscriptions/9f0cb122-845d-448d-a2d4-627a3cb4223c/states' \
--header 'Content-Type: application/json' \
--header 'Authorization: Bearer <<<REPLACE WITH YOUR ACCESS TOKEN>>>>' \
--data-raw '{
  "description": "Approved via API call",
  "state": "APPROVED"
}'
Note that the Webhook payload contains an array of possible next states for a subscription request in the property nextPossibleStates. In the Webhook payload shown above, APPROVE and REJECT are the two possible states.
At this point, you are done and your subscription request has been updated (APPROVED).
Summary
In this blog post, we looked at the two main features of Amplify Central that enable custom API subscription approval flows, namely Webhooks and platform API calls.
We reviewed the steps involved in setting up the Webhook and for making authenticated API calls. Now we are ready to create a custom API subscription approval flow that adheres to your business or IT processes.
Discover more about Amplify Central.

