

Erik Nord is Axway’s API Practice Lead in North America. For the last six years, he has specialized in API Management using technologies like JSON, Swagger, & OAuth. He also has experience in containerization using technologies like Ansible, Docker, Kubernetes and helm. You can follow him on Twitter at @eknord.
Policy Studio is graphical tool in our API Gateway set of tools (which is part of AMPLIFY API Management). It enables you to virtualize APIs and develop policies (e.g. to enforce security, compliance, and operational requirements). Policy Studio includes the following features:
- Flow-chart style visualization for easy development and maintenance
- Graphical drag-and-drop user interface that enables you to drag filters (processing rules) on to the policy canvas and configure them
- Extensive library of filters to build powerful policies
At the moment, you can install Policy Studio on both Linux and Windows, but it’s not supported on a Mac.
Since I have a Mac, I’ve come up with an unofficial workaround, so that I don’t have to install a virtual image and log into the virtual image every time I want to use Policy Studio. And, this blog explains how to get Policy Studio running somewhat natively on a Mac.
Step 1: Install XQuartz
First, install XQuartz from https://www.xquartz.org – version must be greater than 2.7.7.
- Once this is downloaded, open the dmg file, which contains the pkg file
- Double click the pkg file to install
- Walk through the steps to completely install XQuartz
Note: XQuartz can also be installed using Homebrew with the following command:
brew cask install xquartzStep 2: Install Wine
Next, download an application called Wine: https://www.winehq.org/. Wine is a compatibility layer capable of running Windows applications on several POSIX-compliant operating systems including MacOS. Be sure to download the latest installer that is built for Mac. I recommend using the Stable version.
To install Wine on the Mac:
- Double click on the Wine installer
- Walk through the steps to completely install Wine
Note: Wine can also be installed using Homebrew with the following command:
brew install wineStep 3: Install Policy and/or Configuration Studios
Now, we can install the Policy and/or Configuration Studios on the Mac. This step is as easy as downloading the proper version in an exe file from https://support.axway.com. Then, follow these steps:
- Validate that the exe will run using Wine:
- Right click on the exe and select get info
- Half way down, you will see the following:

- If not:
- Select the dropdown and select Wine Stable
- Click the Change All… button to make this take effect on all windows exe files
- Now, double-click the exe installer – we’ll install using Wine
- When the installer pops up, select the Next button
- Accept the agreement and select the Next button
- Select which products you would like to install:
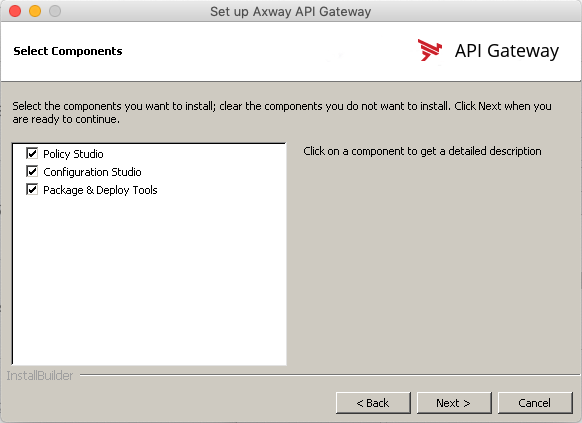
- Click the Next button
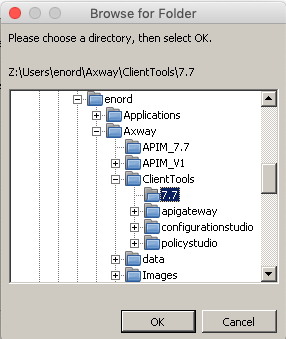
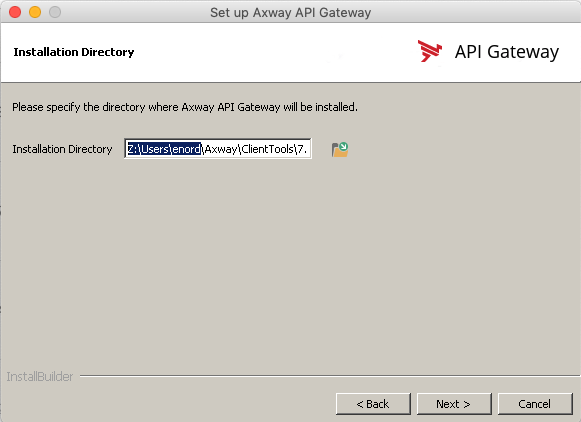
- Now, you need to pick a location to install the products. When Wine was installed, it created a Windows look-a-like directory structure. I typically don’t install anything in this location. Instead, I select the browse button and put it in a location of my choosing:
- Click the Next button twice
- Wait for the Installation to complete:

- Deselect the Launch checkbox and click the Finish button
Now everything is installed! If you’d like, you can create soft links to Policy Studio in your Applications folder. I don’t always do this, since I have multiple versions running. But, if you choose to do so, the commands looks like:
su – axwaysu (Note: this must be done as the admin user)
ln -s ln -s /Users/enord/Axway/ClientTools/7.7/policystudio/policystudio.exe /Applications/PolicyStudio_7.7
Run Policy Studio
To run Policy Studio, double-click the exe from the location where you installed it (or the Applications folder, if you created a link). And, now, you have Policy Studio installed natively on the Mac.
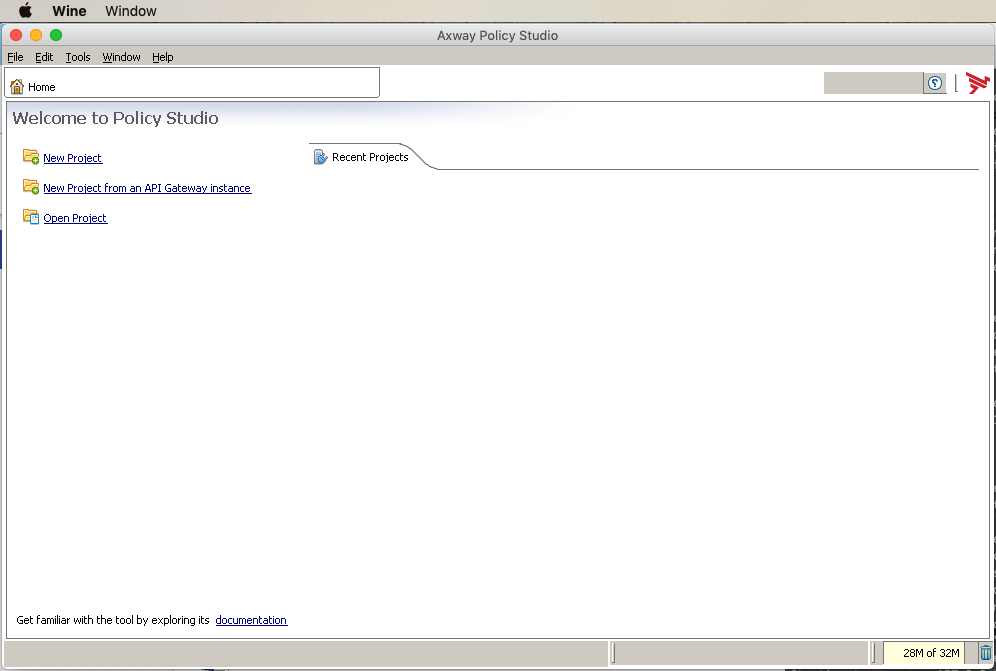
As noted at the beginning of the blog, Policy Studio is not officially supported on a Mac at this time. Thus, the product may not work exactly the same on a Mac. However, so far, I’ve only found two things to share with you:
- In the above image, there is a white space to the left of the search box at top right. Normally, there are buttons in this white space. When running on a Mac, you’ll need to use the menu bar OR learn the F-keys for the function you need. For example, for Deploy, use F6 or in the menu, select Tasks>Deploy.
- If you need to resize the screen, you must do it AS SOON AS Wine opens up or you will get a blank screen.
Learn more about Policy Studio