


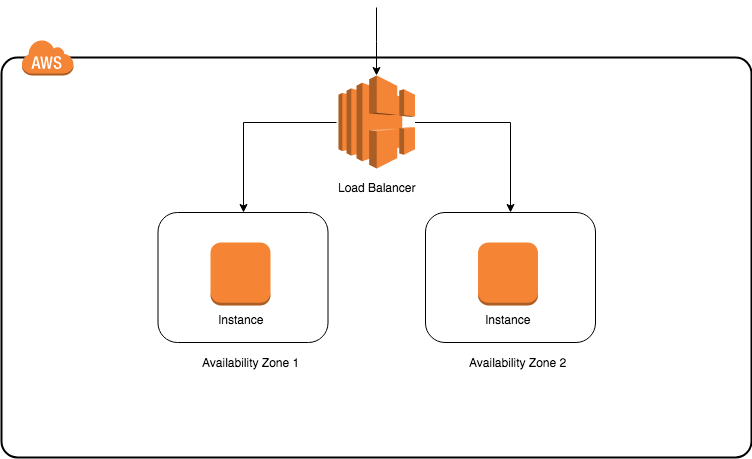
This guide describes how to run your API Builder 4.0 Docker image on AWS EC2 with high availability by creating two instances in two different availability zones with a load balancer. This is suitable for production when you don’t need a scalable environment. We’ll discuss scalability in future blog posts.
The architecture of what we are building is shown below:
This blog post builds on the prior blog post called How to Run your API Builder Docker Image on AWS EC2
Let’s get started.
Create an Image (AMI) from your Instance
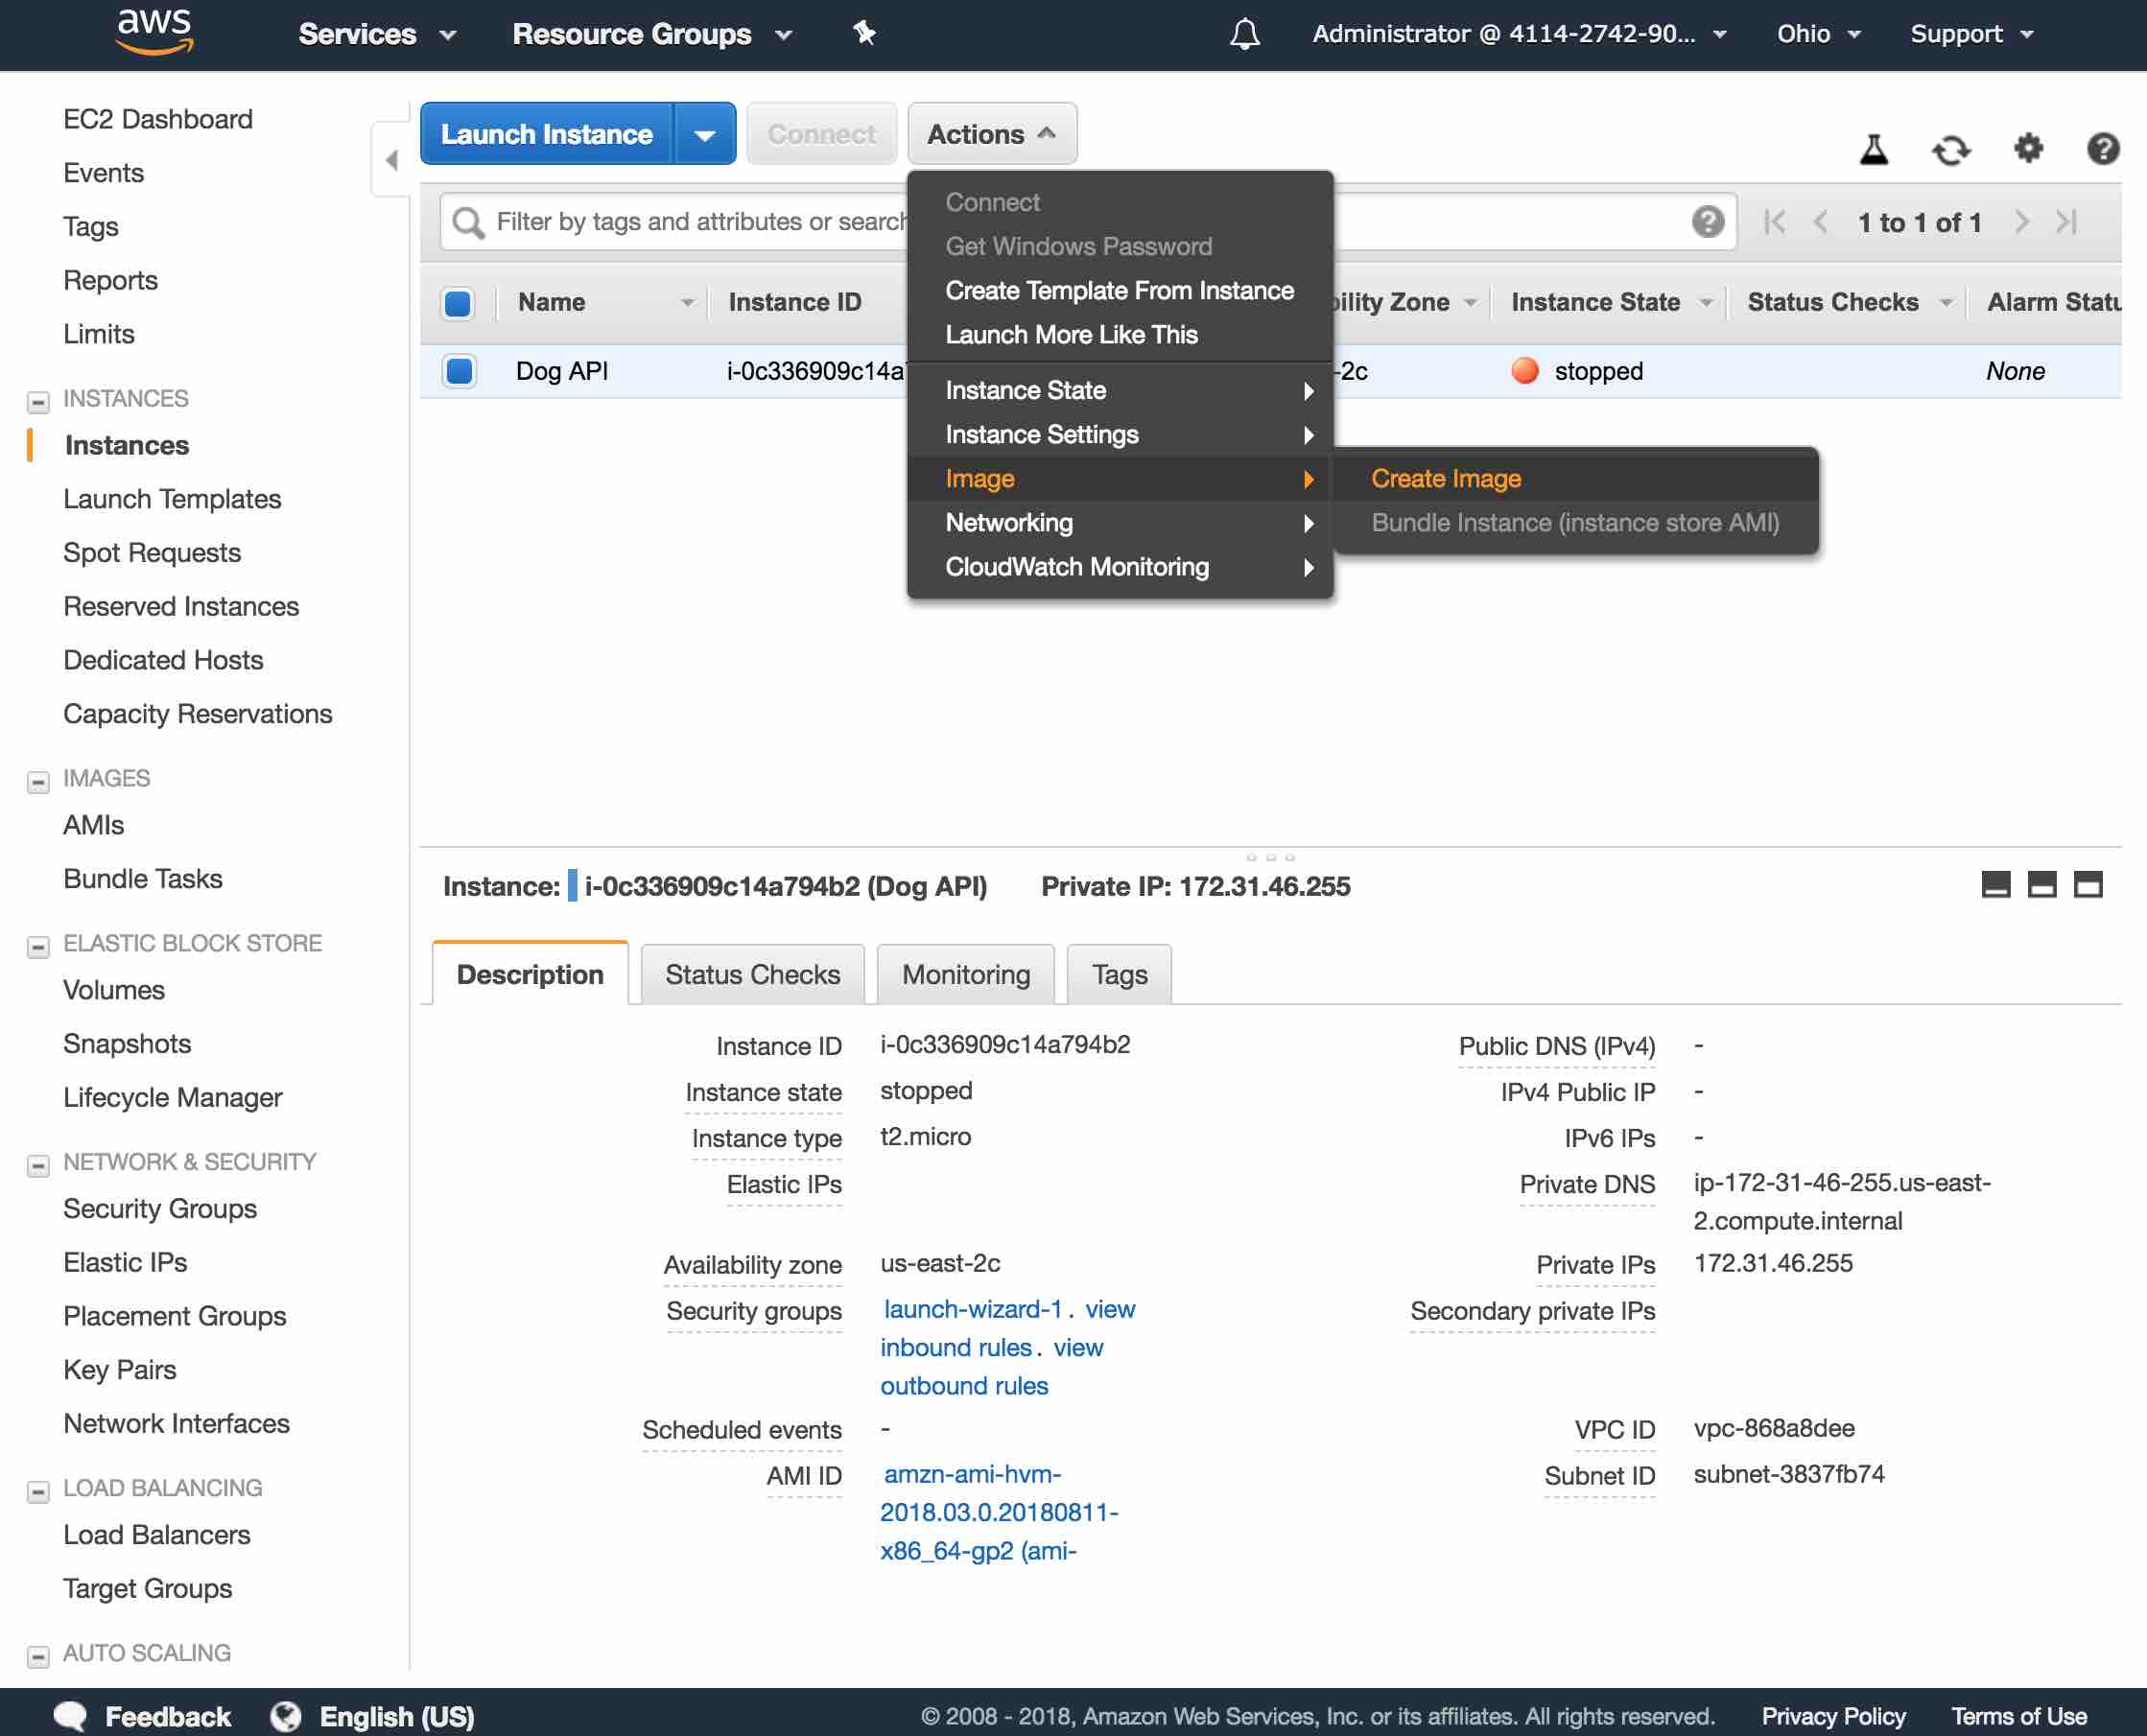
Continuing from the prior blog post, we want to create another copy of our instance, but in a different availability zone. One way to do this is to create an image (AMI) from your instance by selecting your (stopped) instance and clicking on action -> image -> create image
Enter your image name and description.
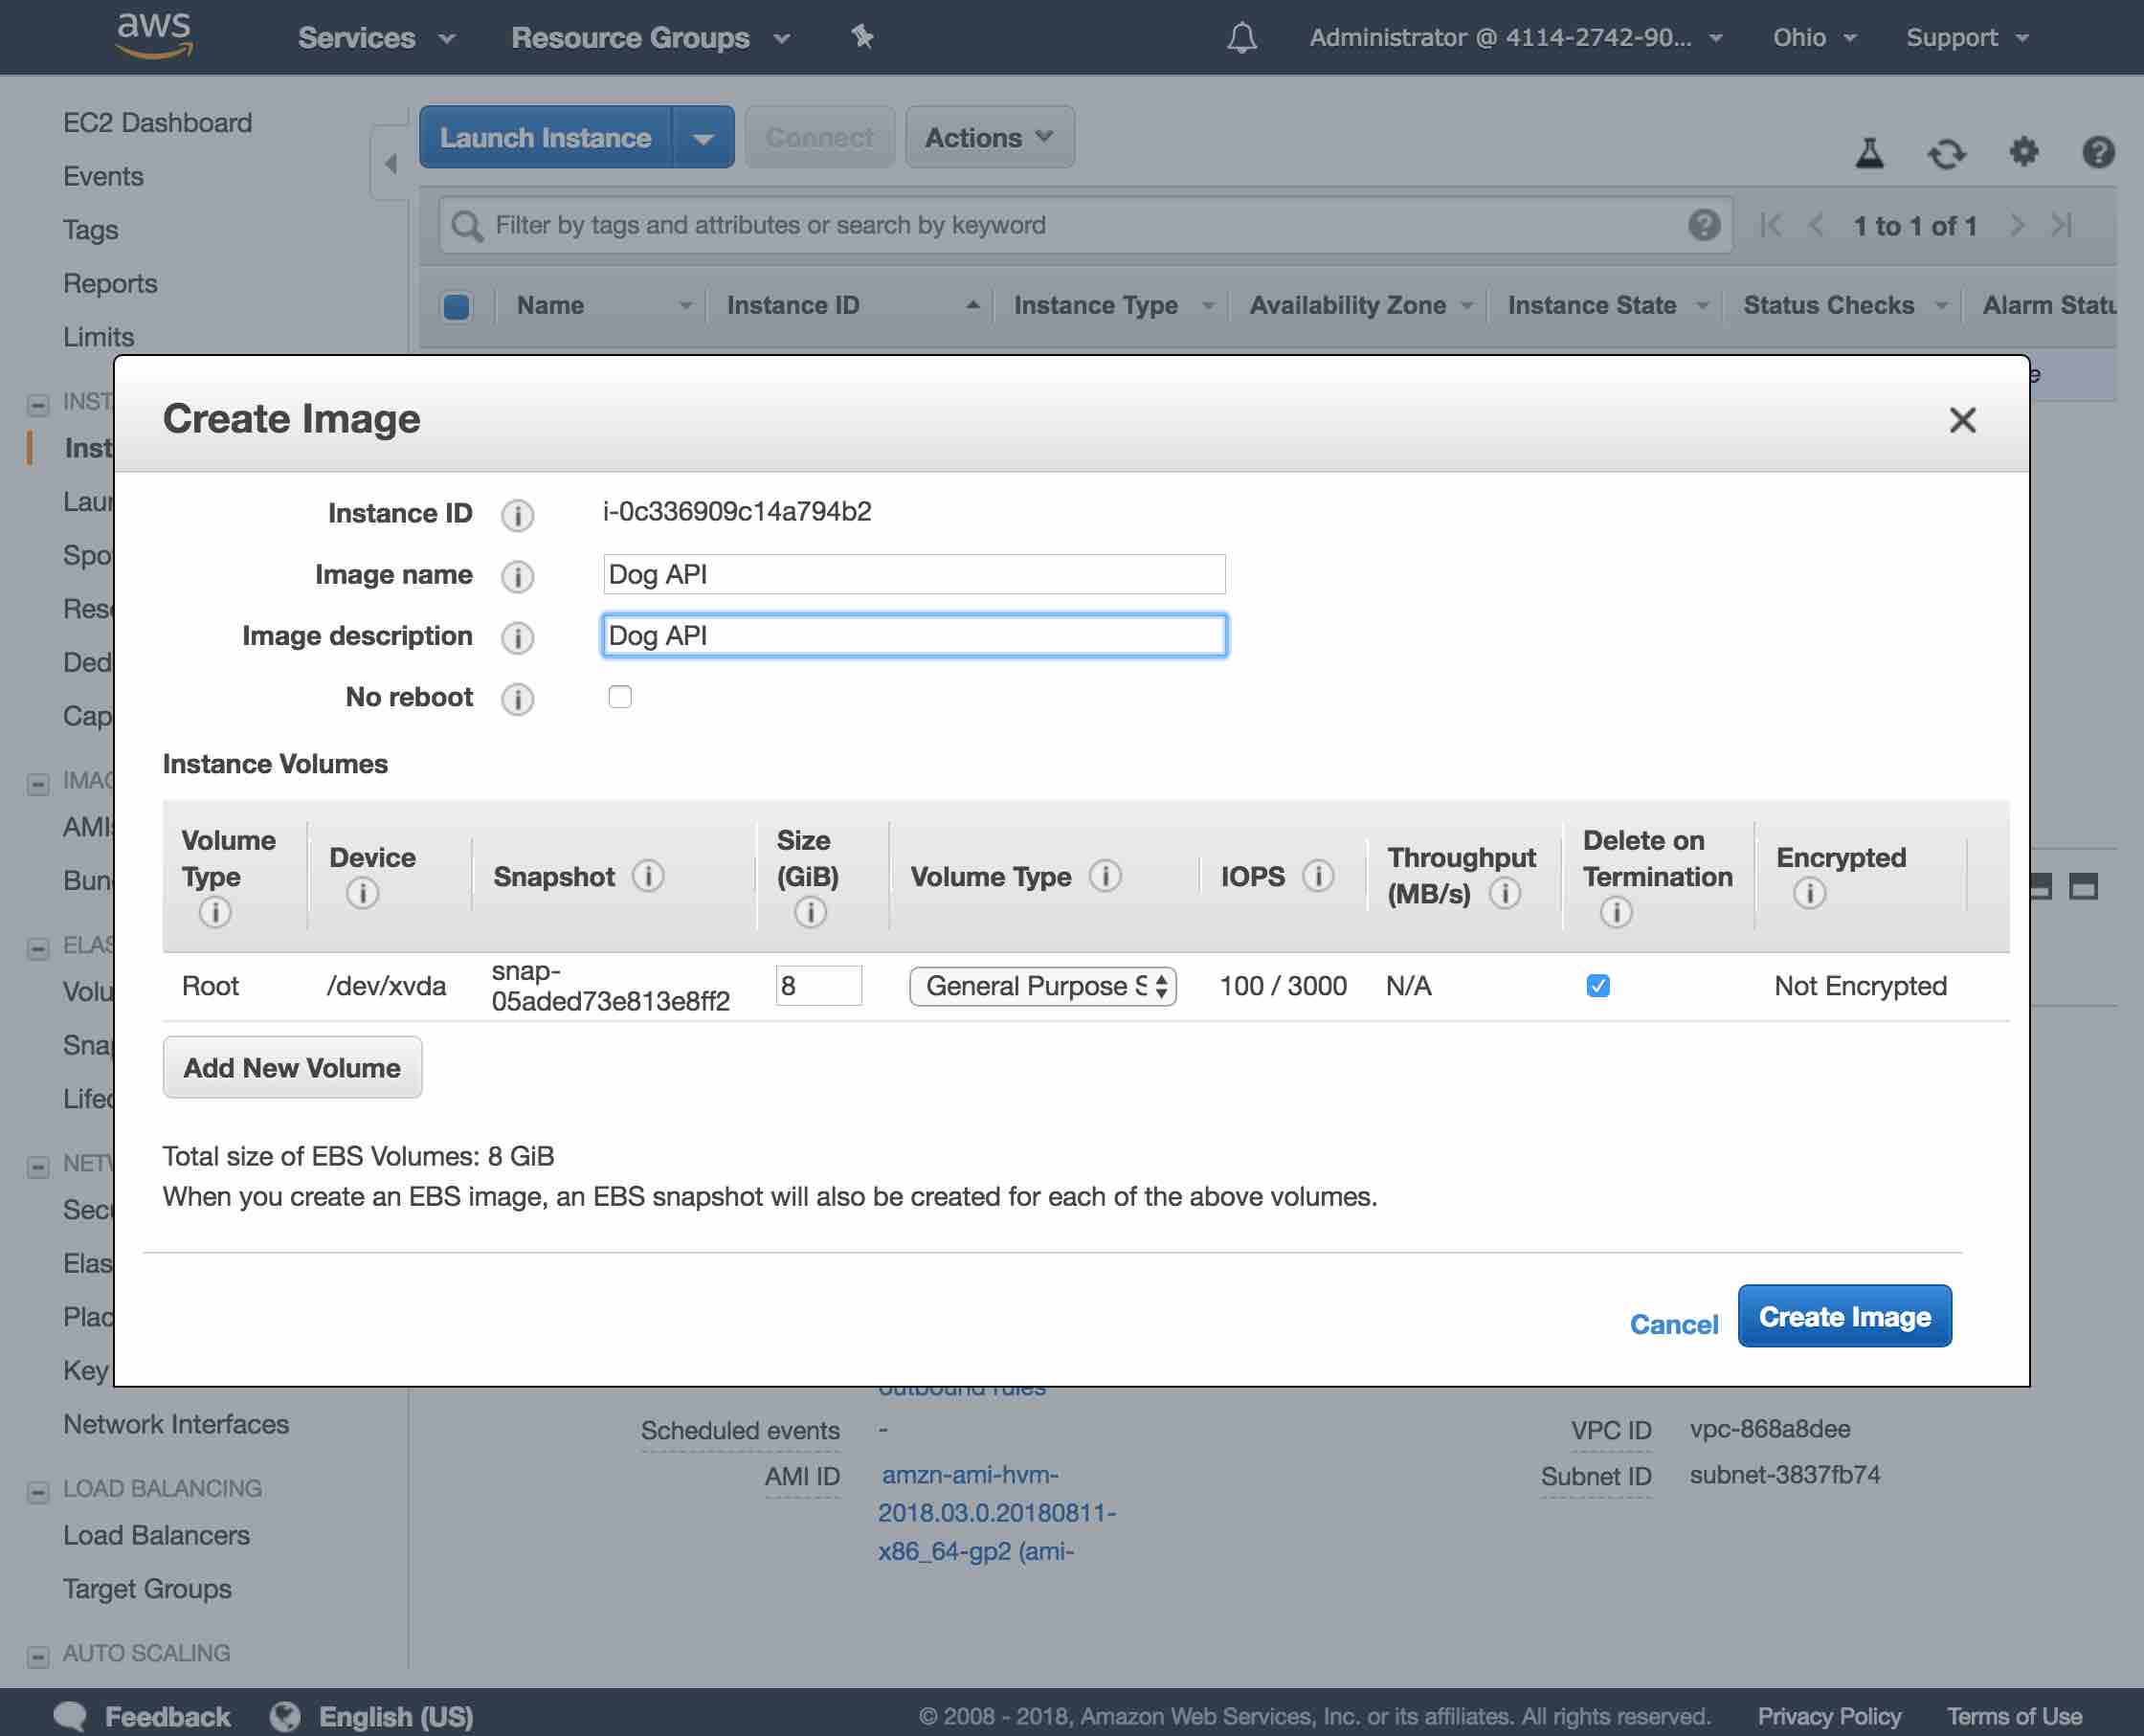
Click the Create Image button.
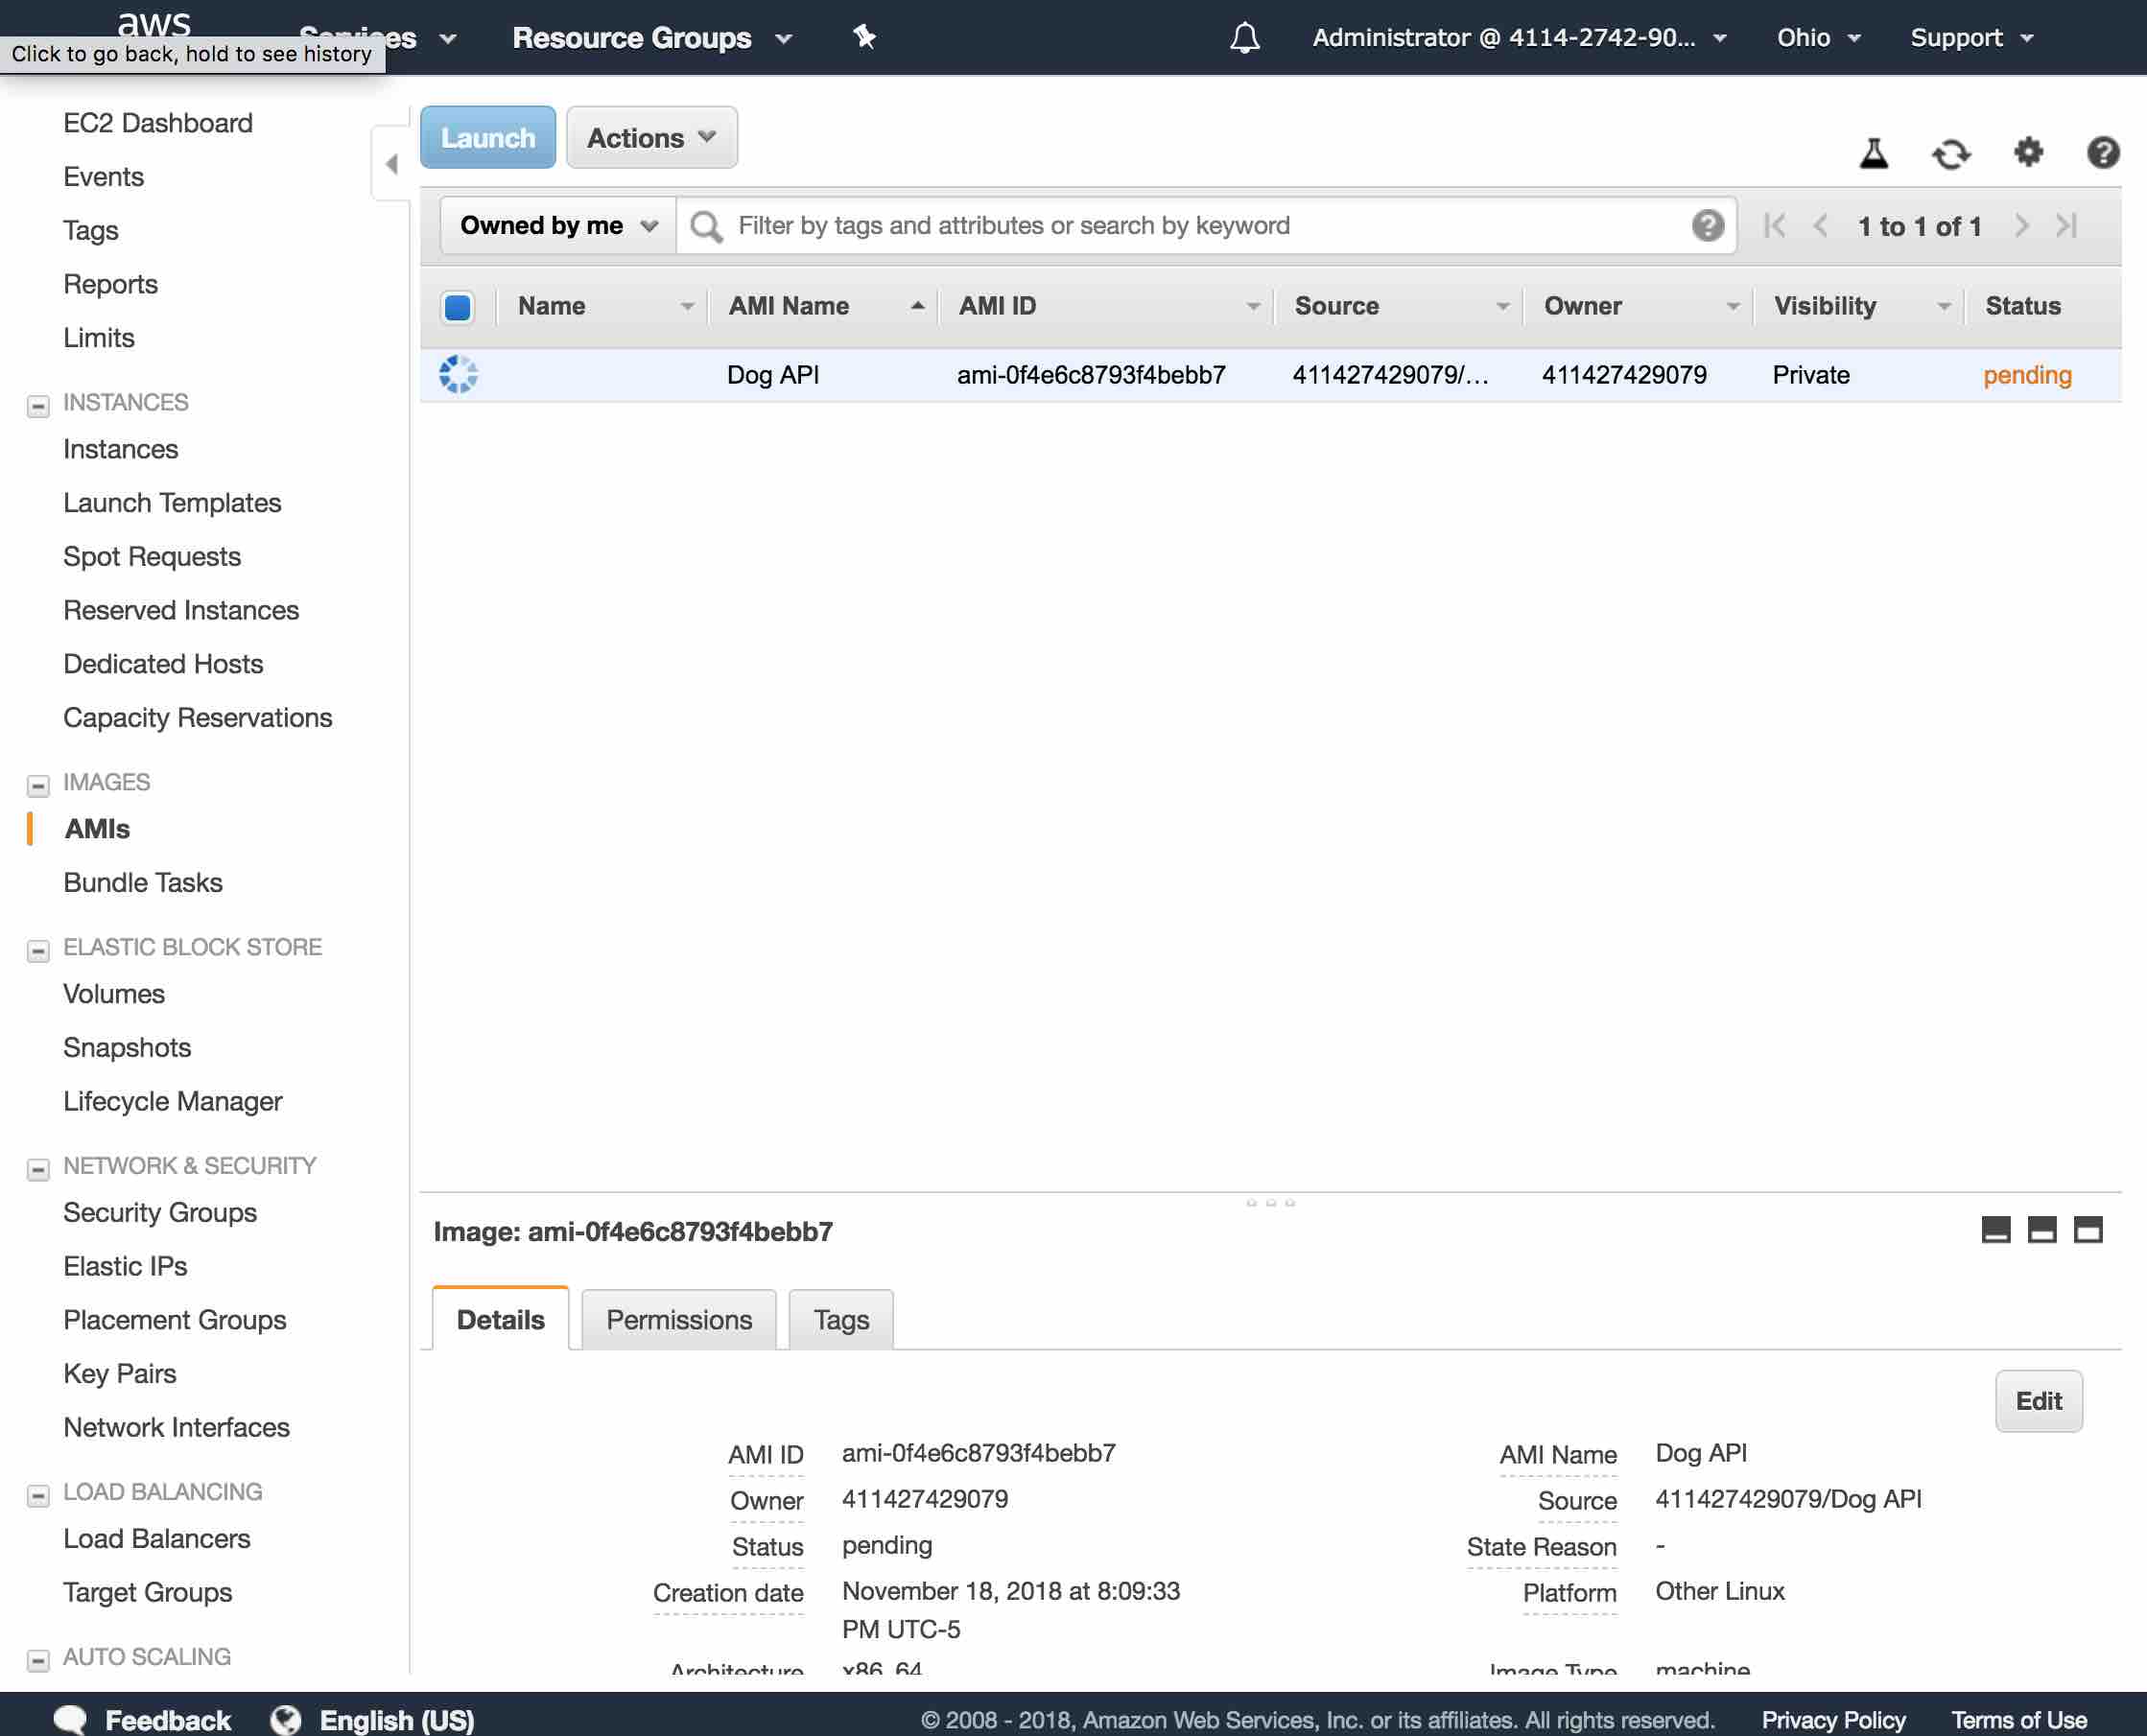
Click on the AMIs page of the EC2 dashboard to see the AMI being created.
Create a second instance from your AMI
The first instance I manually created is in the US-East (Ohio) Region, availability zone us-east-2c. So, I will make sure to place my second instance in a different availability zone.
Click on Instances in the EC2 dashboard to see your instances, and click on the Launch Instance button to create a new instance. On the next page, click on the My AMIs tab.
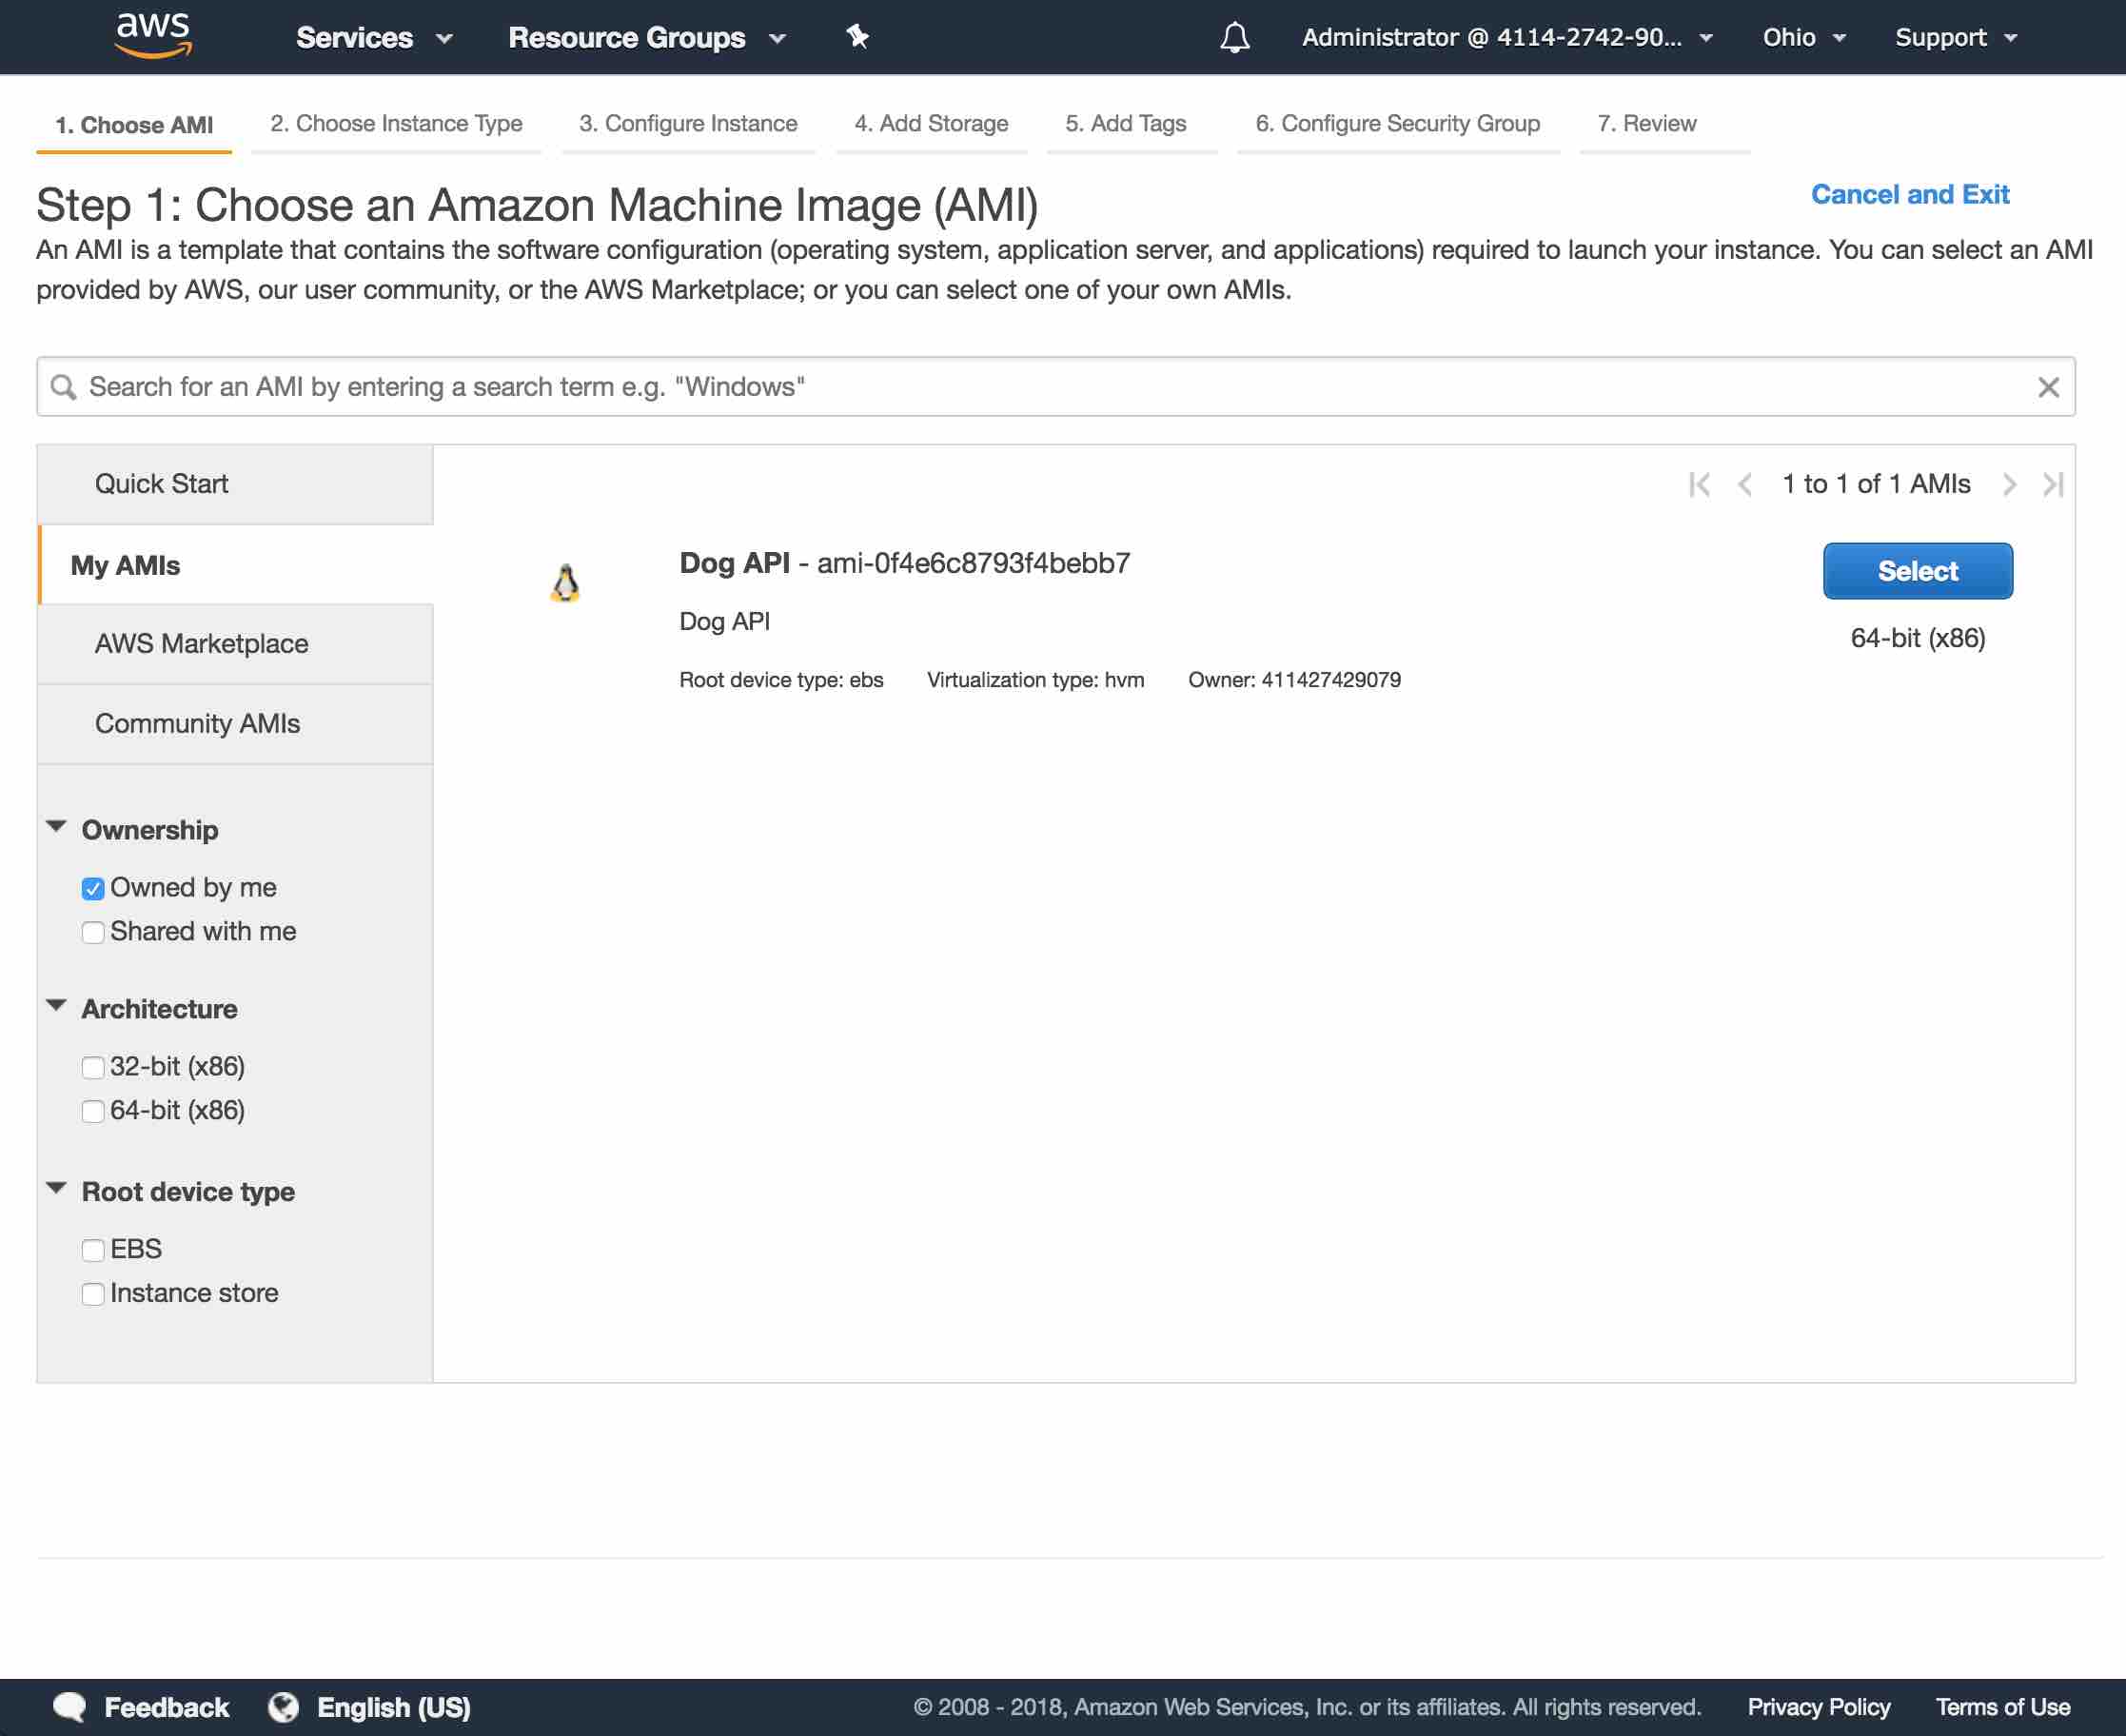
Select the AMI you just created above and select the same instance type you selected when creating your first instance. For me, this was t2.micro. Click the Next: Configure Instance Details button.
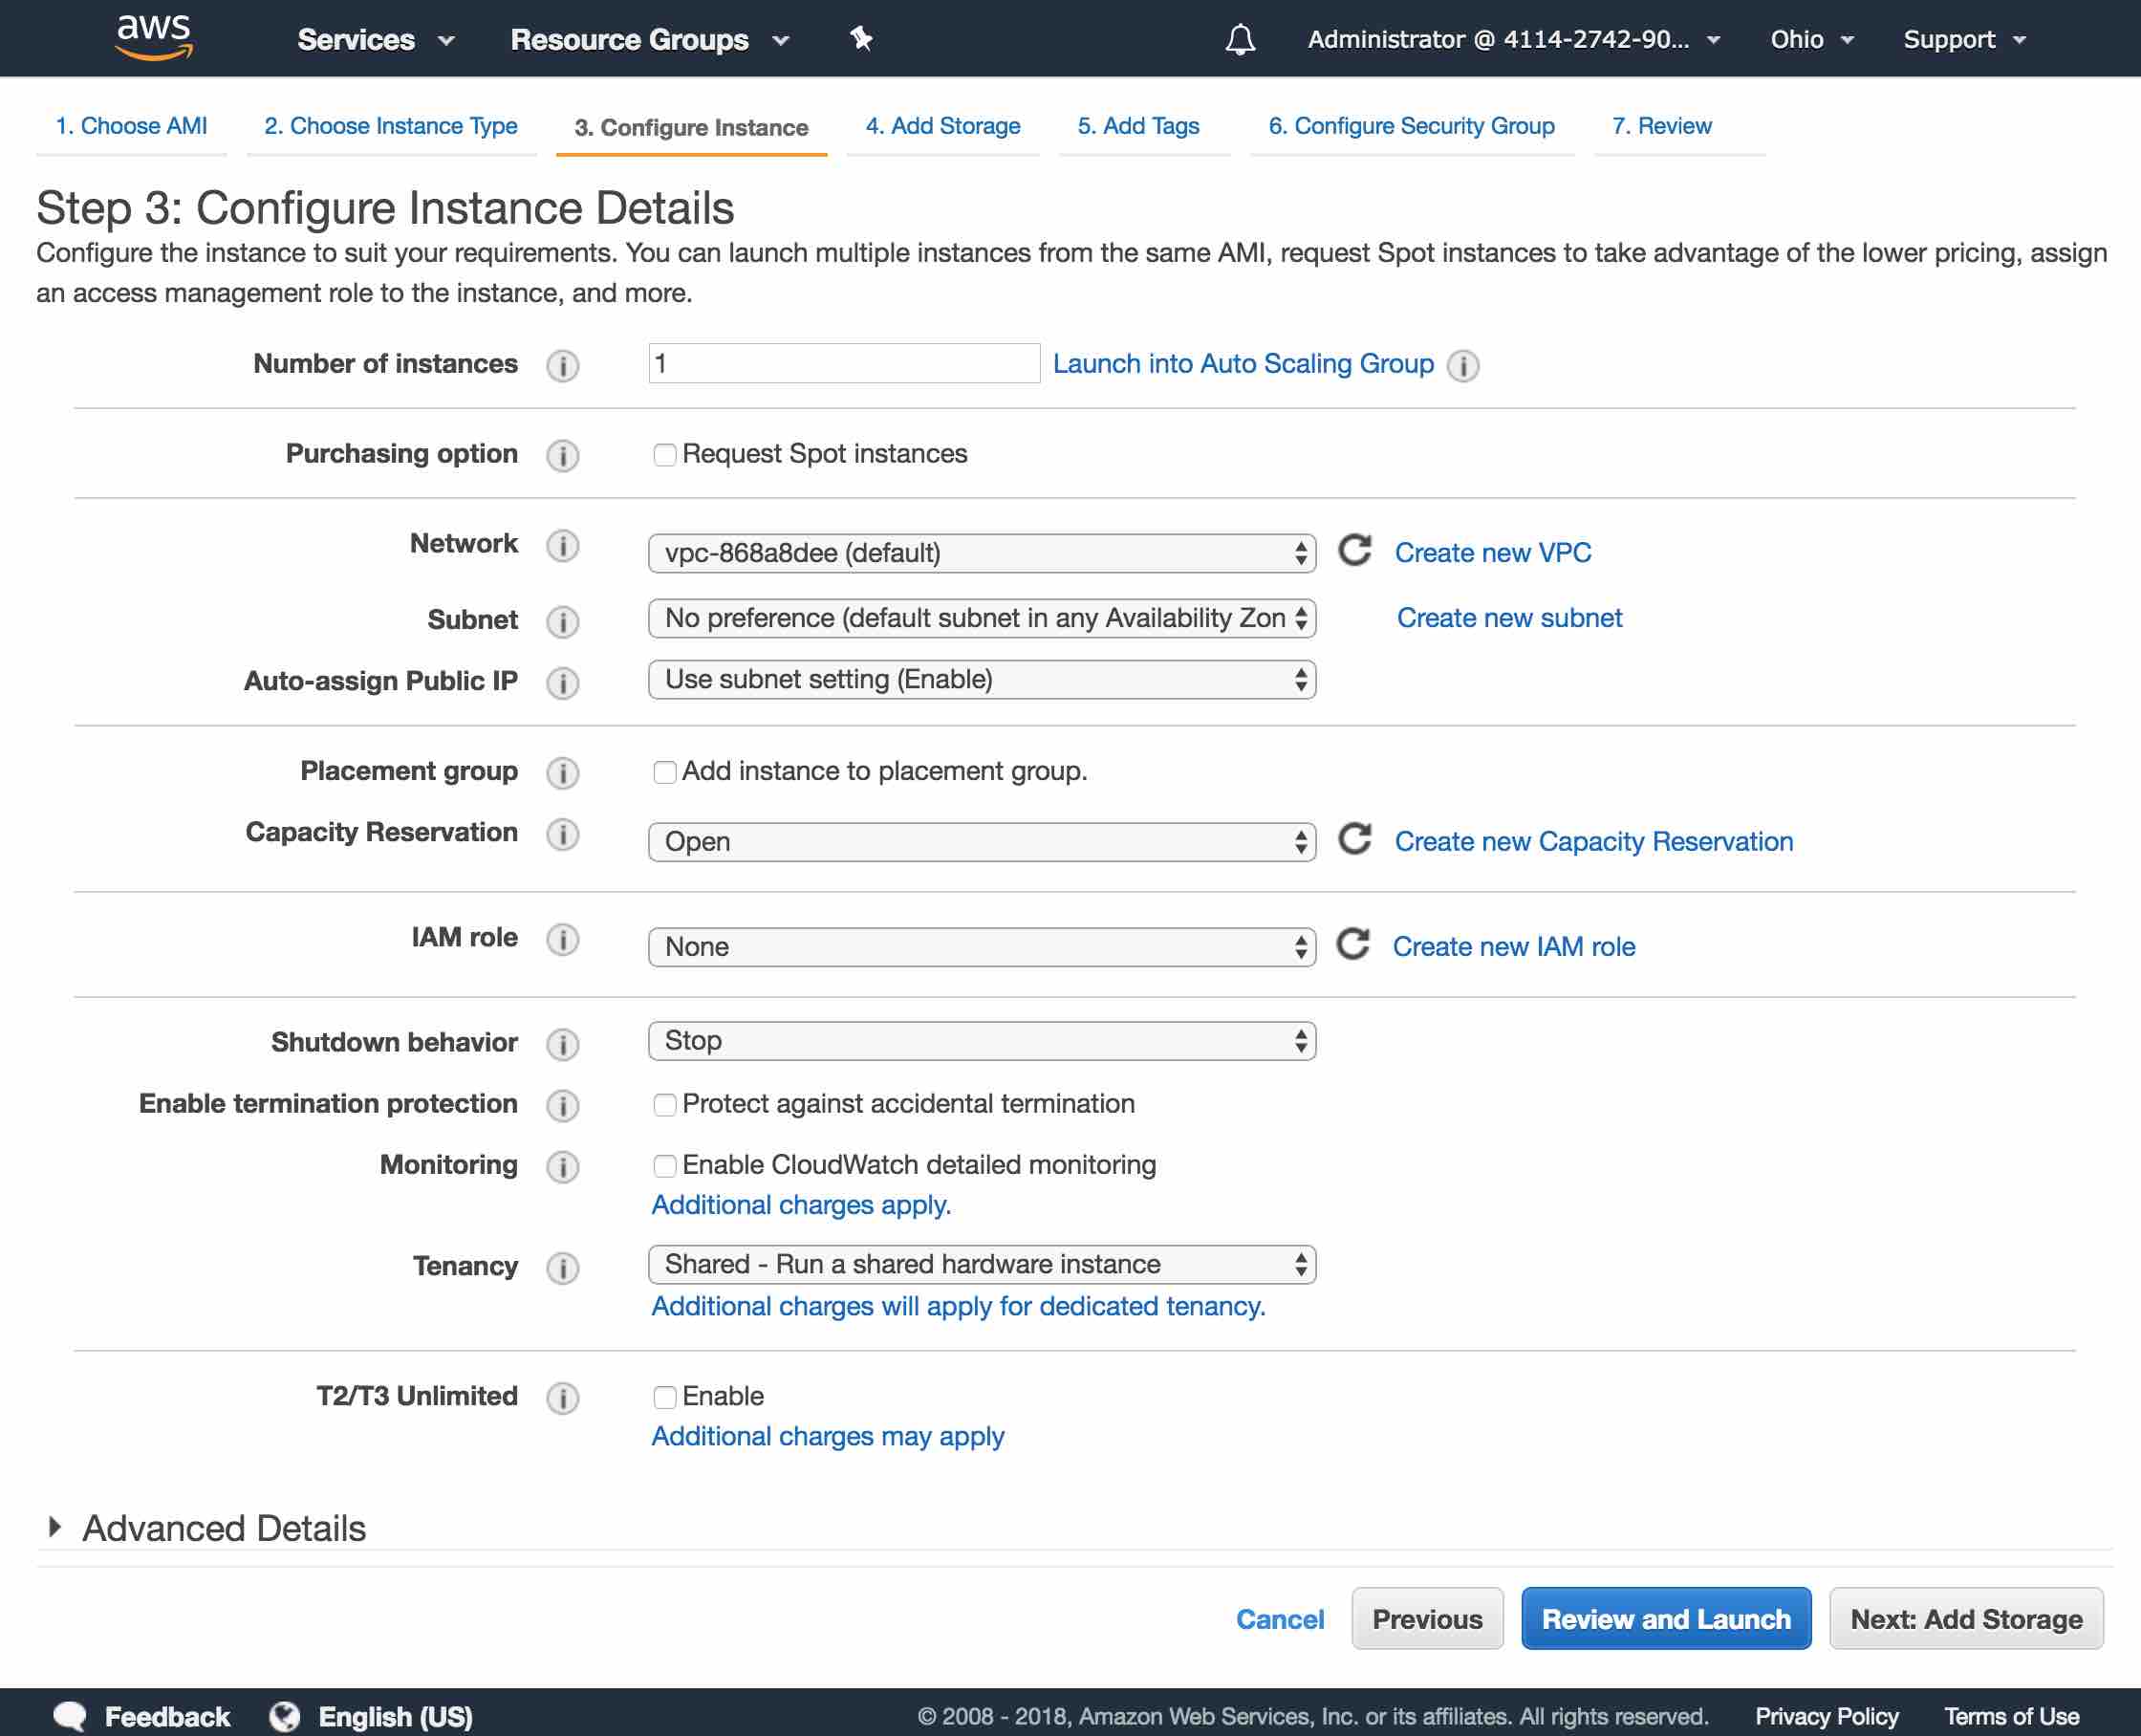
Select a subnet that is different from your other instance, so that your two instances are in different availability zones. My other instance is in us-east-2c so I selected us-east-2b.
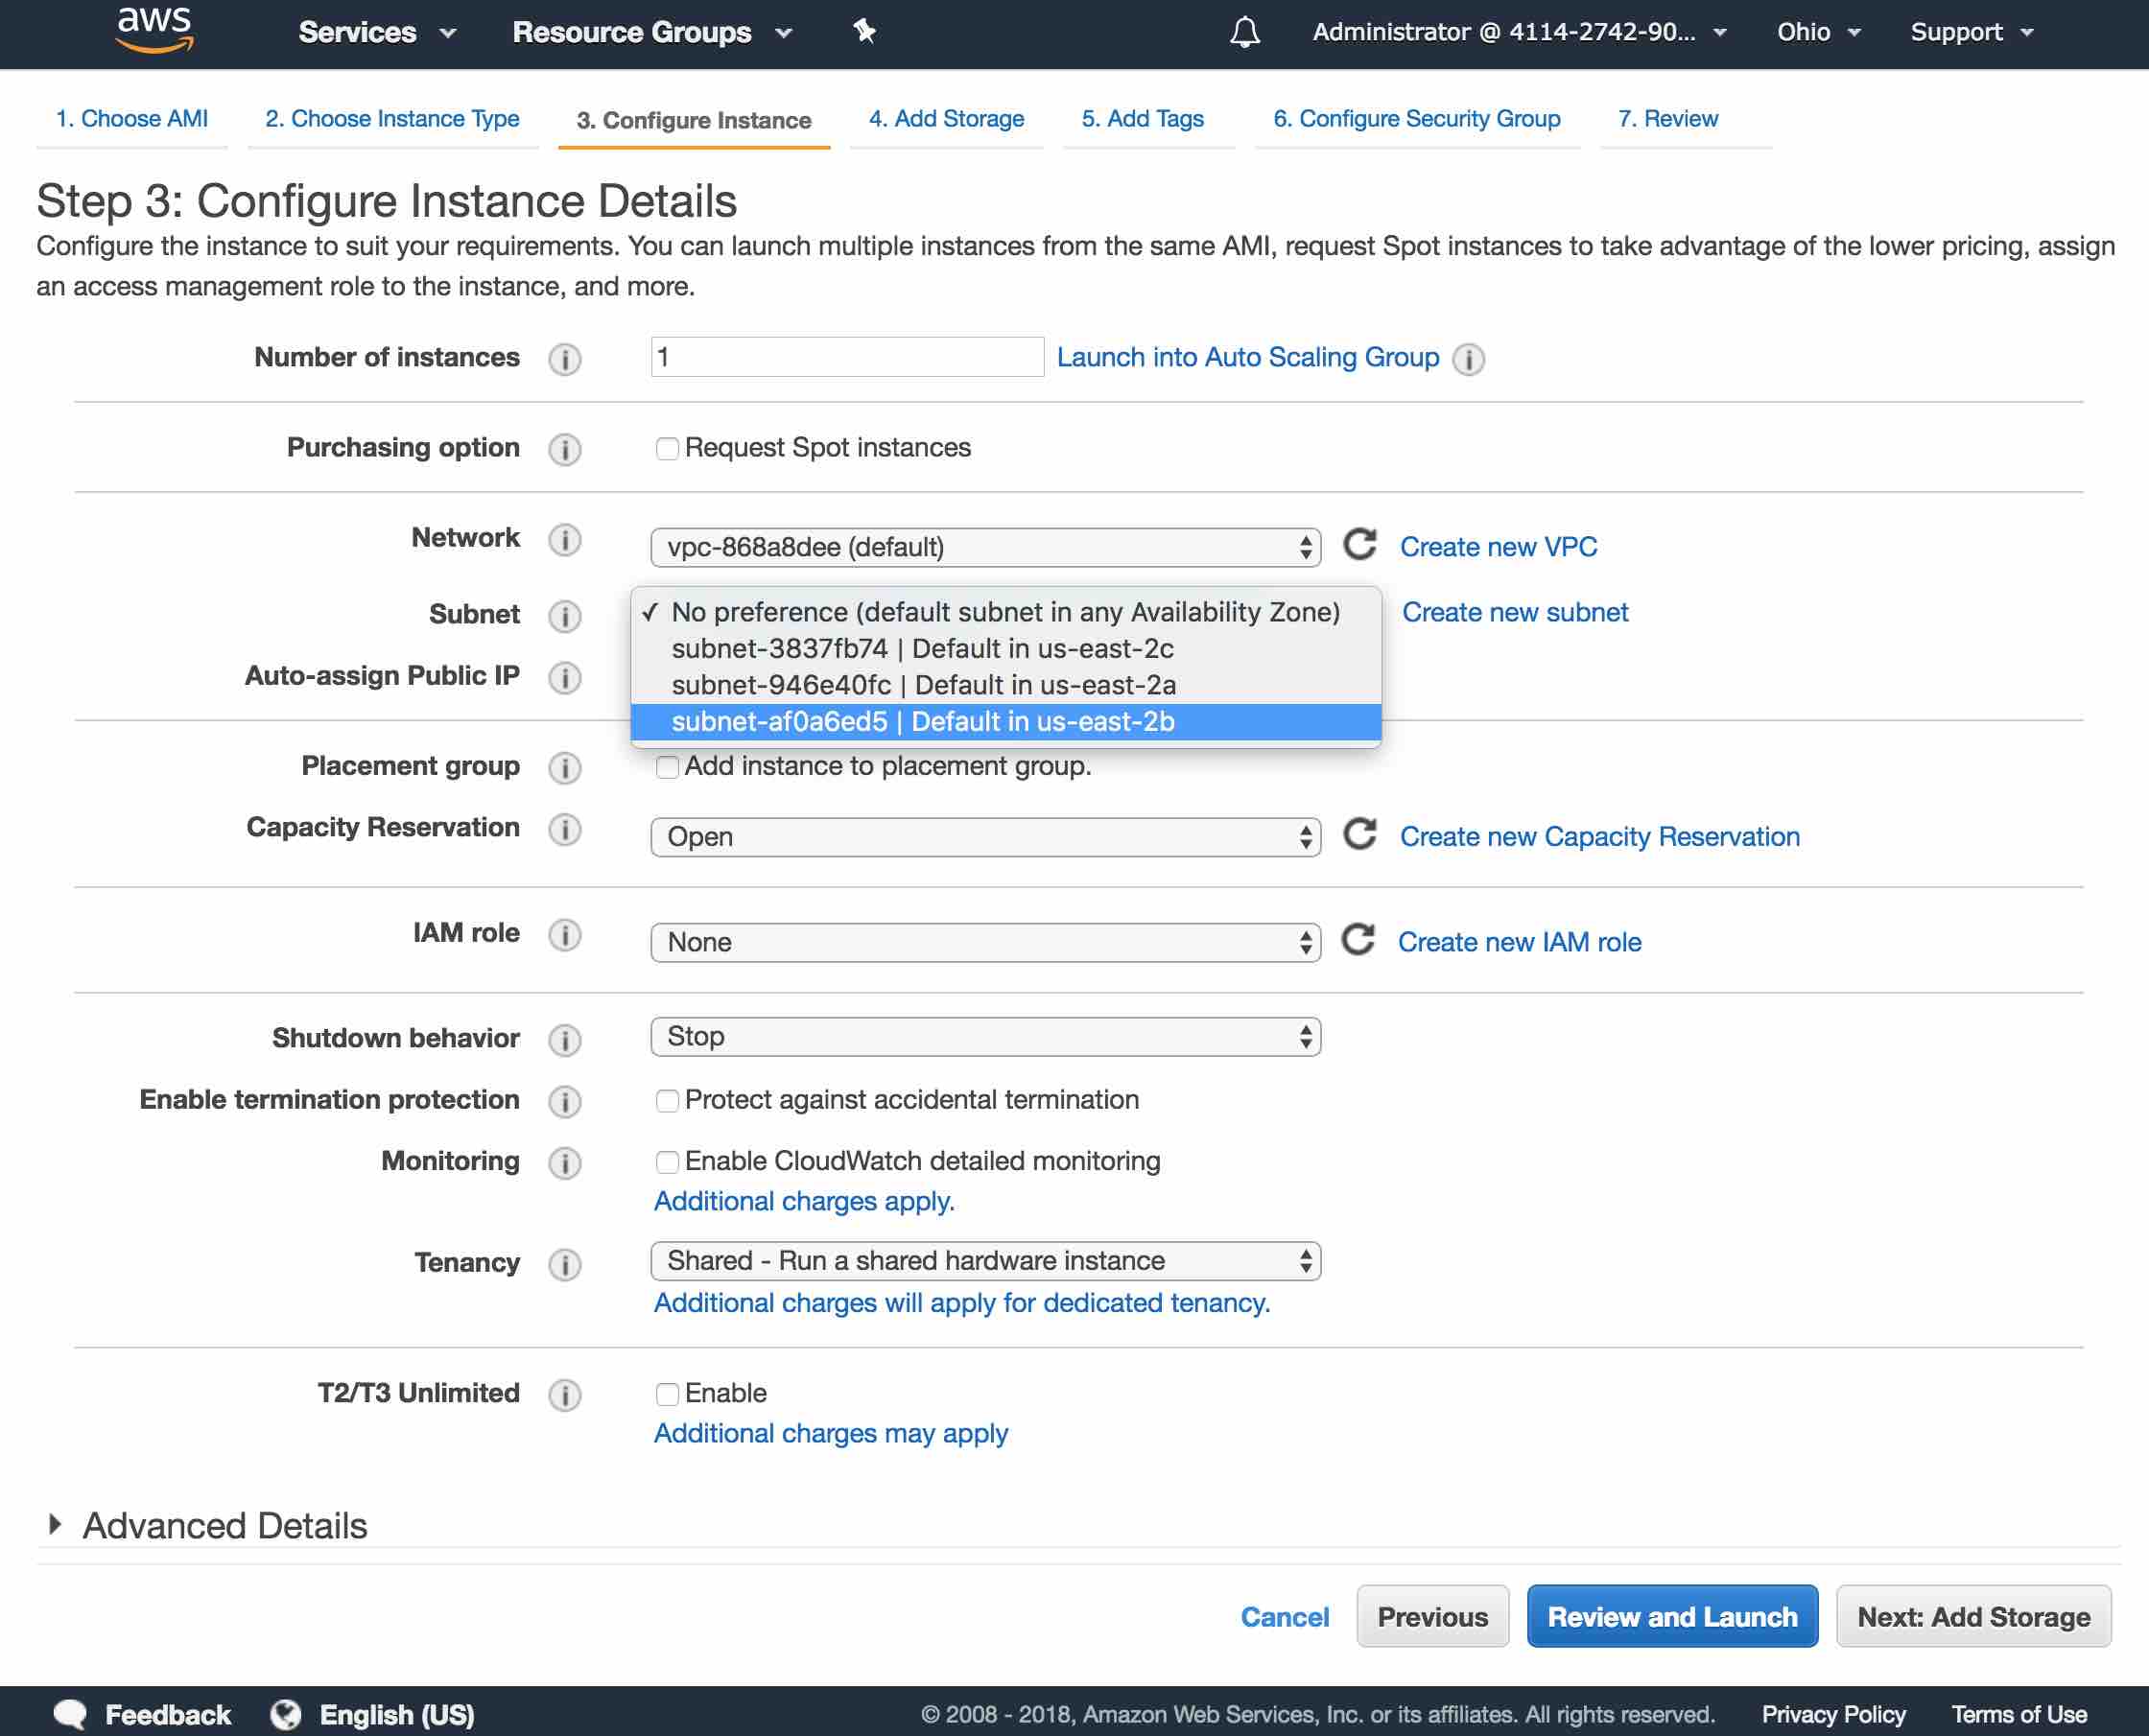
The other parameters can be left as their default values. Click the Next: Add Storage button.
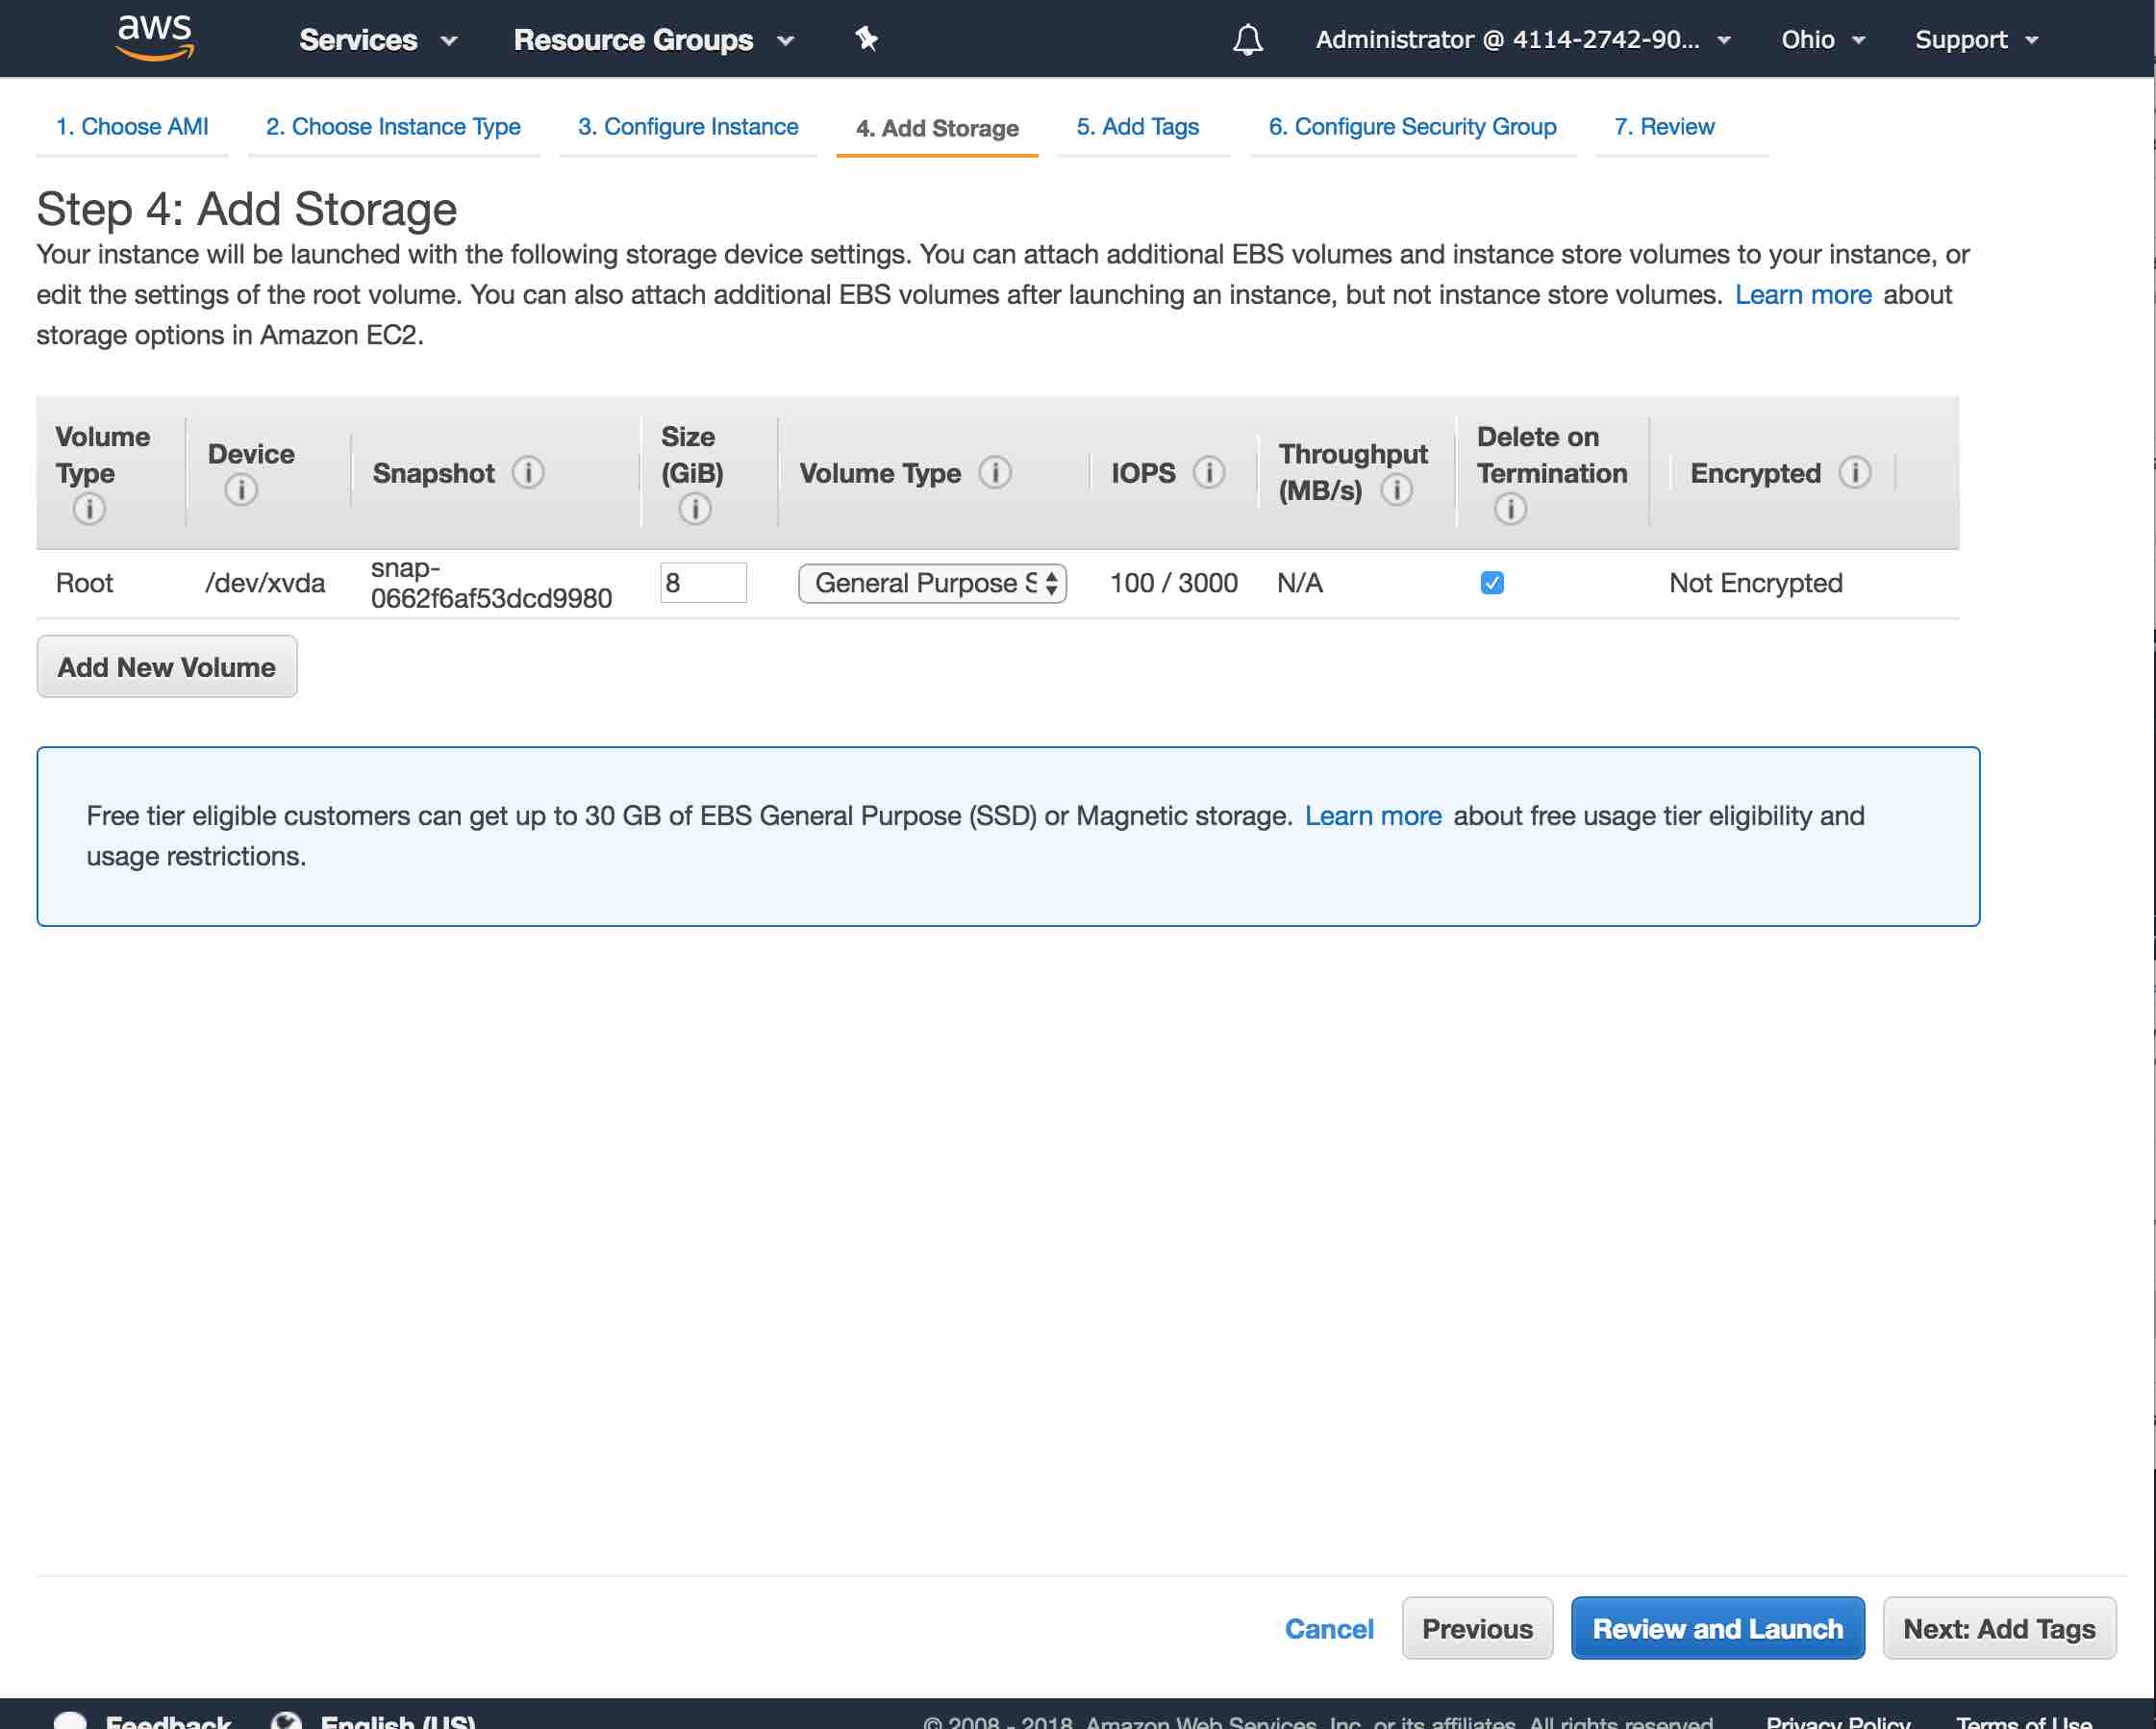
Click the Next: Add Tags button.
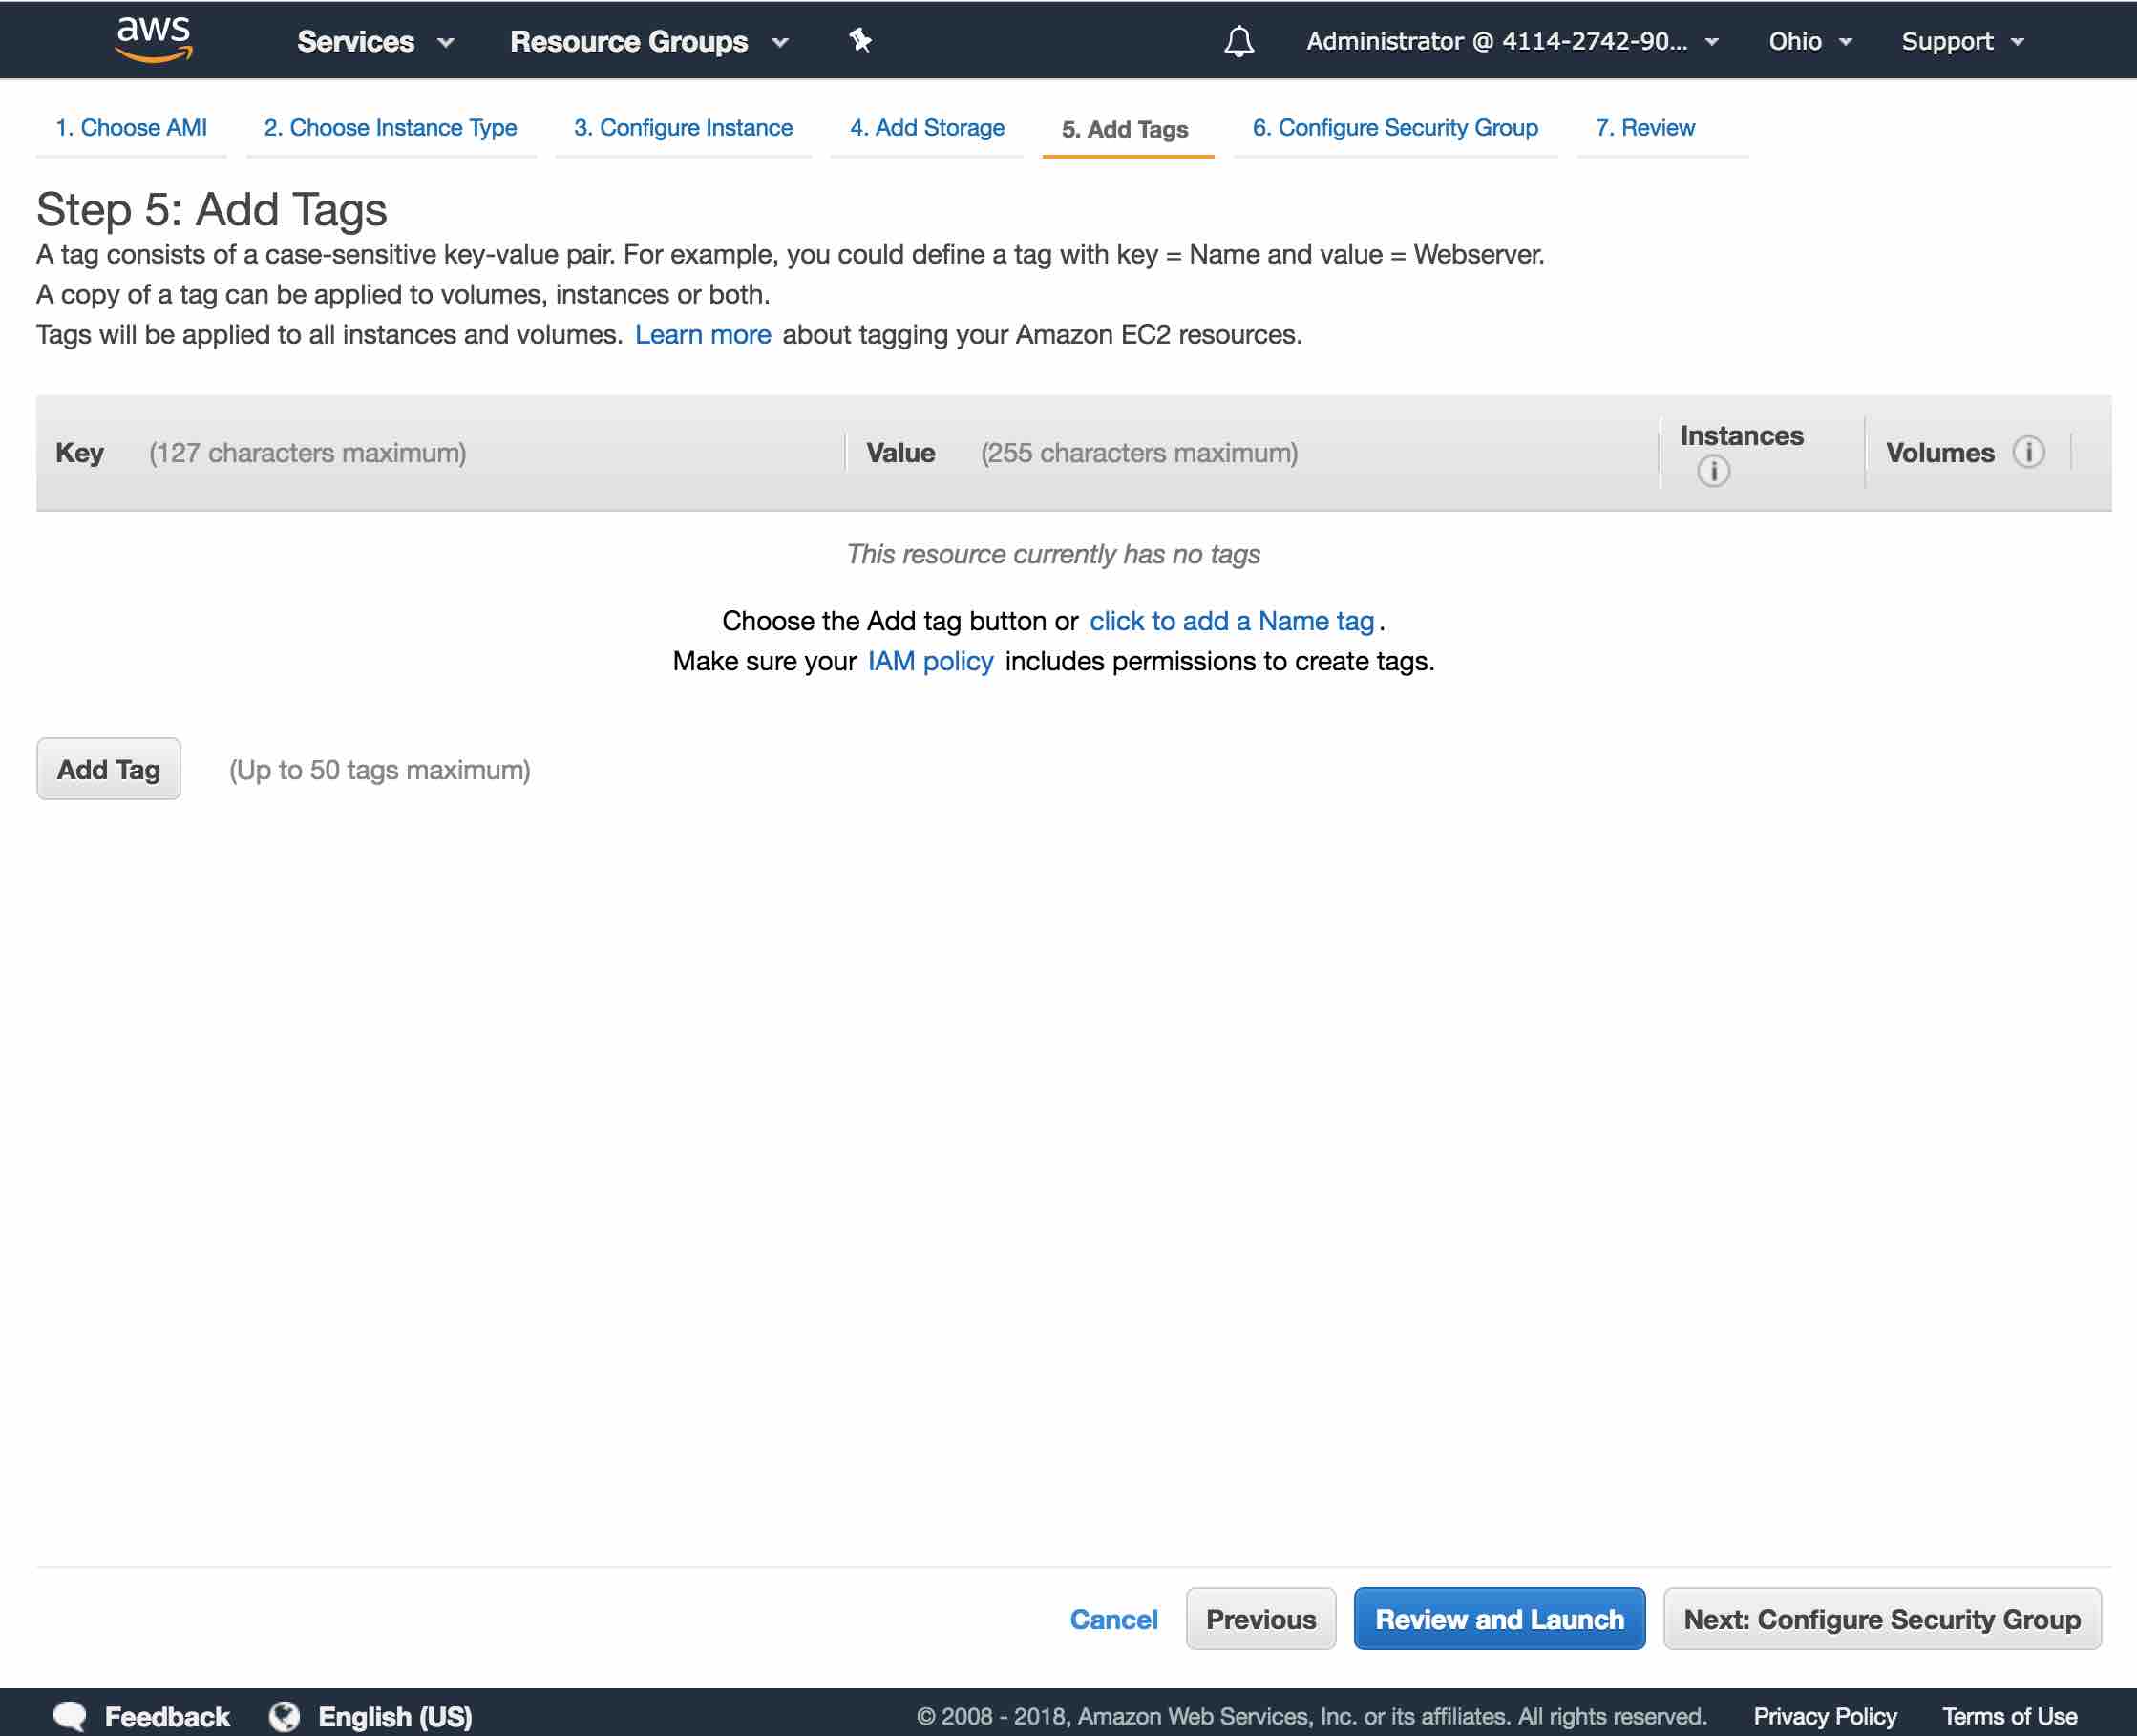
Click the Next: Configure Security Groups button.
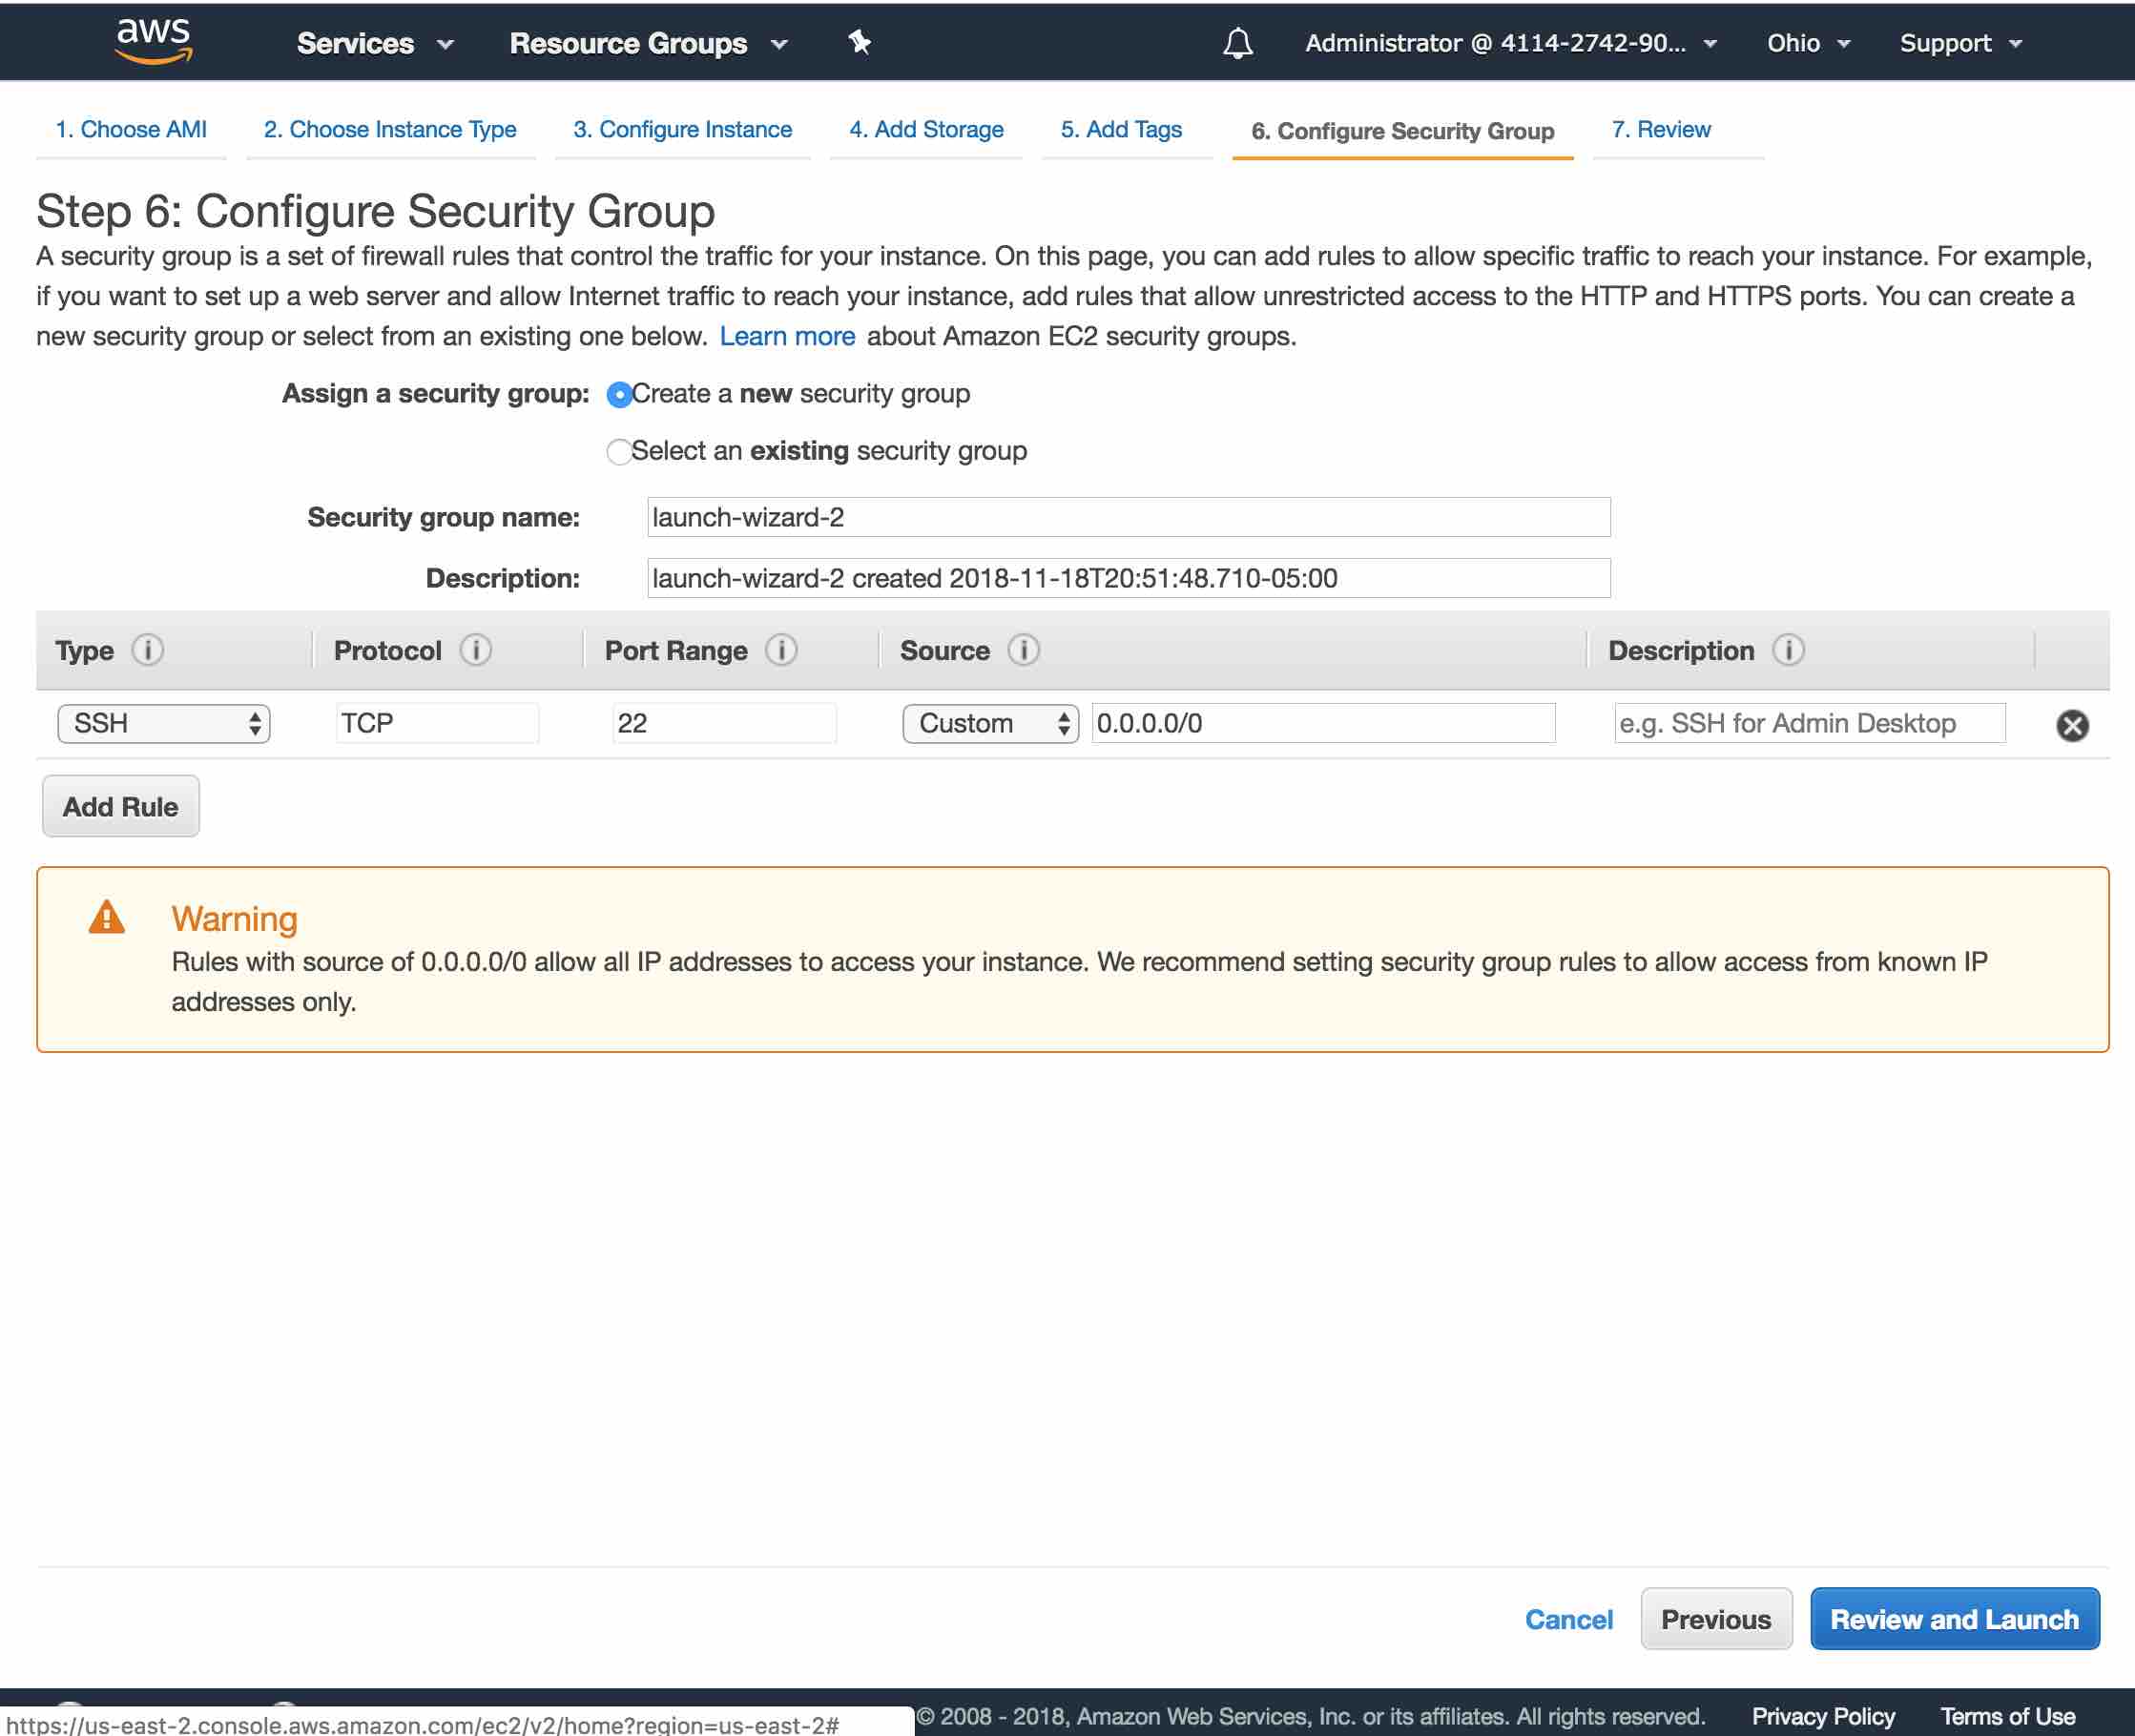
Click the Select an existing security group radio button and select the same security group that you selected when launching the first instance.
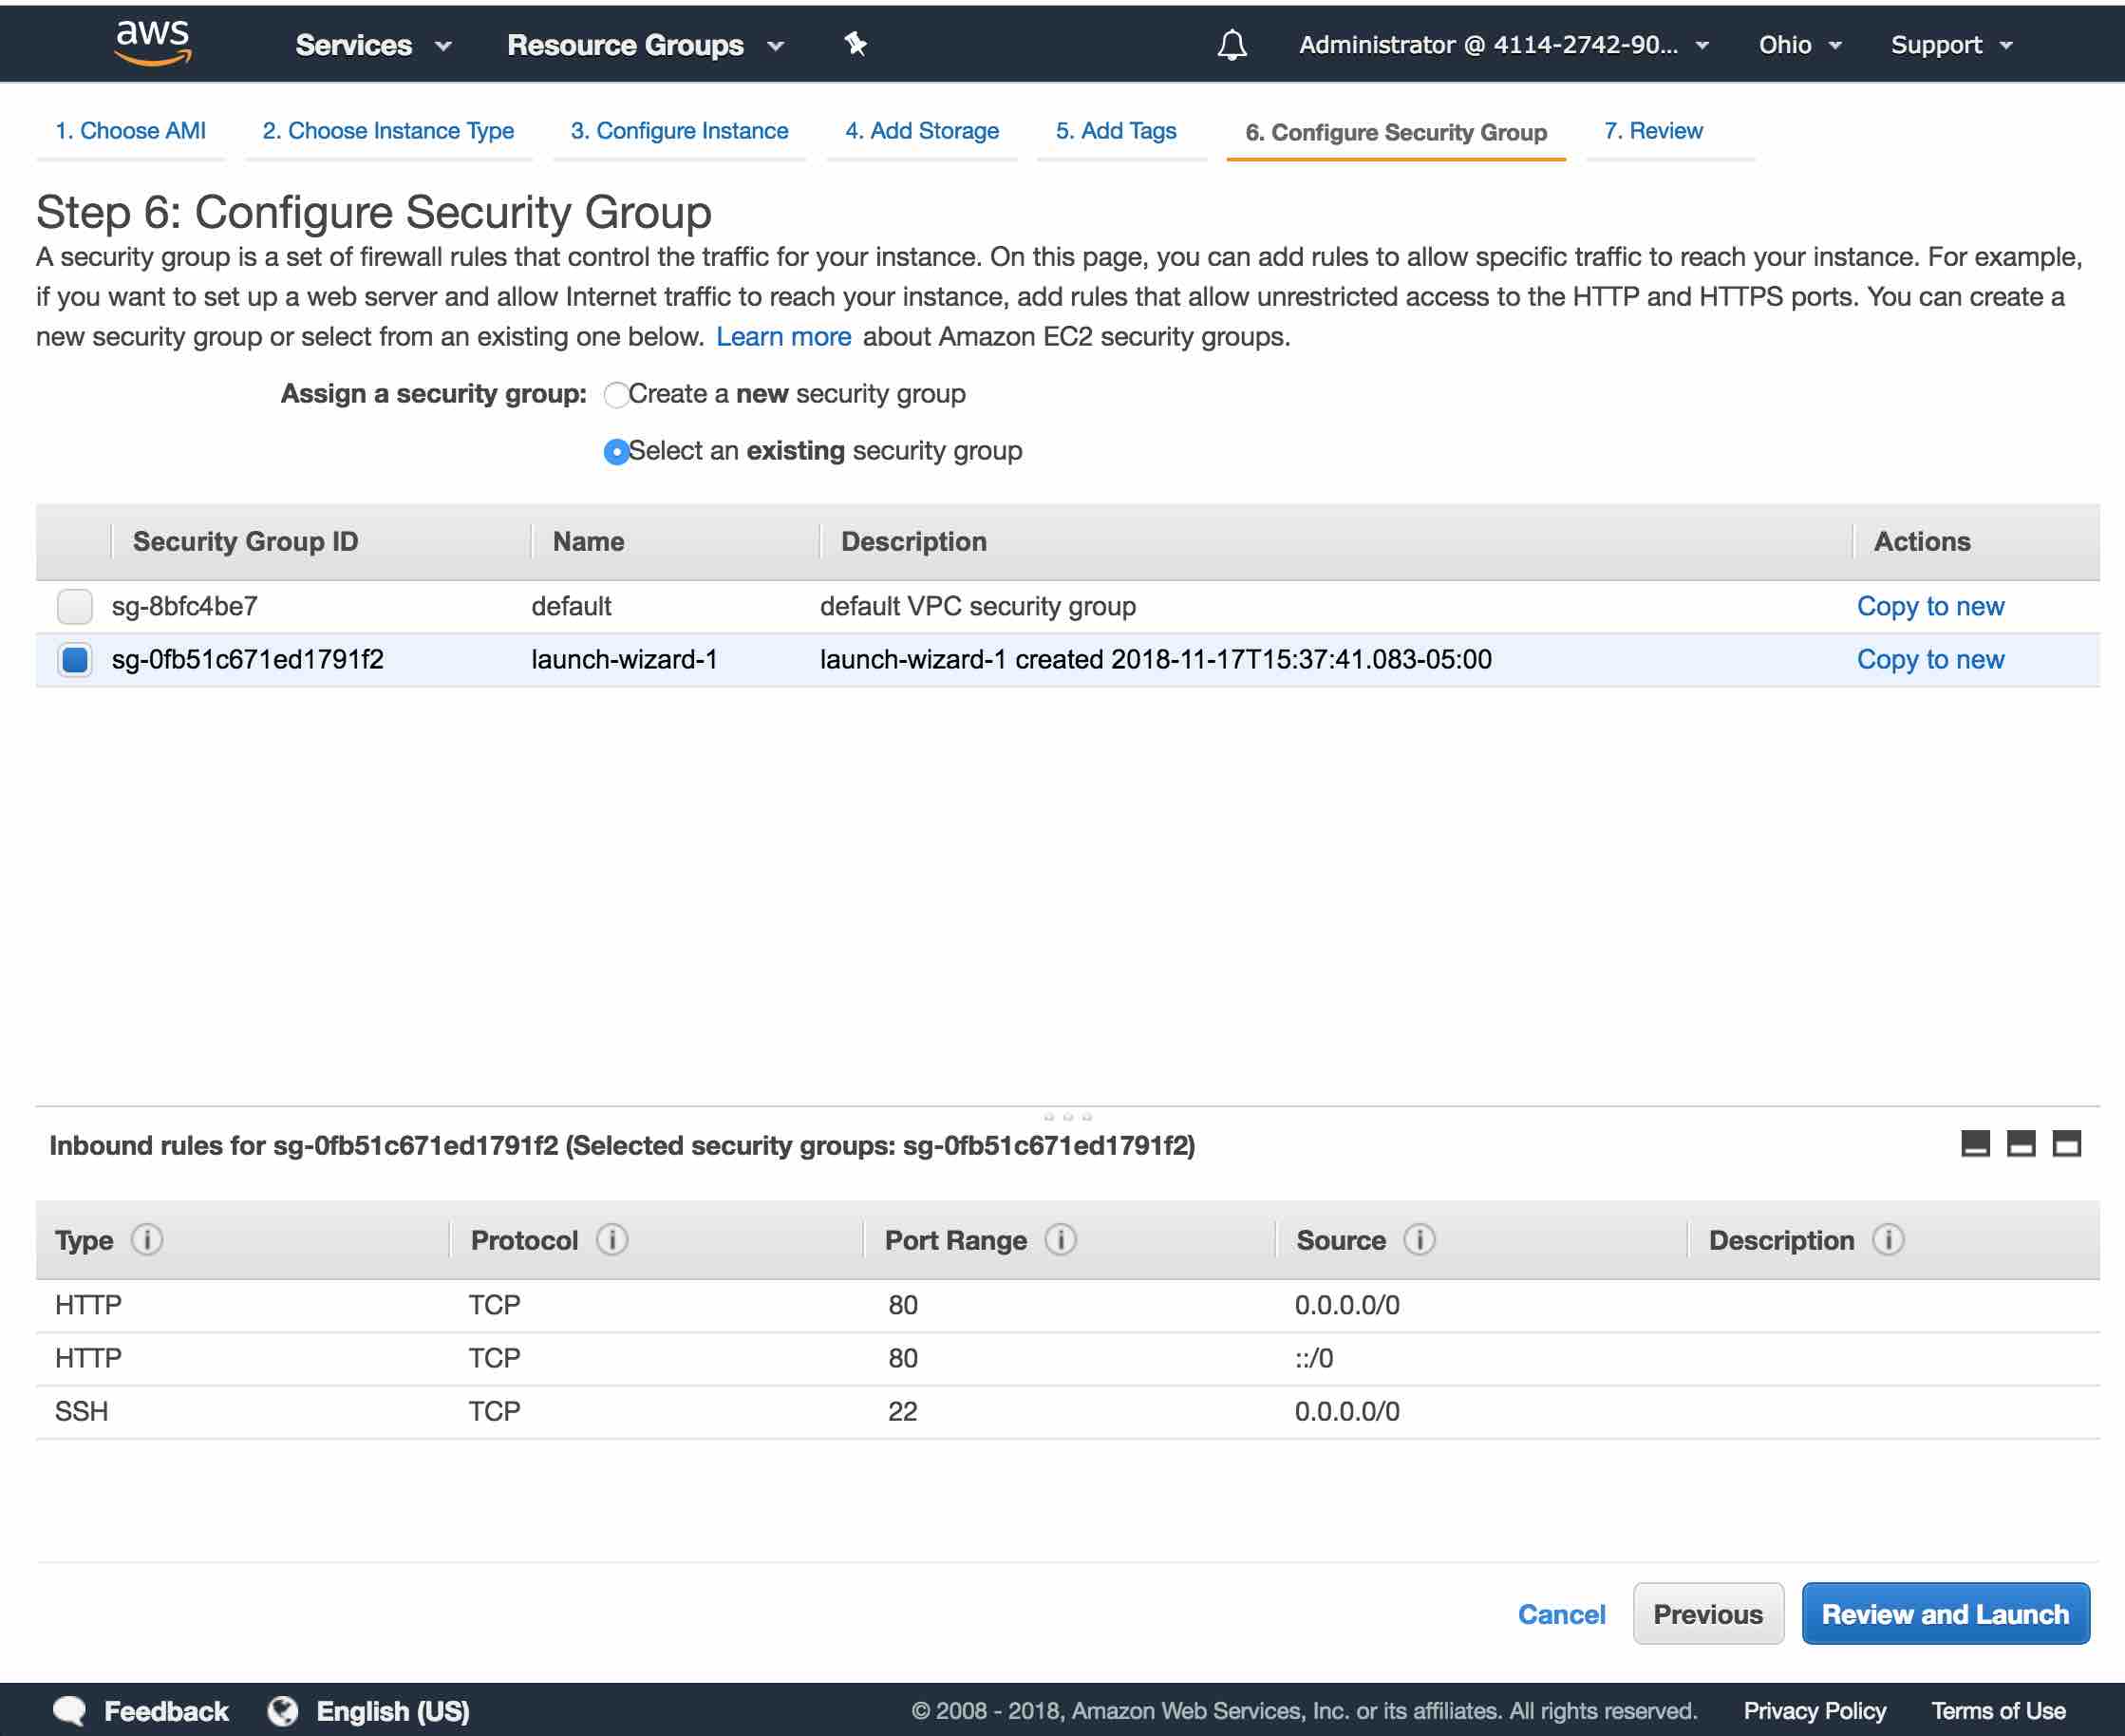
Click the Review and Launch button.
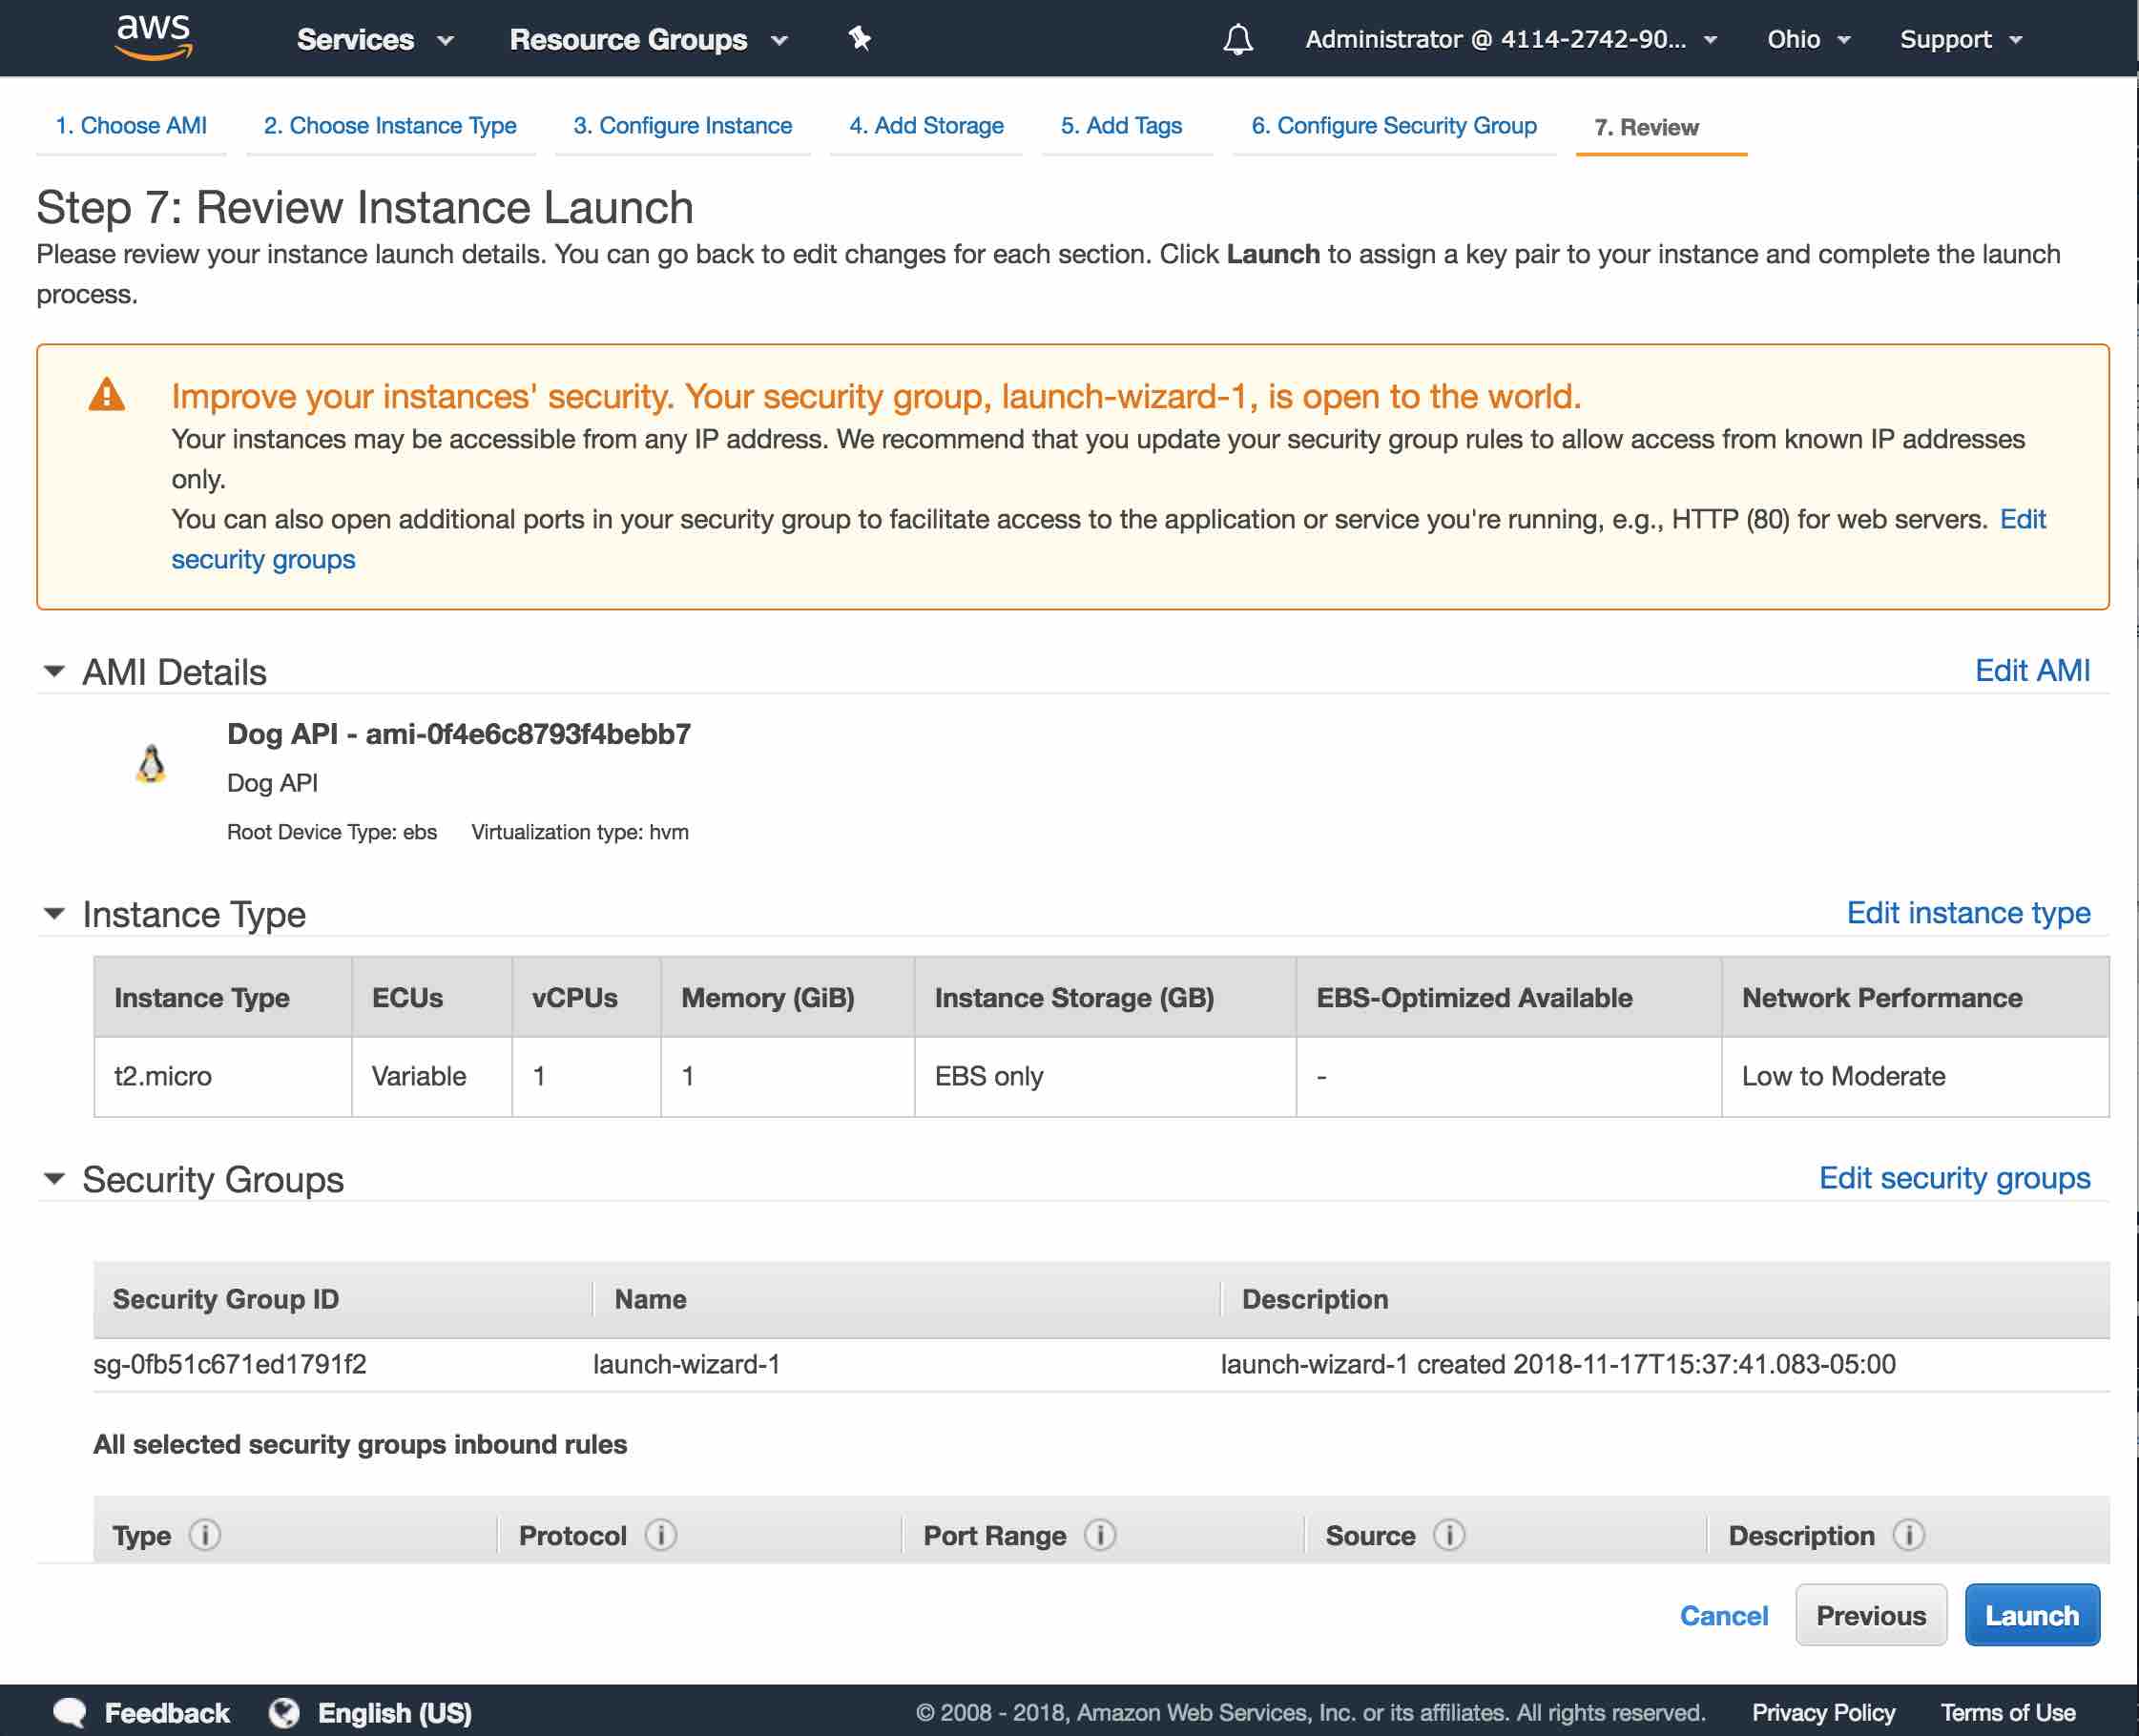
Click the Launch button. On the next screen, select Choose an existing key pair and use the same key pair that you used/created with your first instance.
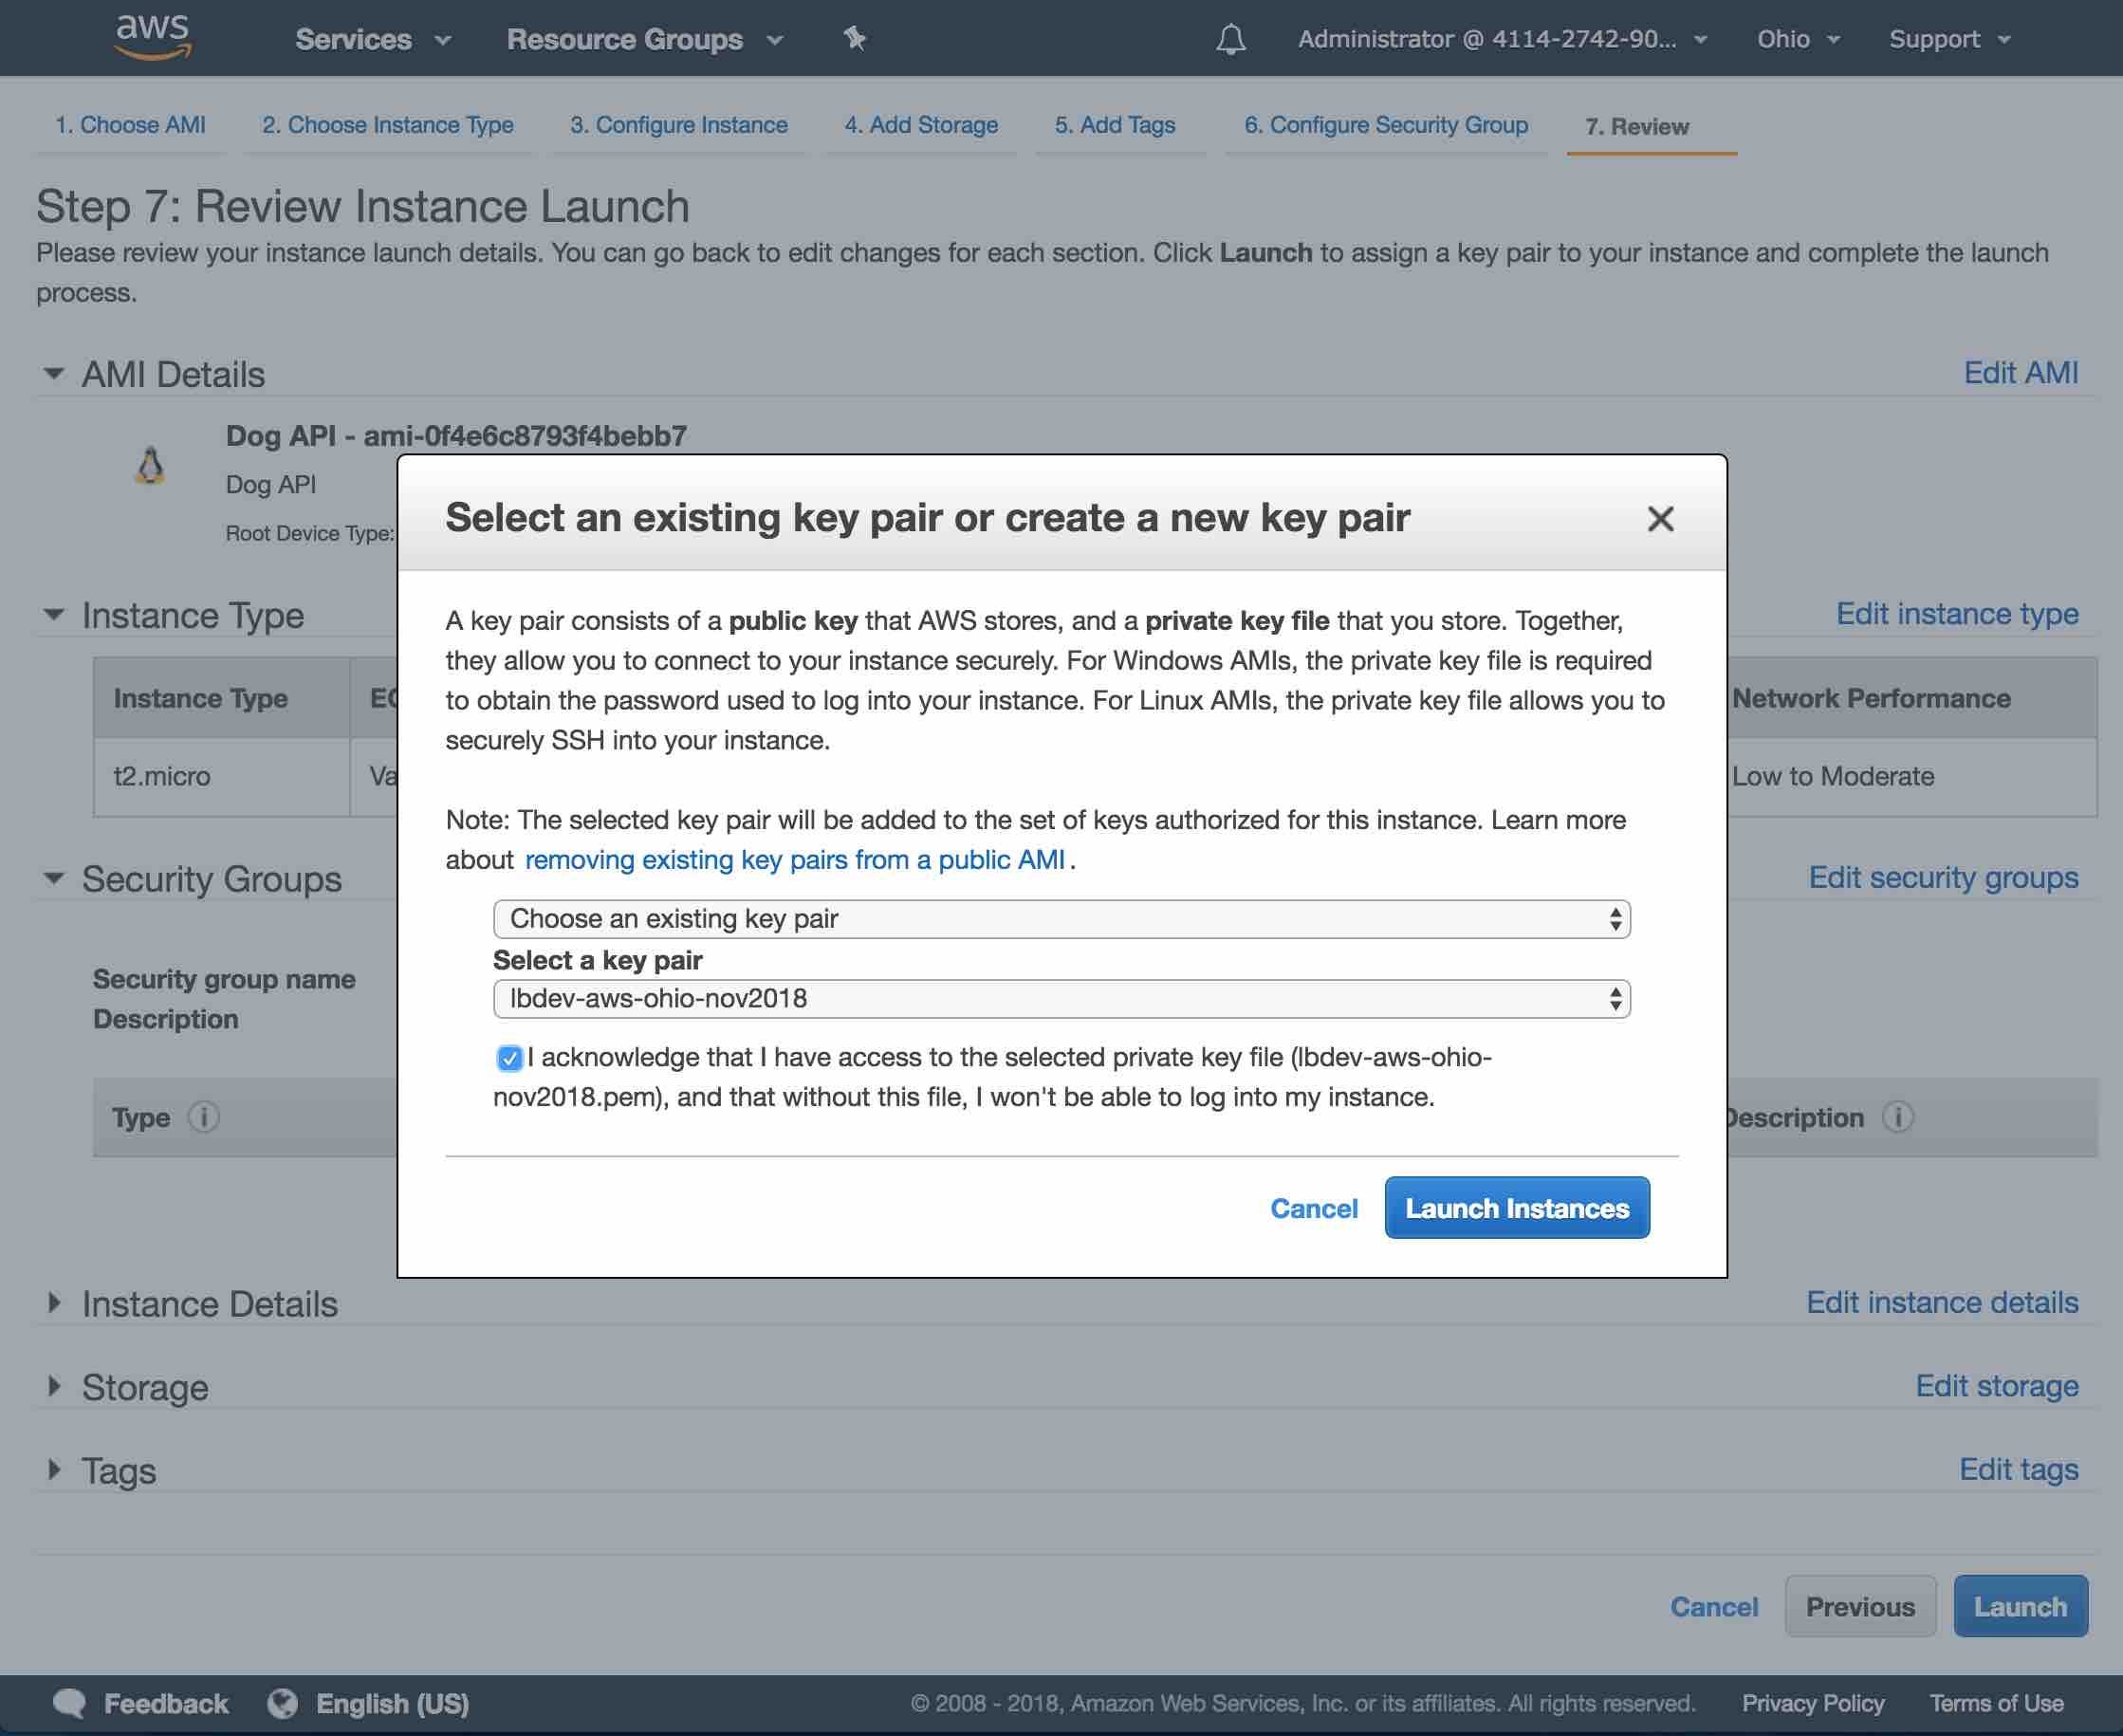
Click the Launch Instance button.
Click on Instances in the EC2 dashboard to see your instances and name your new instance. I named it Dog API 2.
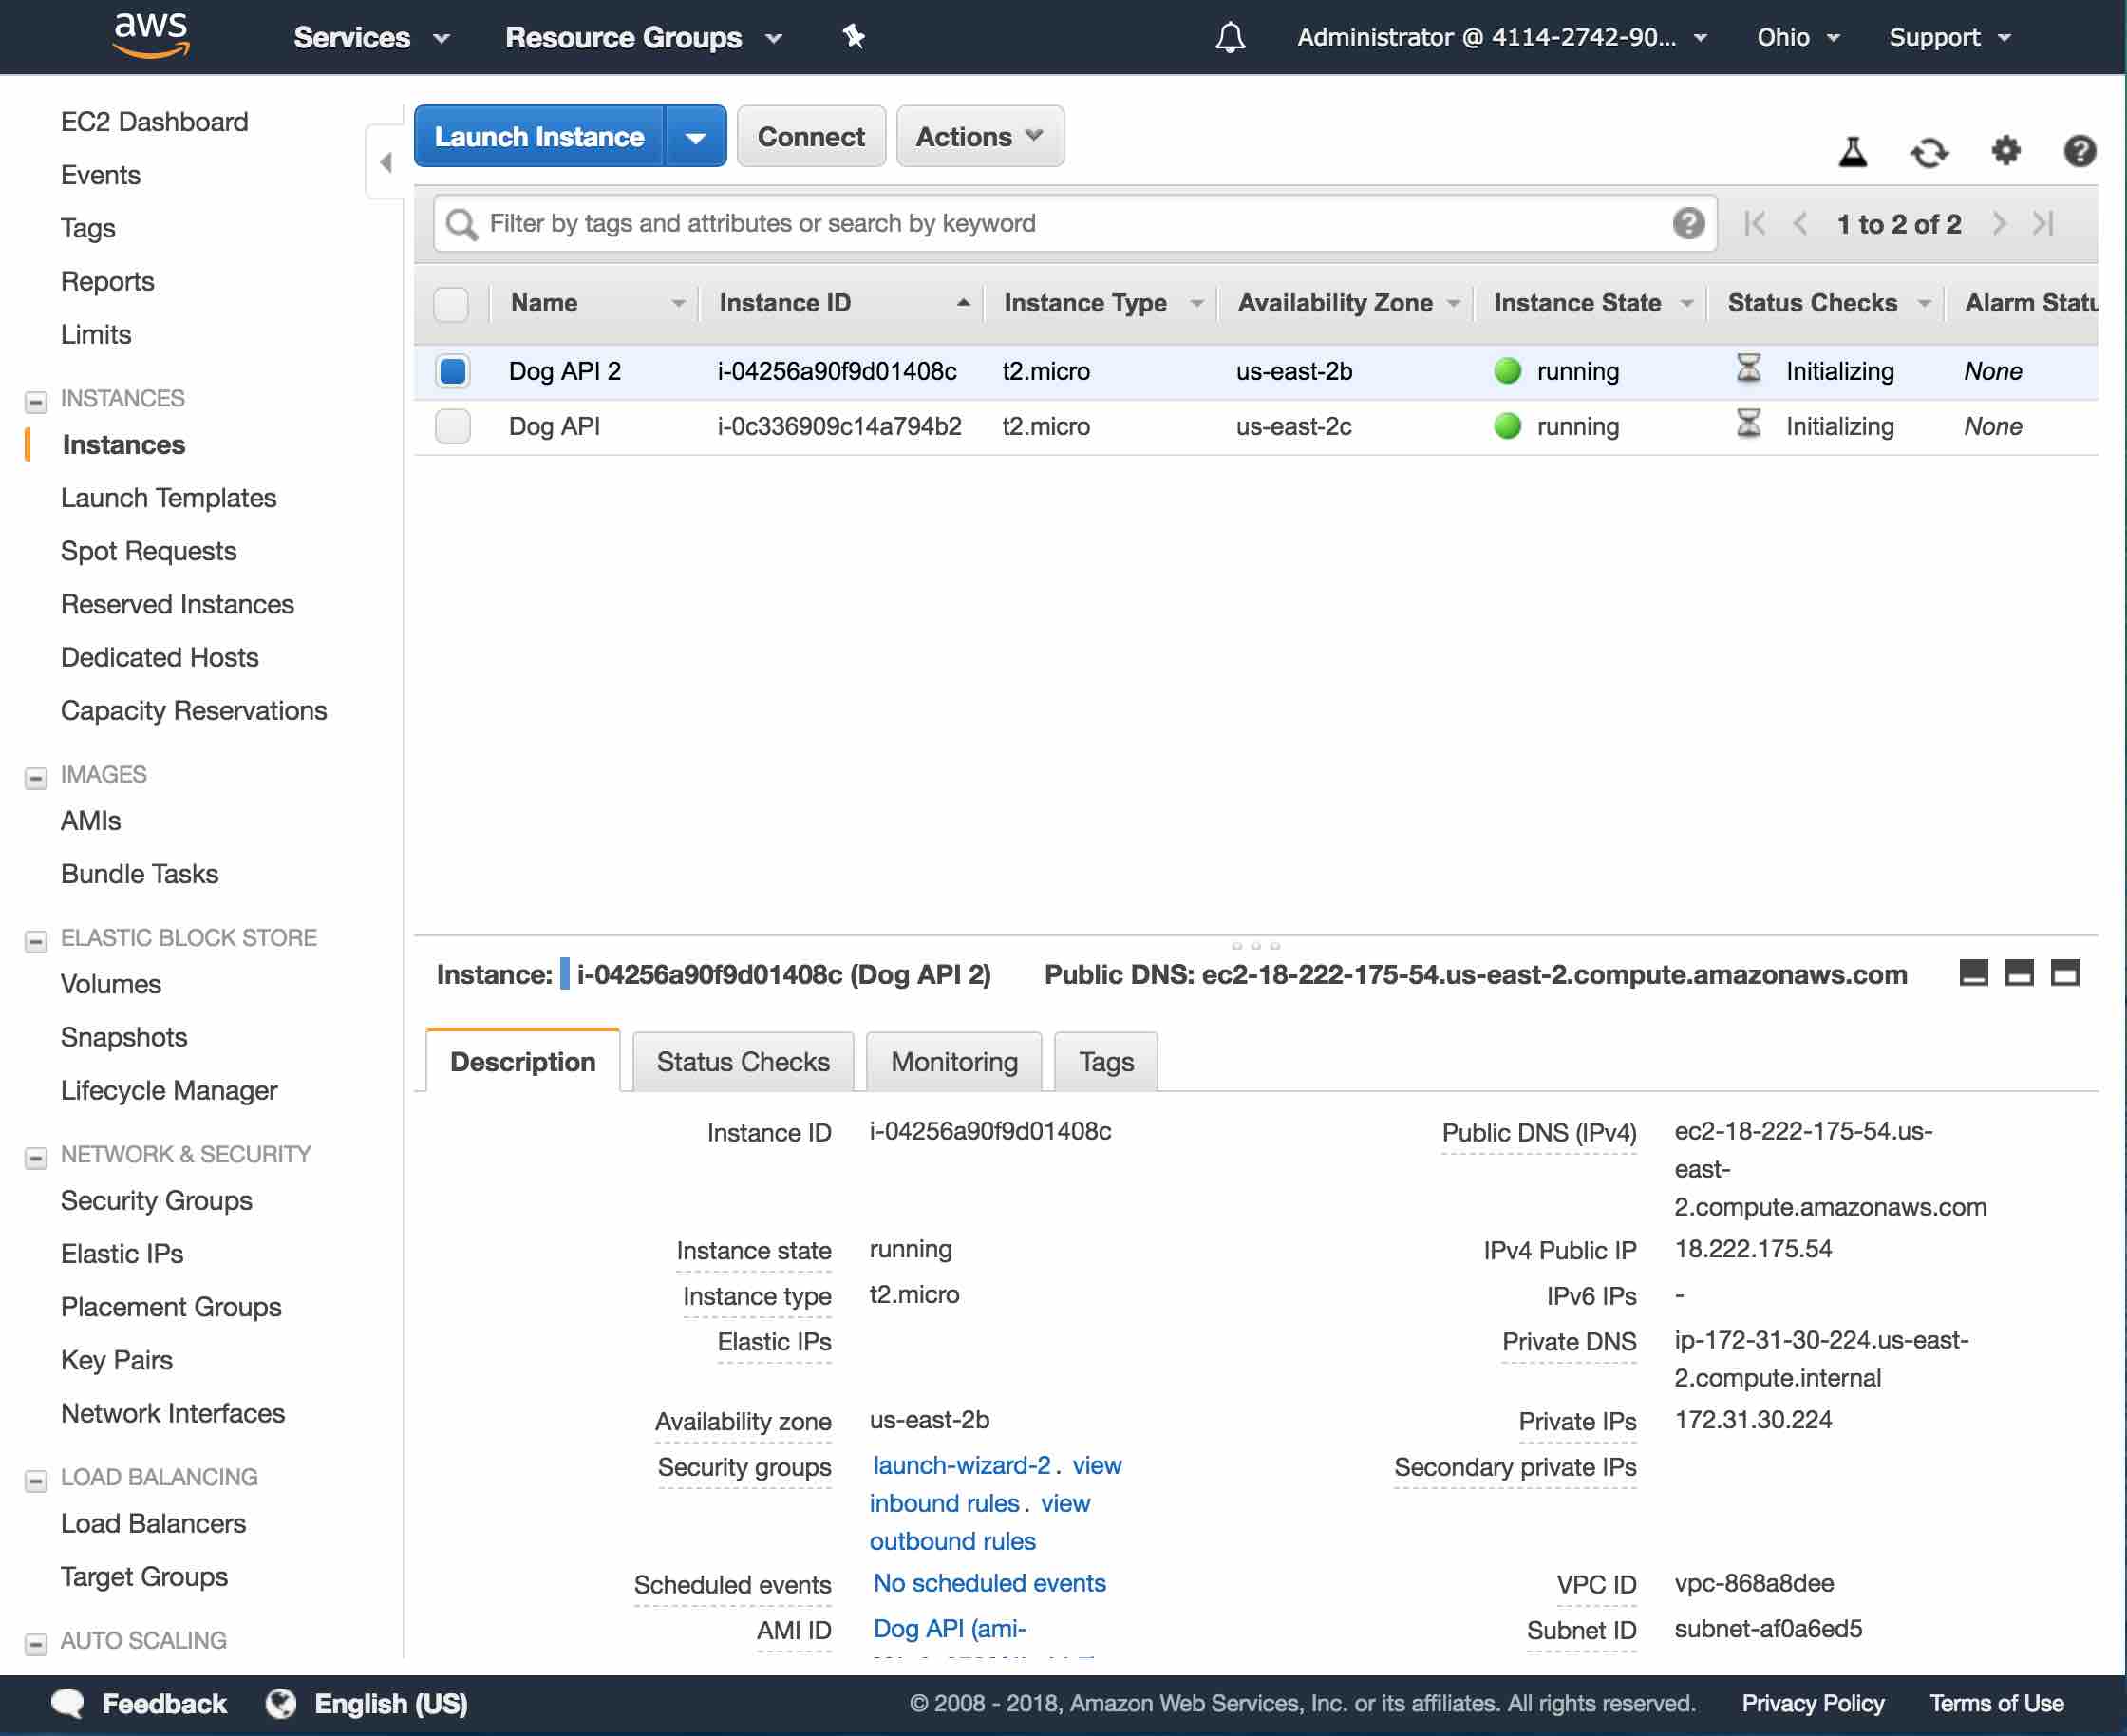
Make sure both instances are running and that you get a response to API calls to both instances.
Note: Refer to the prior blog post for details on how to test your API if you are unclear.
Create a load balancer
Click on Load Balancers to go to the Load Balancers page.
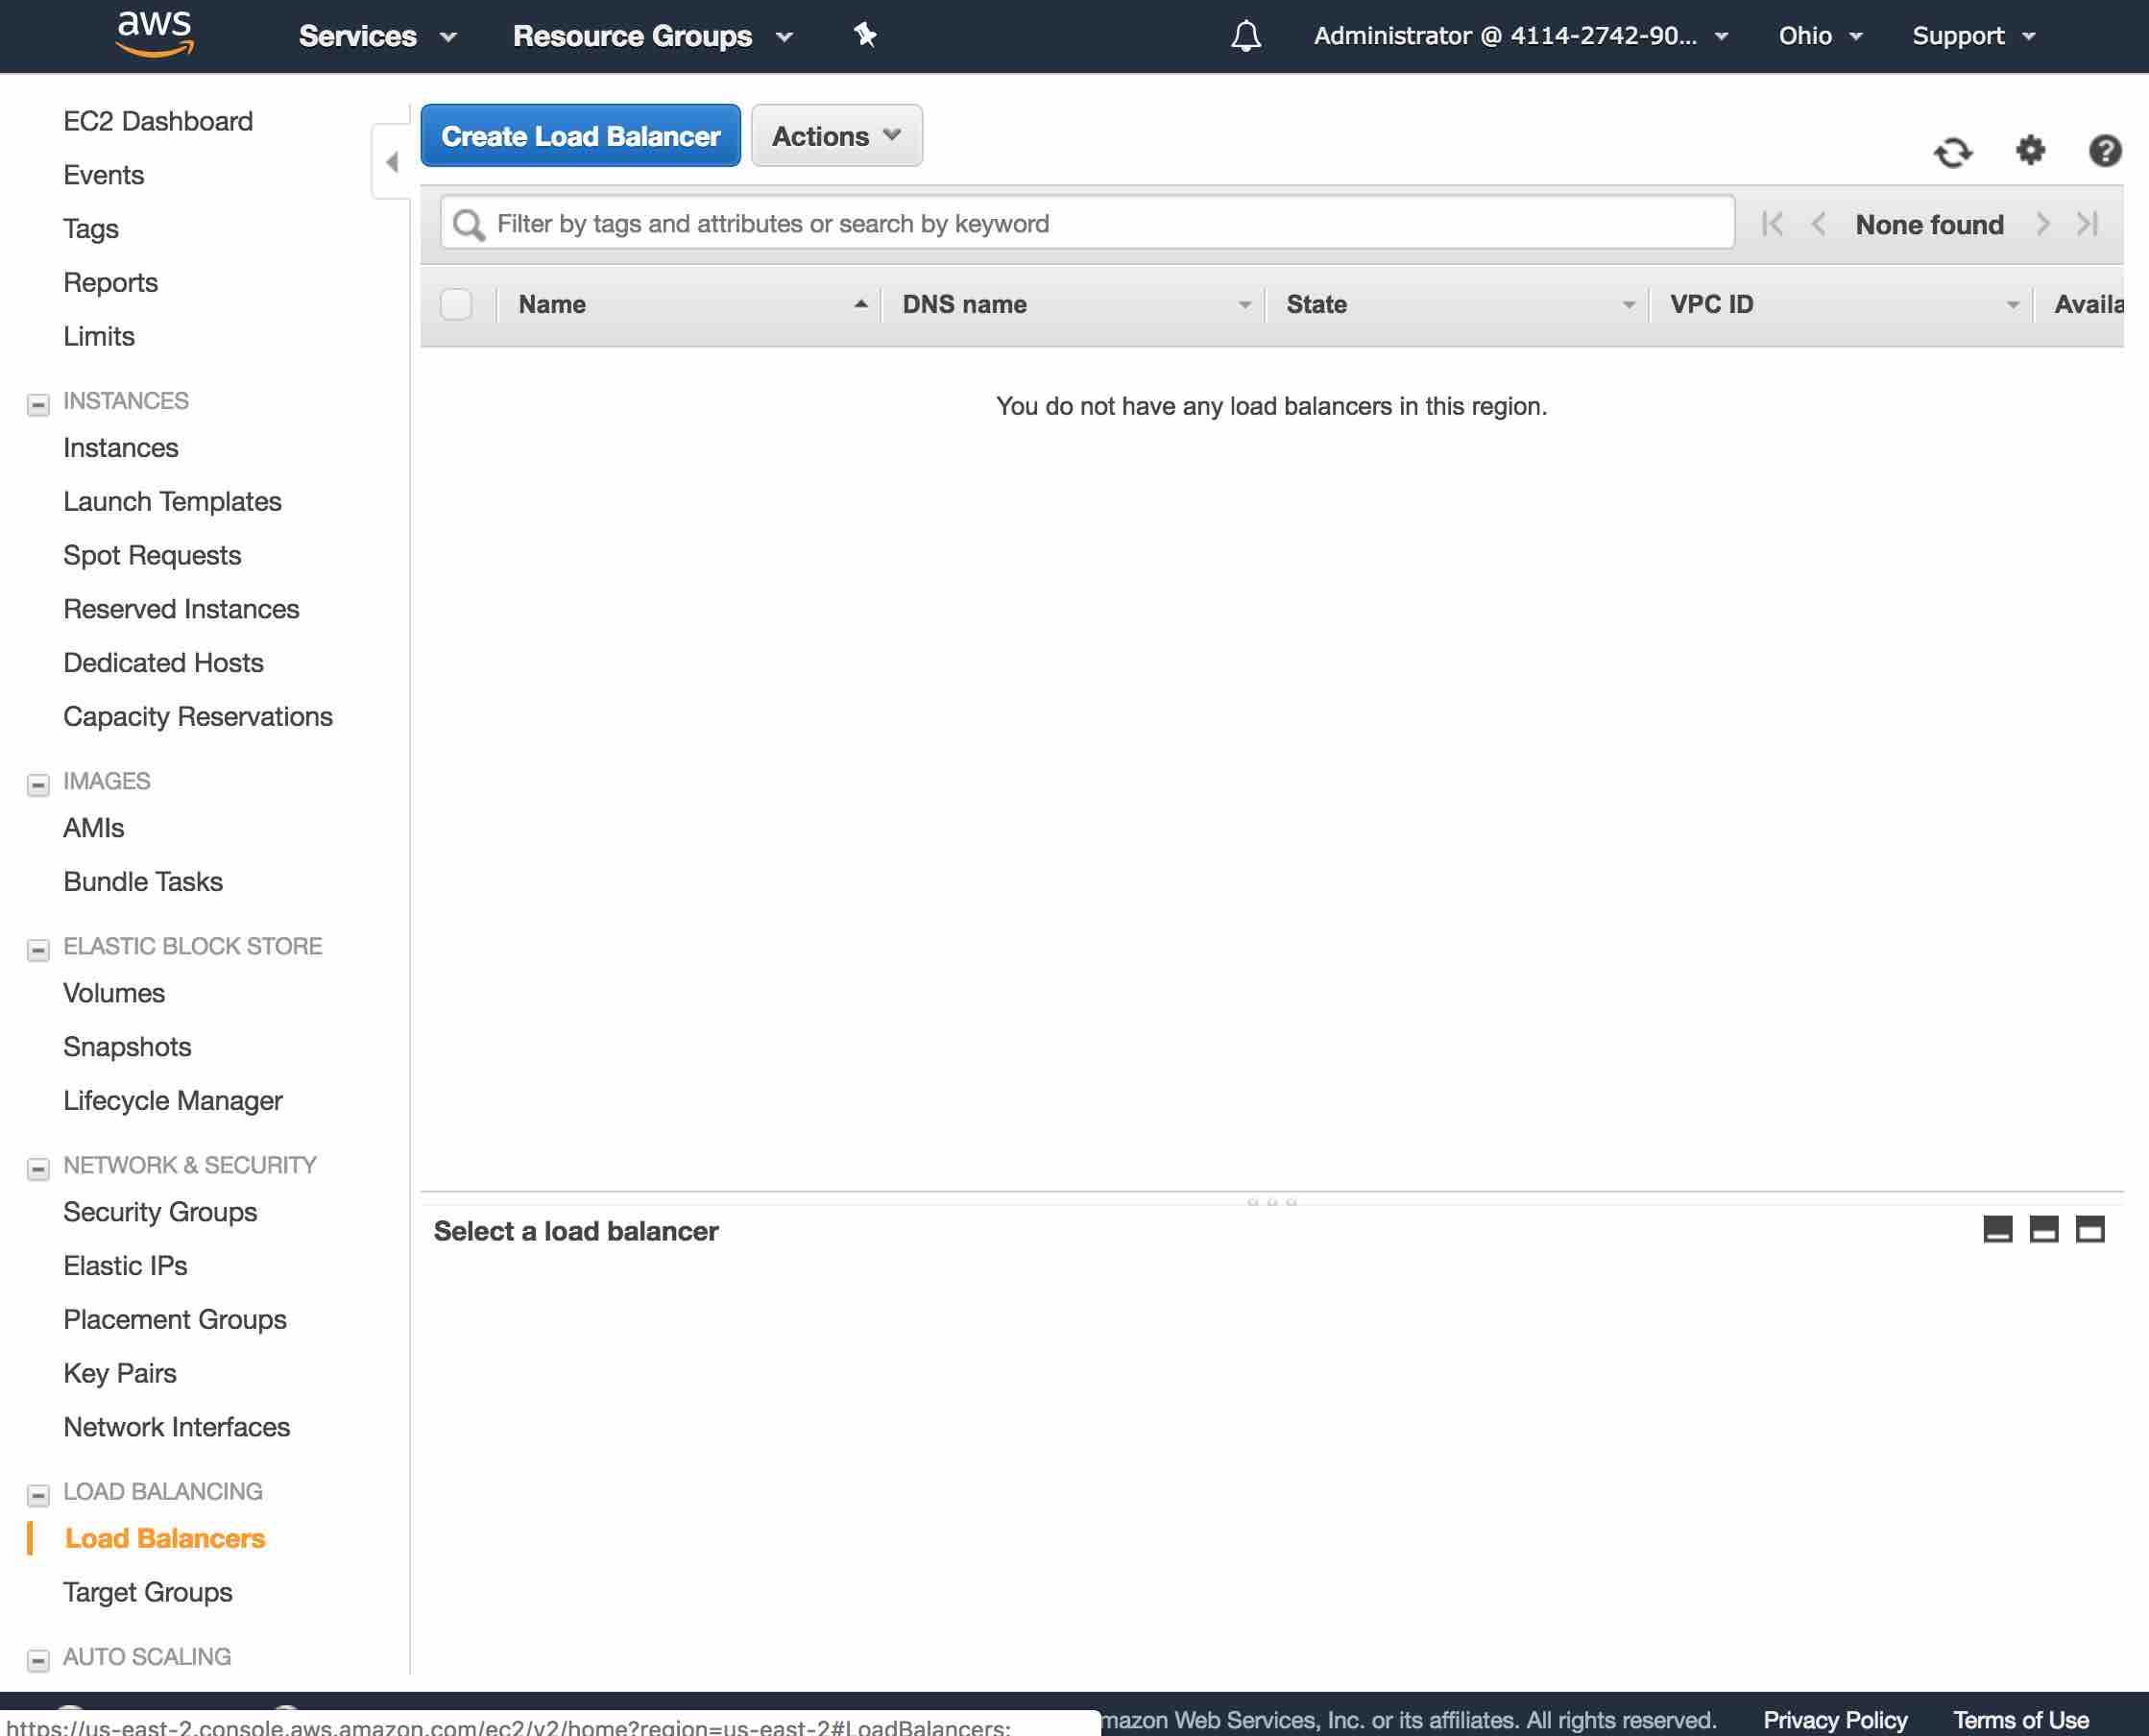
Click on the Create Load Balancer button.
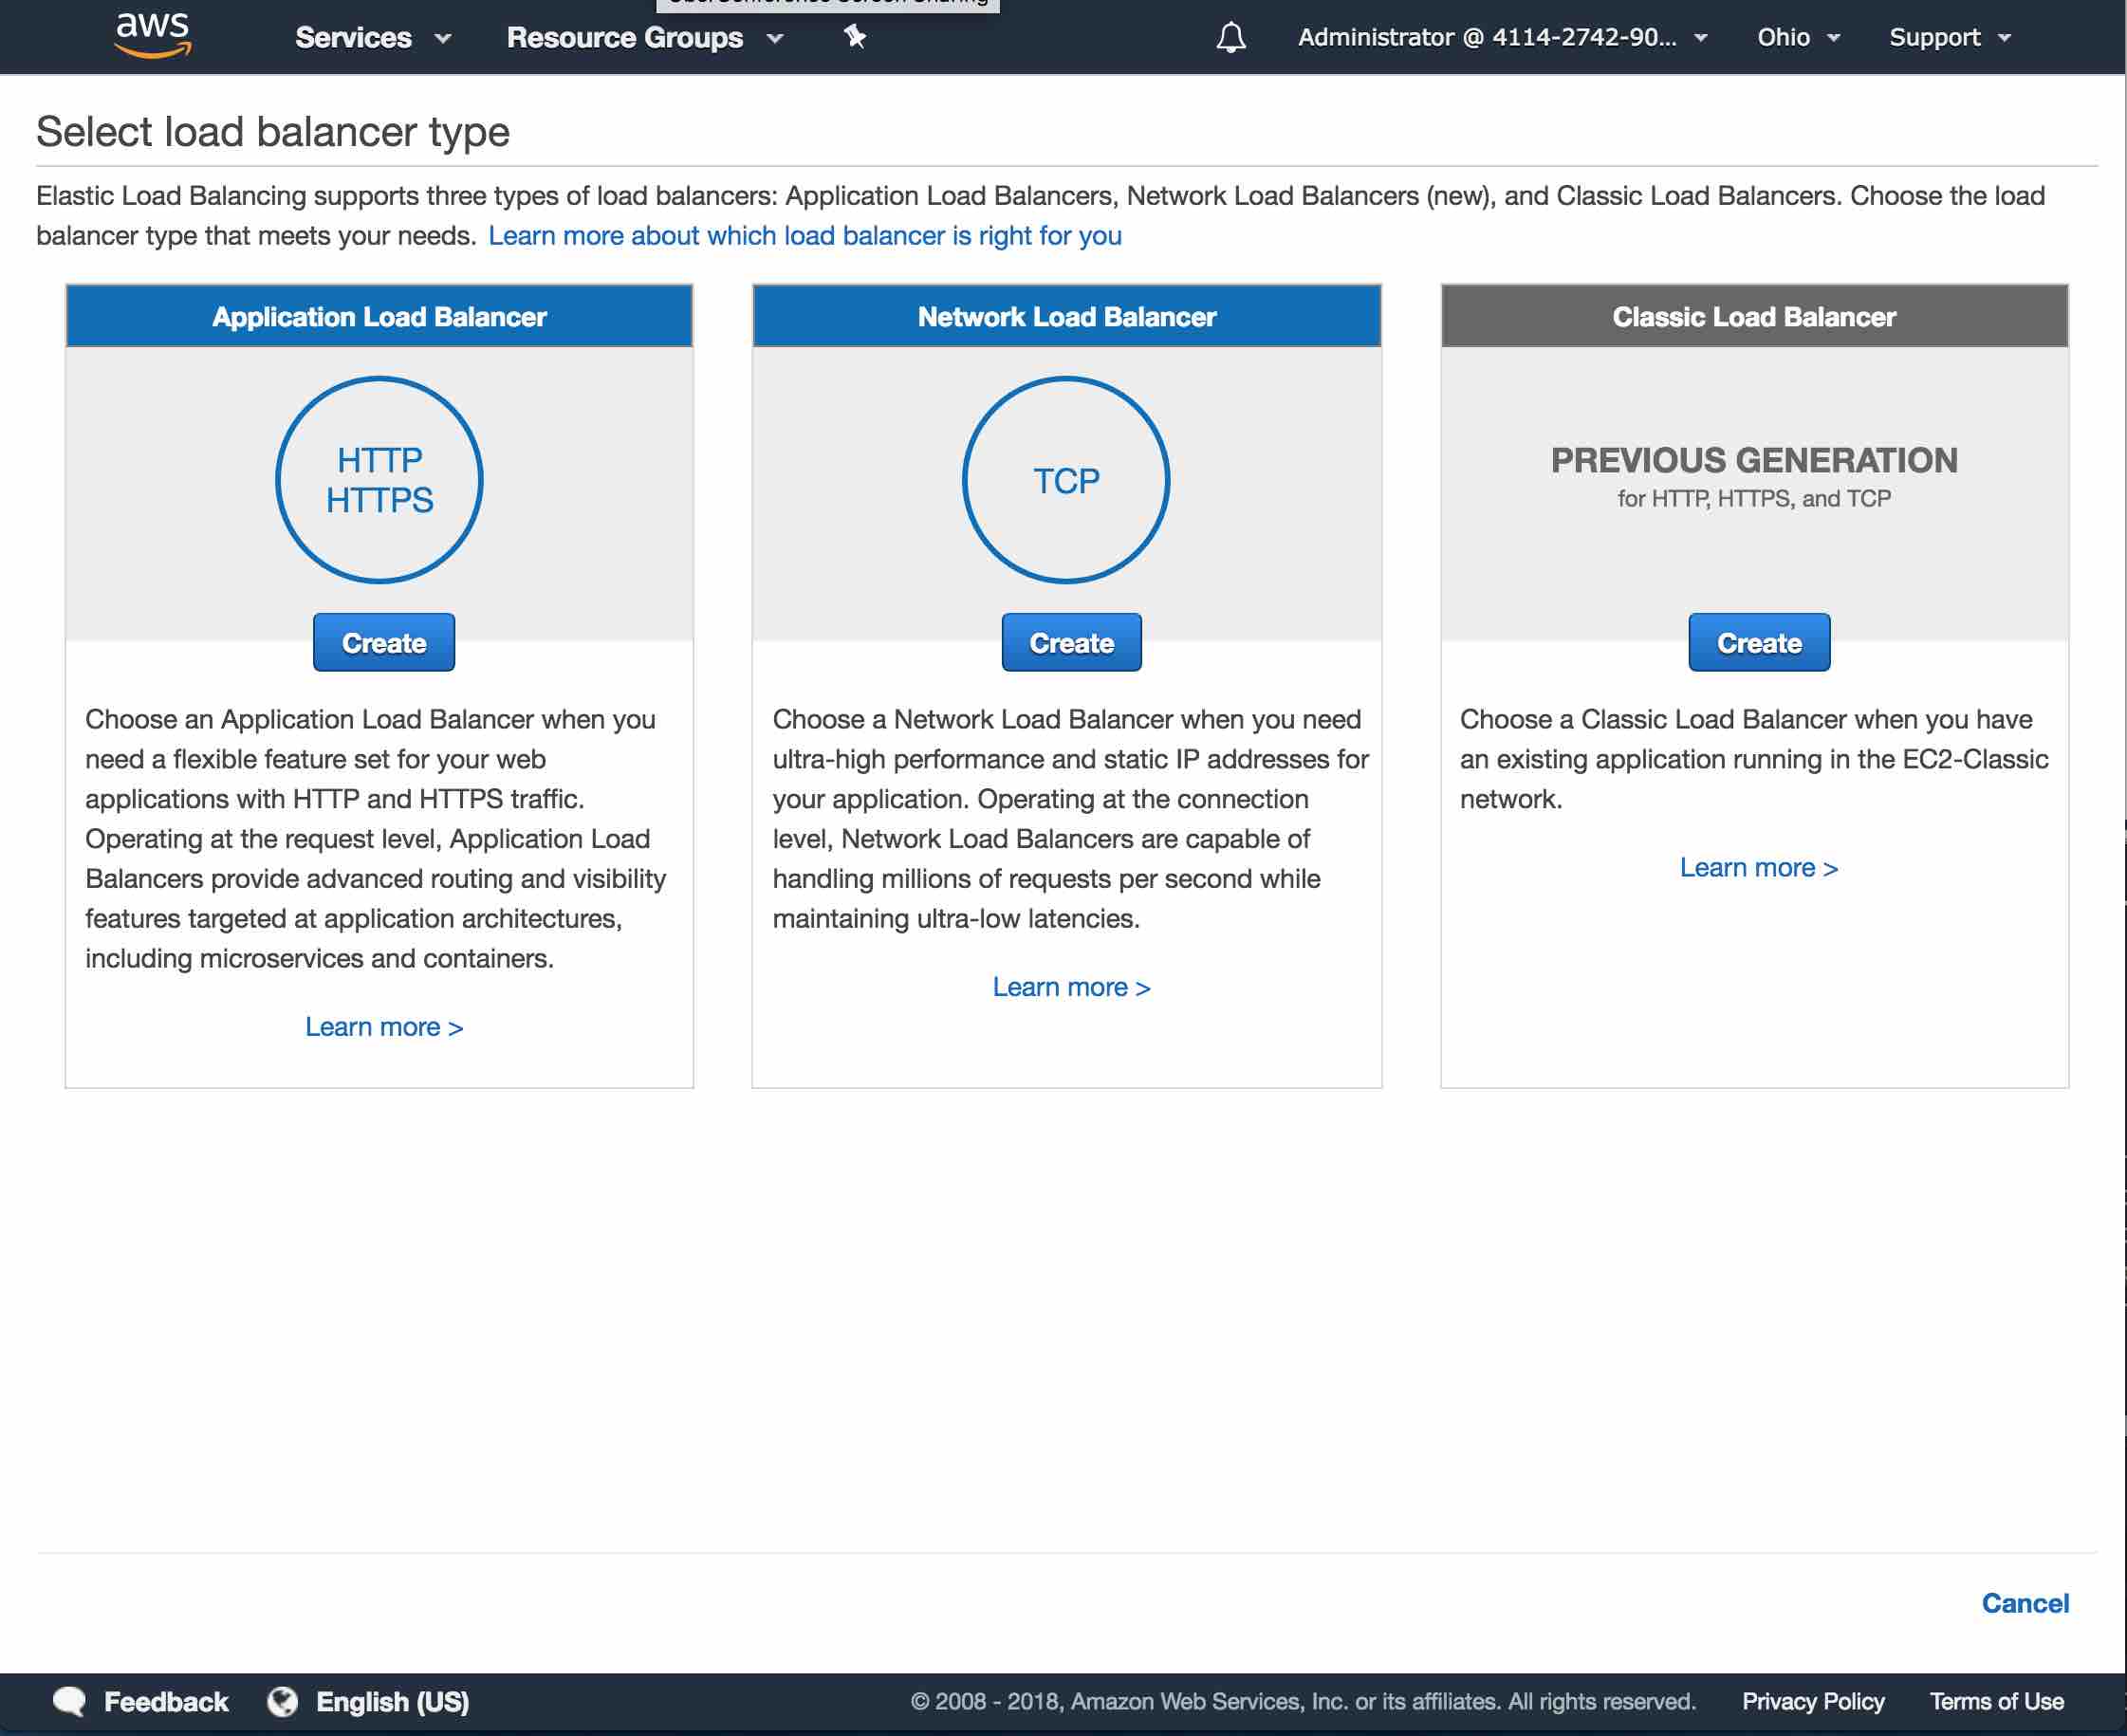
We’ll create an Application Load Balancer, so click on the Create button for Application Load Balancer.
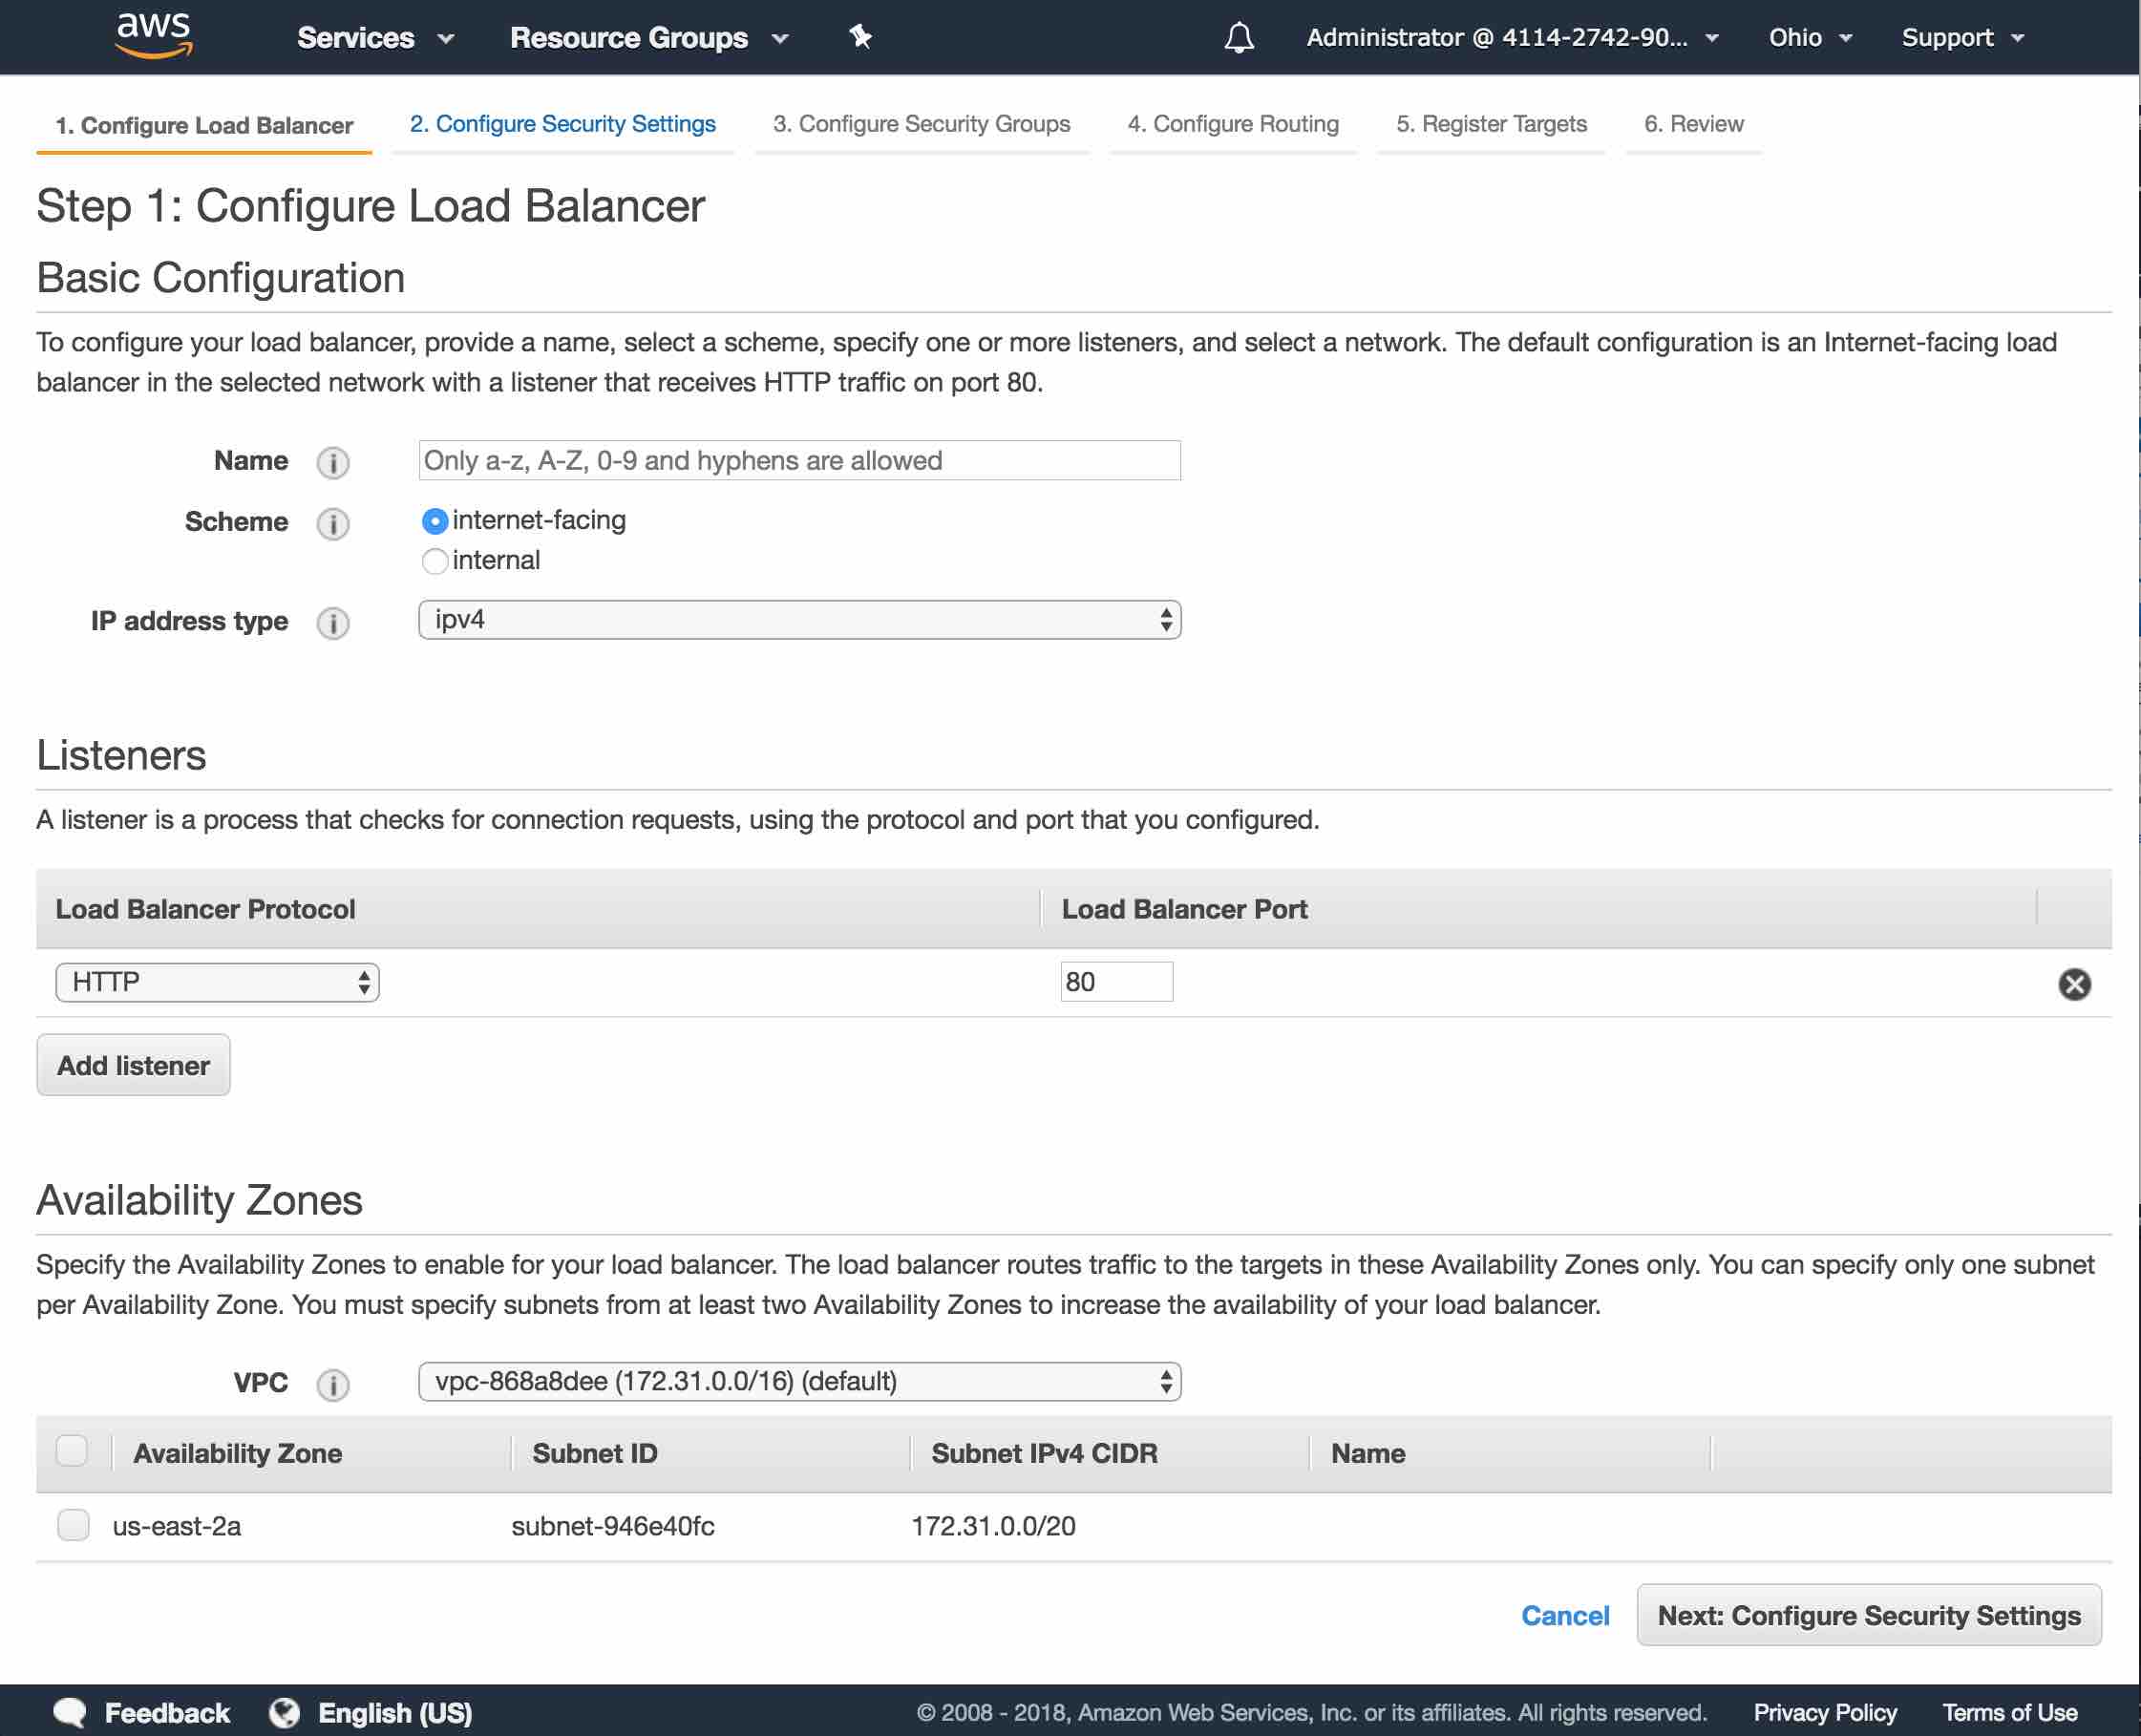
Provide a name for your load balancer (I named mine ‘DogAPILoadBalancer’) and check the two availability zones corresponding to the two subnets of your two instances.
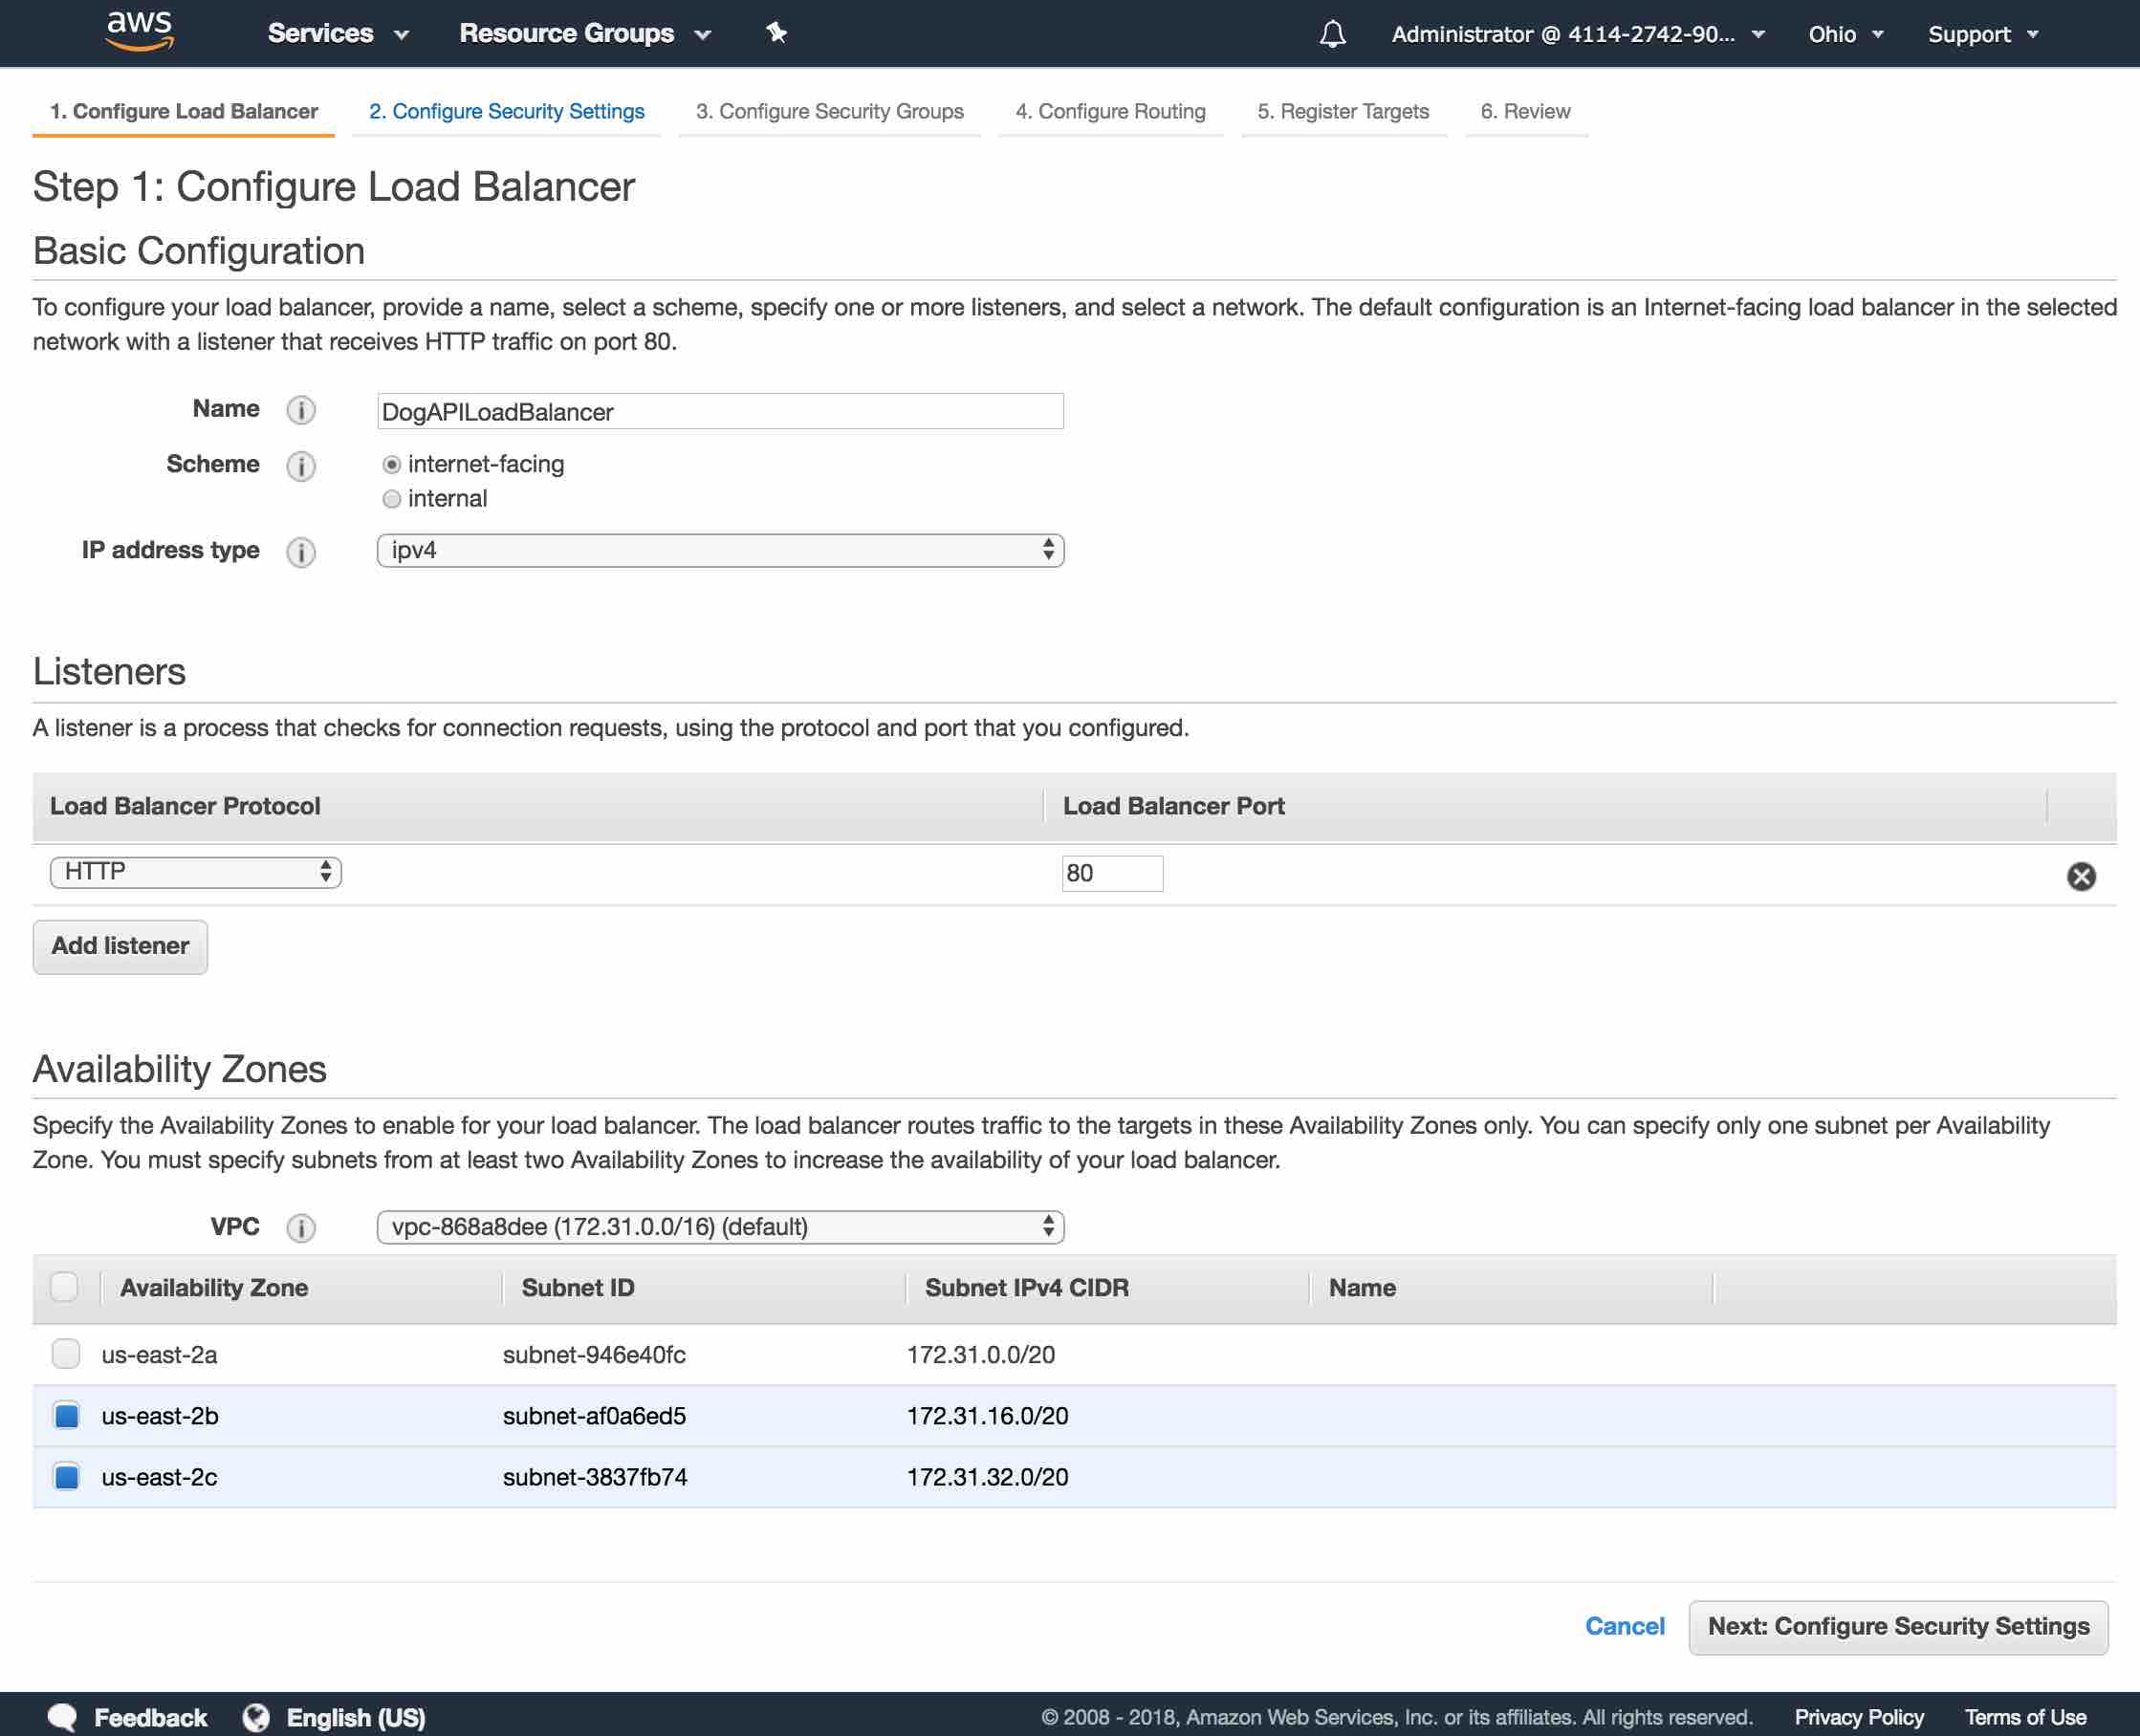
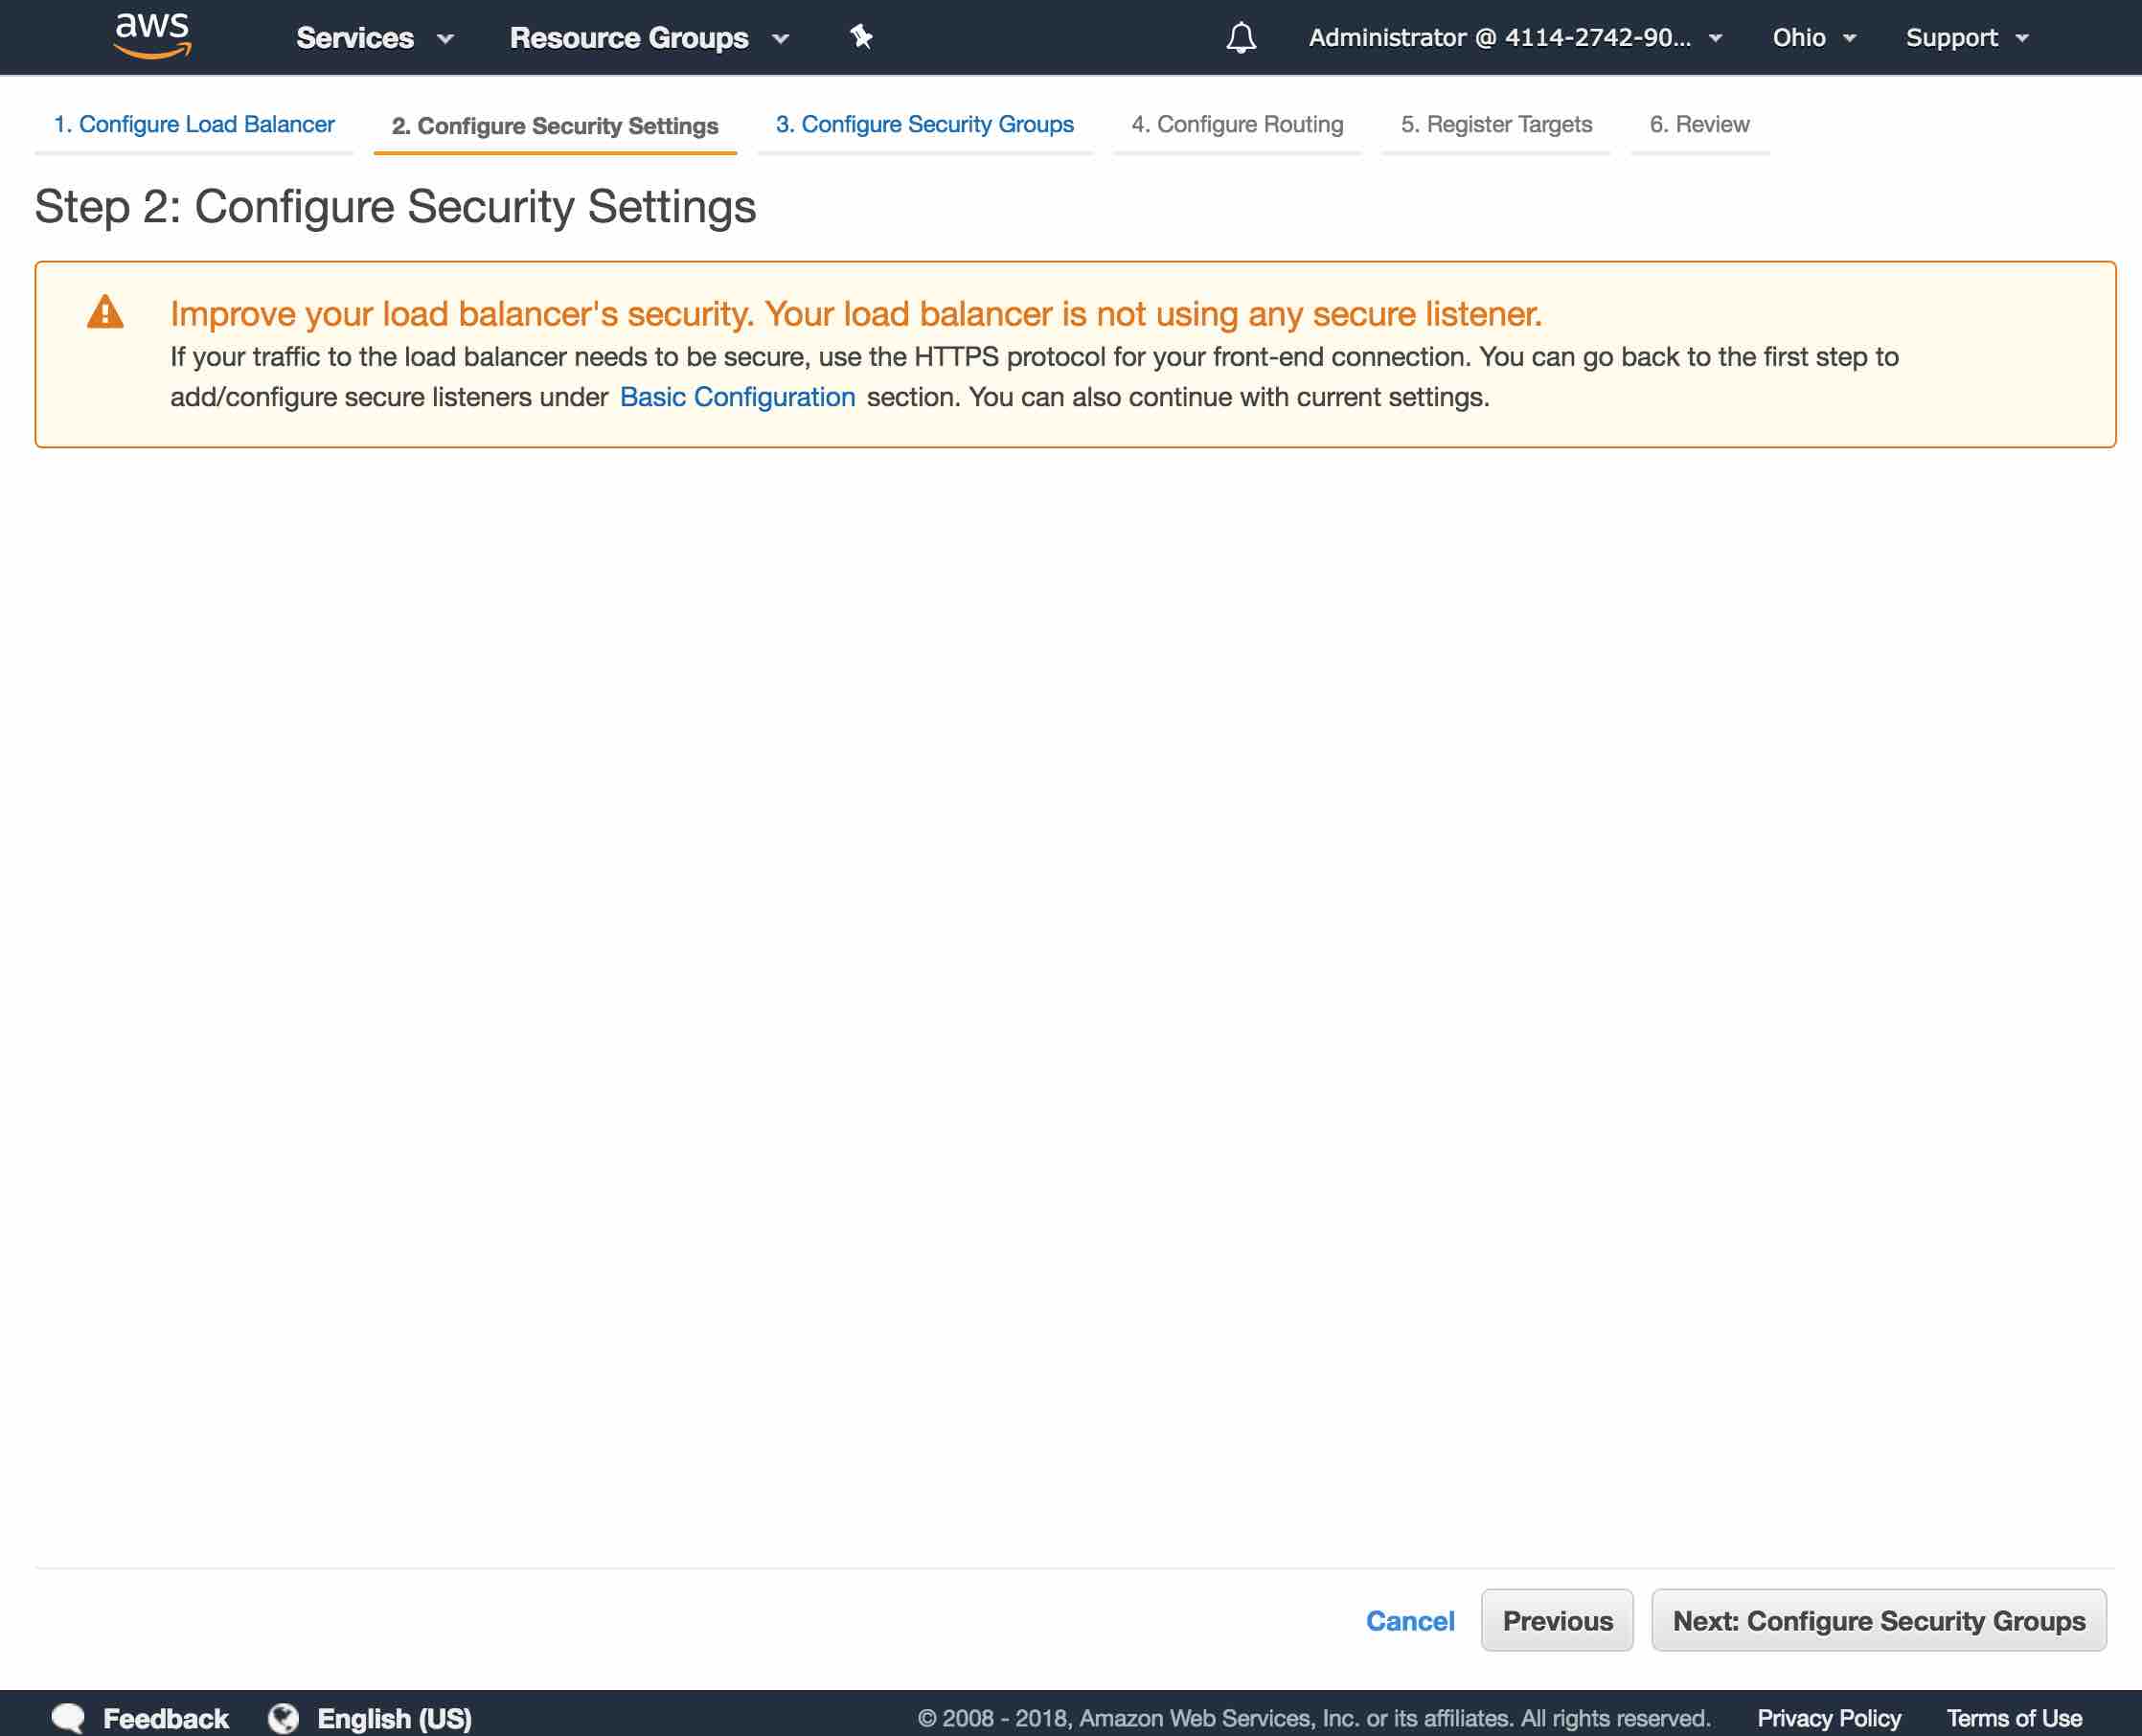
Click the Next: Configure Security Settings button.
Click the Next: Configure Security Groups button.
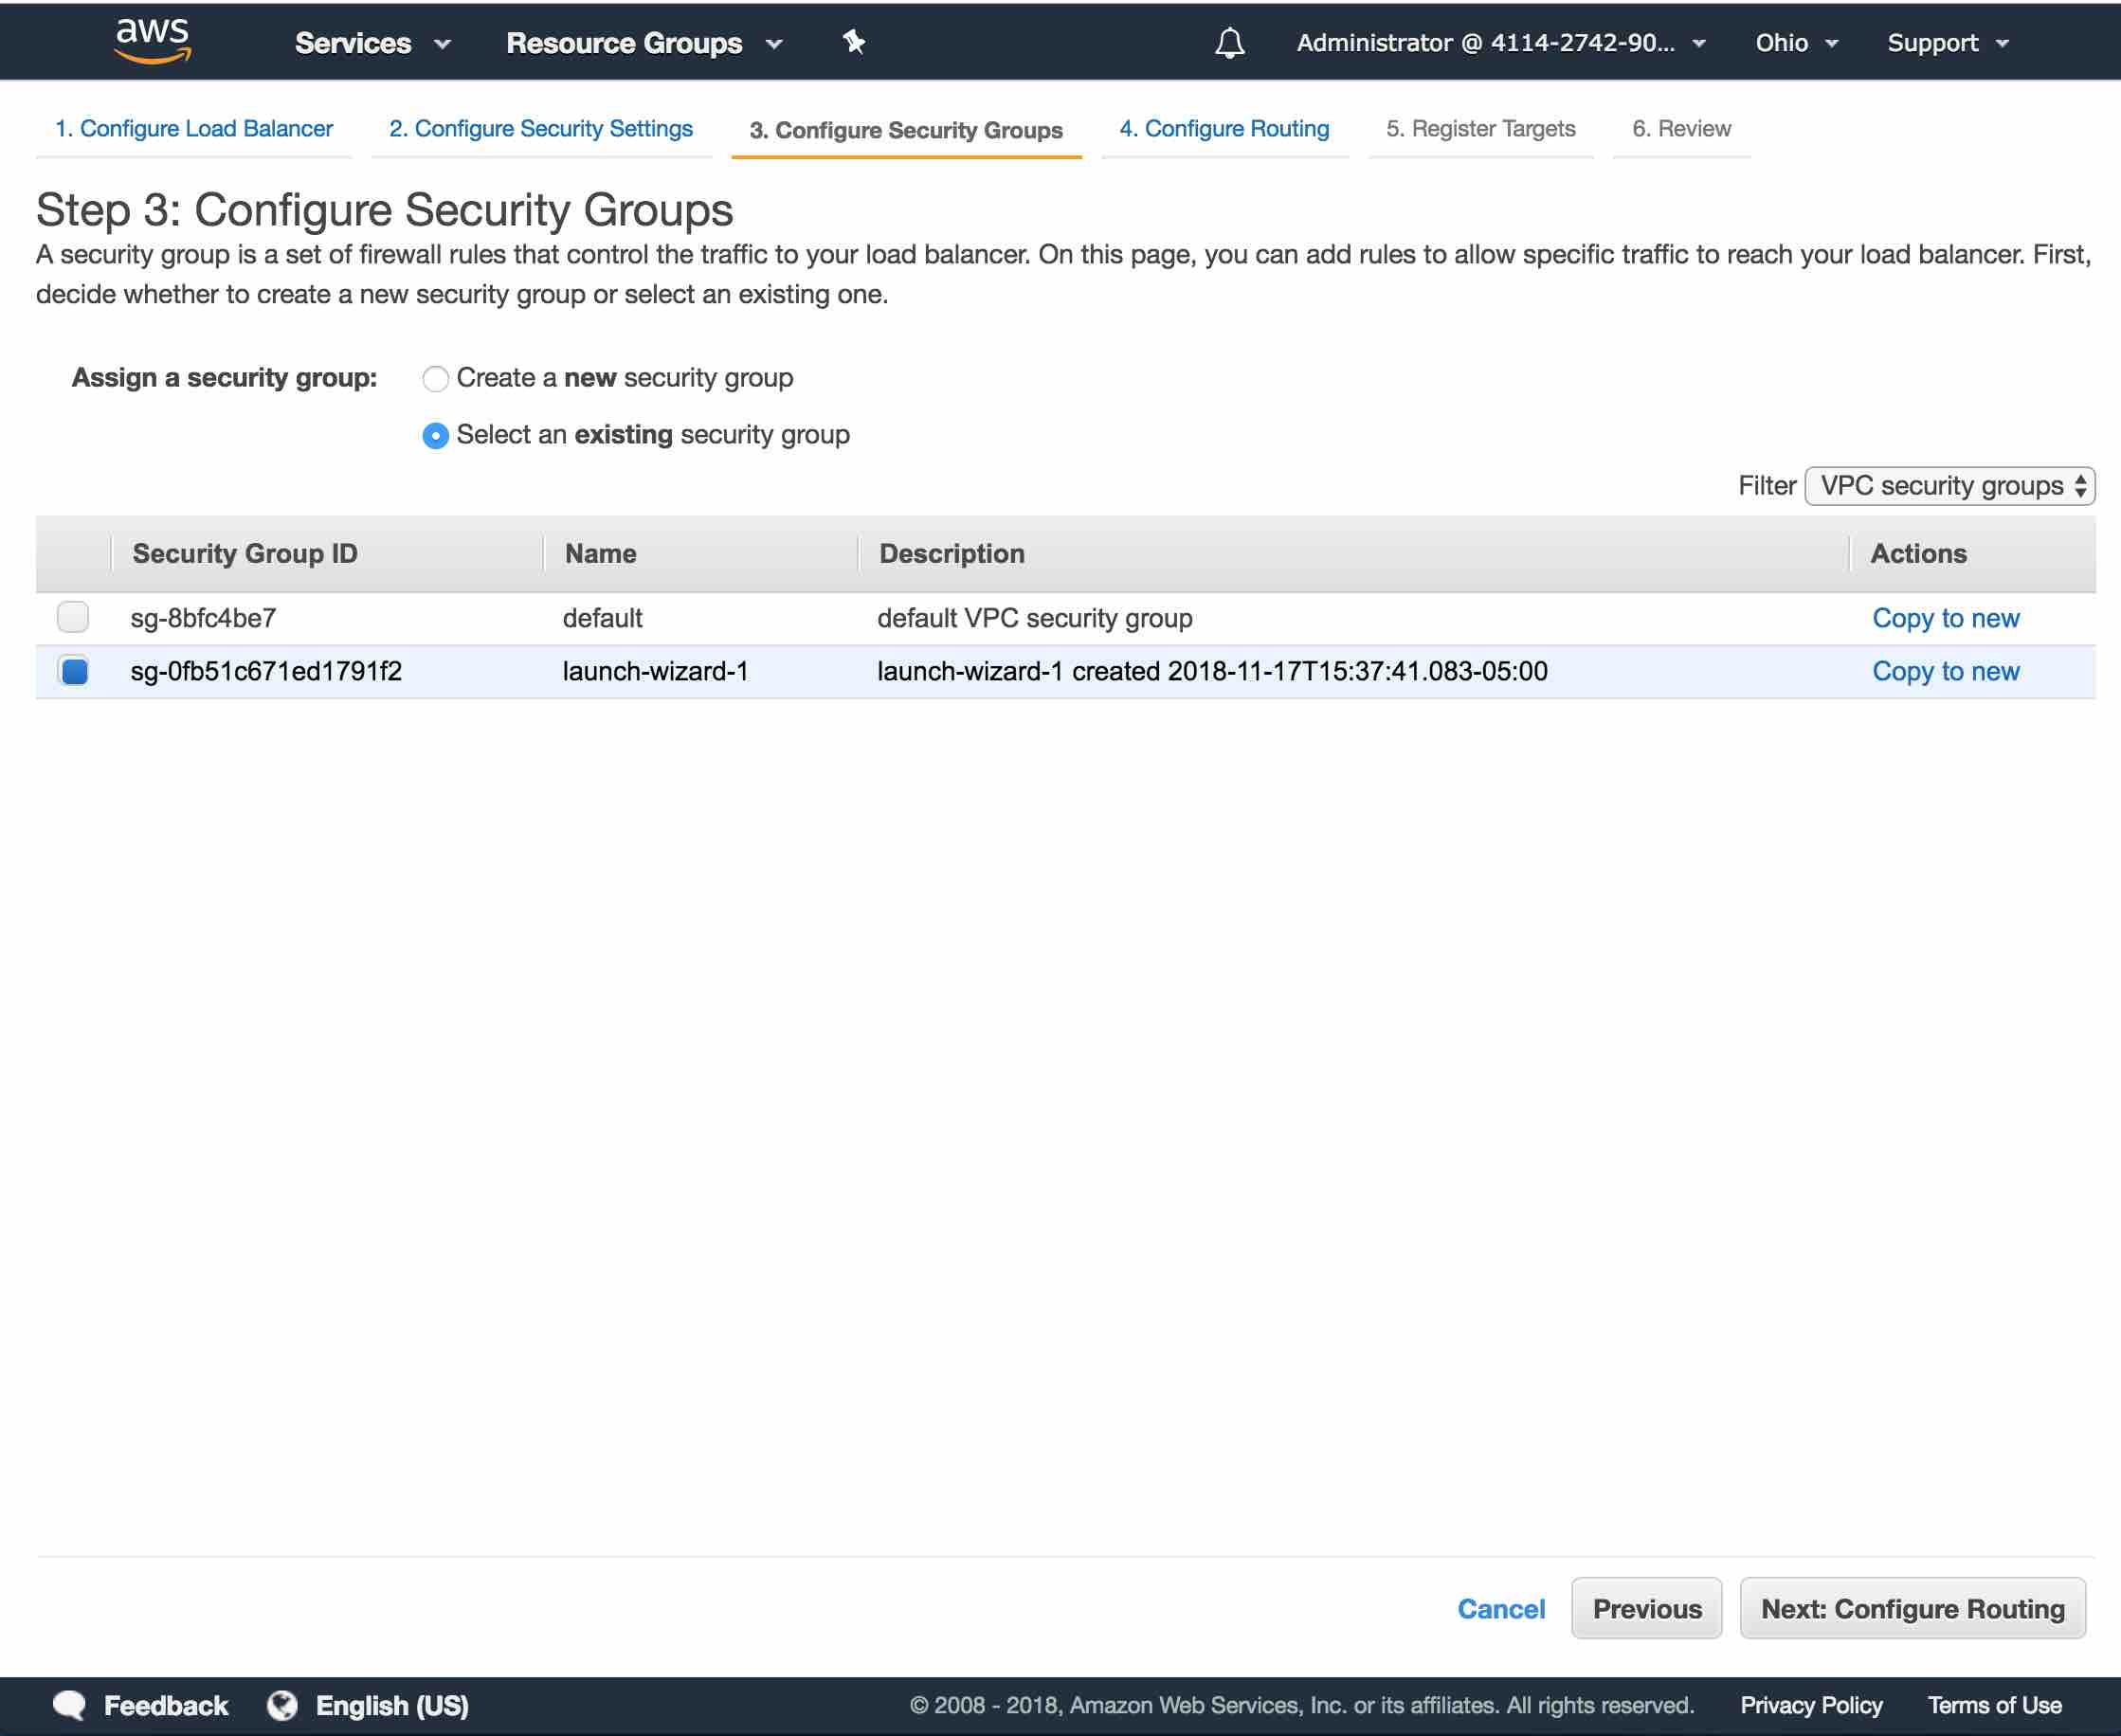
Select Create new security group.
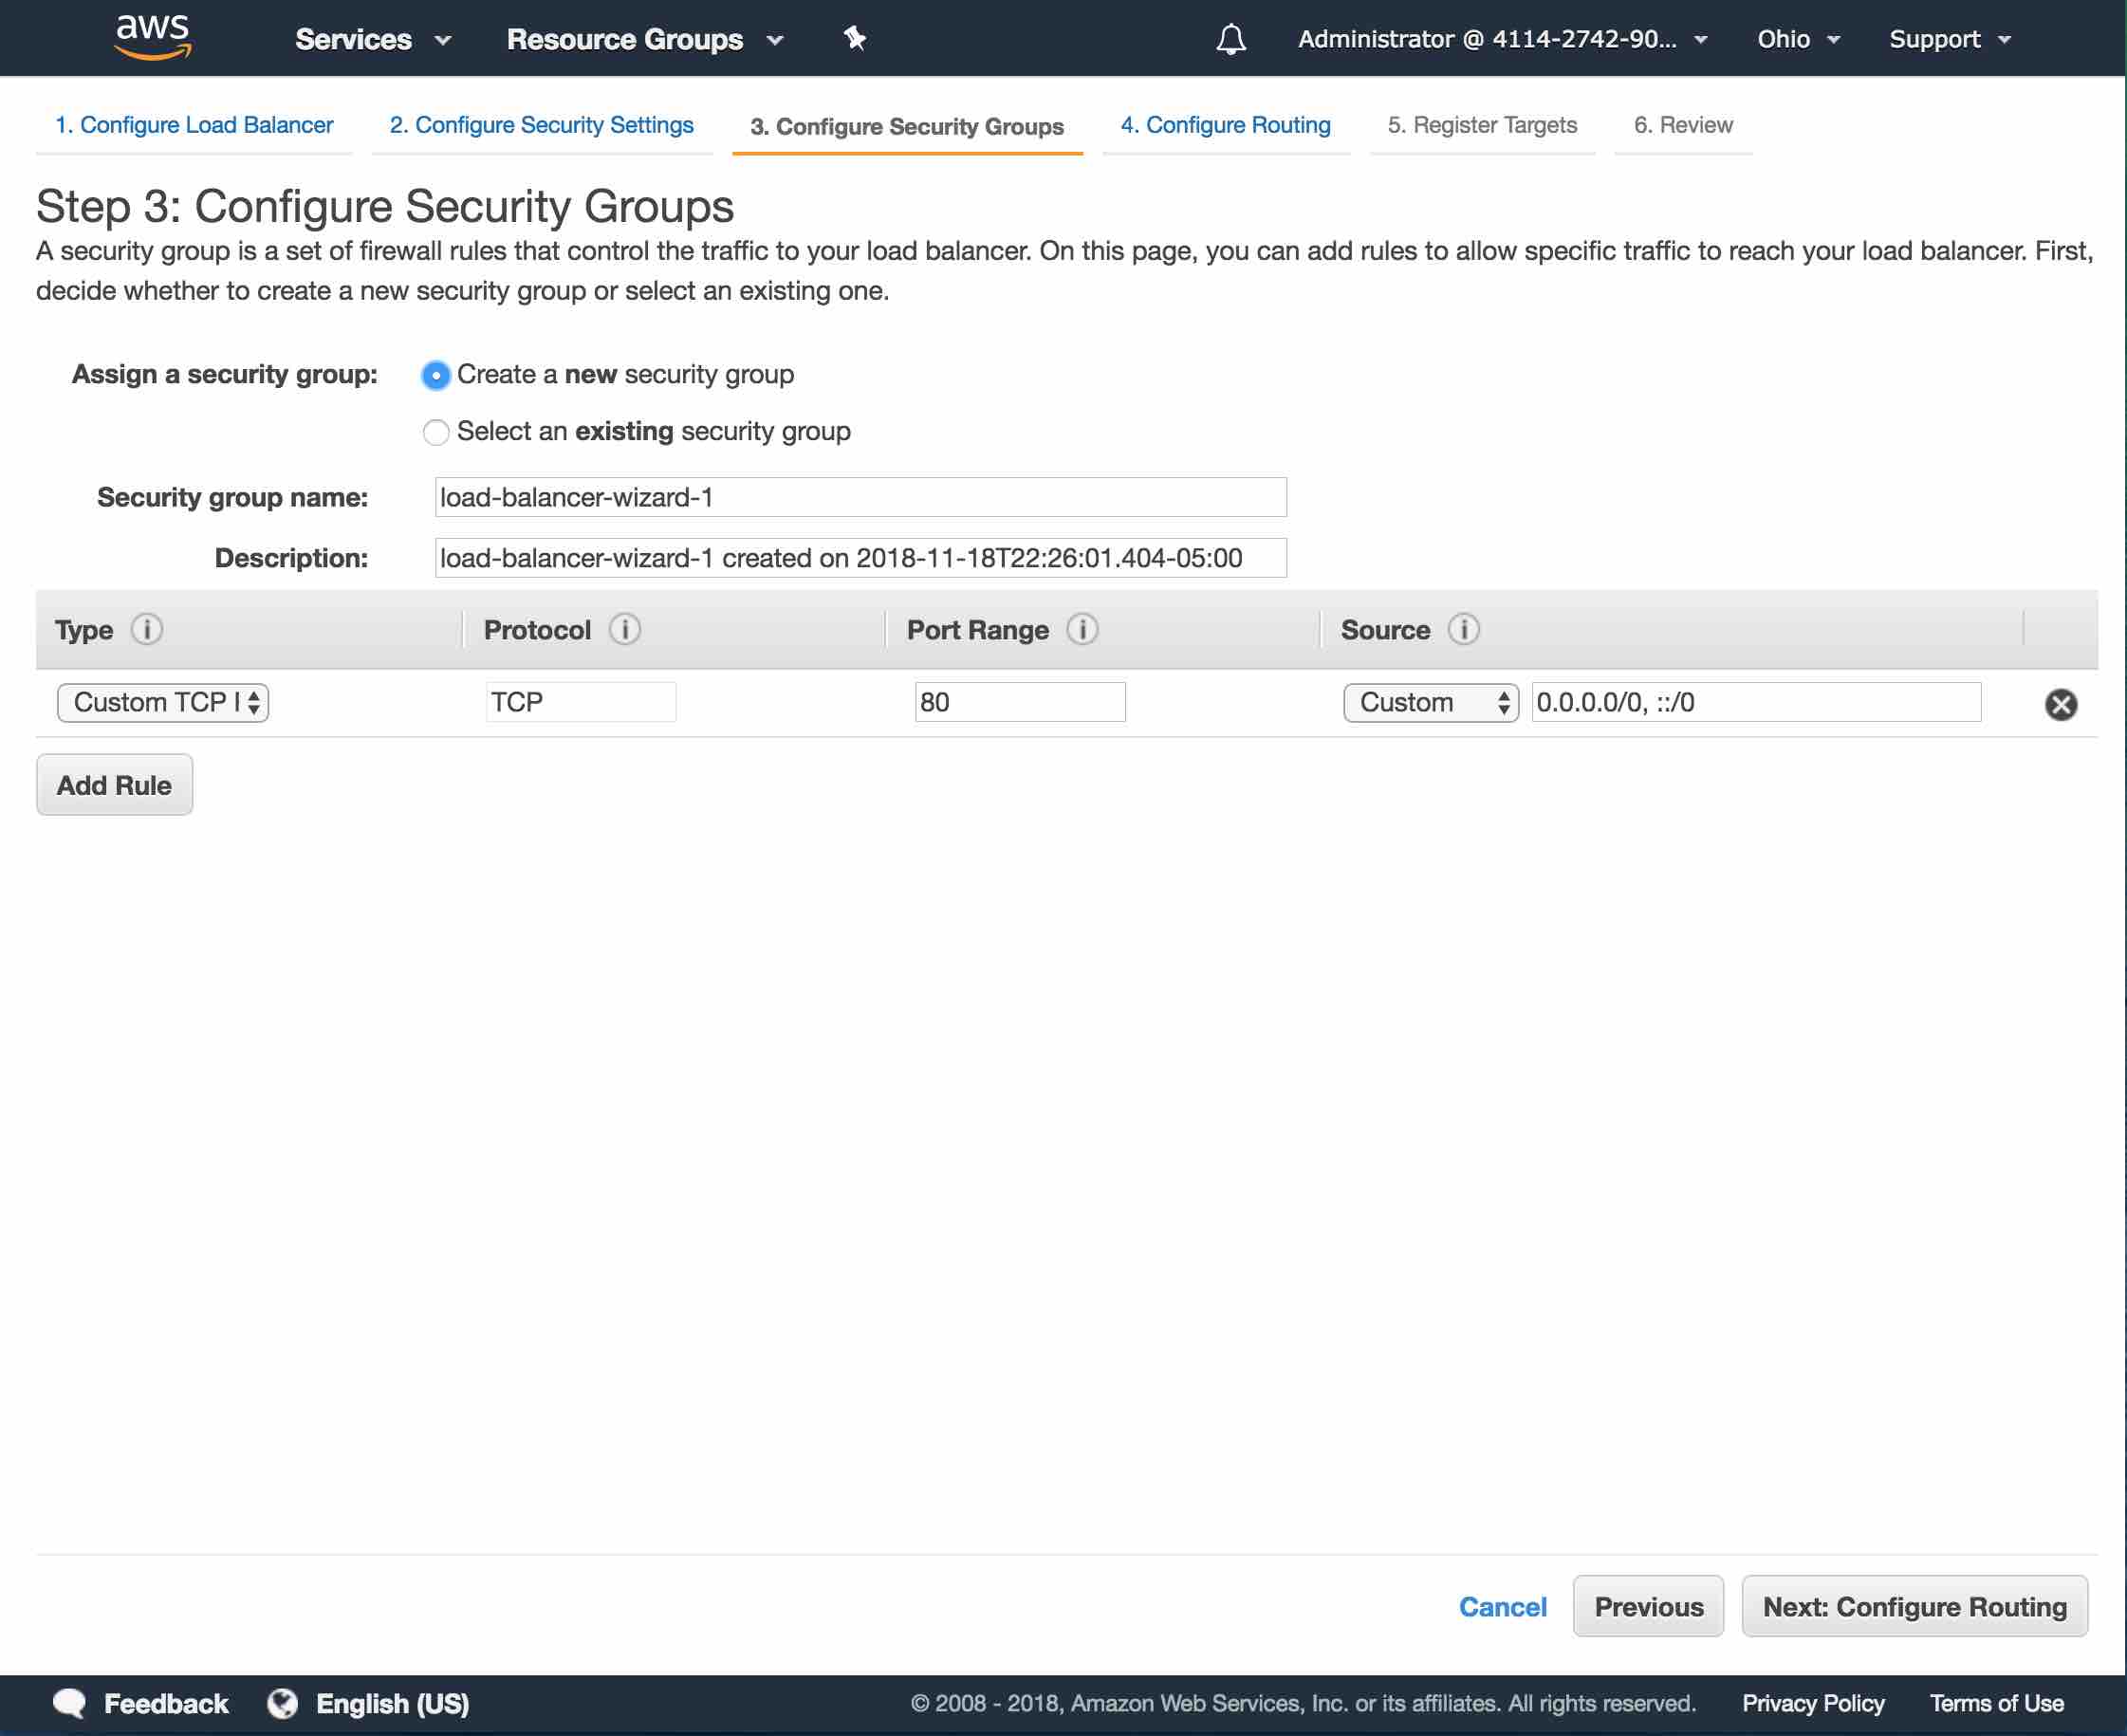
Click the Next: Configure Routing button.
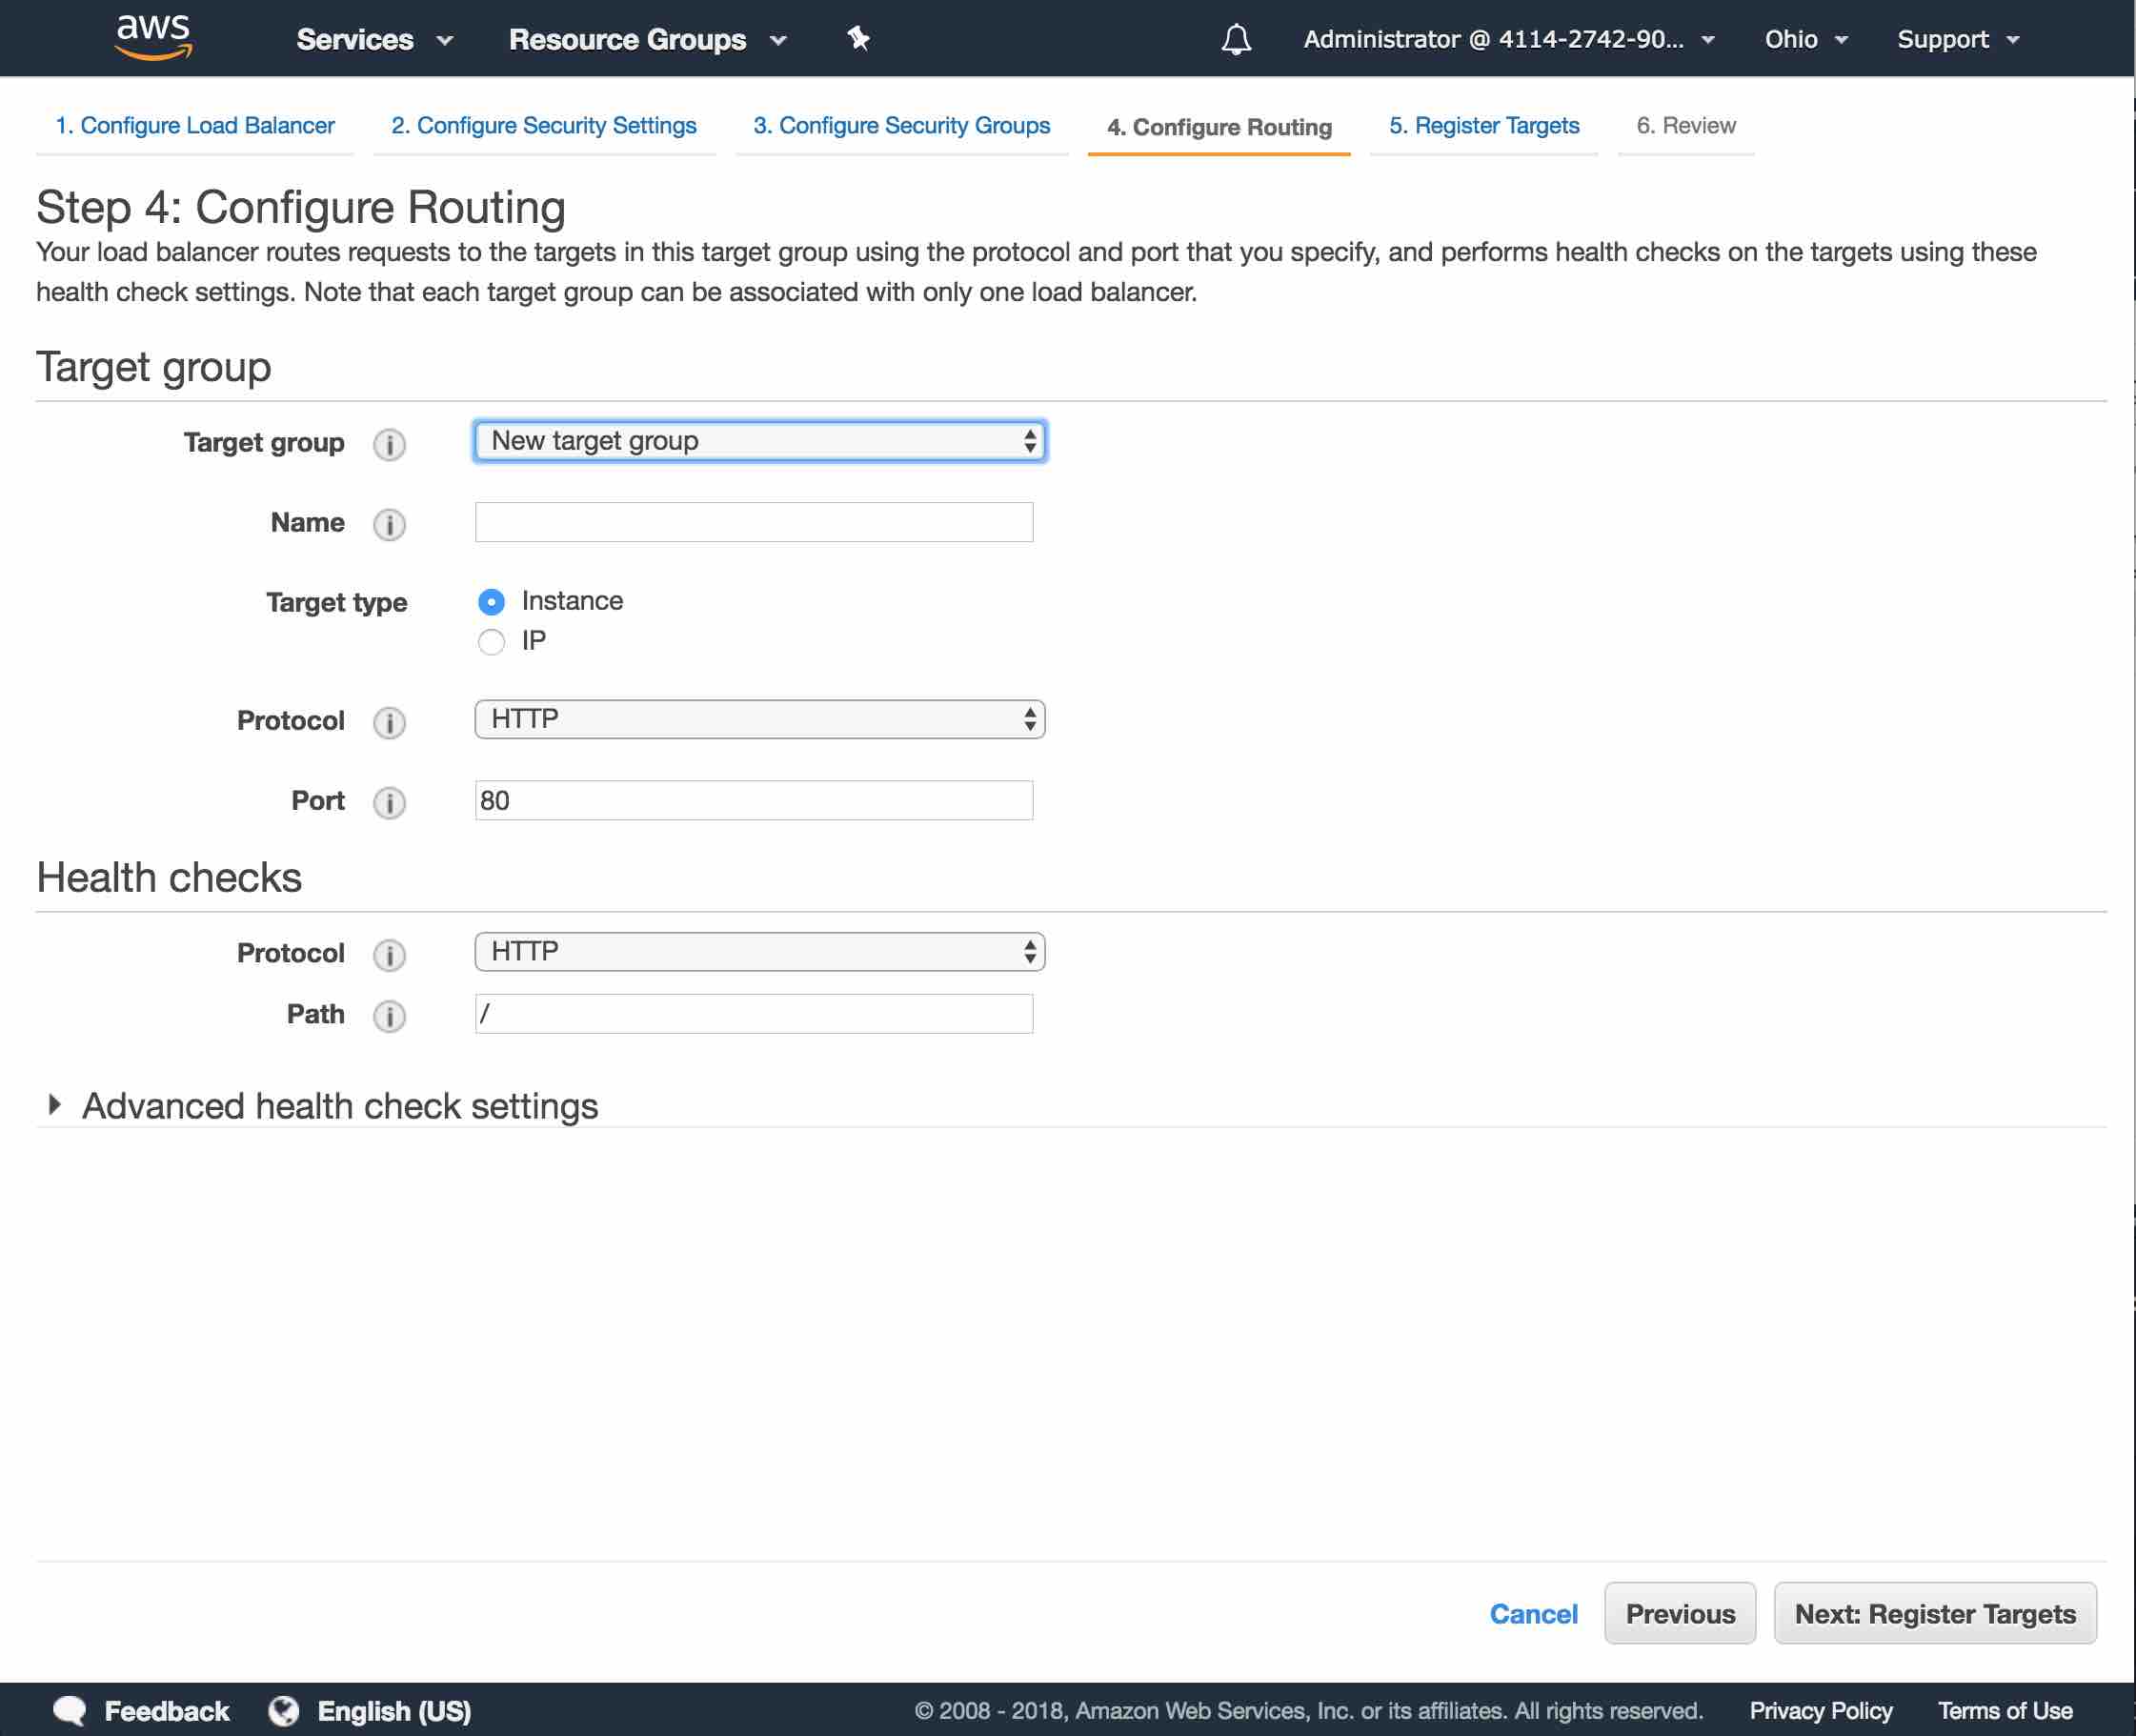
Name the Target Group. I used ‘DogAPITargetGroup’. You can leave the rest of the defaults as is and click the Next: Register Targets button.
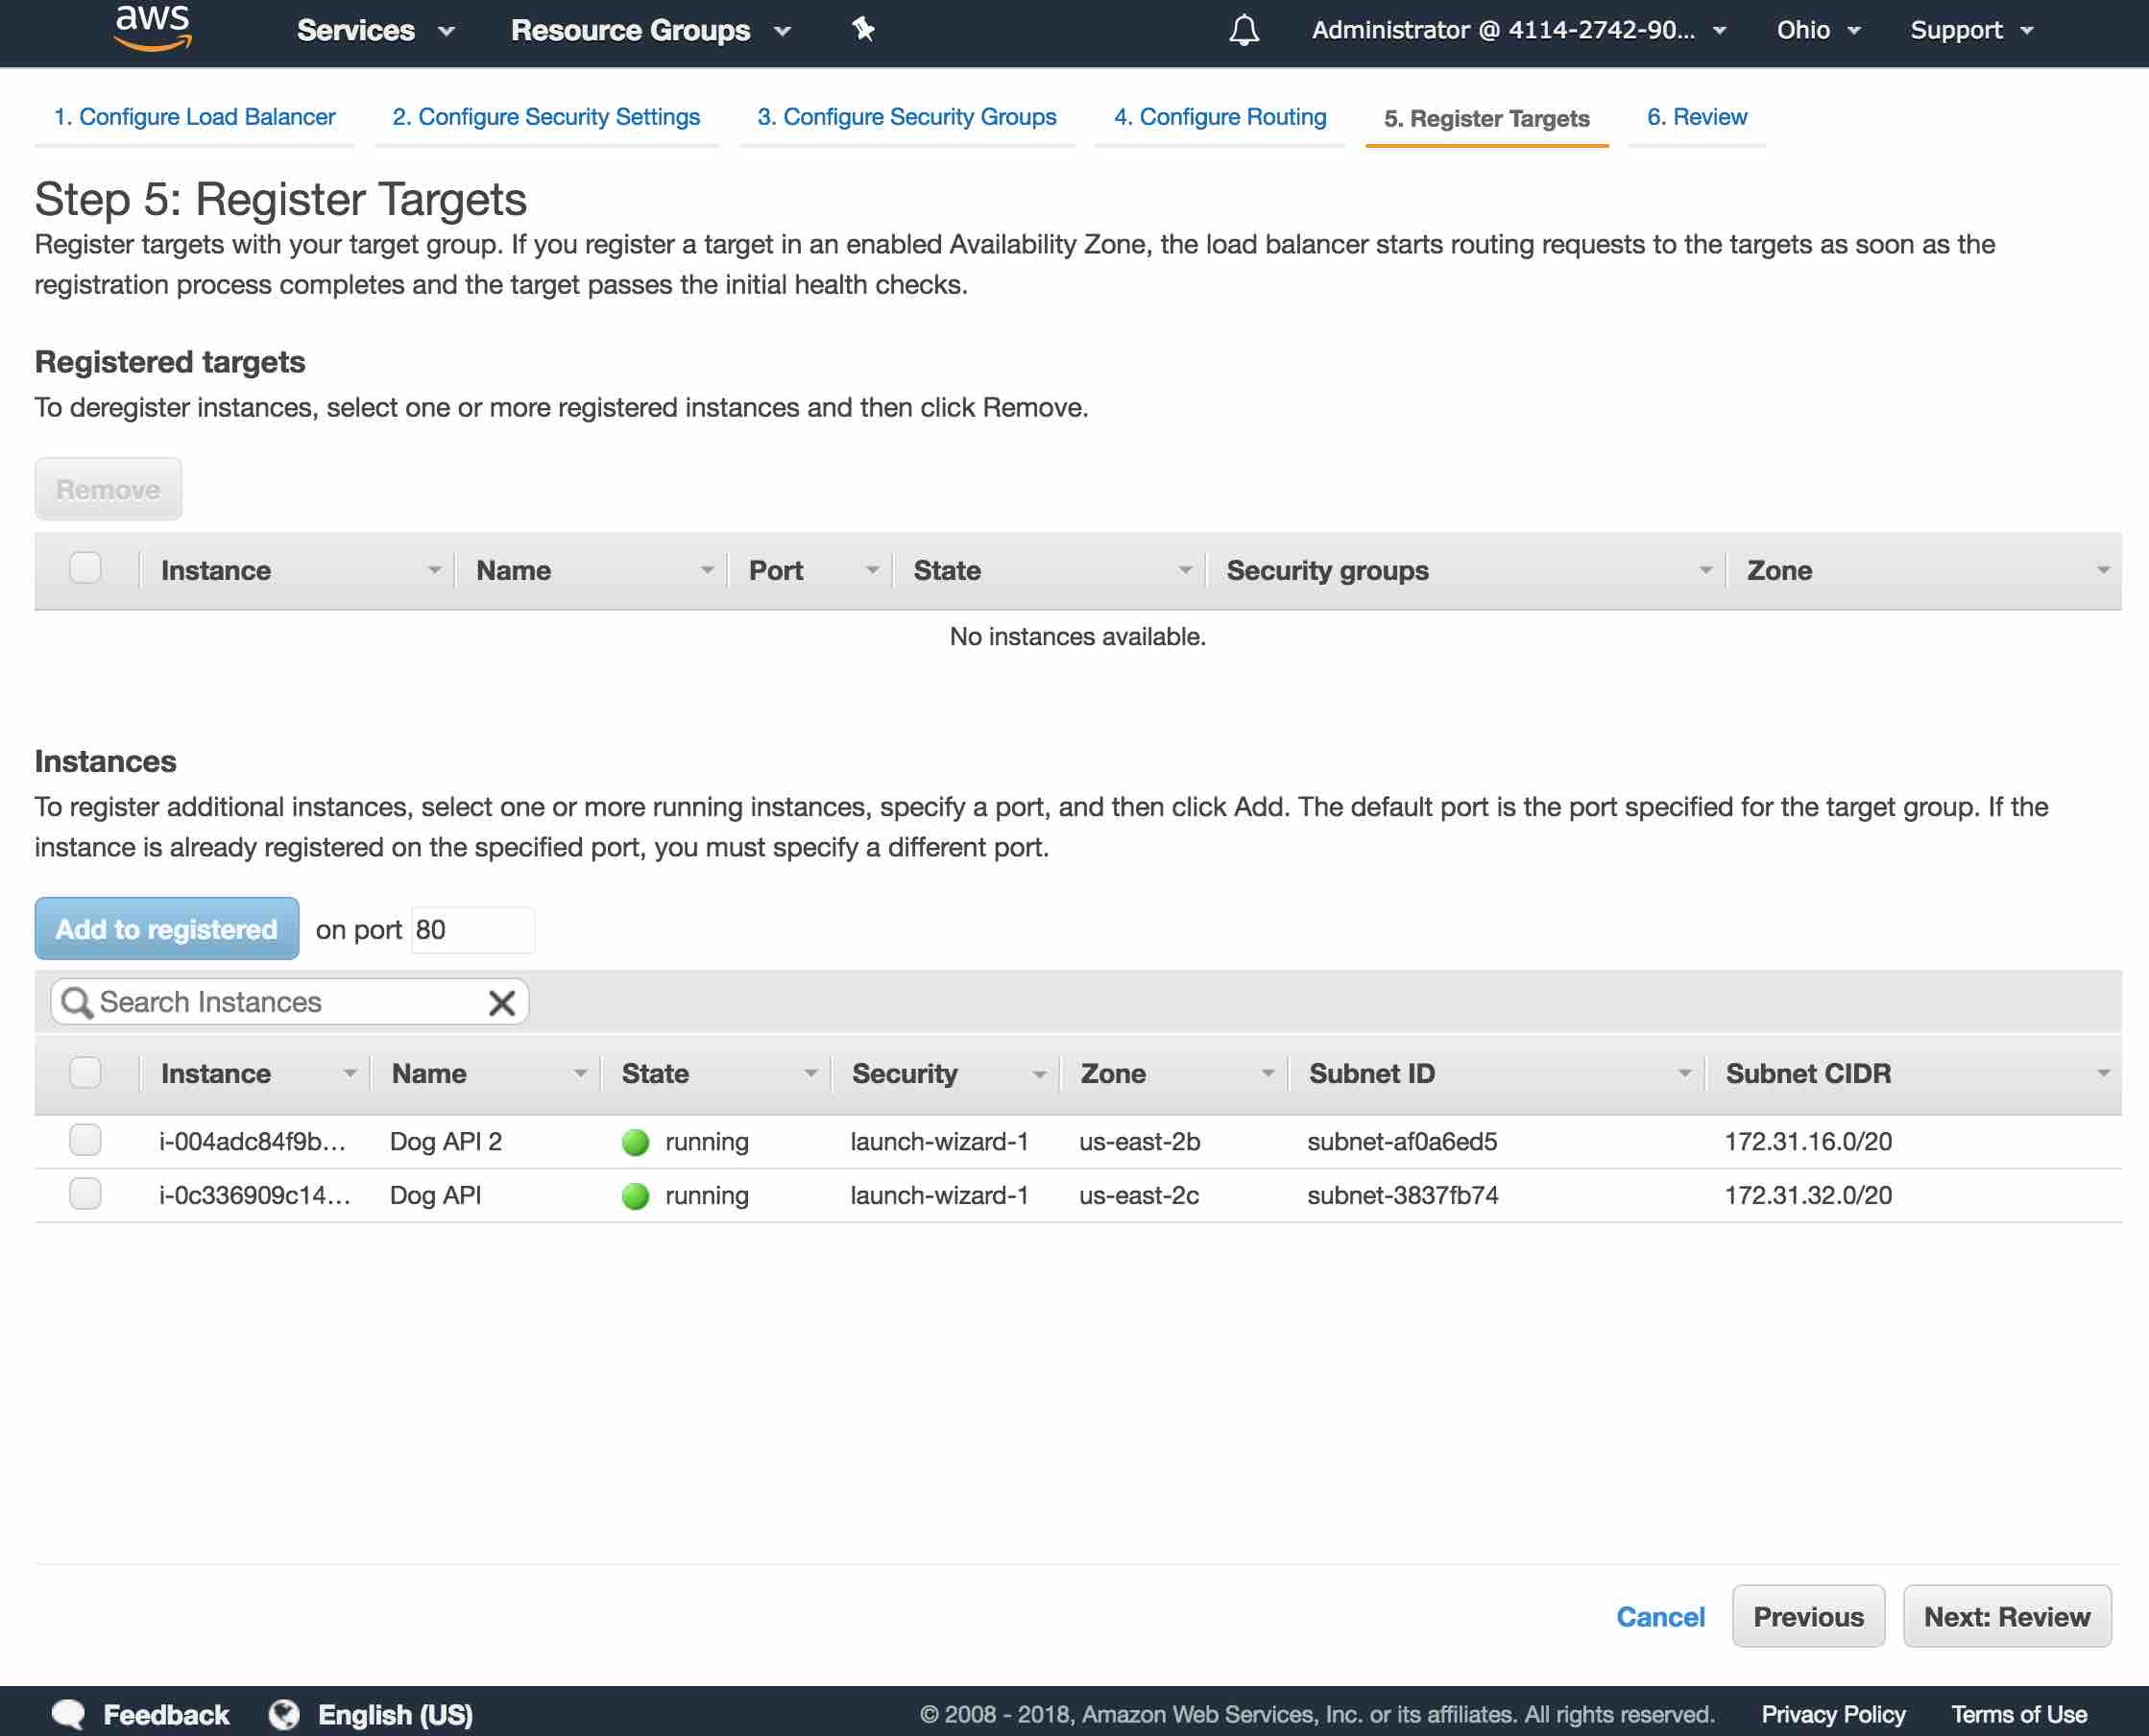
In the Instances section, select the two instances, click the Add To Registered button and click the Next: Review button.
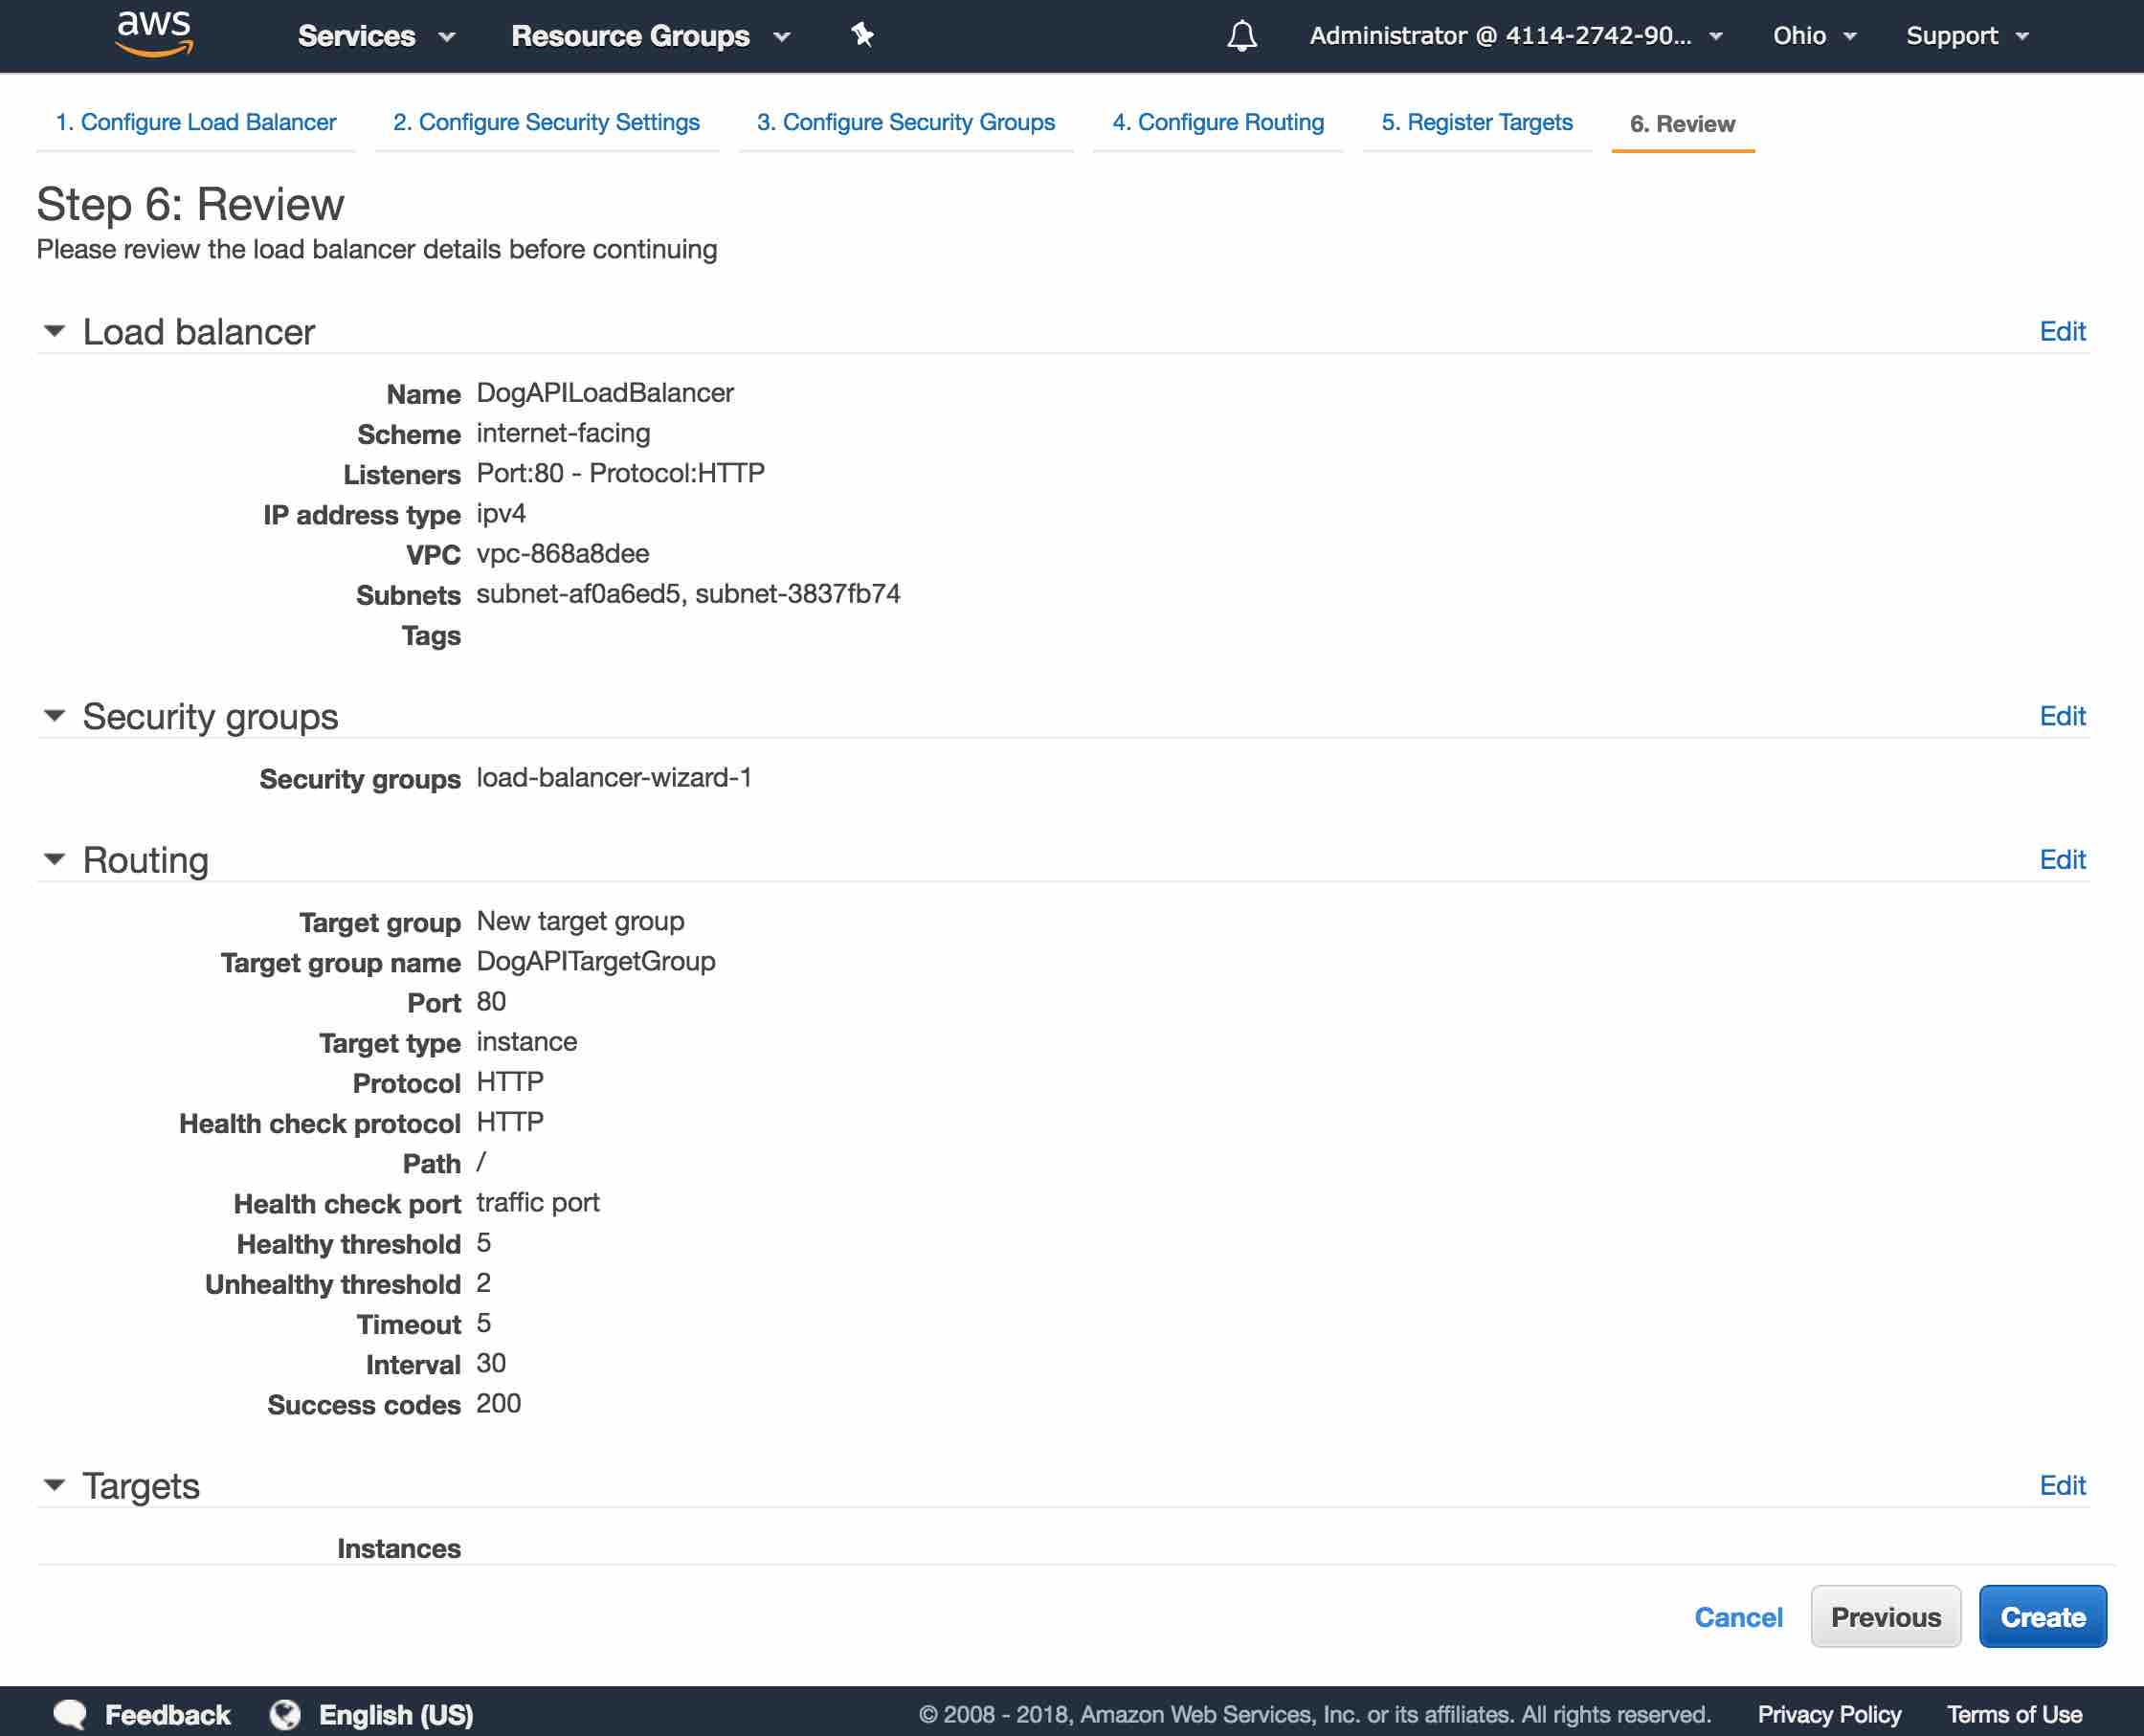
Click the Create button.
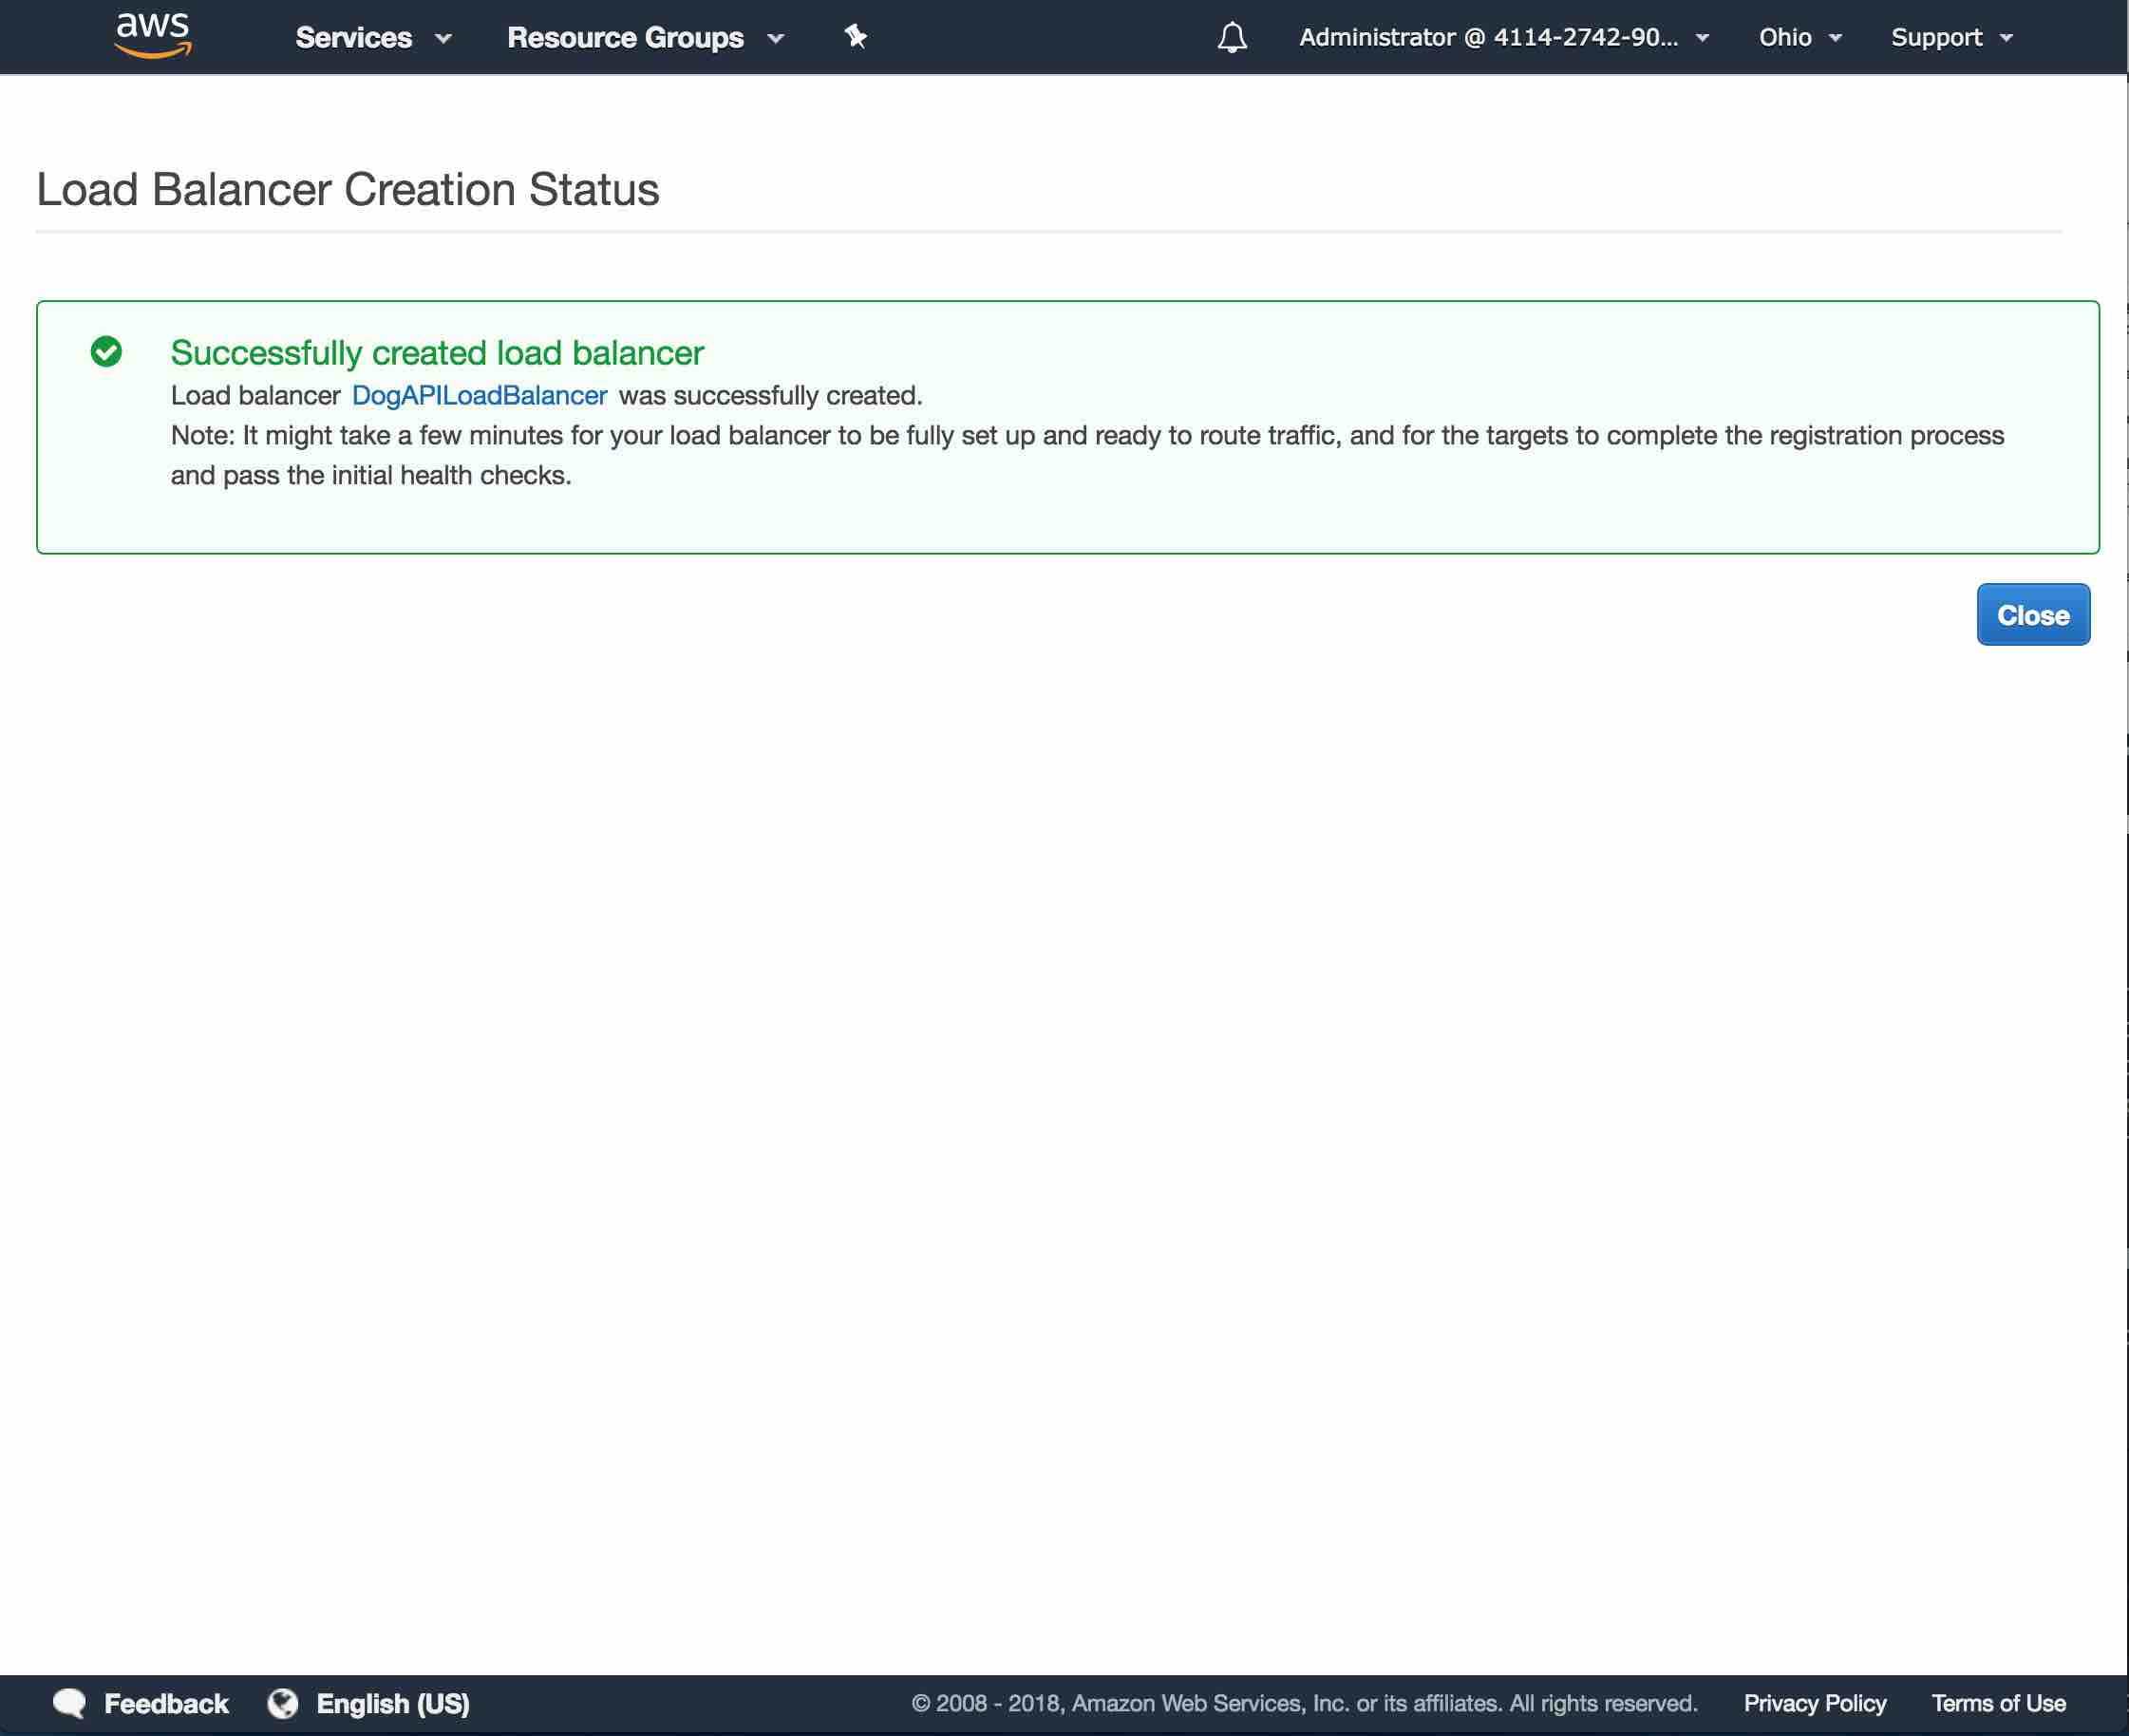
Click the Close button.
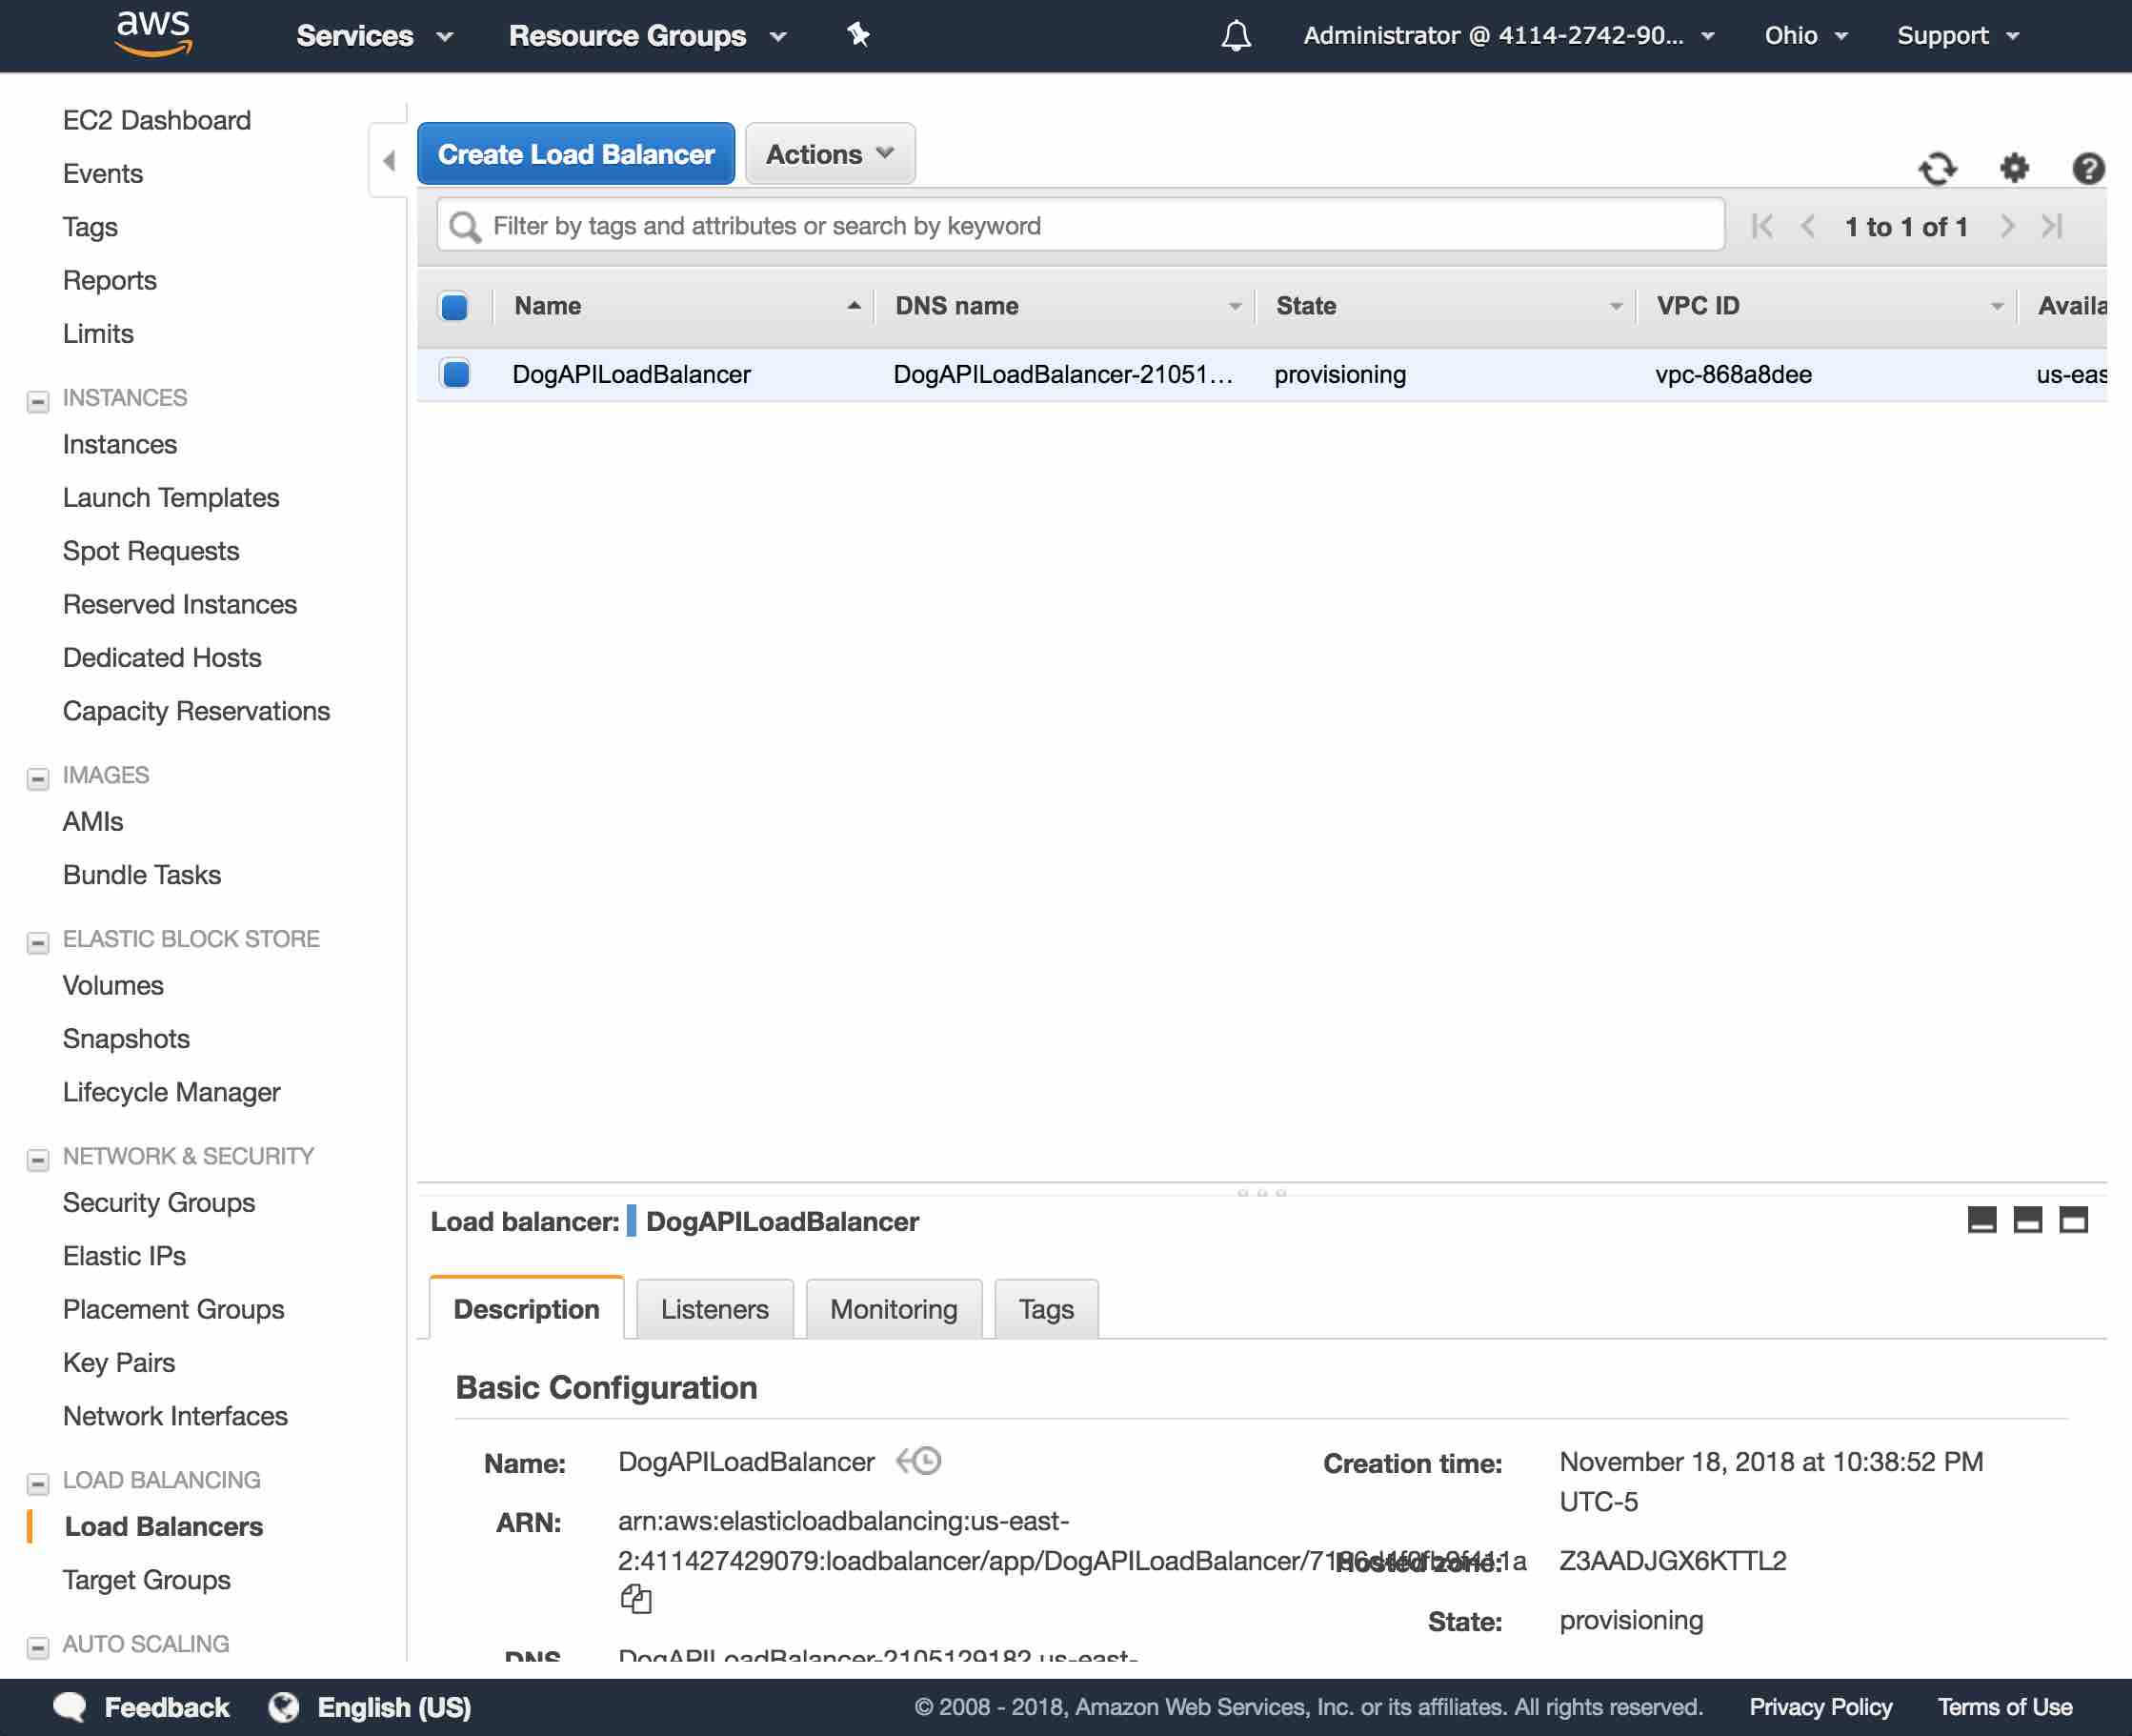
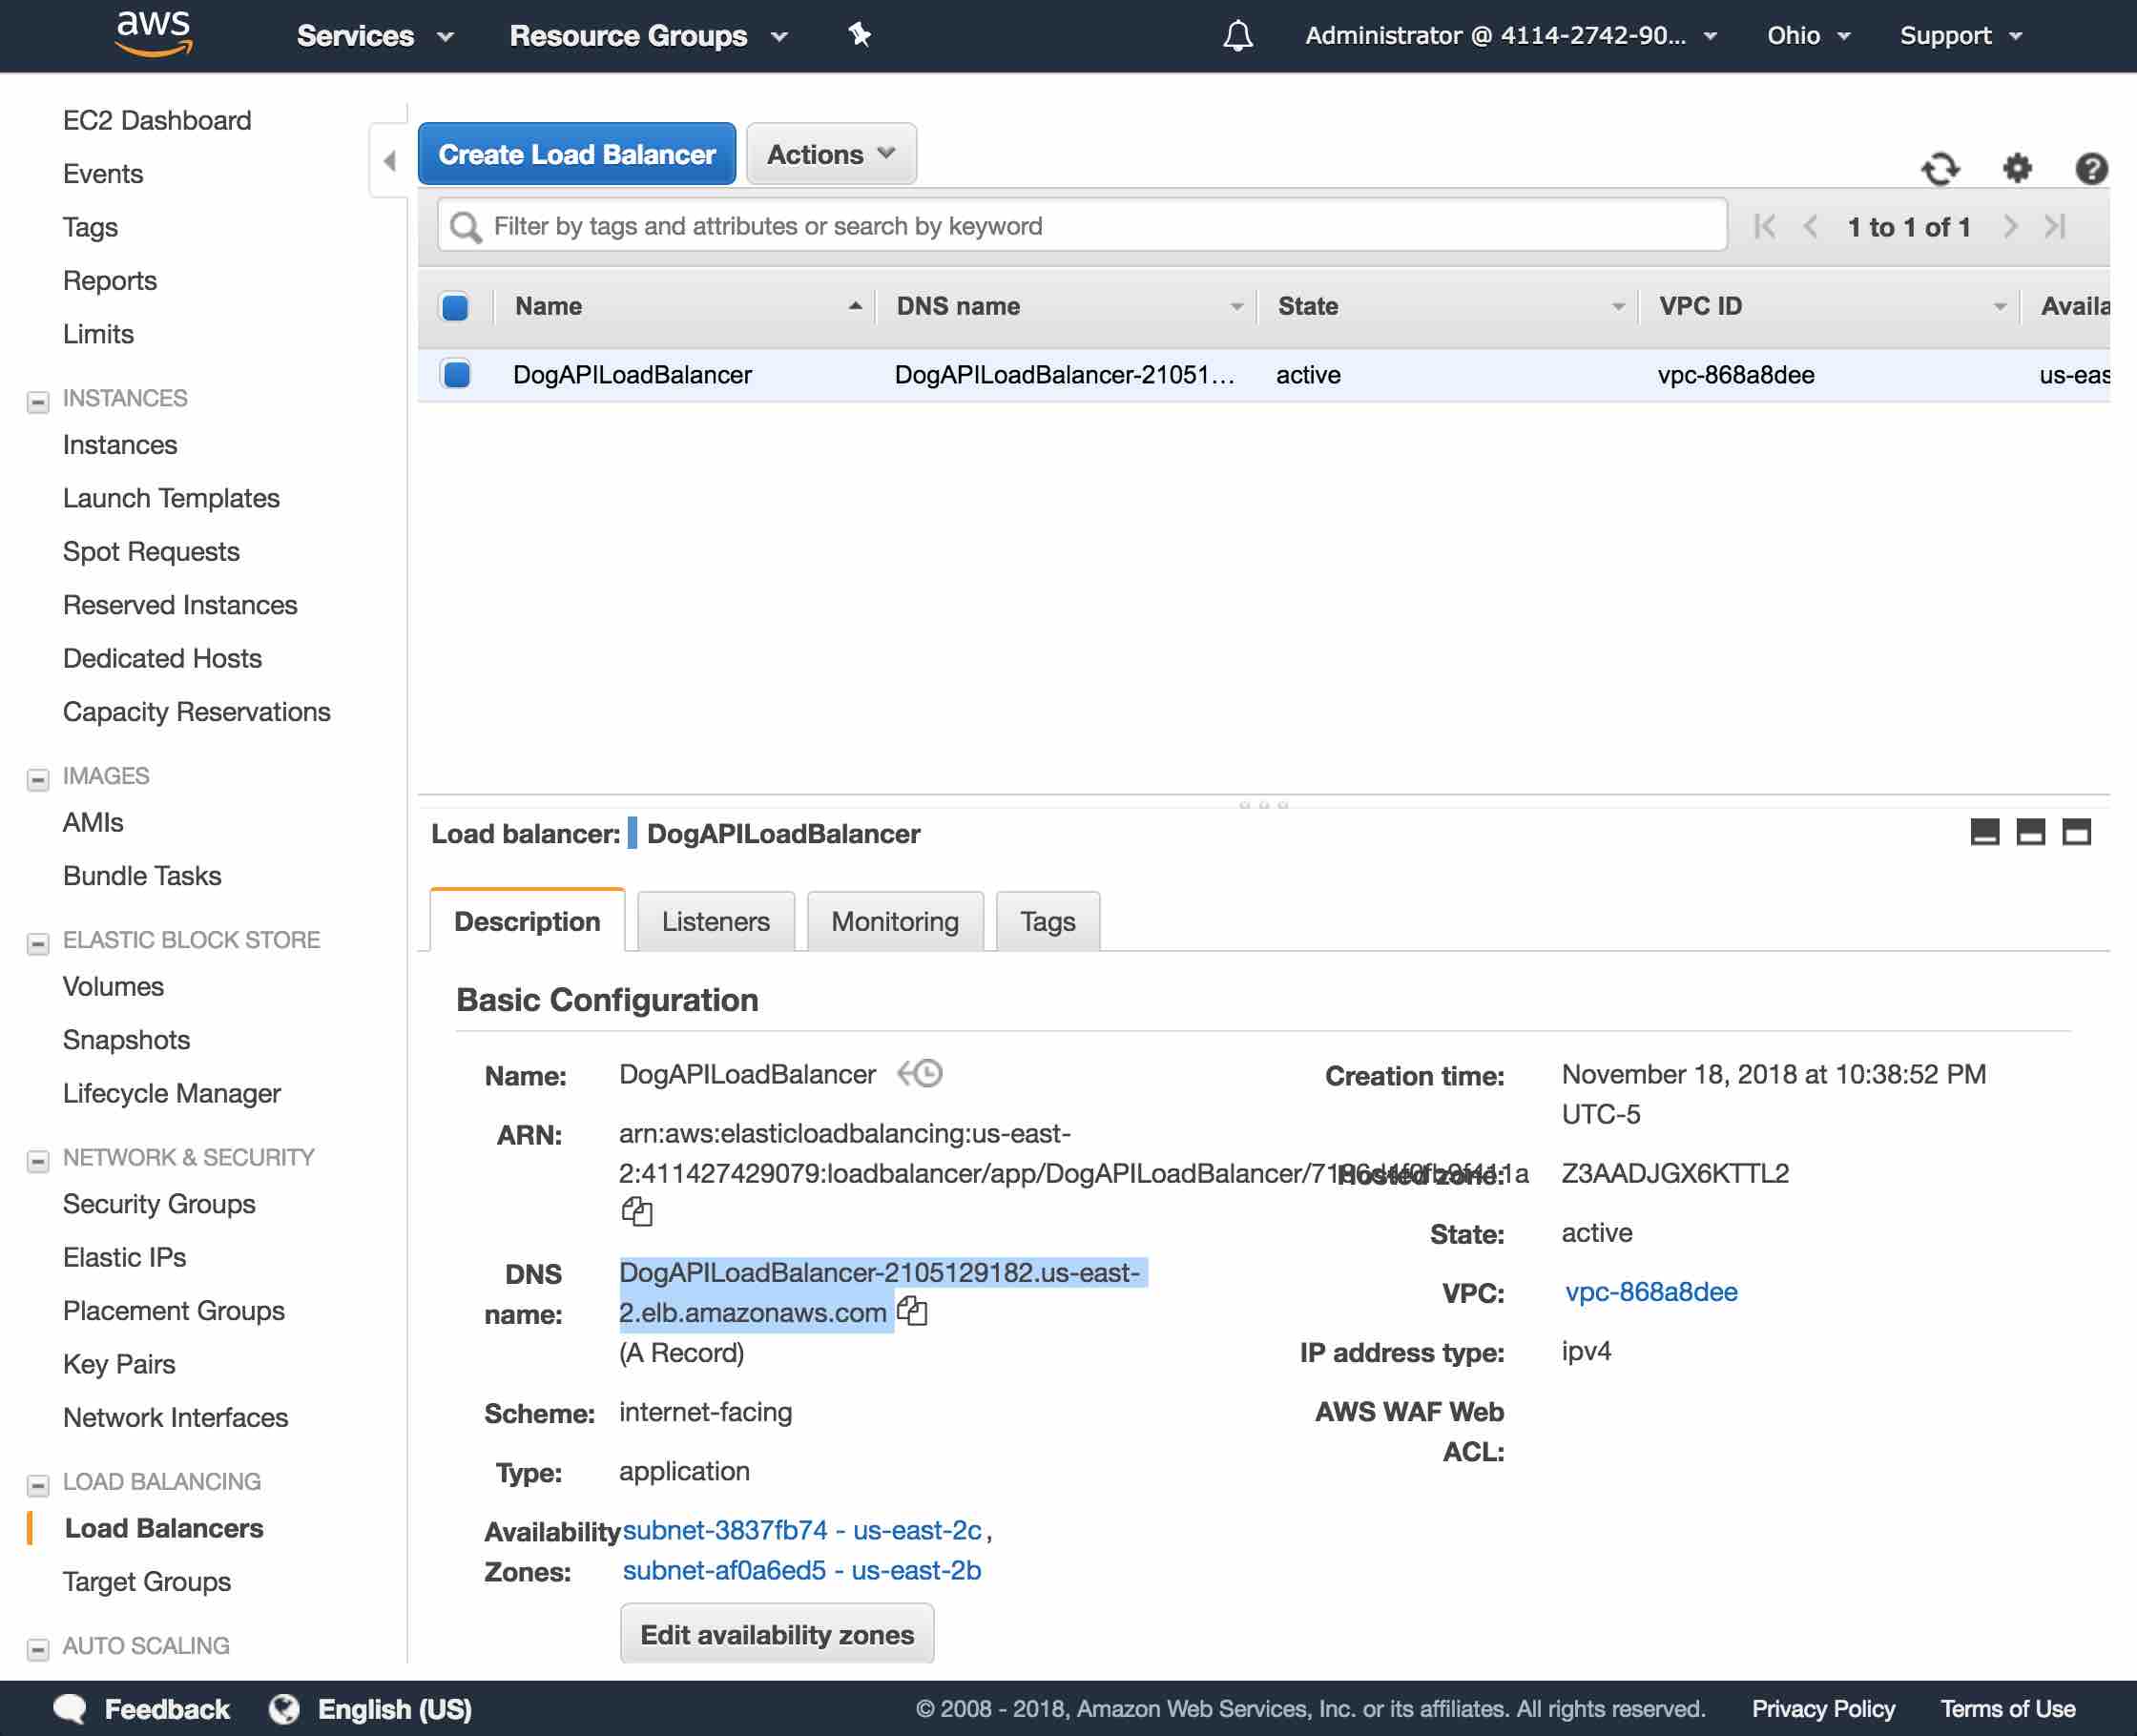
When the load balancer is done being provisioned, you can test the API requests through the load balancer by making the API call using the load balancer DNS address, which you can find on the load balancer description section.
curl 'https://<instance IP or public DNS address>/api/mongo/dog'Note that if you don’t get a response, wait a few moments to allow the load balancer to check the instance health.
The load balancer performs a round robin routing sending requests to each instance in a round robin fashion.
In order to check if the the architecture is working properly, in a high availability fashion, stop one of your instances and see that the API requests are still working.
Note that you may get a 503 response, but this should only happen until the load balancer detects that the instance is not responding and then it will route all traffic to the working instance until the failed instance is brought back up.
Summary
In this blog post, we deployed our API Builder Docker image in AWS EC2 in a high availability architecture with two servers in two different availability zones with a load balancer to route traffic and check server health.
In future blog posts, we’ll look at other AWS features that can be used to implement a more robust and scalable architectures for our API Builder microservice.