

In prior blog posts, we described how to trigger an Integration Builder flow from a Connector Event and from a Connector Request. In this blog post, we’ll describe how to trigger a flow manually.
Here’s what we’ll do in this post:
- Create a simple manually triggered flow and instance
- See how the flow instance is exposed in AMPLIFY Central API Proxy
- Test out the flow by making a call to the API
Pre-requisites
You’ll need access to the following, which are all available for free/trial:
- AMPLIFY Integration Builder
- AMPLIFY Central
Create a simple manually triggered flow and instance
We’re not going to create a meaningful flow in this blog post as we simply want to focus on the manual triggering of the flow. So, head on over to https://platform.axway.com and select the Integration Builder tile and create a new flow:

Note: I named my flow Manual Trigger Test
Select Manual for the trigger type:
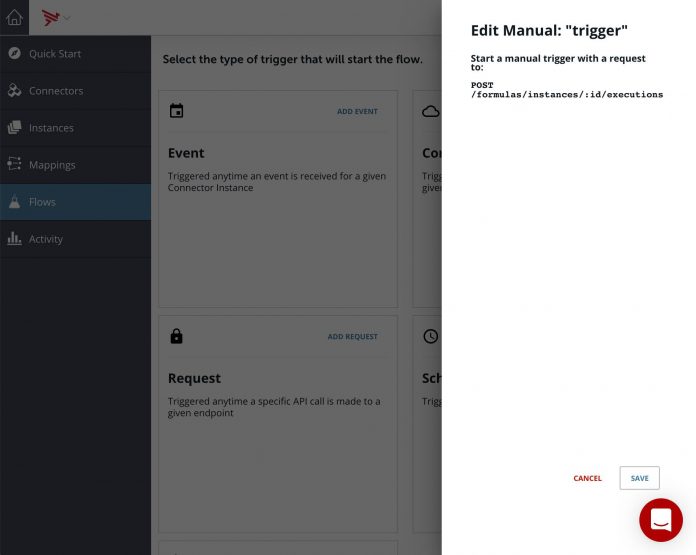
Note: You can ignore the notes about how to trigger the flow as we will do this through AMPLIFY Central
Add a JS Script step to the flow trigger with a console.log of the trigger as follows:
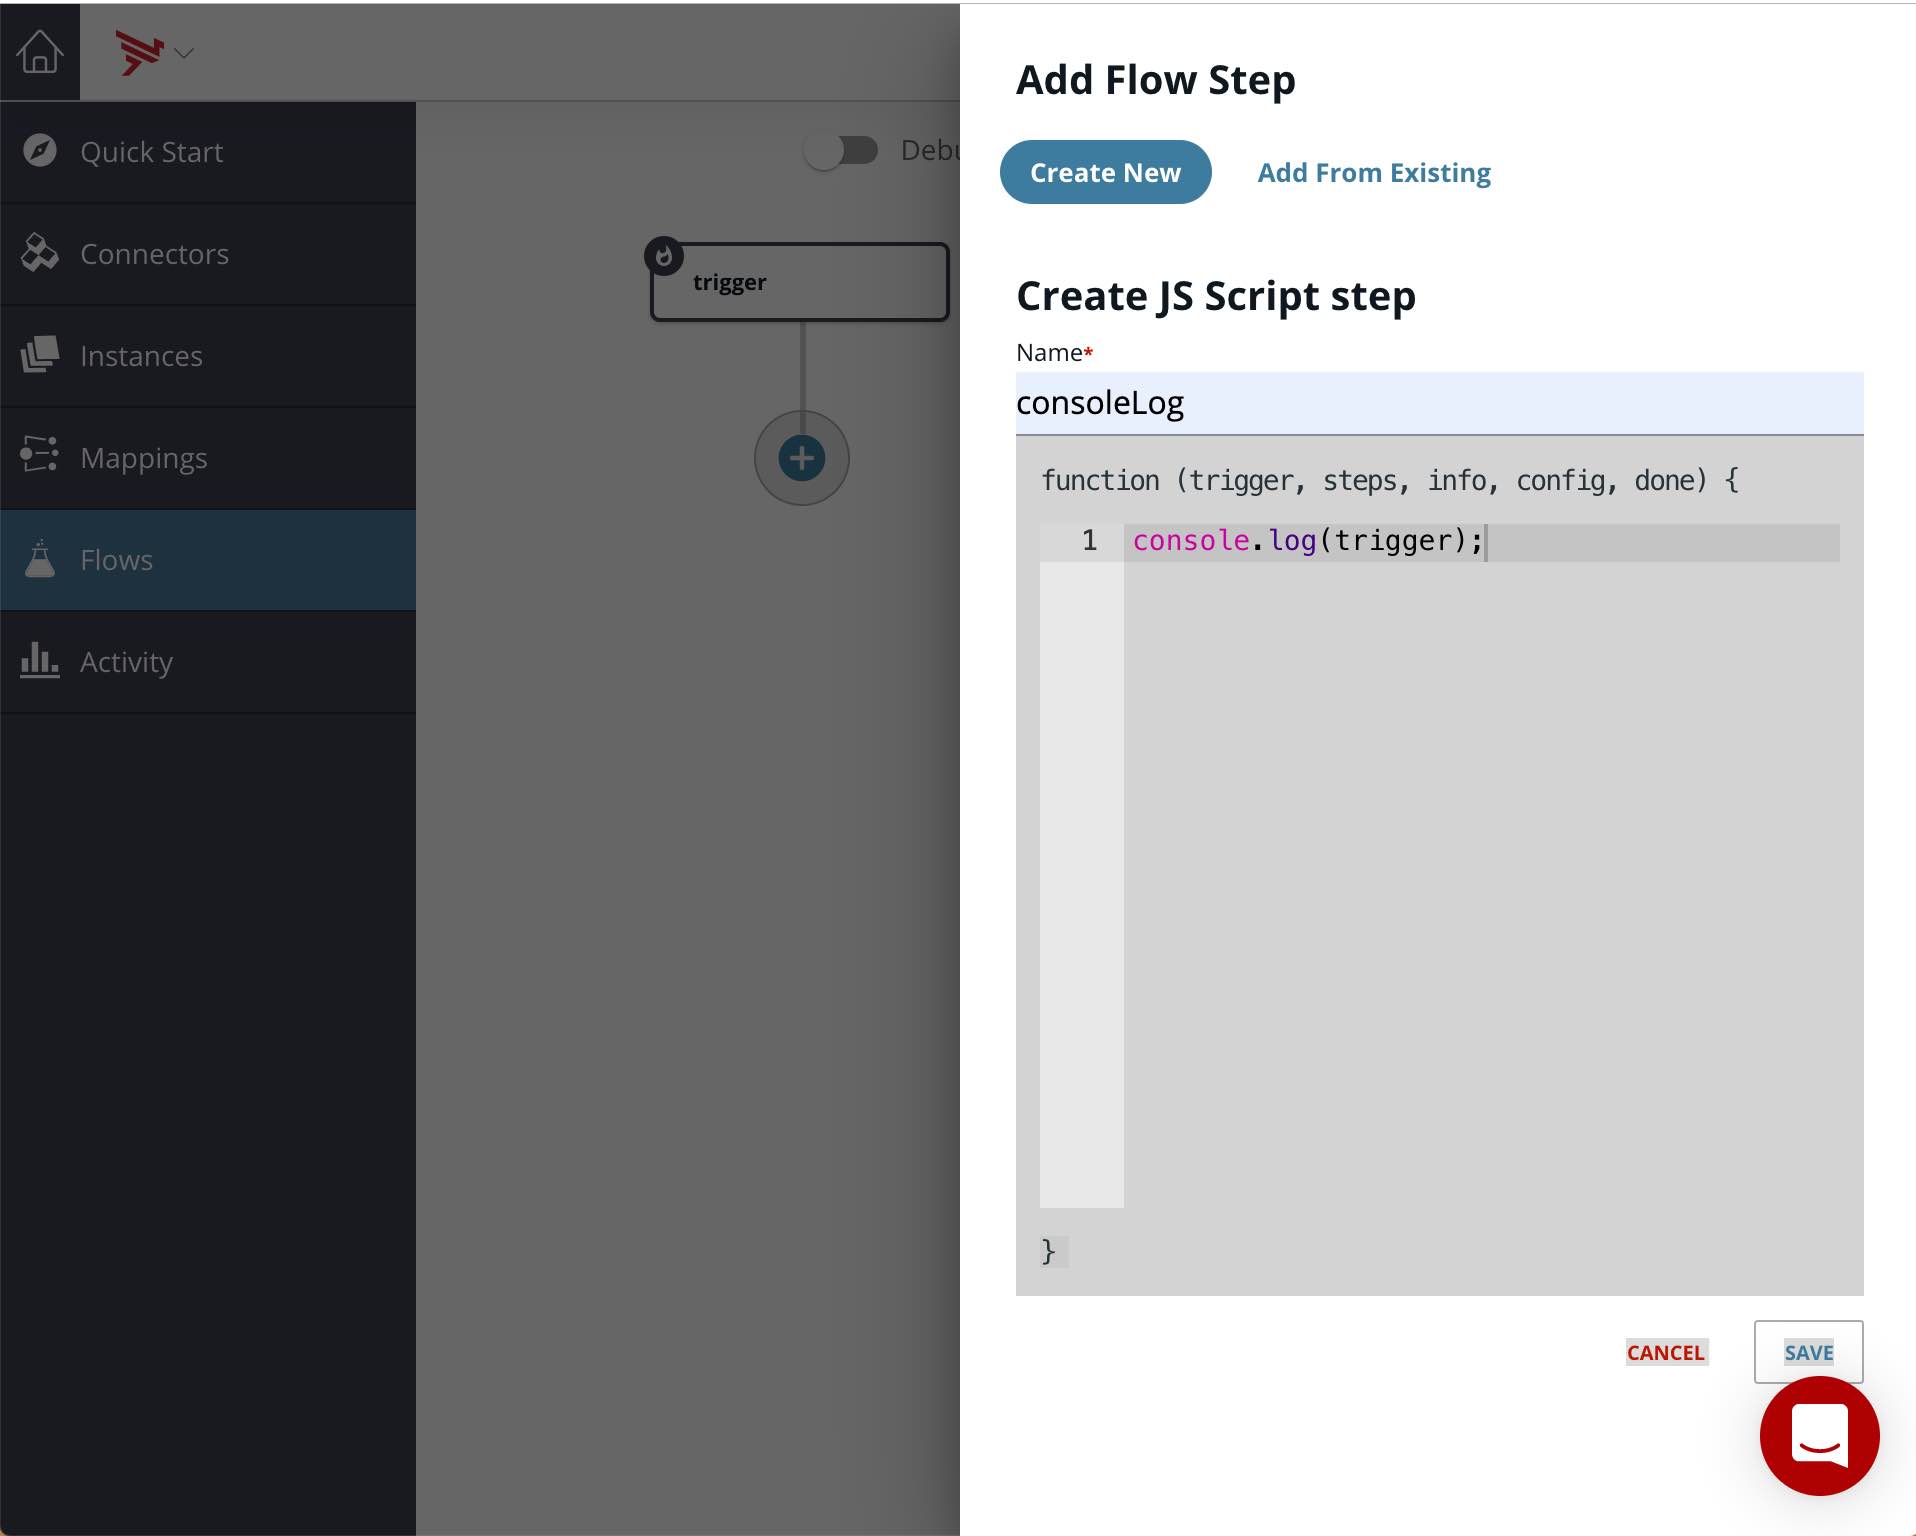
This will enable us to view what is passed to the flow when we manually trigger via the API call in AMPLIFY Central.
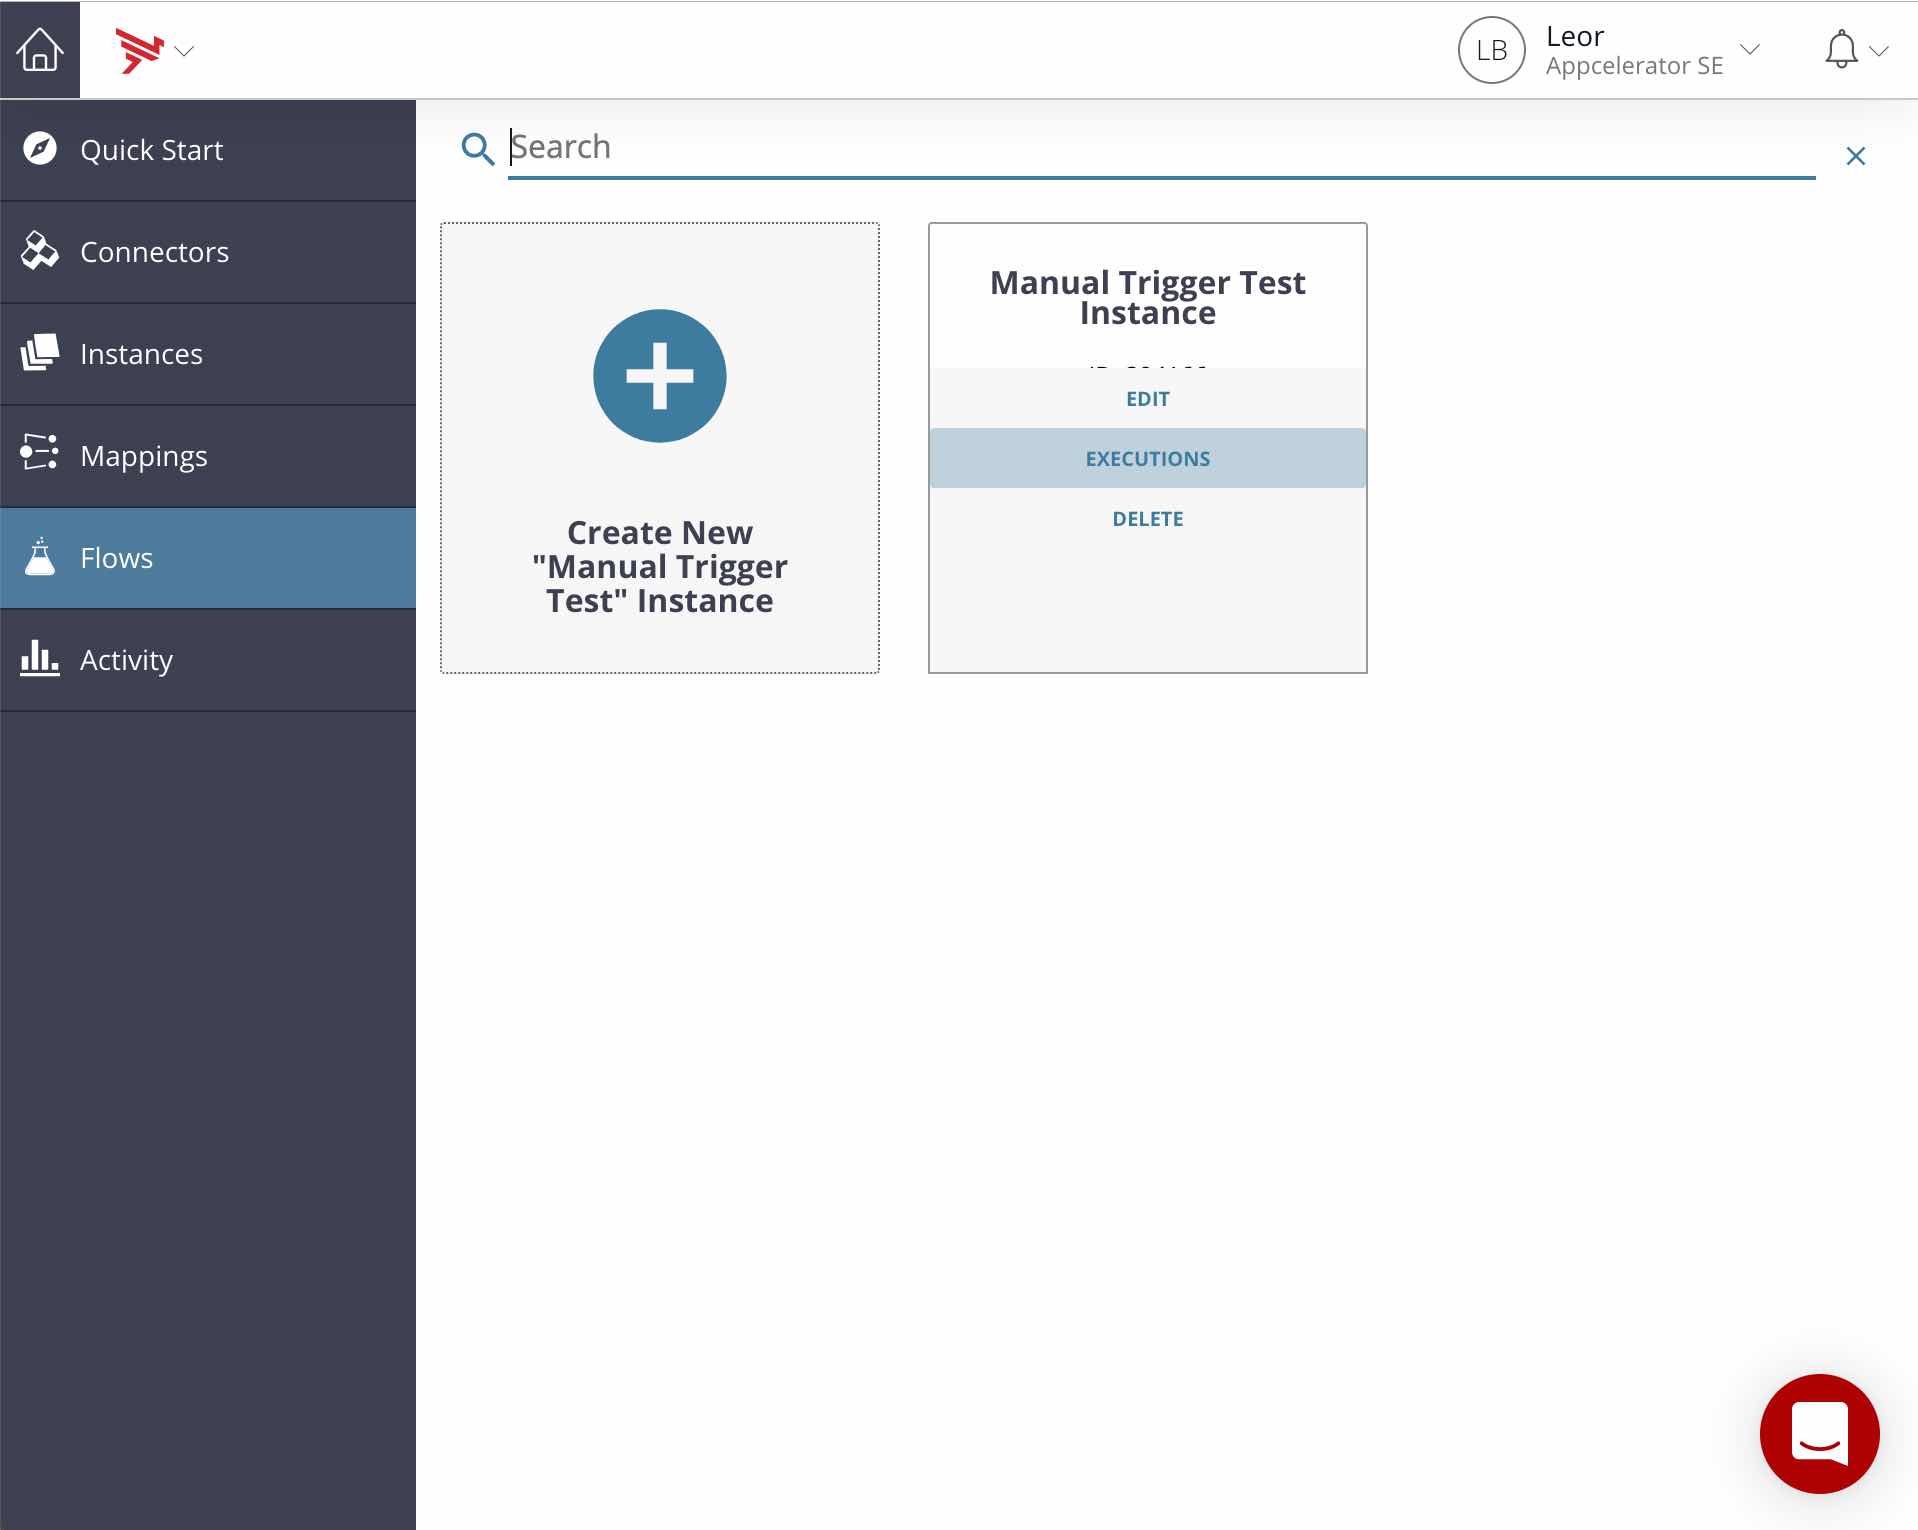
Create an instance of this flow. I called my Manual Trigger Test Instance.

See how the flow instance is exposed in AMPLIFY Central, API Proxy
Head over to AMPLIFY Central (https://platform.axway.com and select the Central tile) and find your flow instance in API Proxy.

Note: It is called Manual Trigger Test Instance sandbox_flow_394166 in my example above
Test out the flow by making a call to the API
Refer to AMPLIFY Central tutorials and videos for instructions on how to add security to the API and add it to the catalog. For now, we’ll just access the proxy API as is.
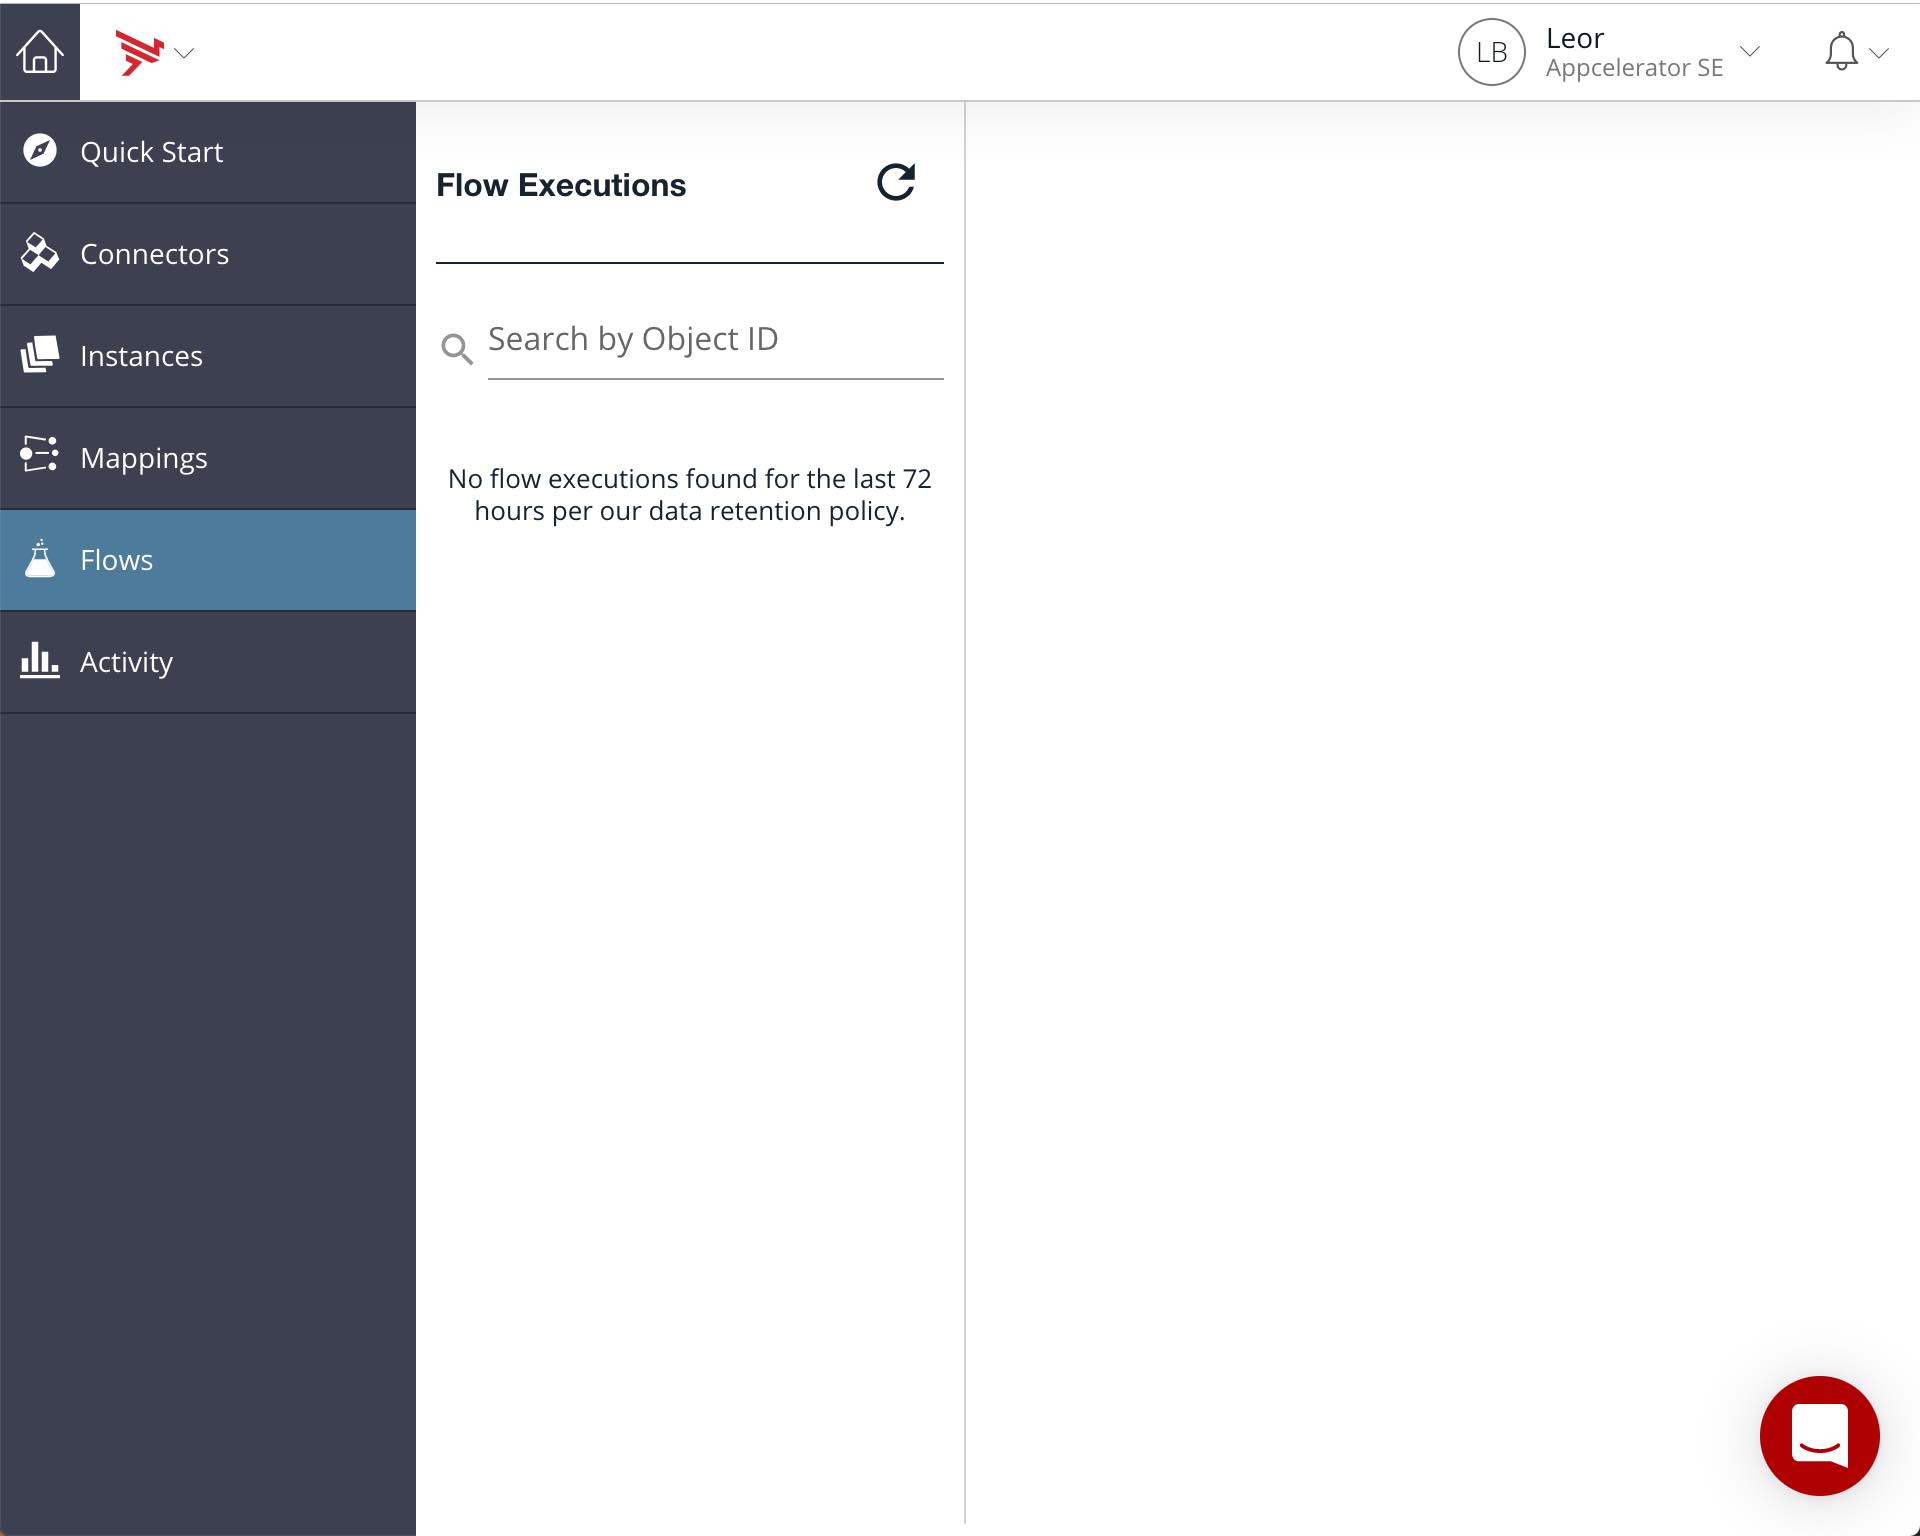
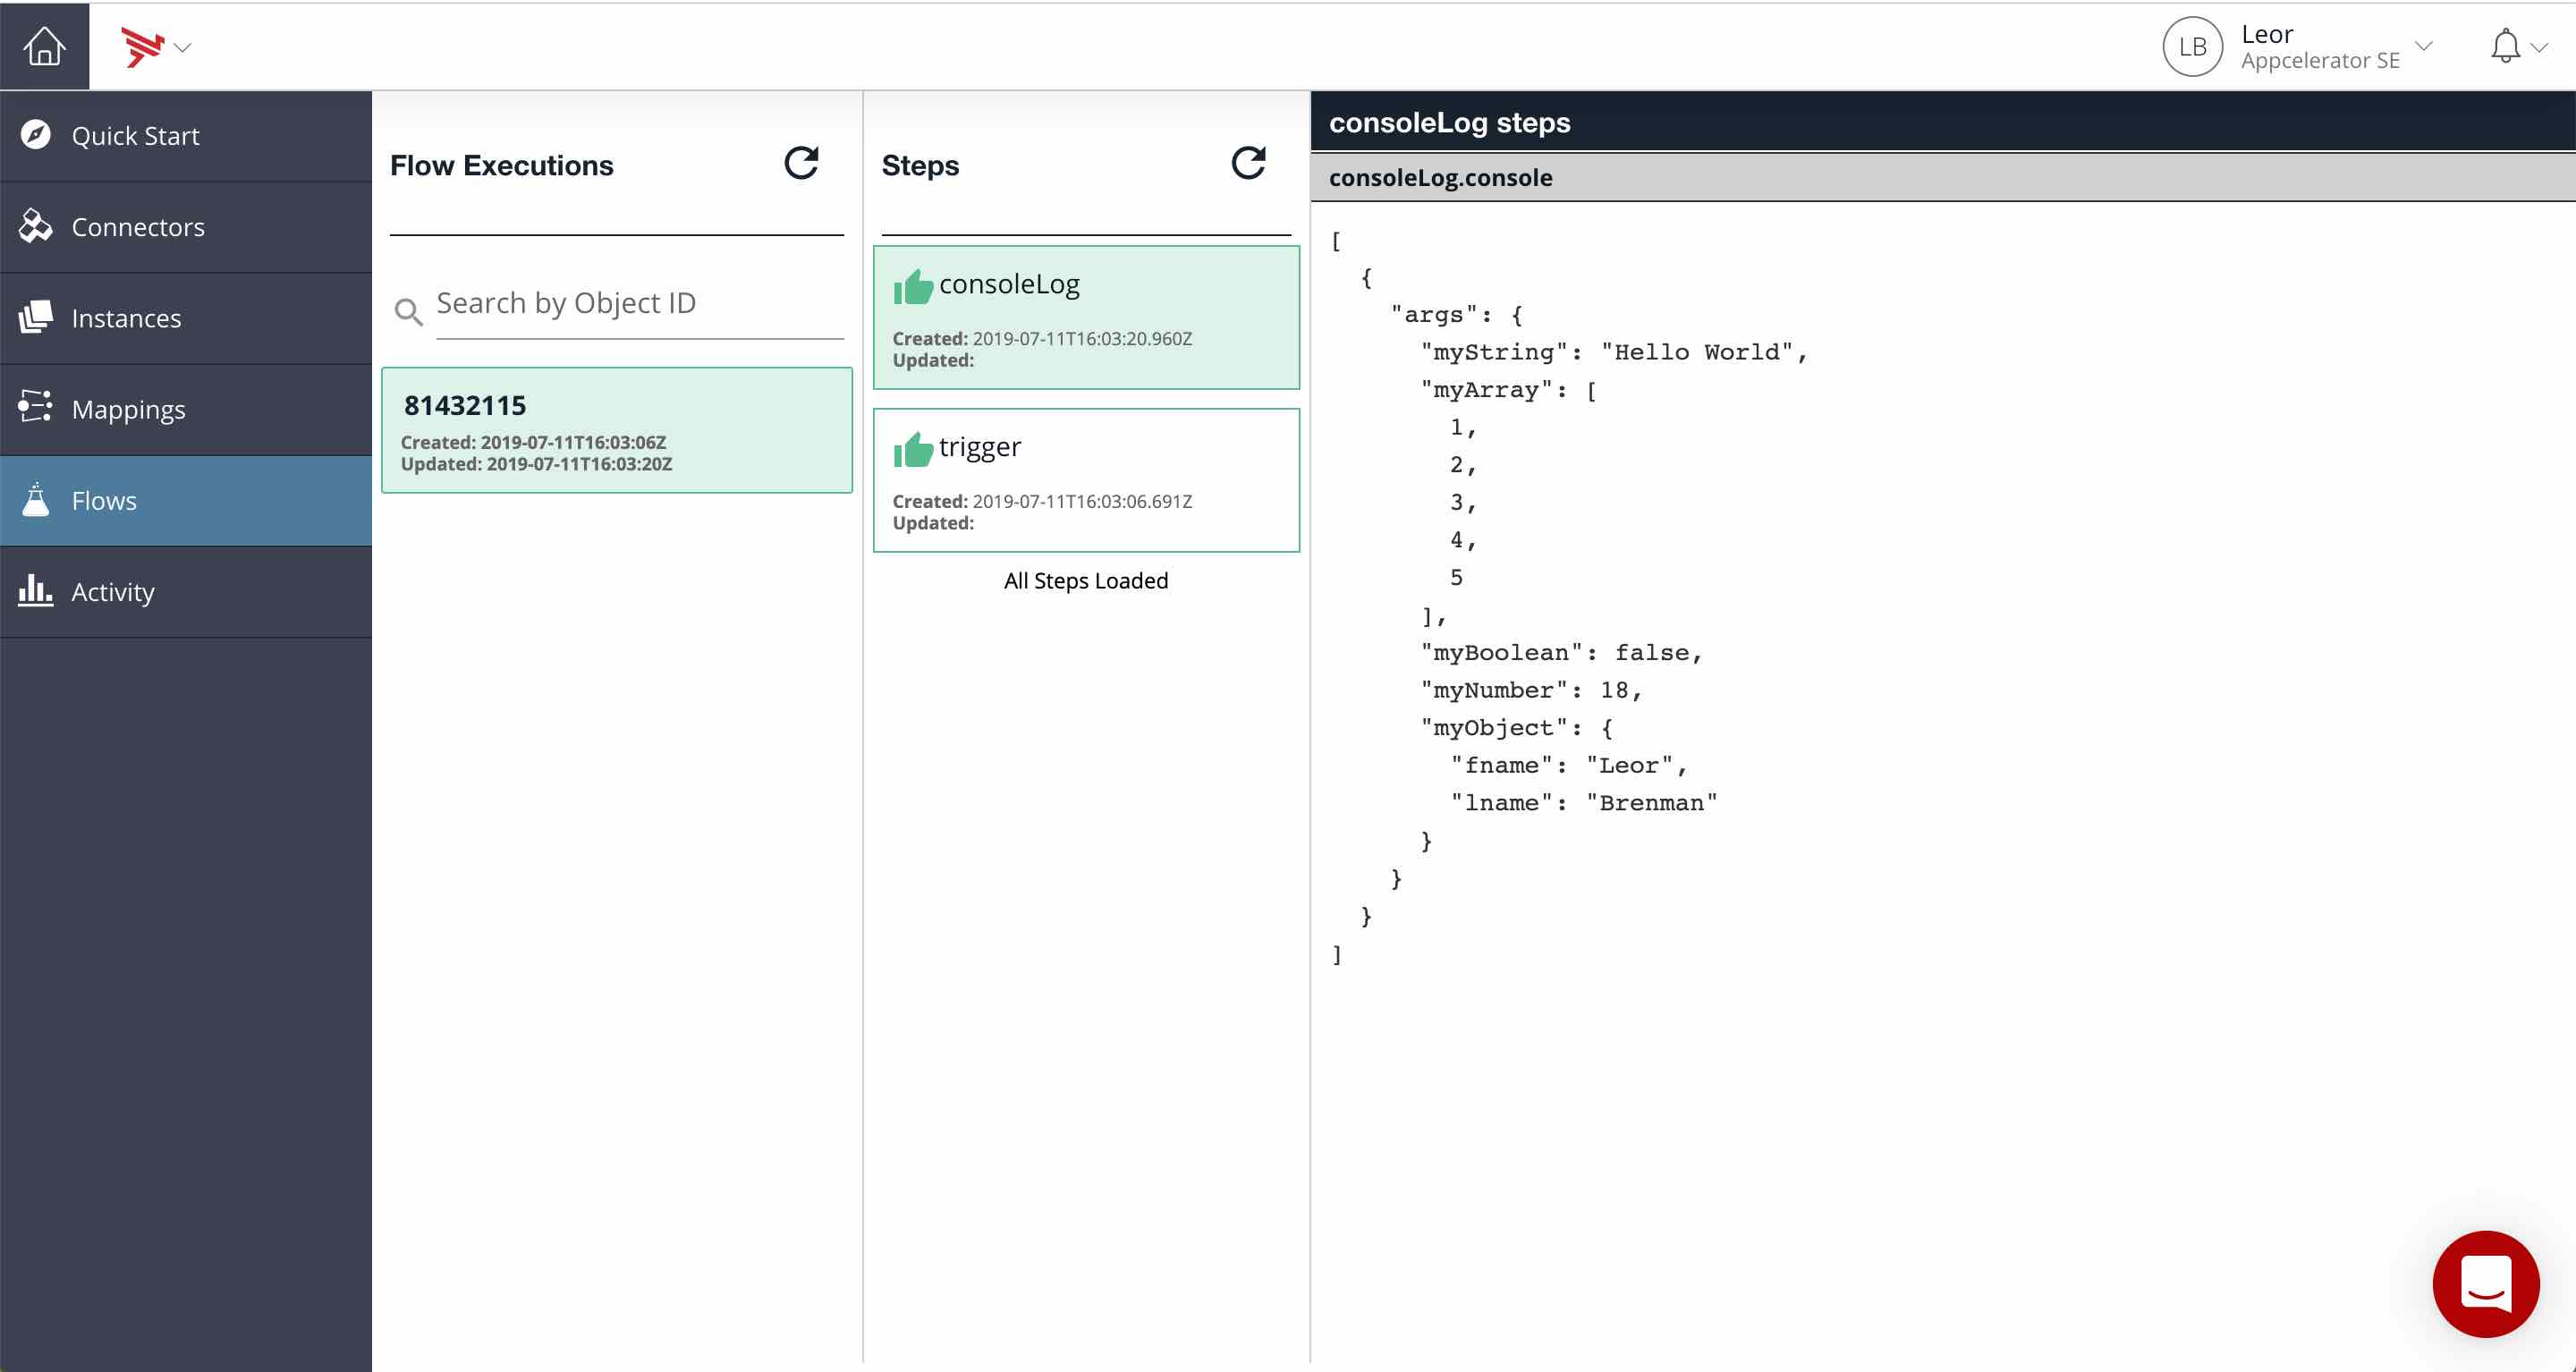
Before we test our API to manually trigger our flow, go back to Integration Builder, click the refresh icon and view the executions of your instance:
Now go back to AMPLIFY Central and click on your API Proxy:
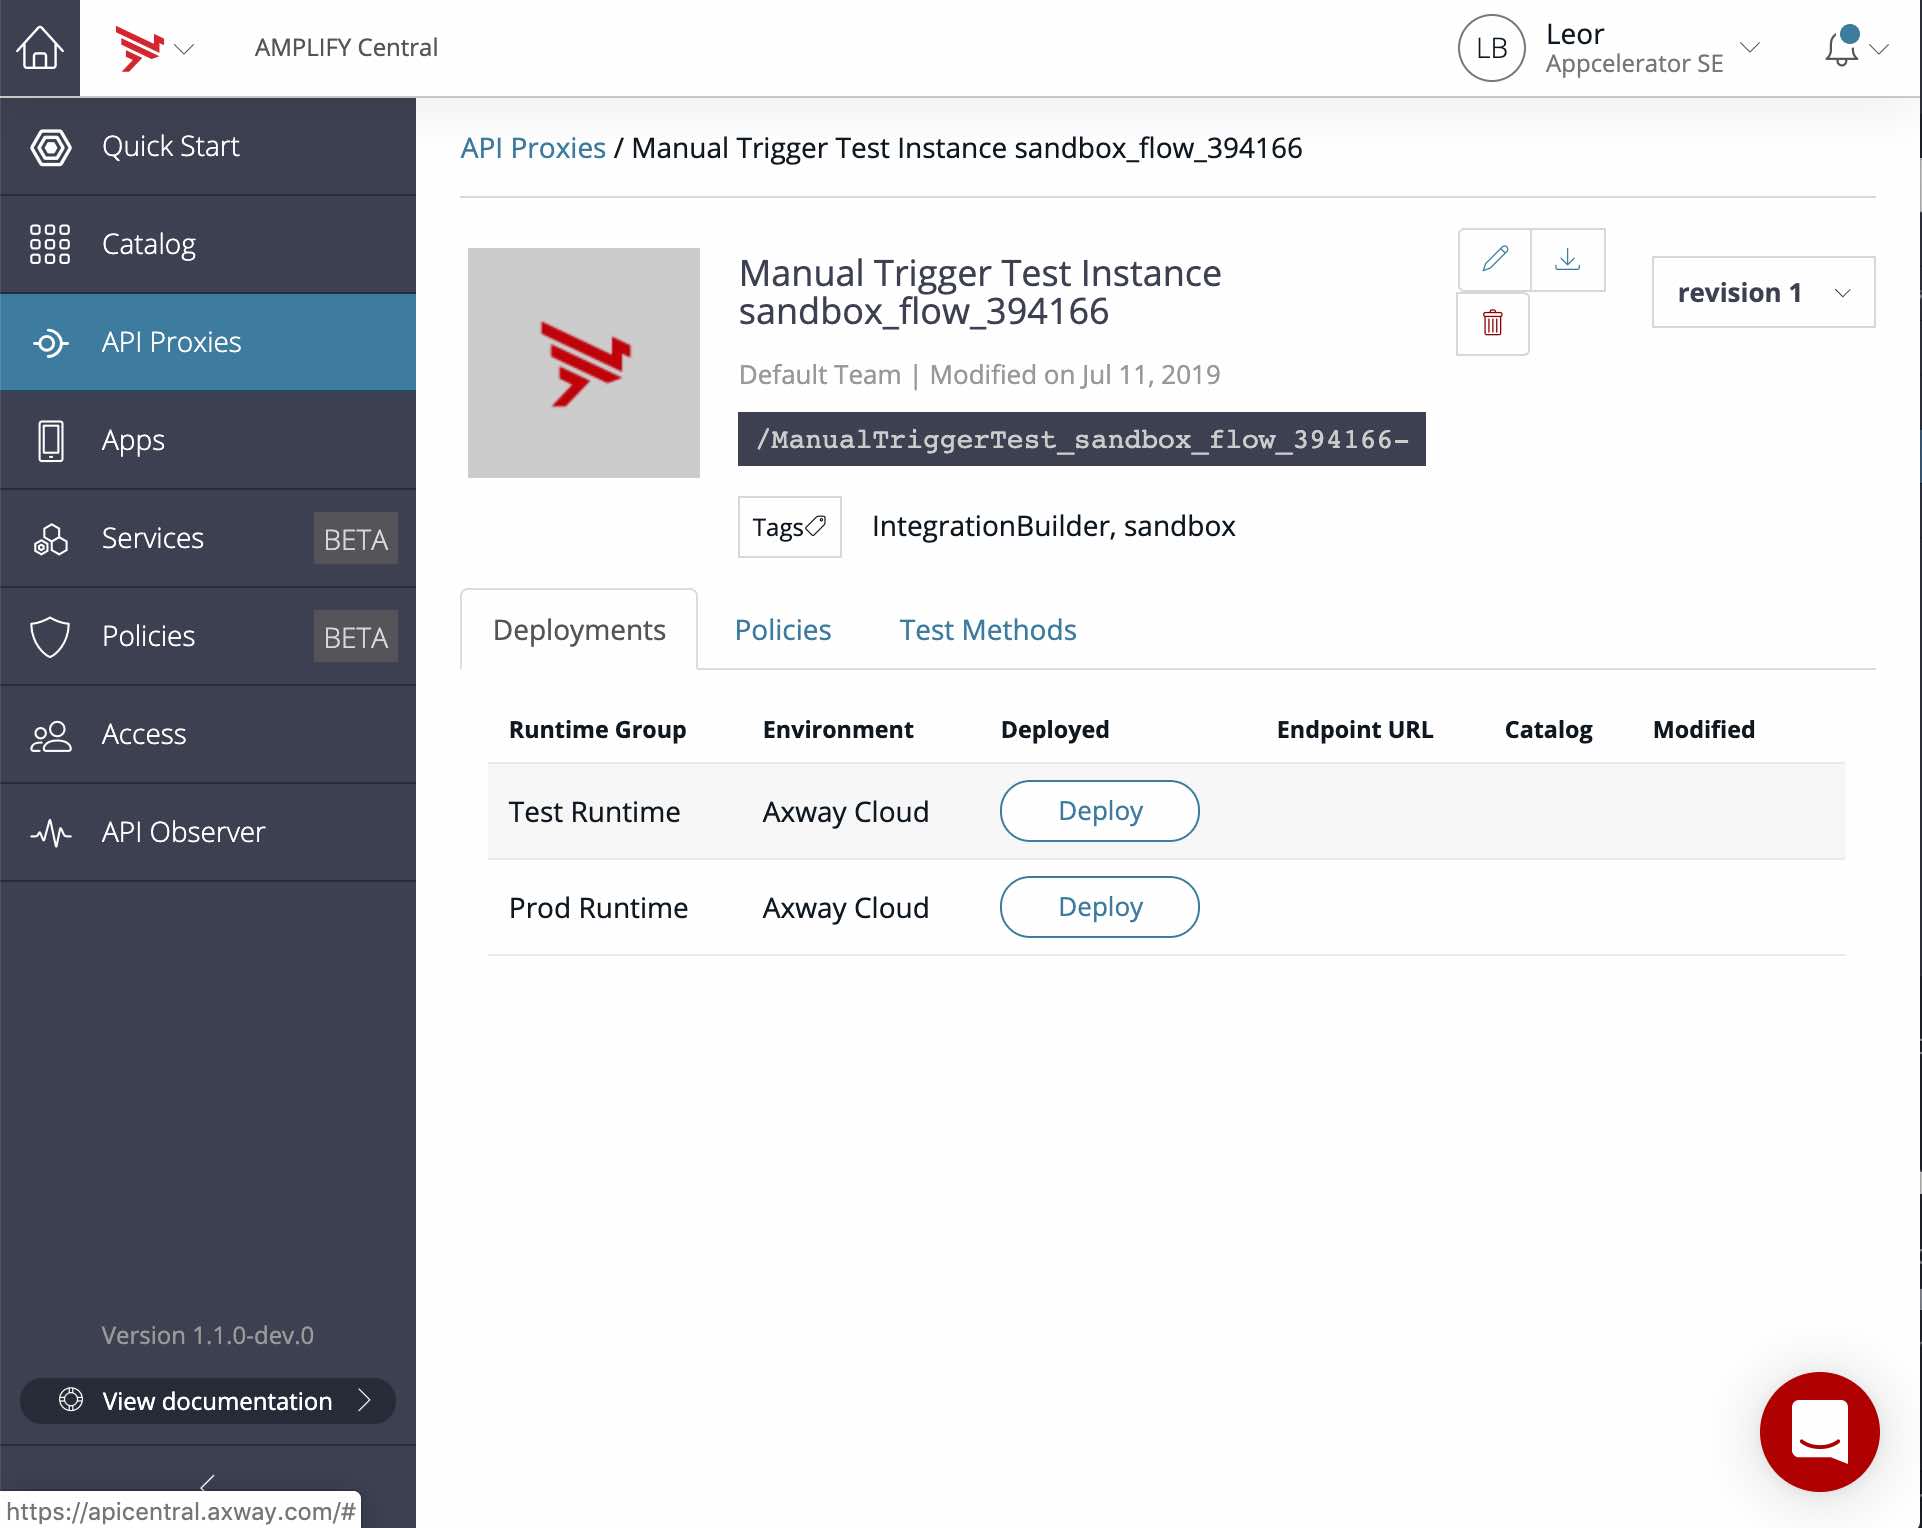
Click Deploy (to Test Runtime):

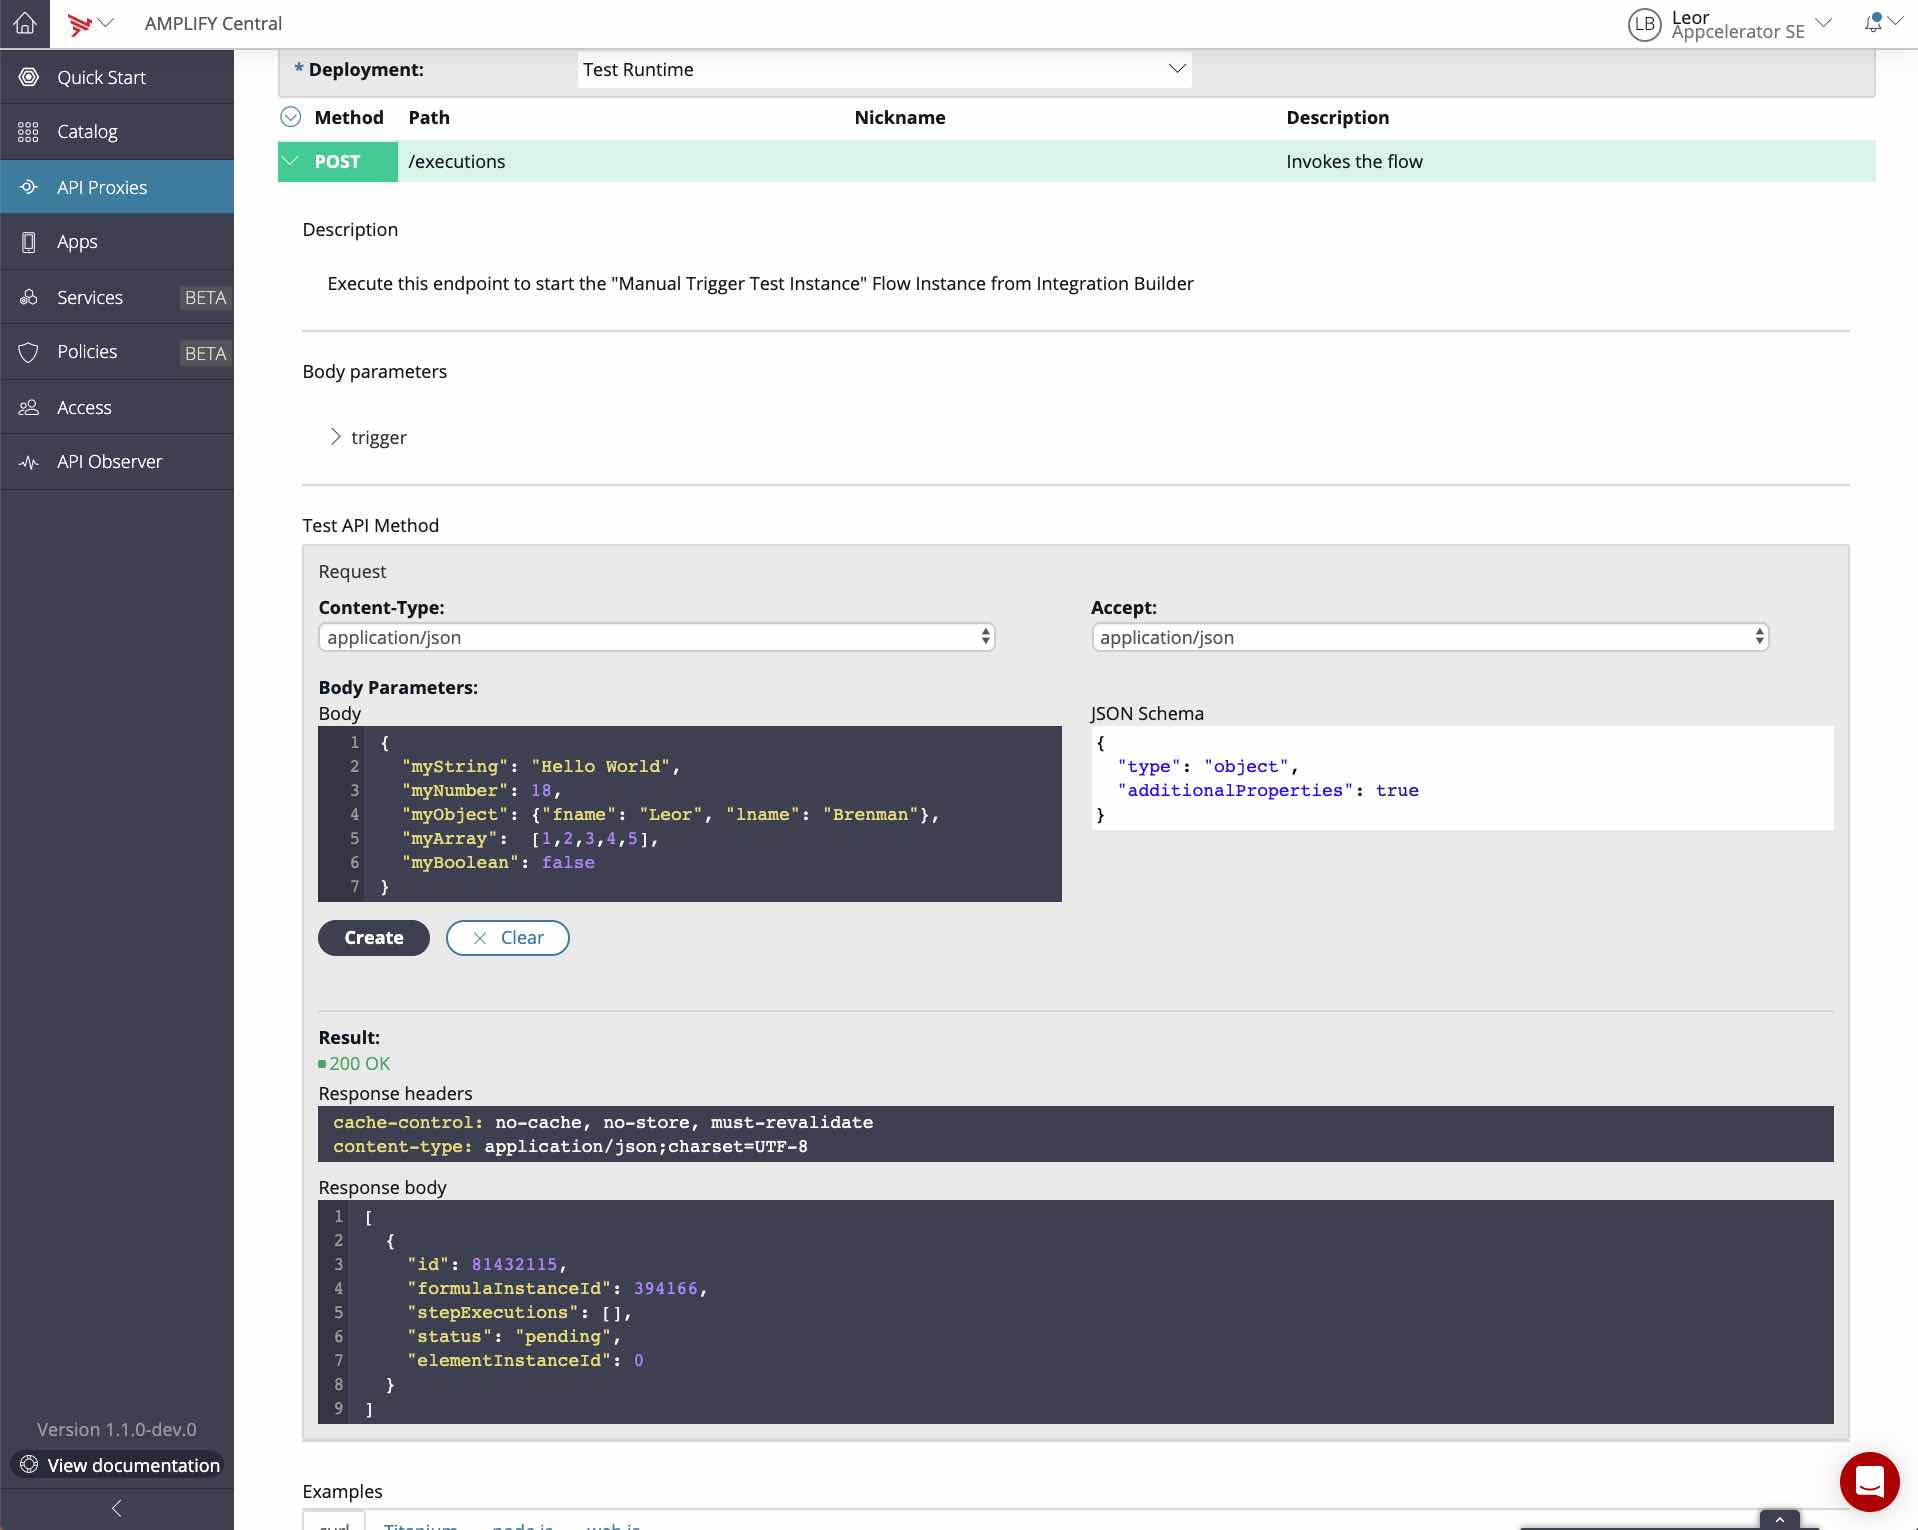
Click on the Test Methods tab and enter some JSON object in the Body Parameters. You can enter anything you want. For example:
{
  "myString": "Hello World",
  "myNumber": 18,
  "myObject": {"fname": "Leor", "lname": "Brenman"},
  "myArray":  [1,2,3,4,5],
  "myBoolean": false
}
Click the Create button:
Head back over to the Flow Executions to see that it executed and view the console.log step:
Summary
In this blog post, we saw how to create a manually triggered Integration Builder flow example. This enables us to have the flow triggered when a POST is made to the flow instance API exposed in AMPLIFY Central.