

In a prior blog post we looked at how to deploy API Builder Docker containers on Heroku. At the time, Heroku had a “Free and Hobby” plan, but recently announced that this plan is going away and that they will not offer free plans.
A great alternative, Railway, offers a trial plan with 500 hours of run time. This is useful for development, testing and proof of concepts. It supports the following:
- Deploy from any GitHub repo, public or private
- Multiple custom domains with SSL
- 100 GB outbound network bandwidth
- Unlimited inbound network bandwidth
How to deploy an API Builder container to Railway
For this tutorial, you will need a working API Builder application tested and working in Docker and a Railway account that can be created by linking Railway to your Github account.
In this blog post, I will use the API Builder Stock Watchlist API project described here.
The basic steps are:
- Create a new project in Railway and select the Github repo that contains your working API Builder app to create a deployment
- During the creation process, set a
PORTenvironment variable (and any other required environment variables) - Wait for Railway to detect that the API Builder app is listening for internet traffic
- Generate a domain in the Railway app for your deployment
- Call your API Builder API from Postman (or Curl, etc….)
Unfortunately, there is no way to pause your app so as soon as it’s deployed, you are using your pool of 500 hours. However, you will see how easy it is to spin up your app so you can just delete it and re-deploy it as needed.
We will describe the steps from start to finish, and when we are done we will have an API deployed in Railway that can be publicly accessed over the internet.
Create a new Railway project
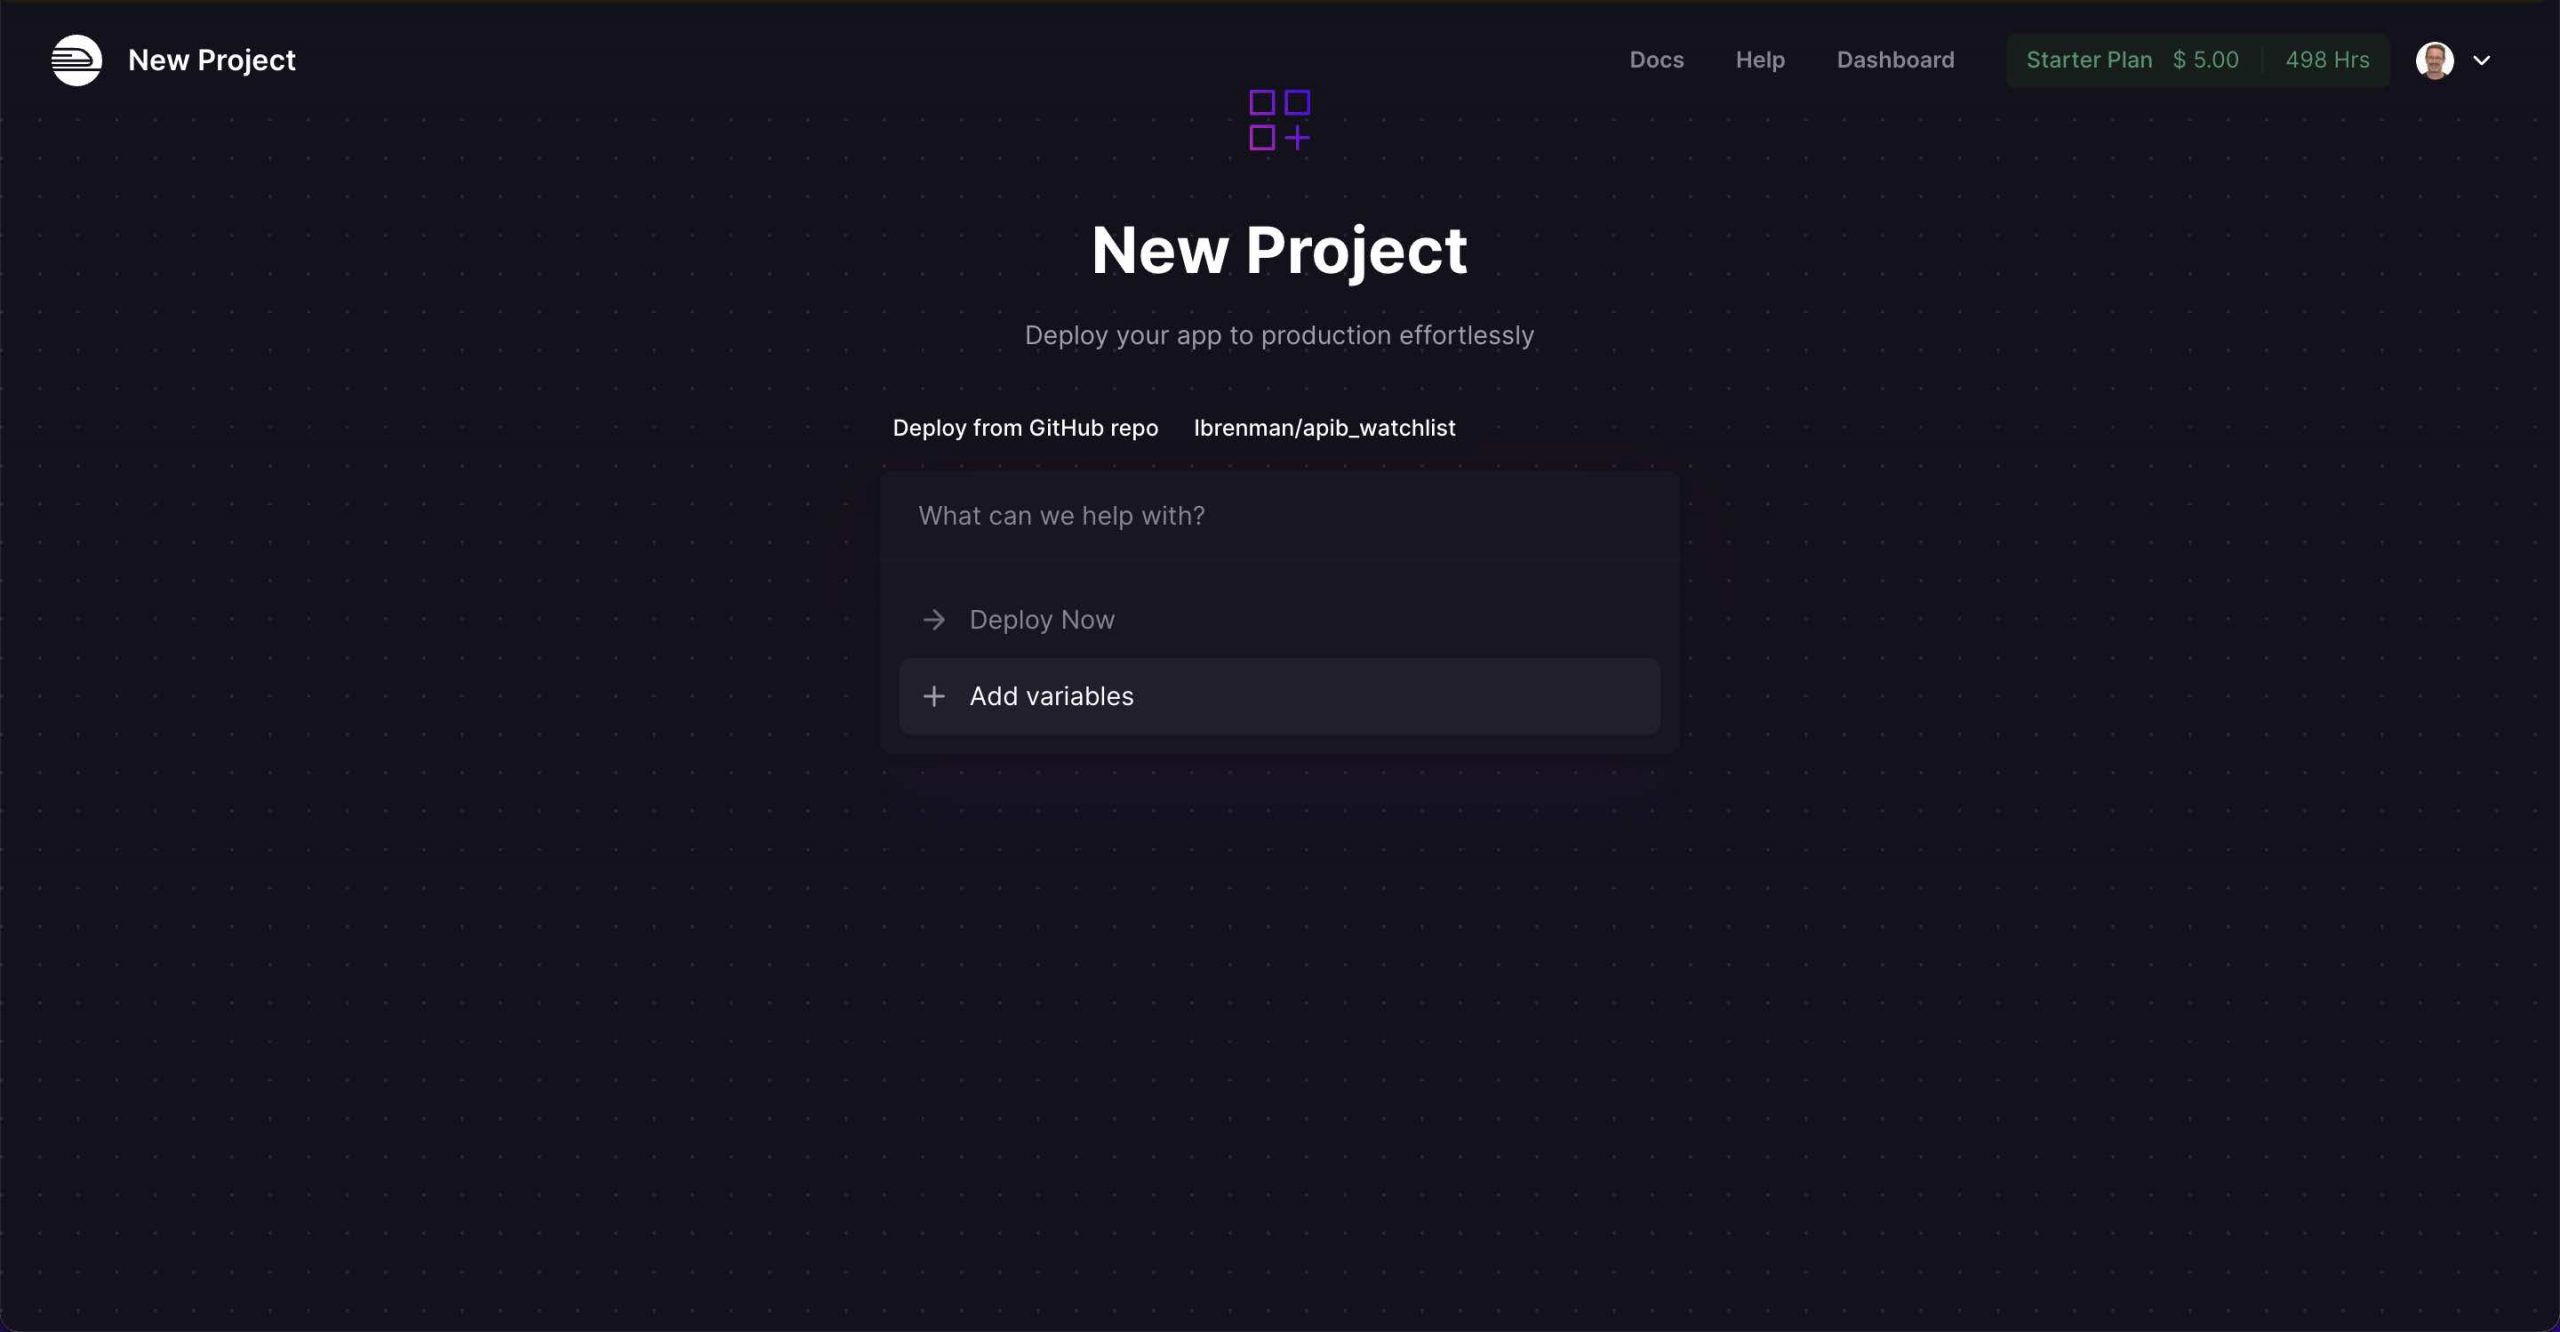
- Go to Railway and click on the Start a New Project button
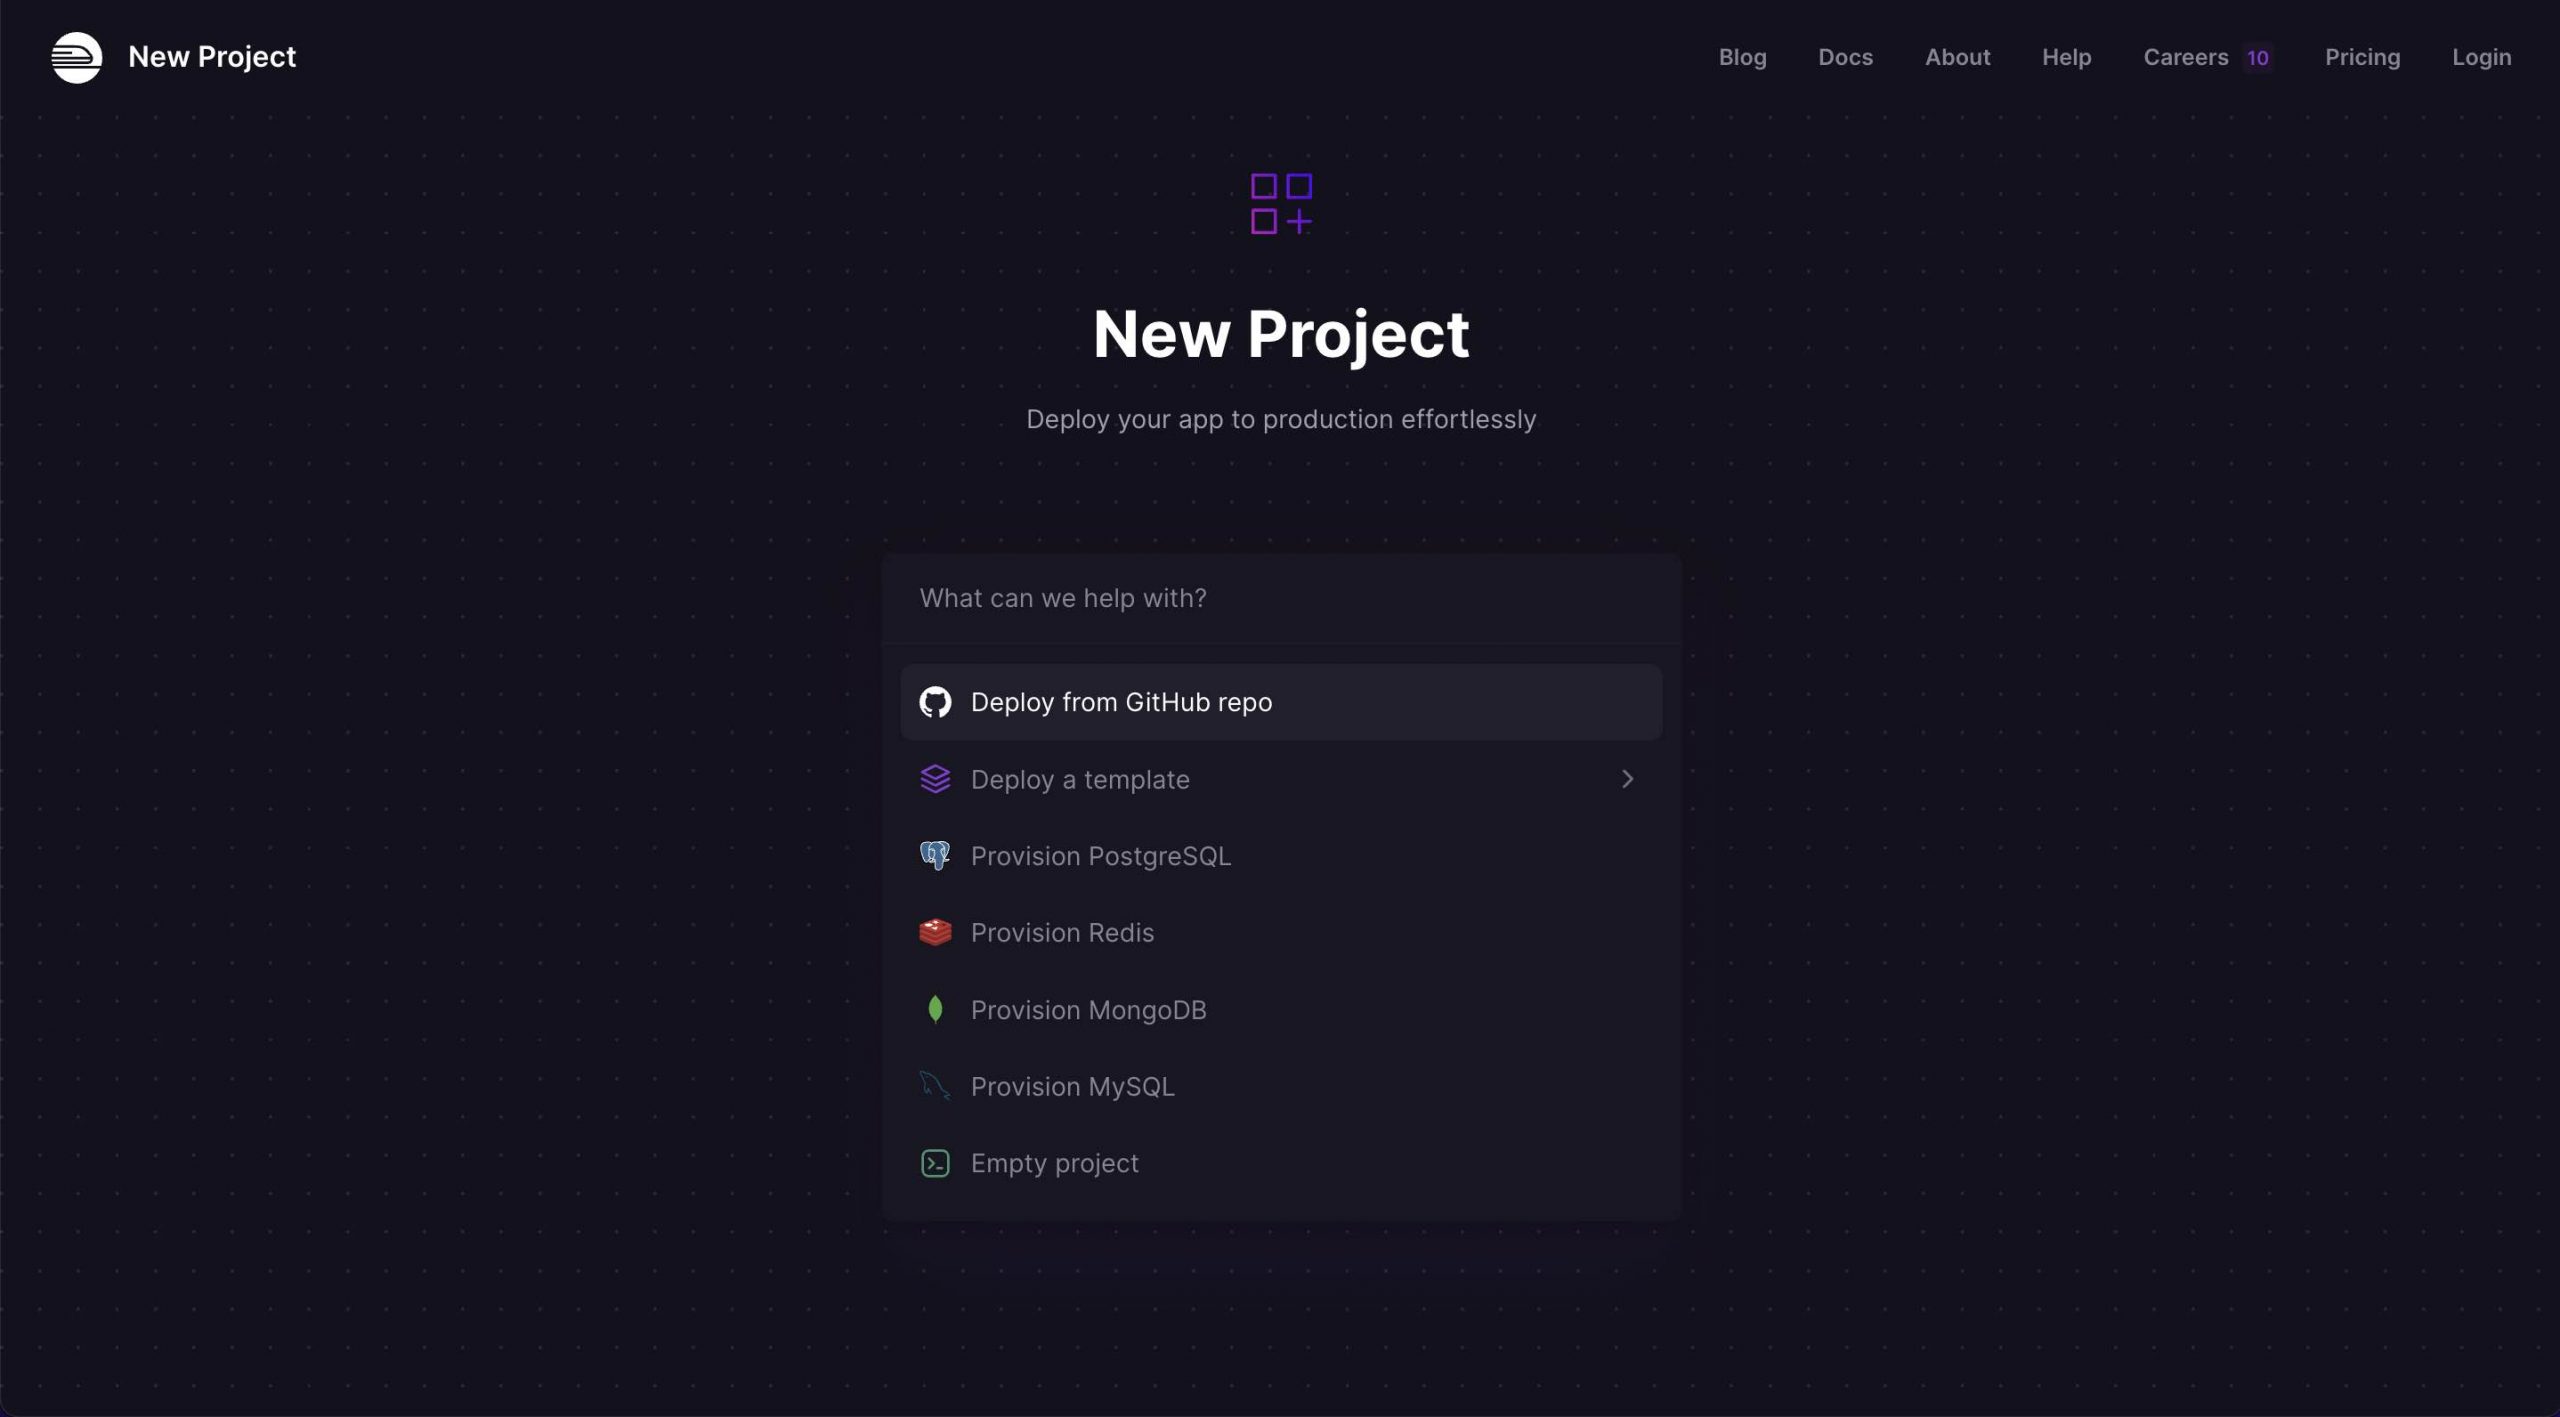
- Select Deploy from Github Repo
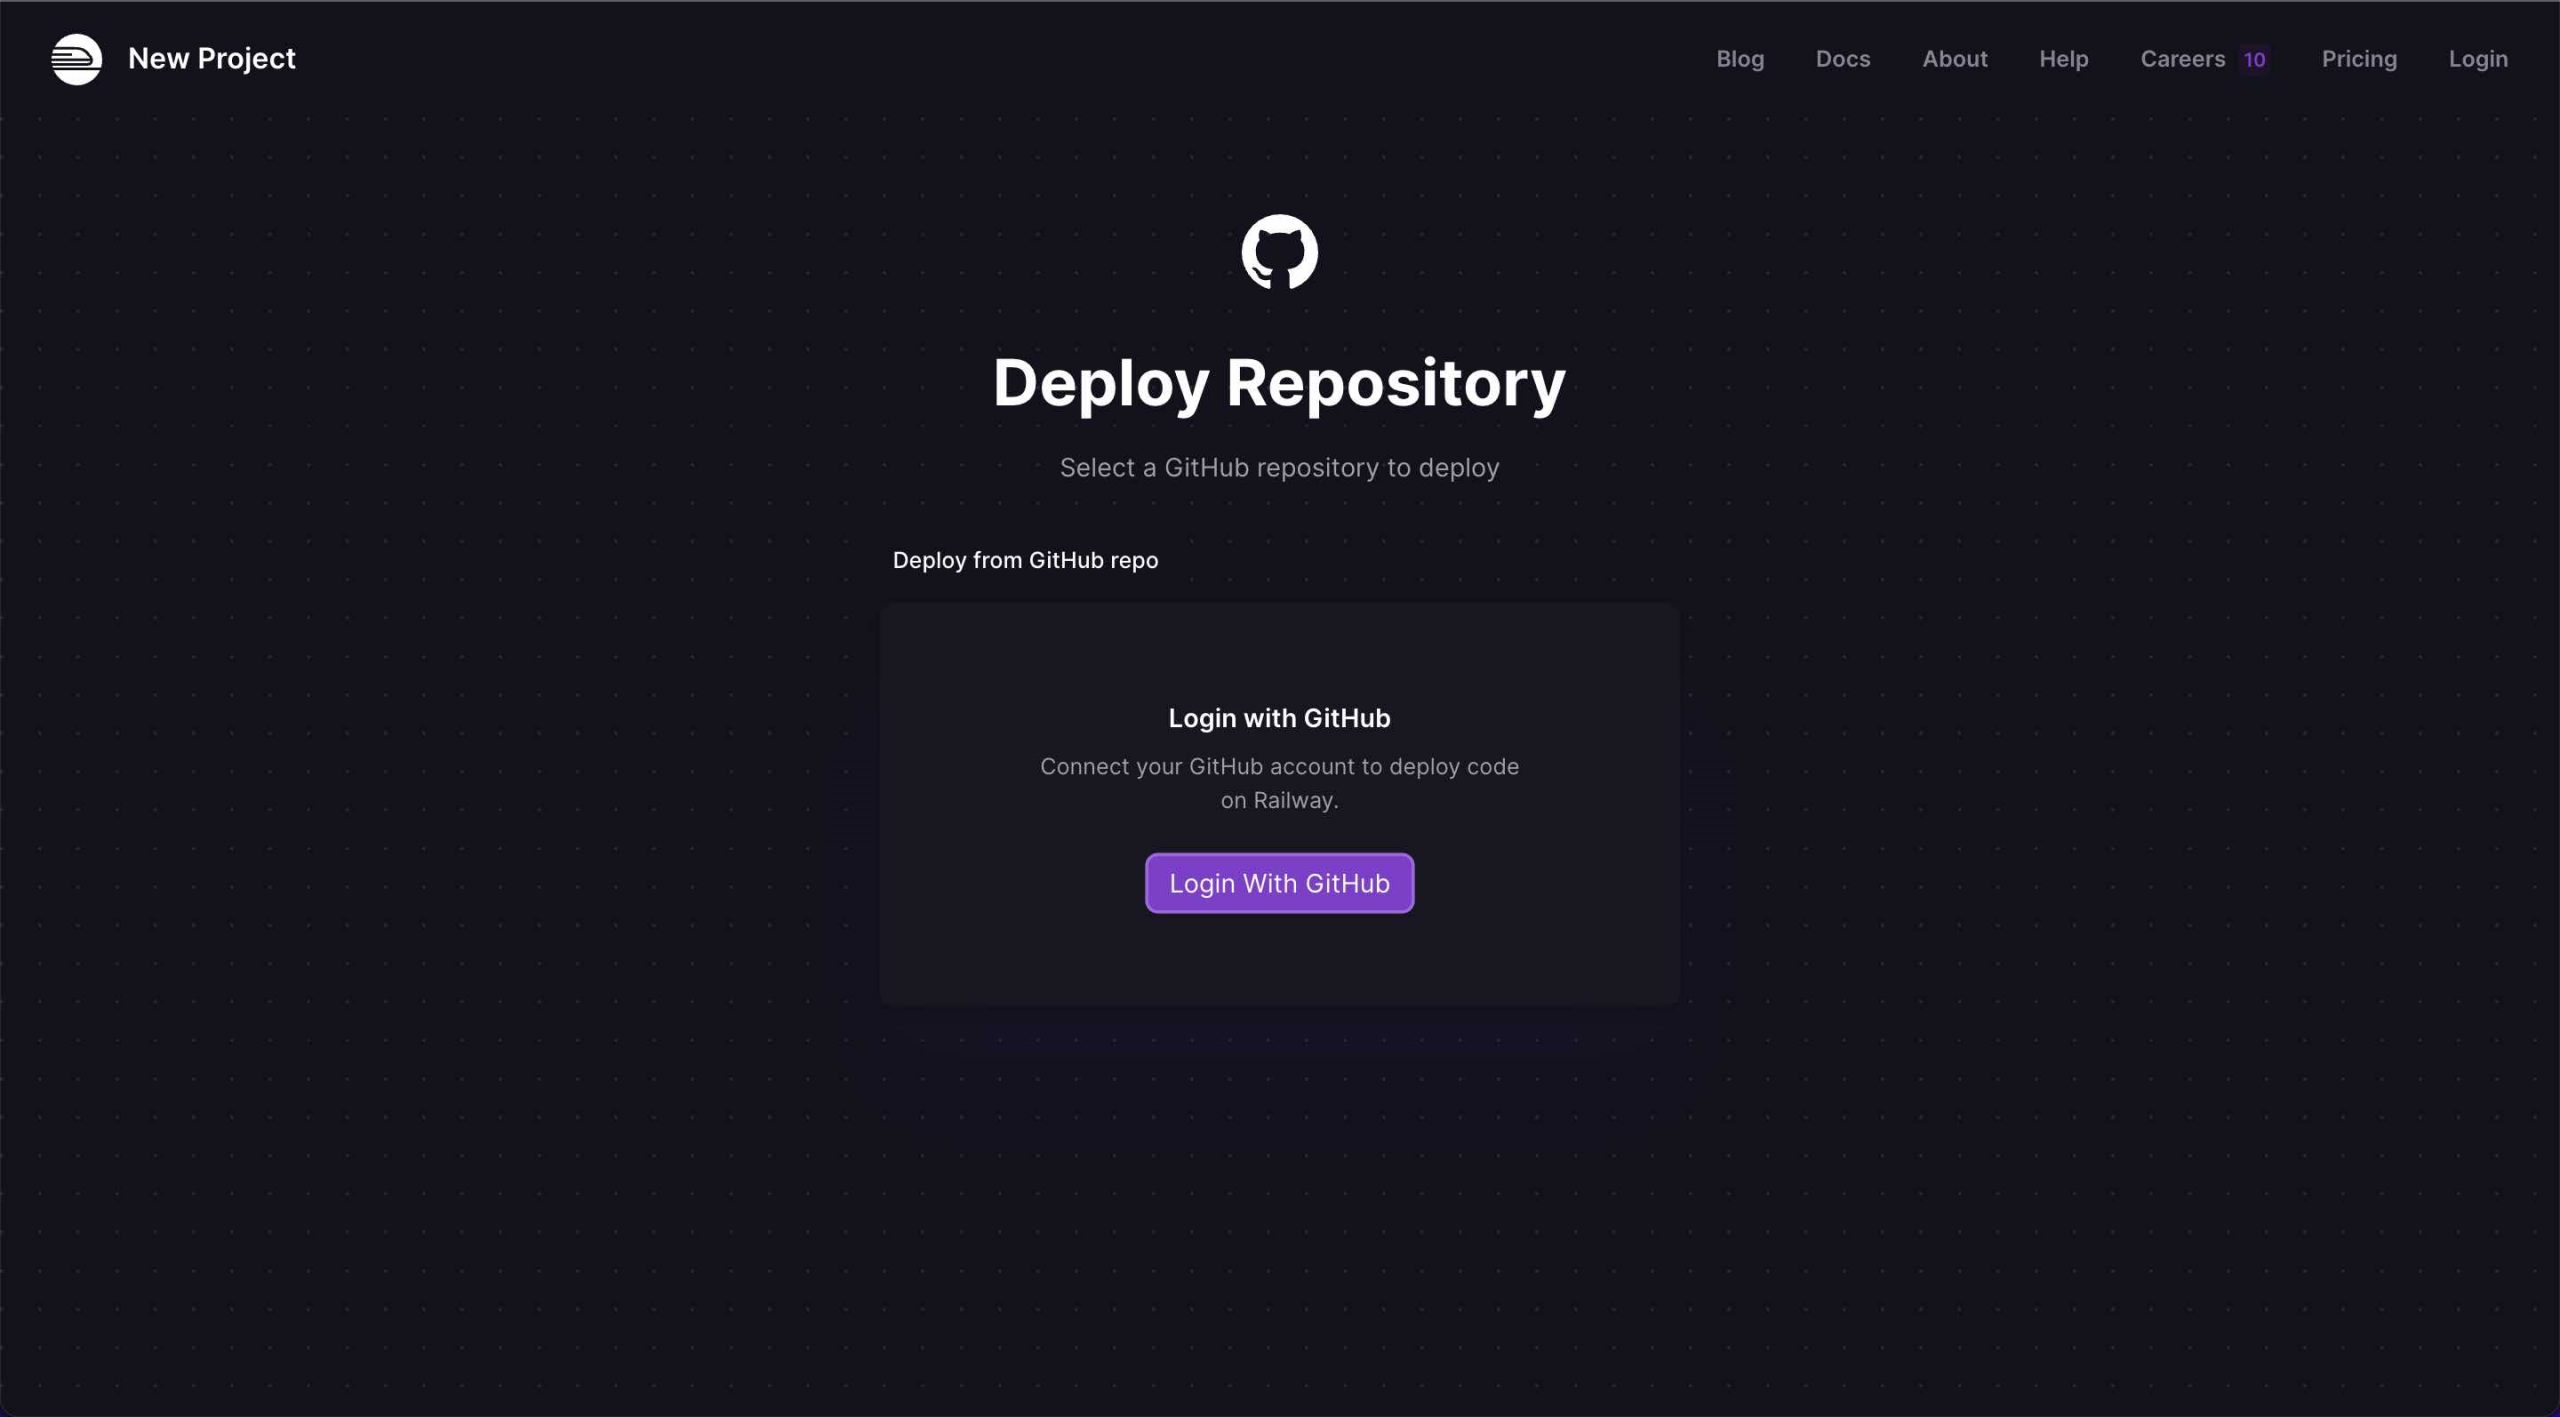
- Click the Login With Github button allow access to all or one repo
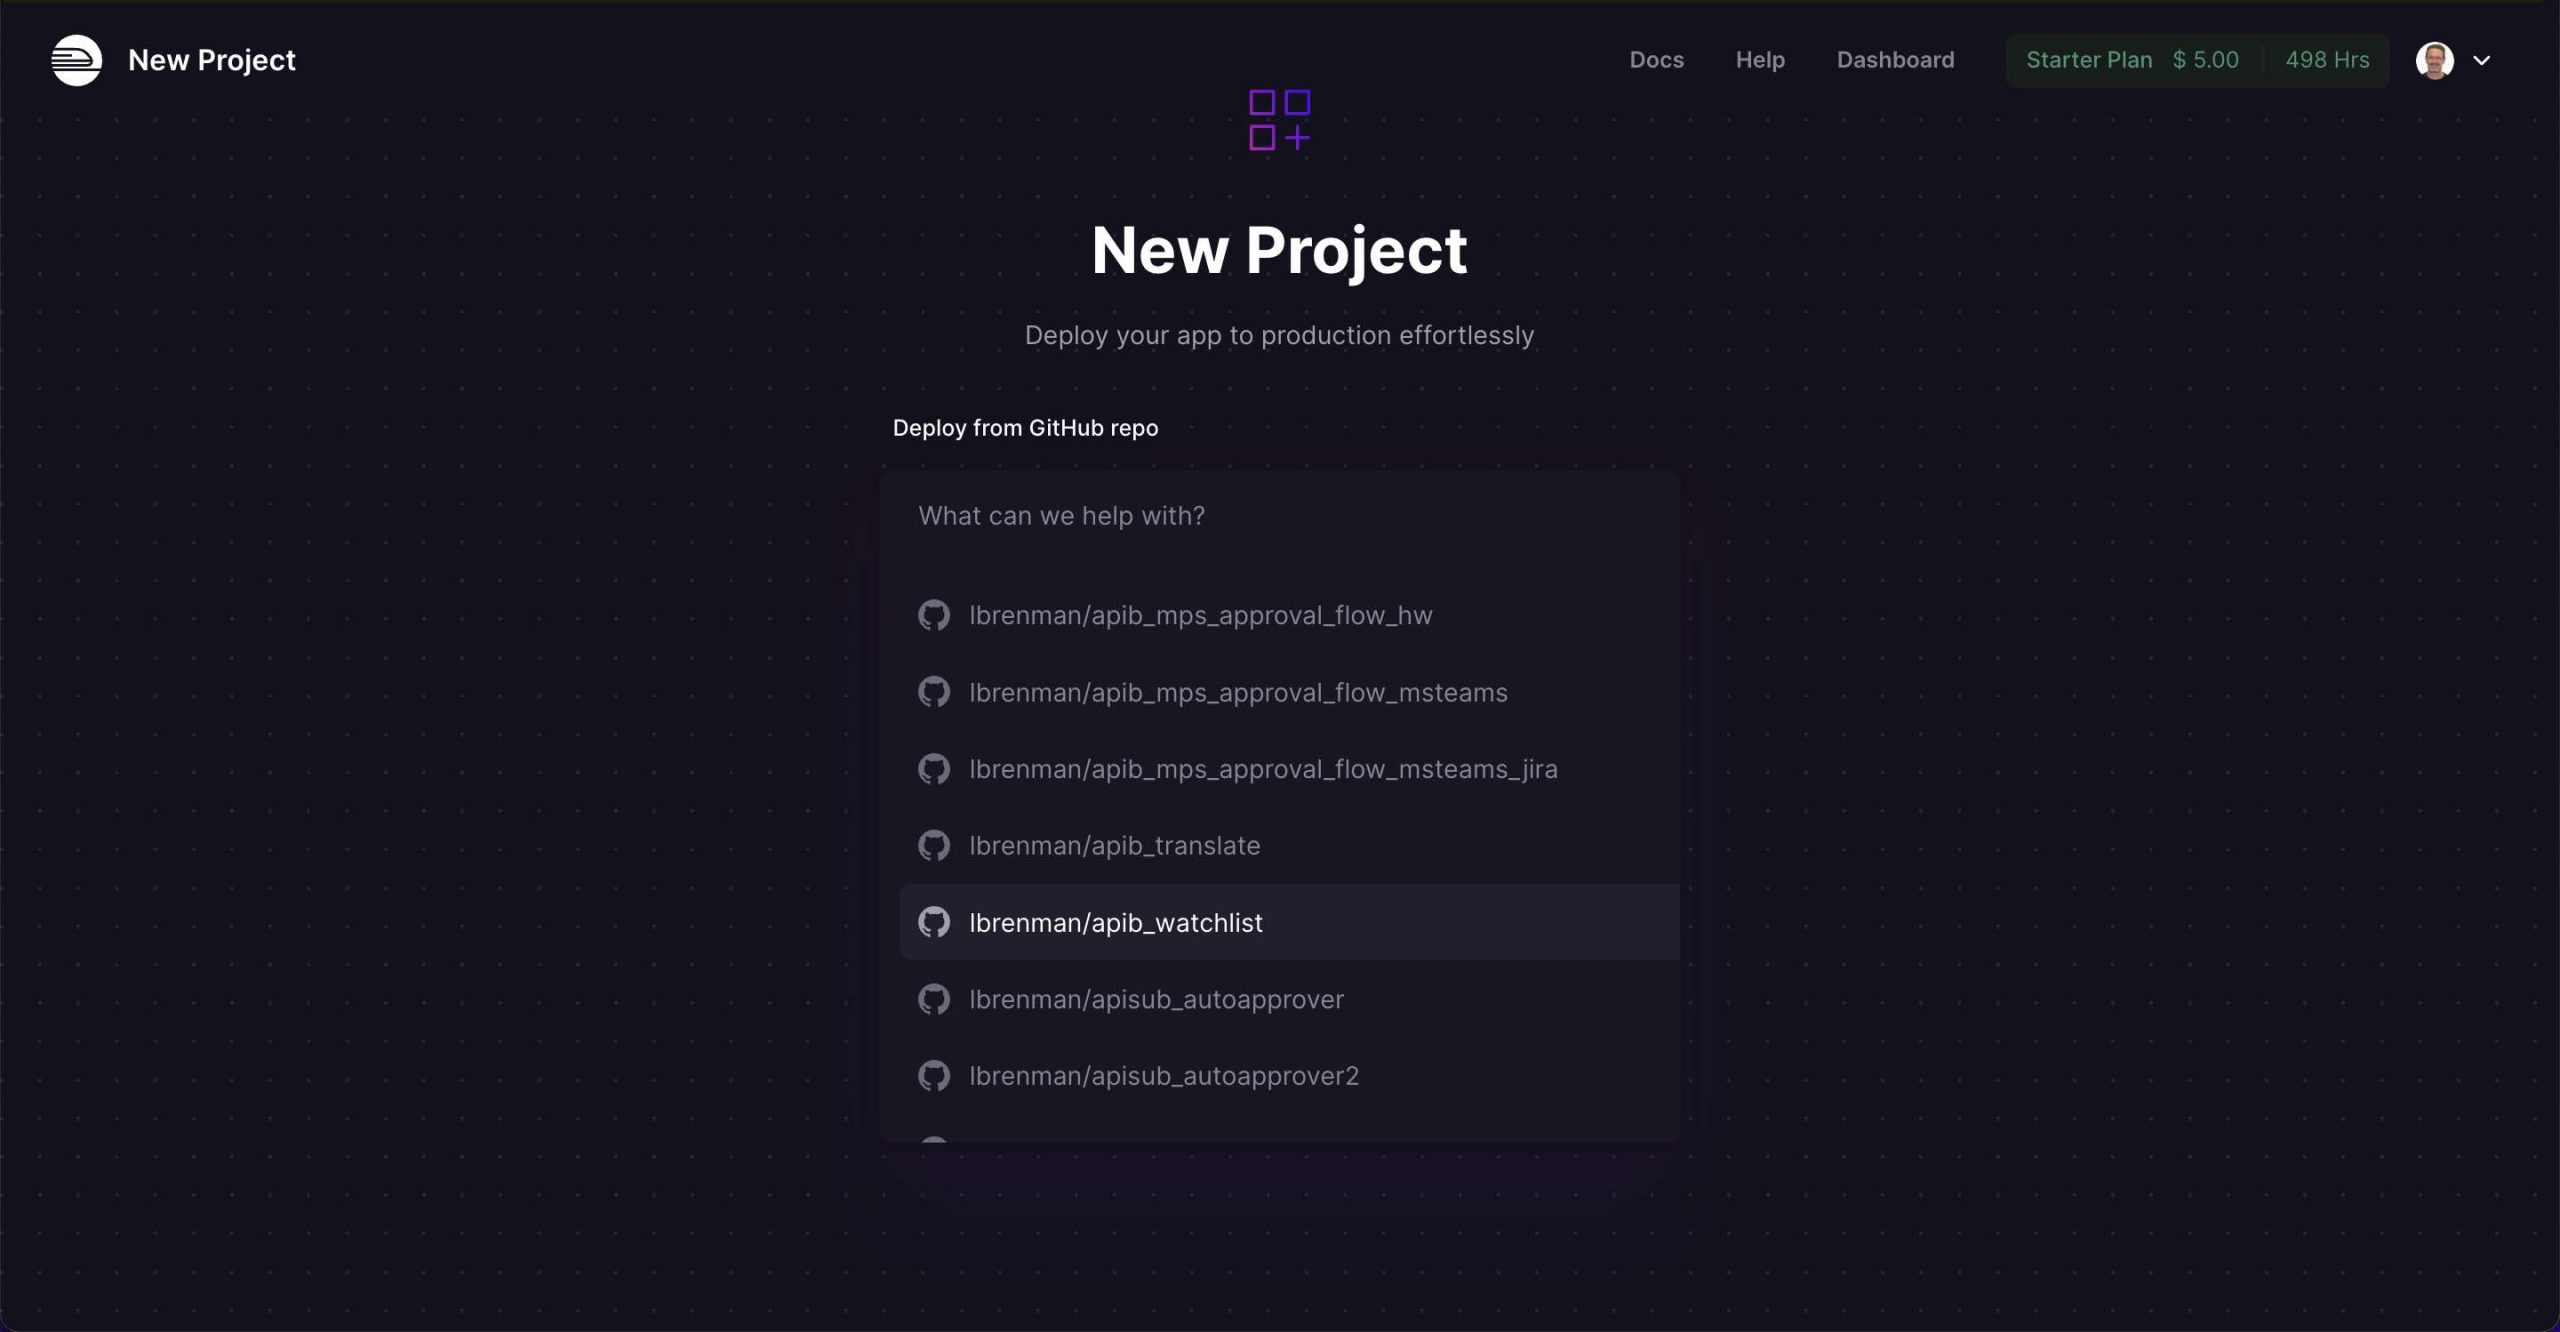
- Select the API Builder Github repo (e.g.
lbrenman/apib_watchlist)
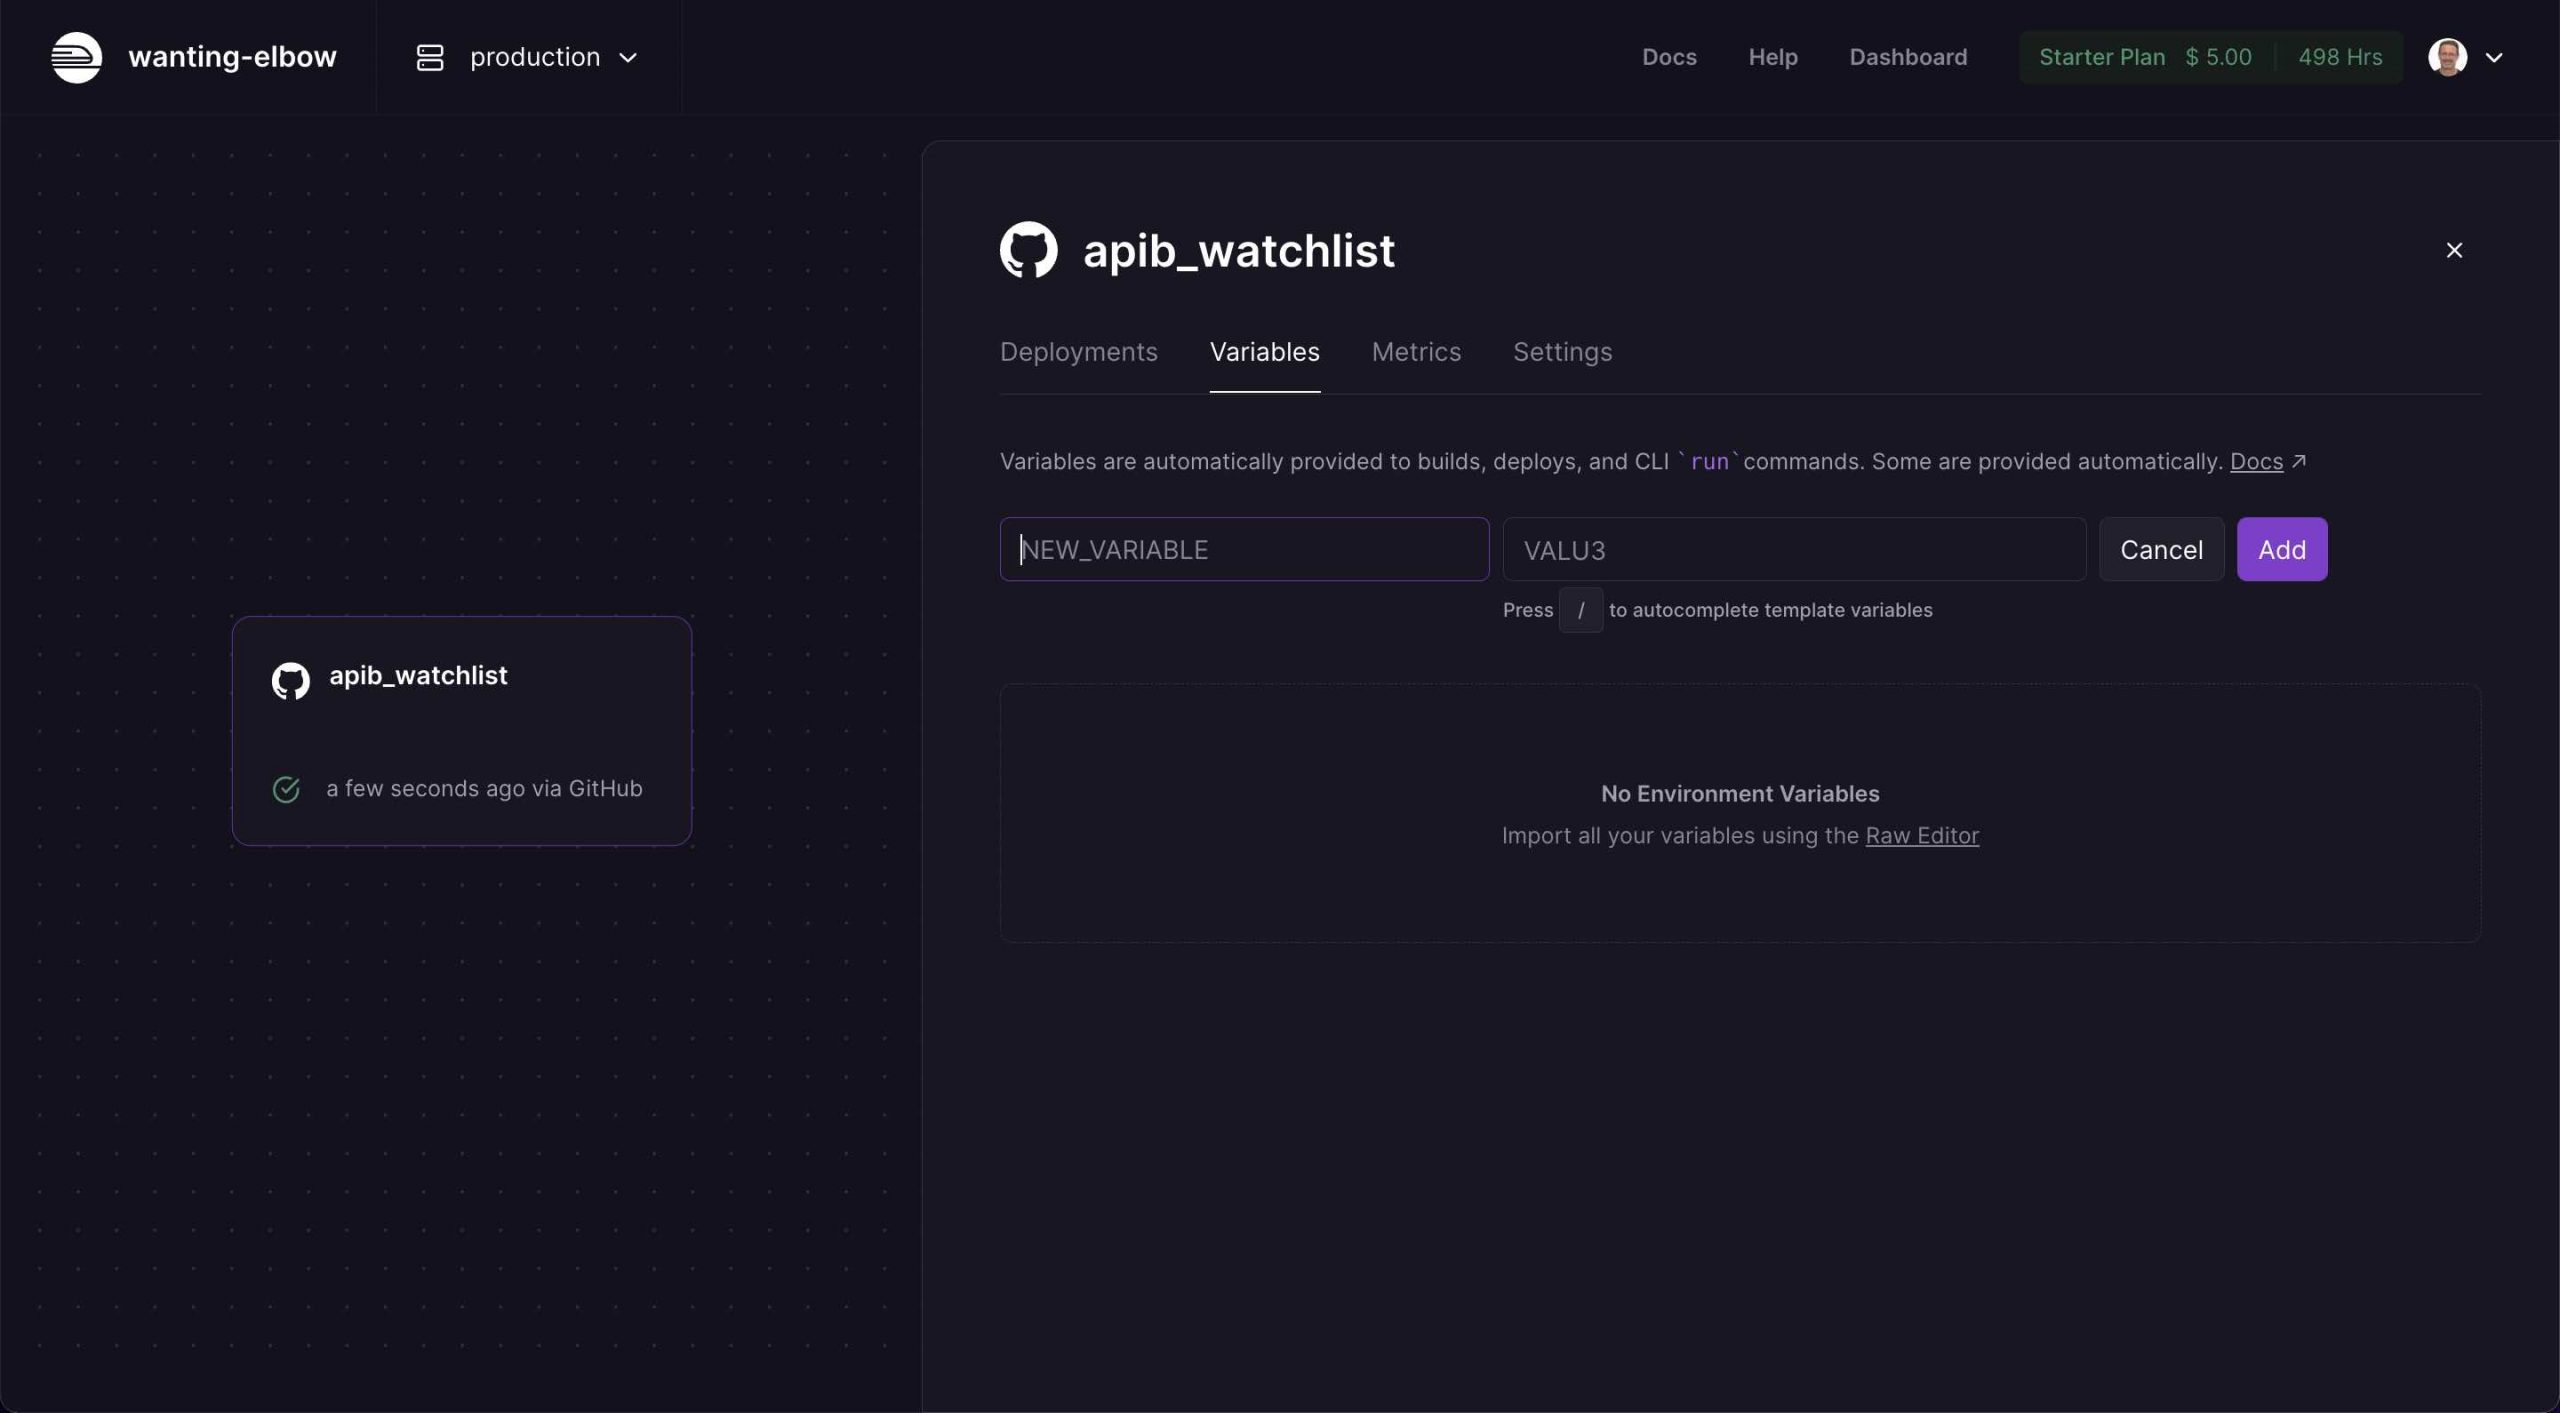
- Select + Add variables
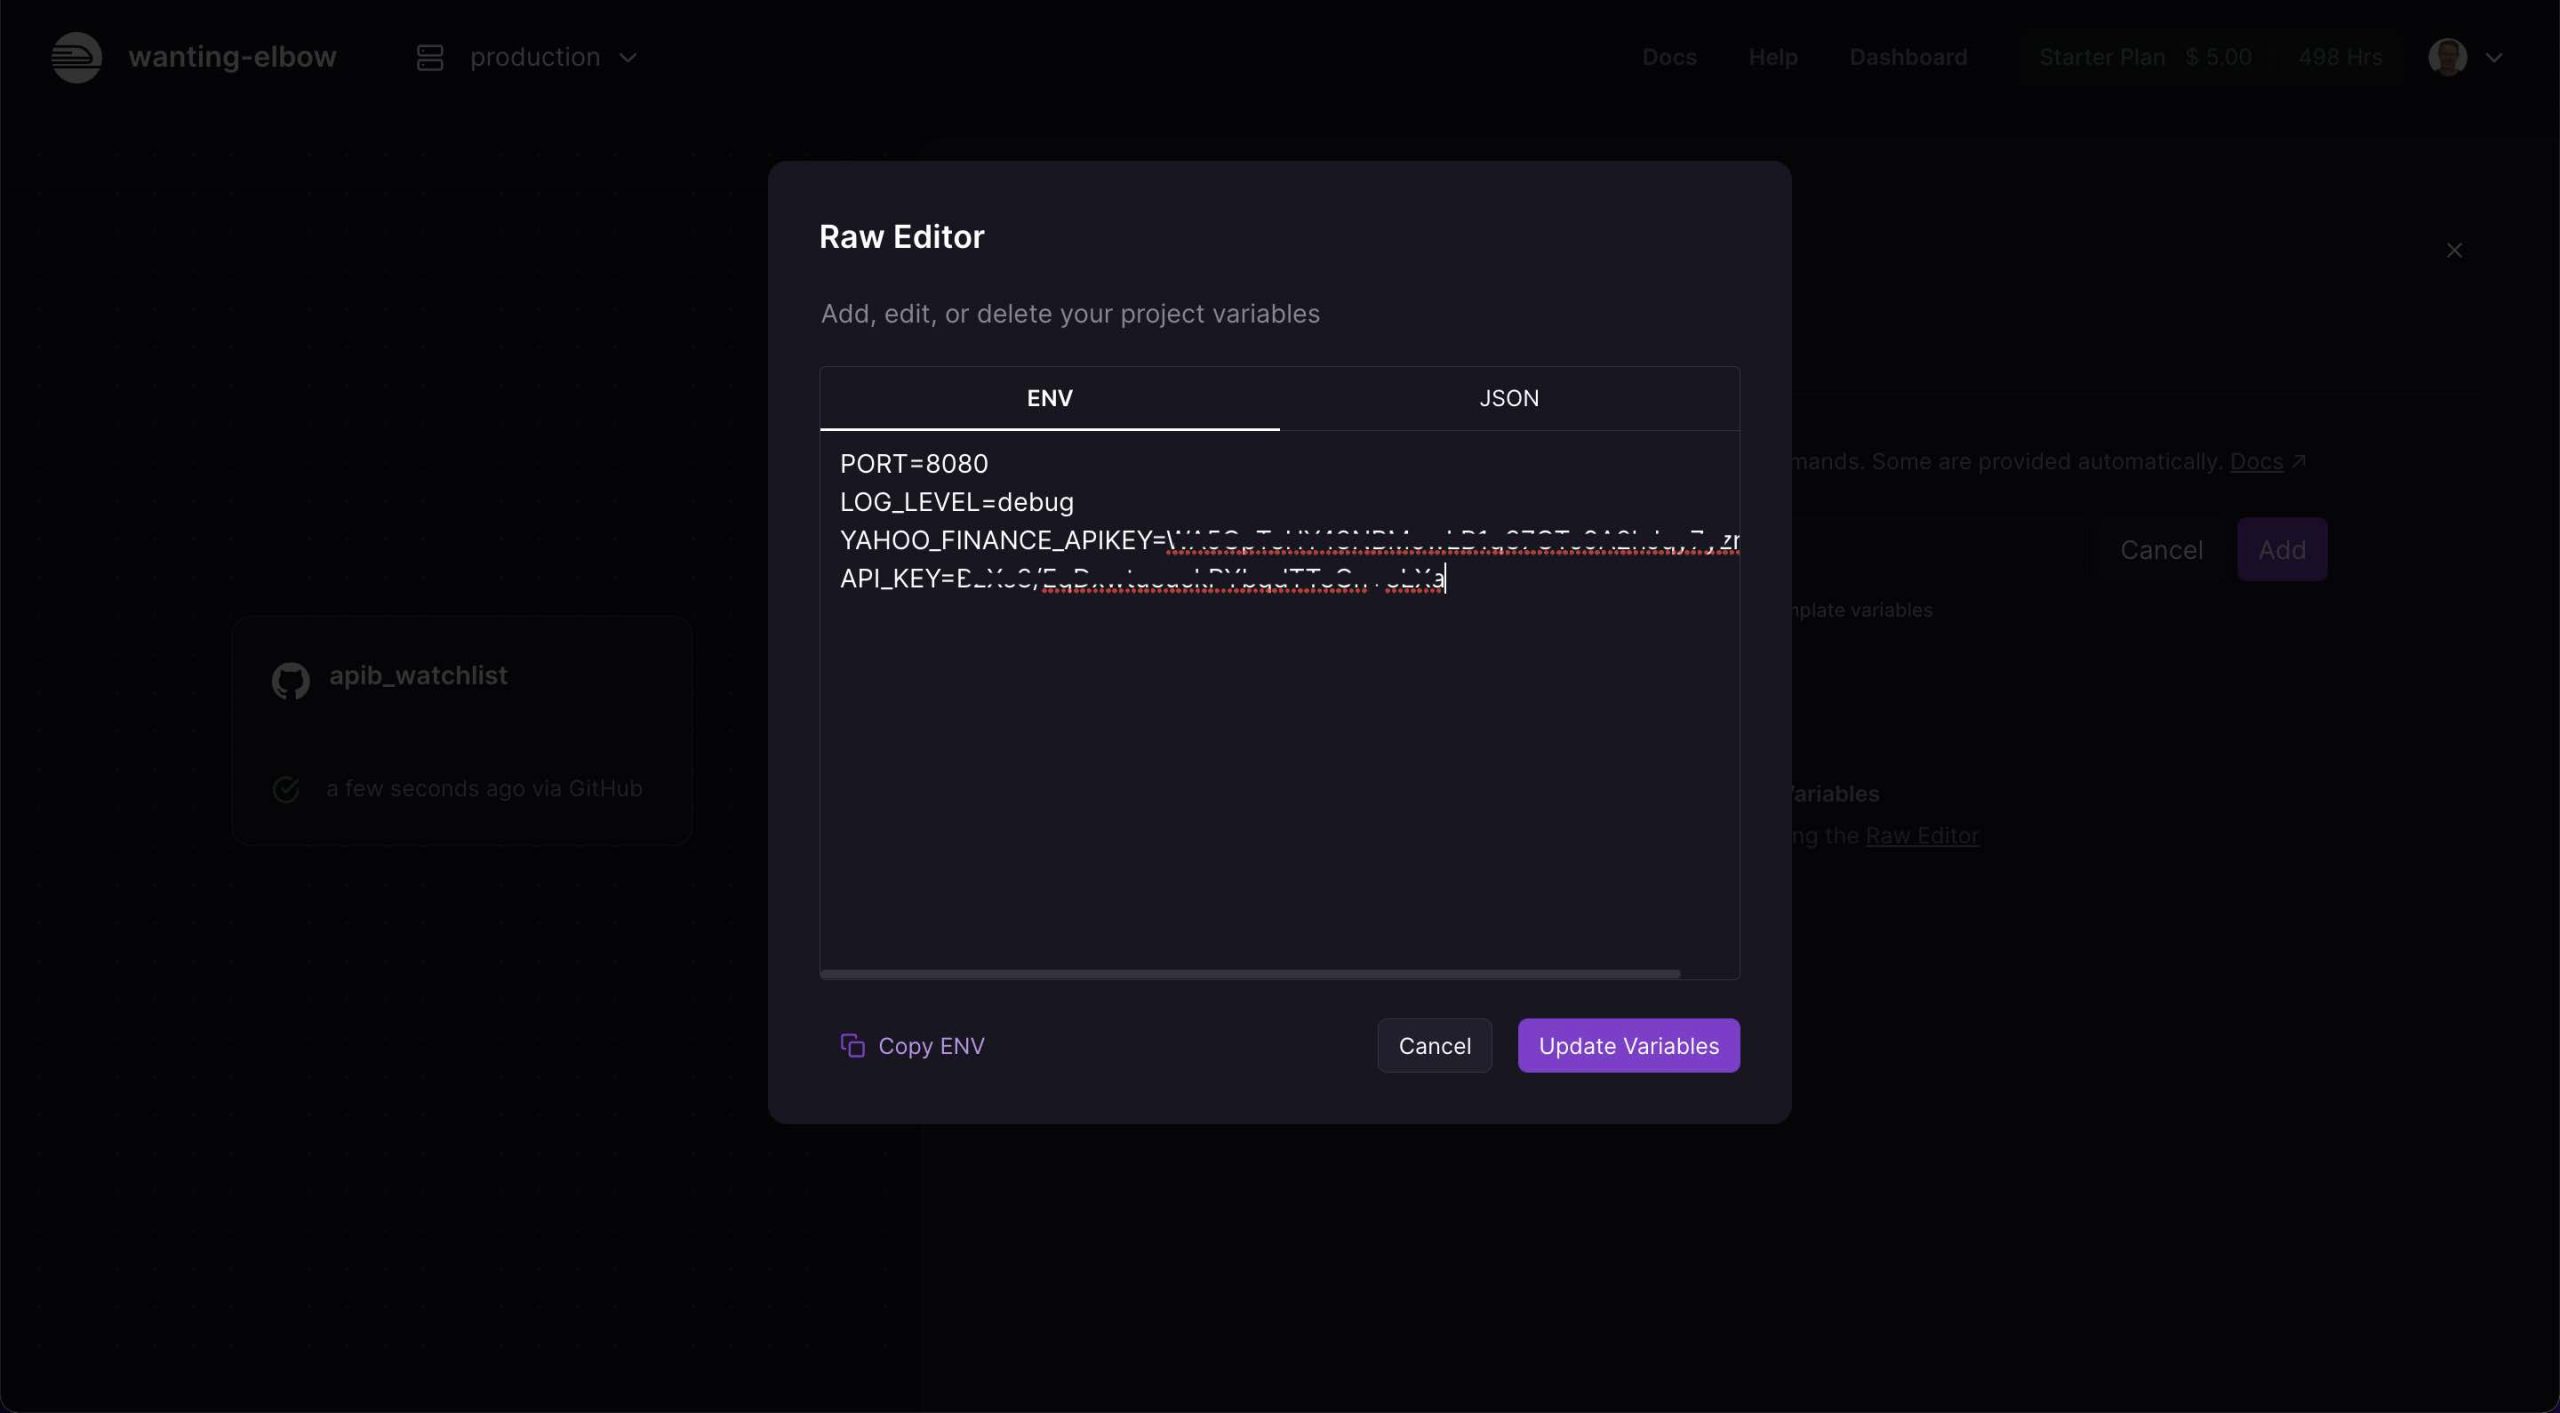
- Select Import all your variables using the Raw Editor
- Paste in your Environment Variables (i.e. from your API Builder project
/conf/.envfile) and click the Update Variables button
- You will see a new deployment start based on the new environment variables
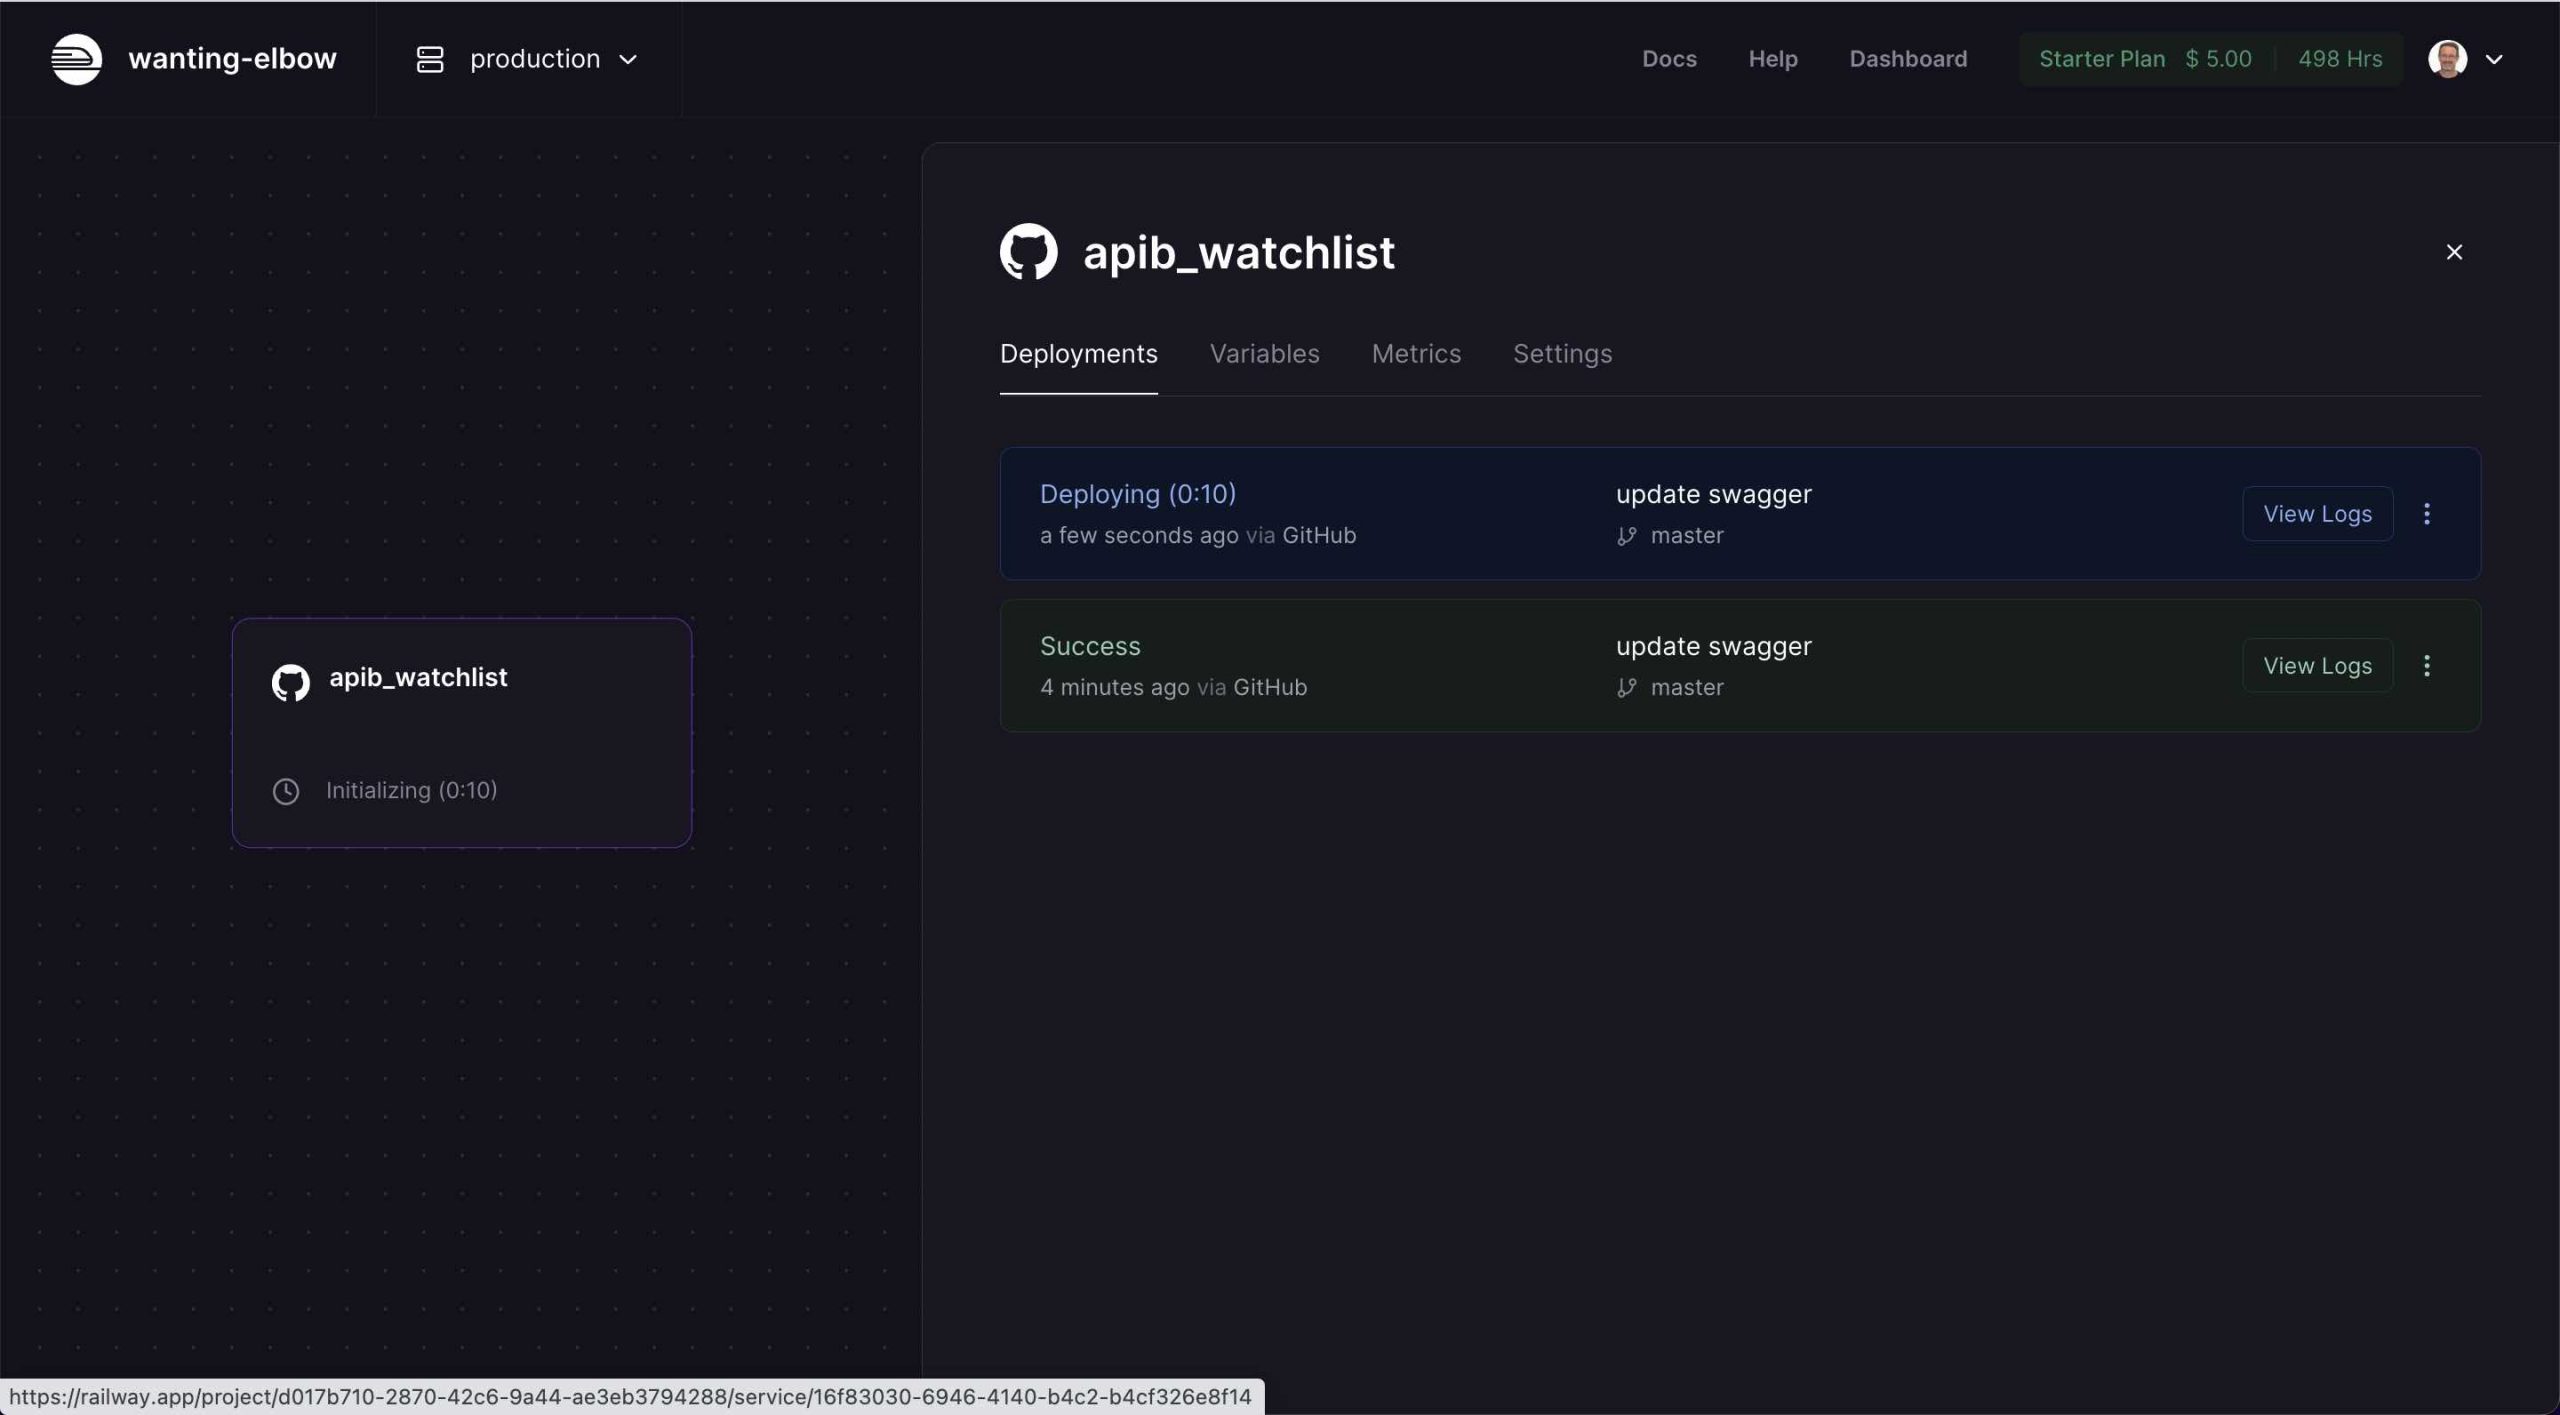
- Then your deployment should succeed
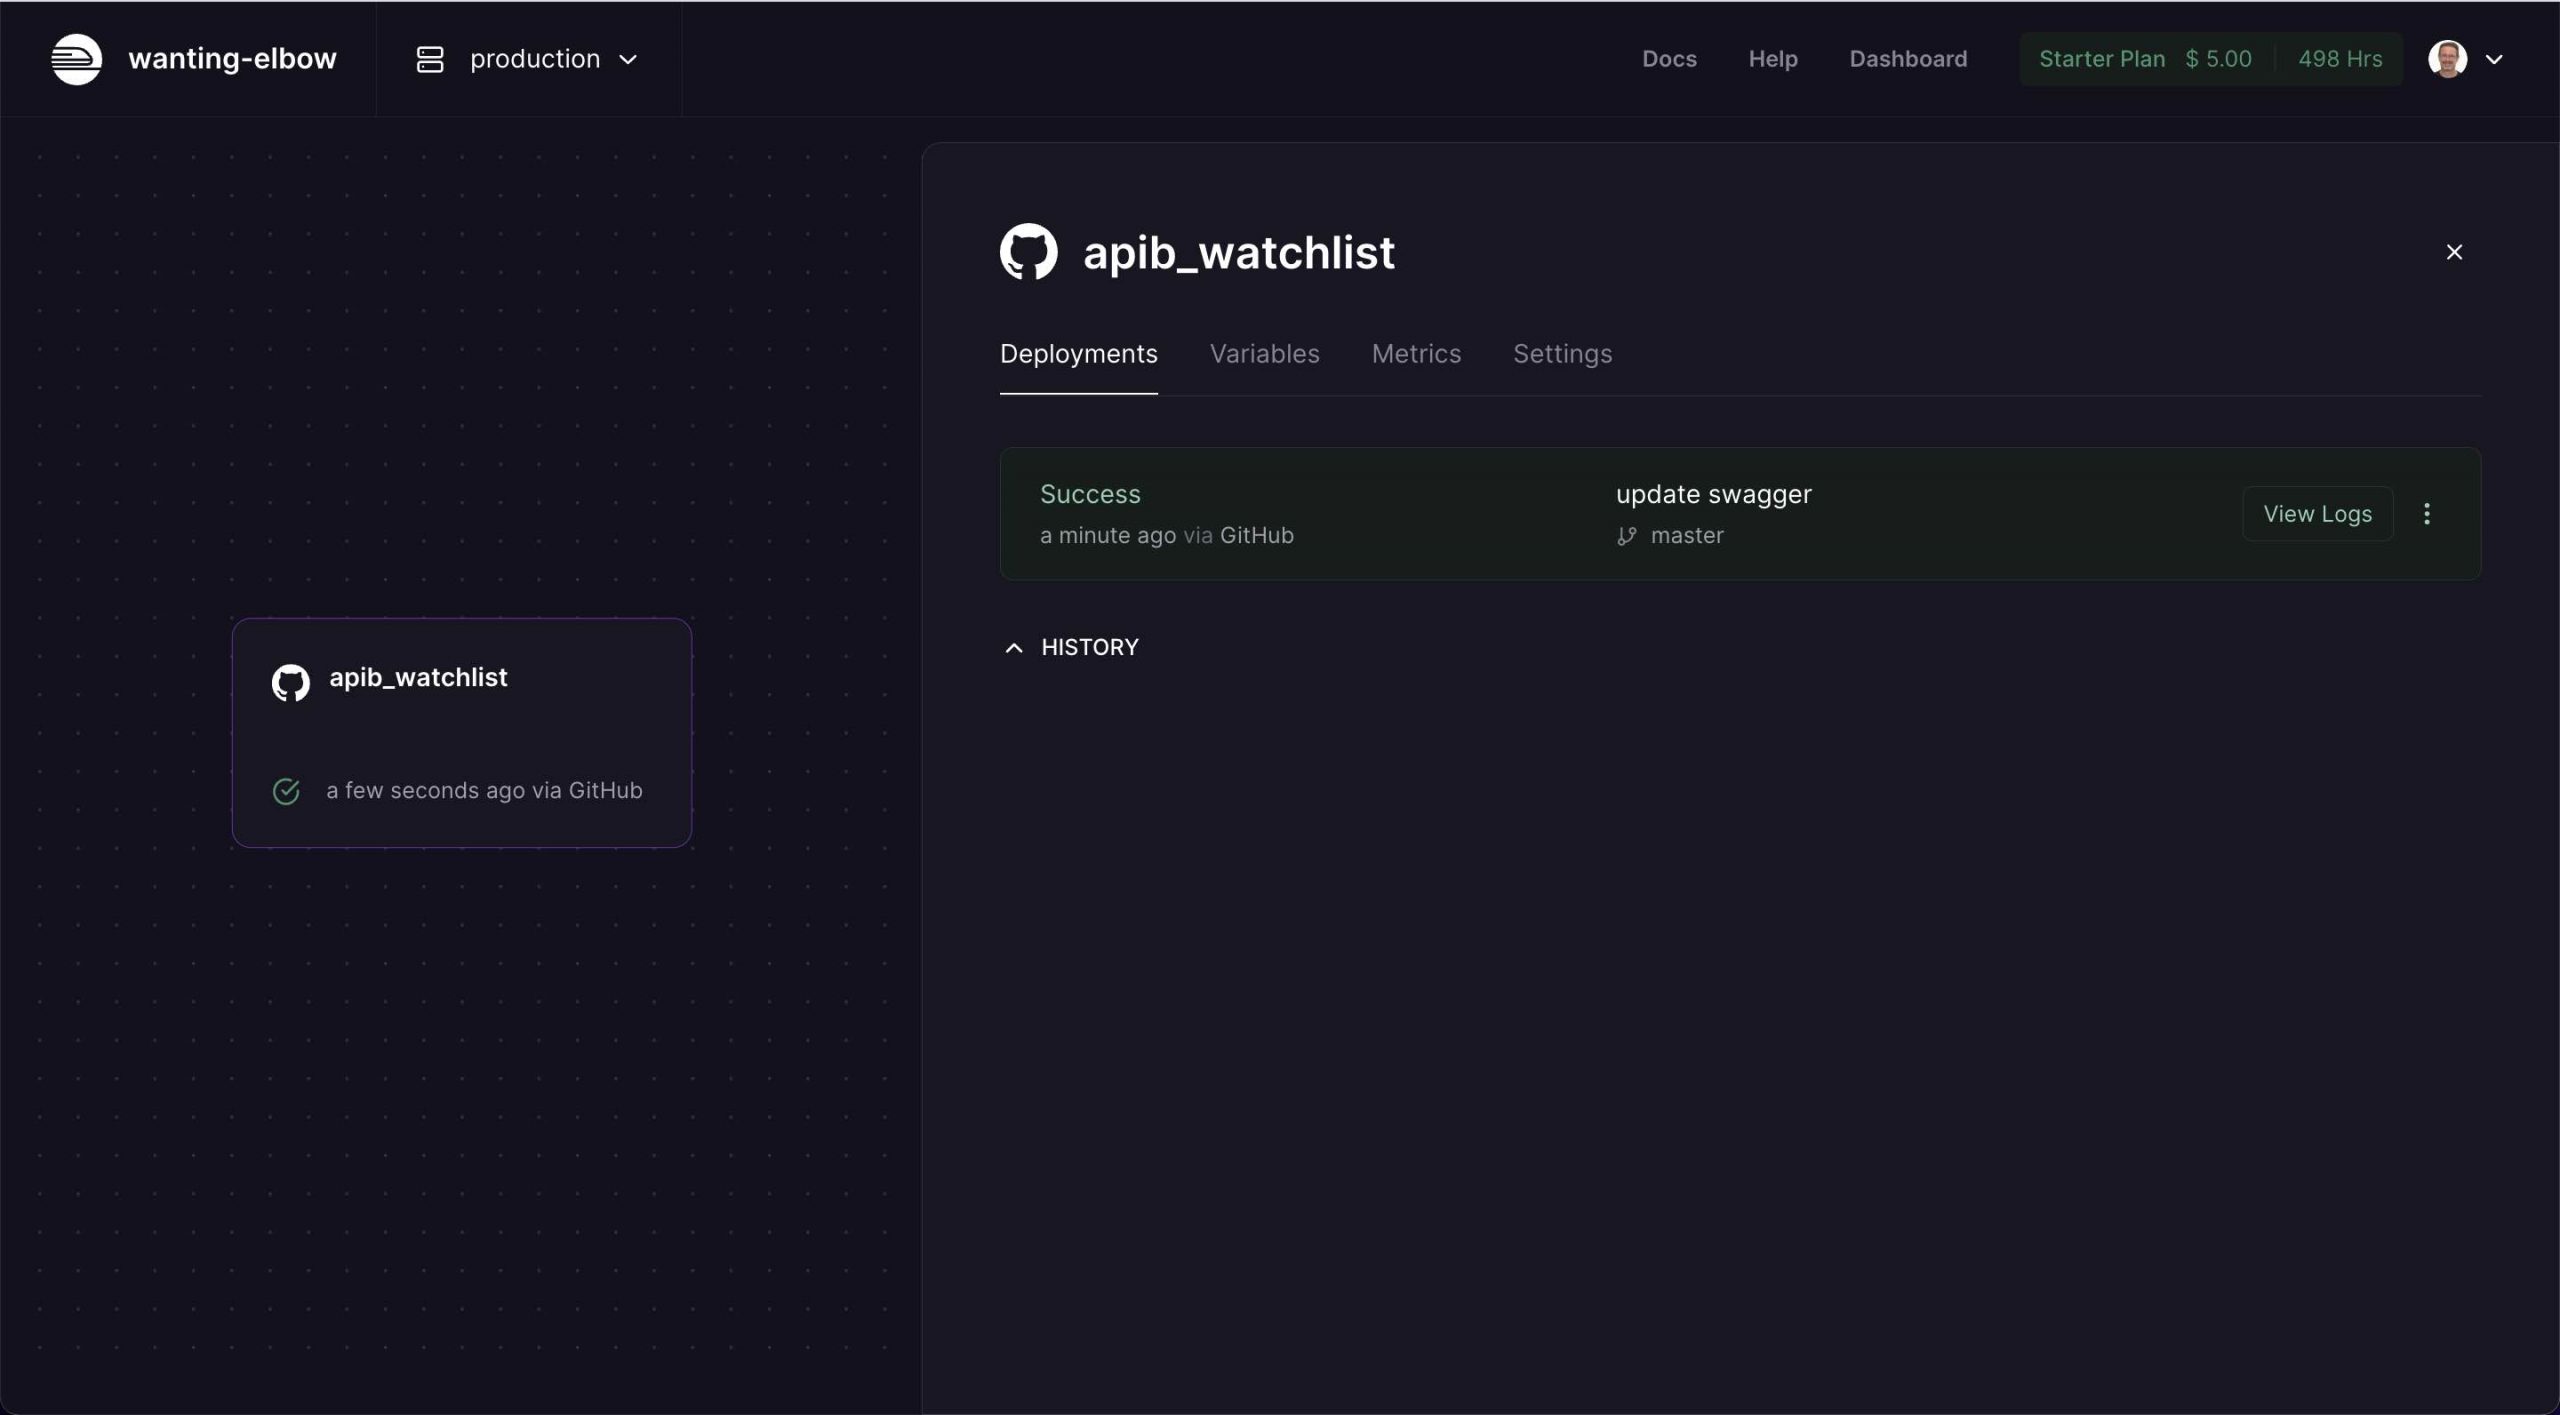
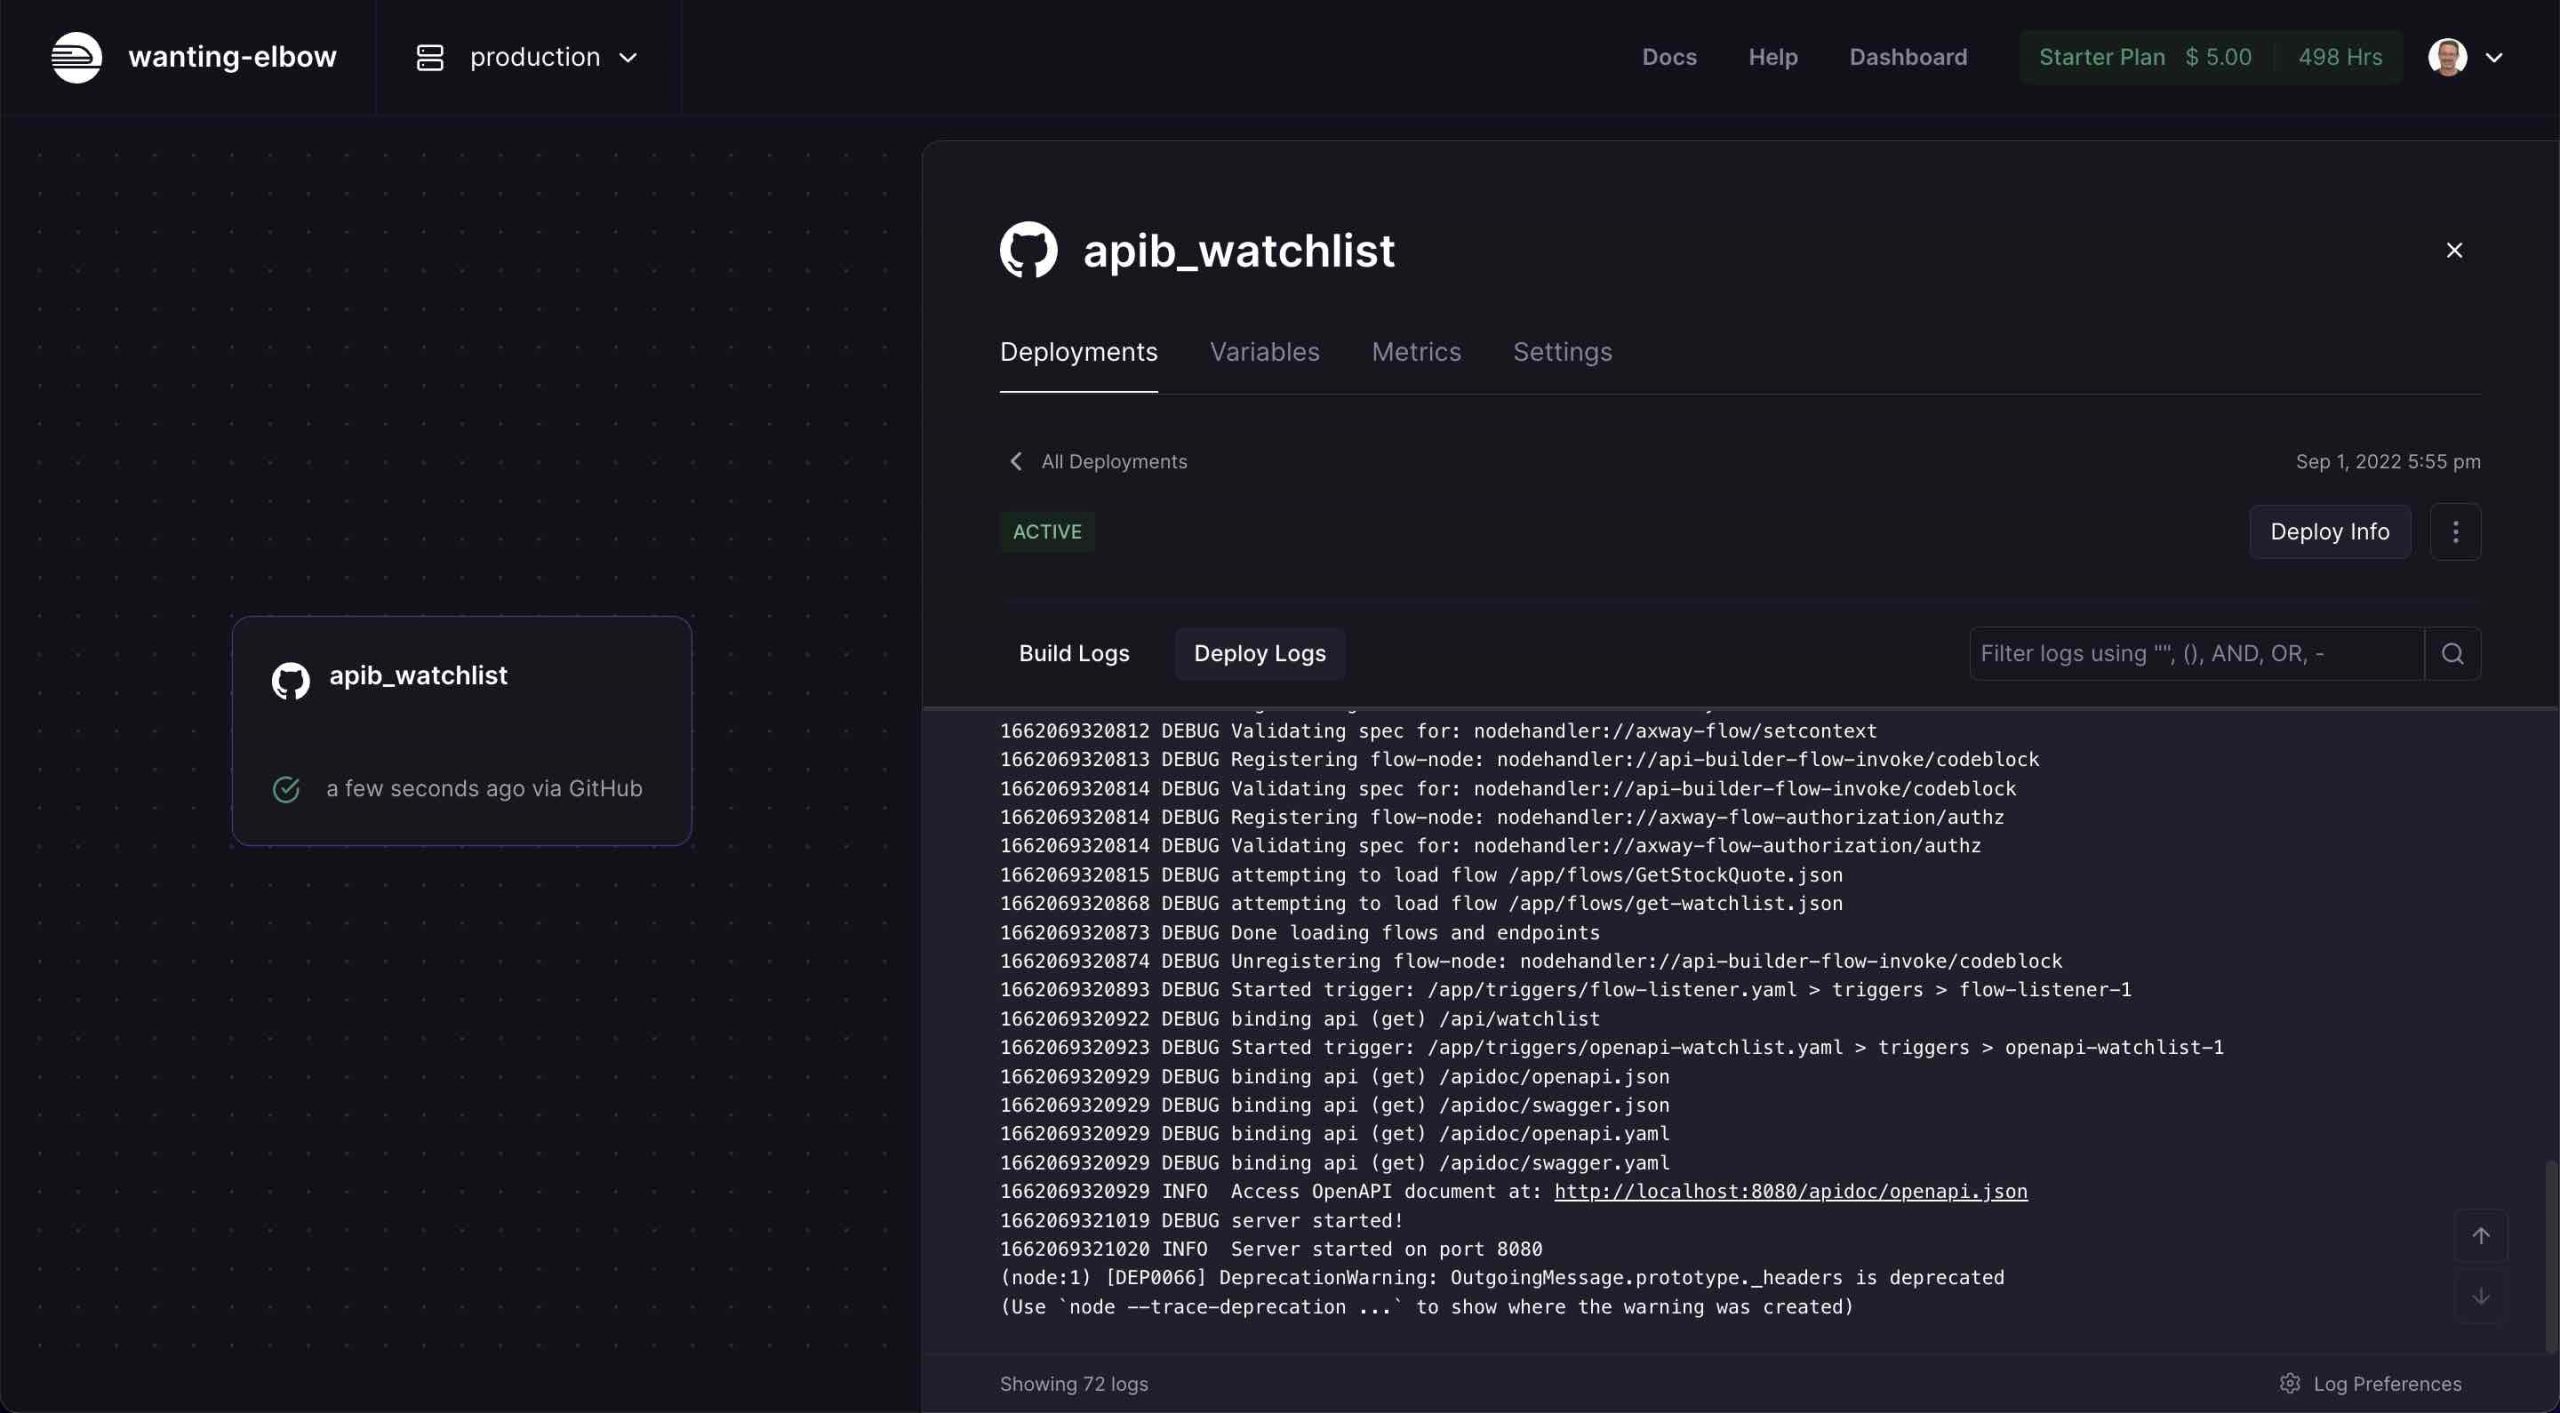
- Click the View Logs button to see your API Builder project has launched and is listening for traffic
Generate a domain
As described here, Railway will detect that your app is listening for traffic. This can take several minutes.
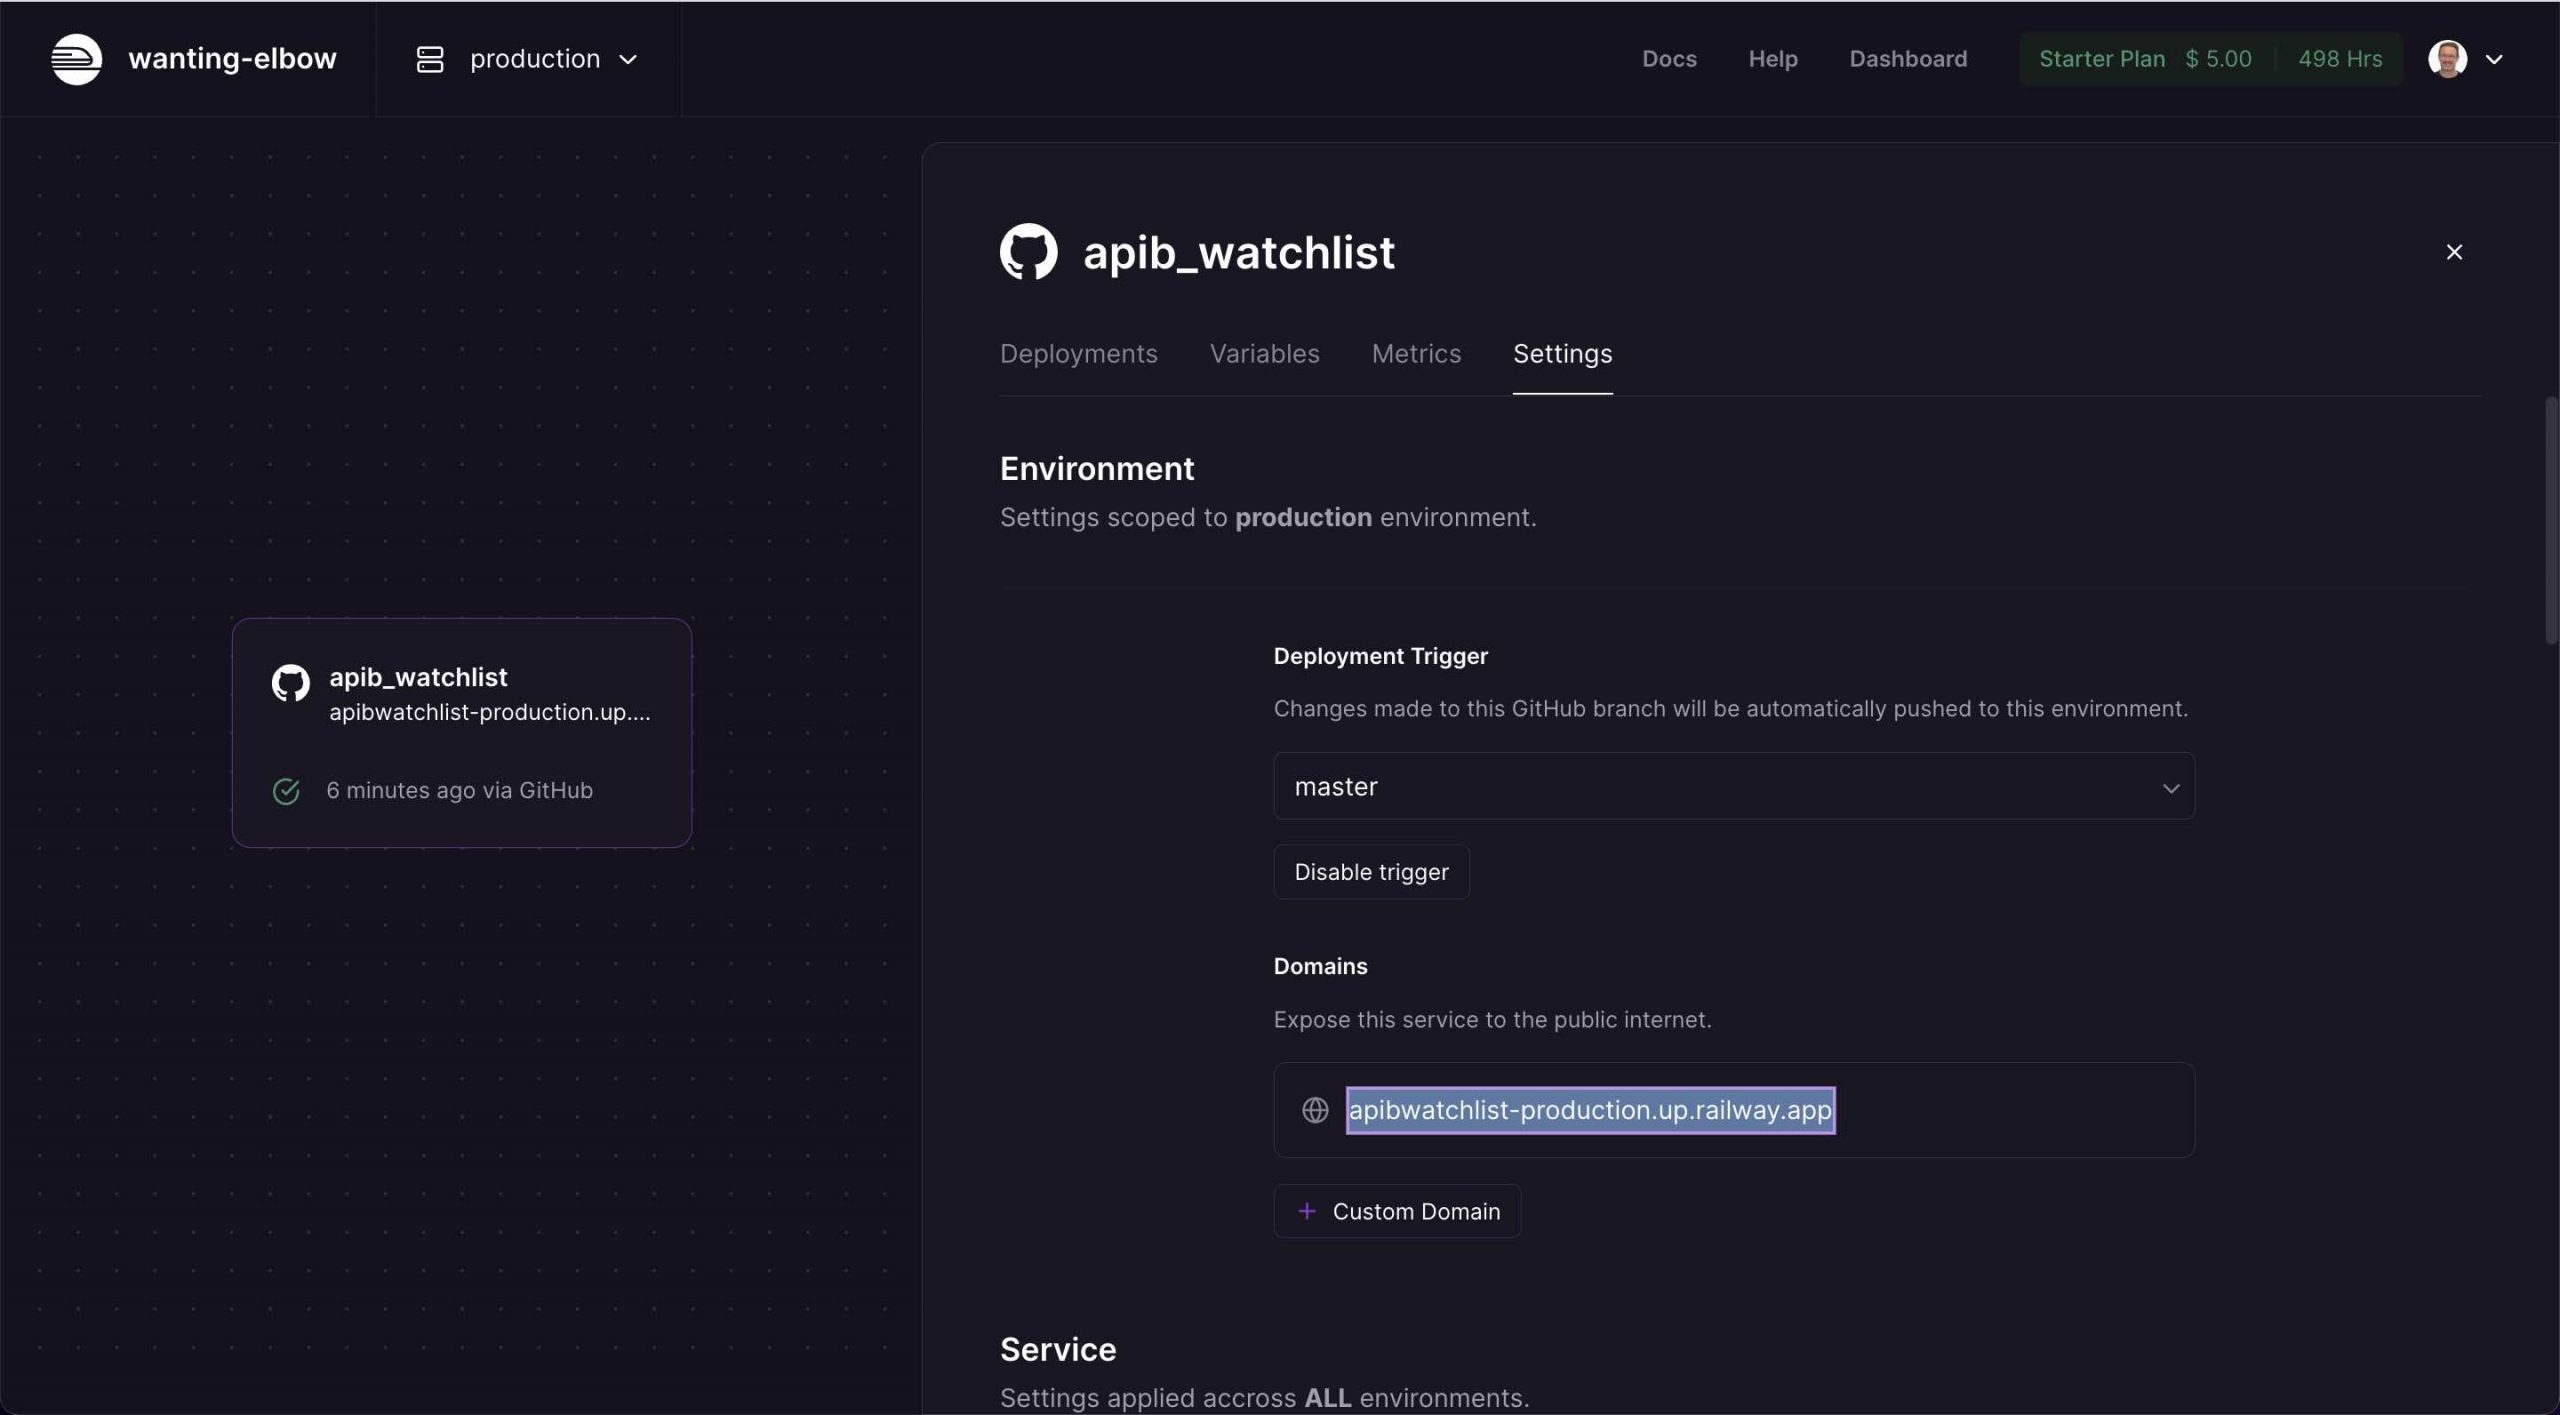
- Check the Settings tab for your deployment to see if the Generate Domain button is displayed. if not, wait and refresh the browser

- Click on the Generate Domain button and copy your host address (e.g.
apibwatchlist-production.up.railway.app)
Test your API
- Use Postman or construct your curl command with the base address above and test your API:
curl --location --request GET 'https://apibwatchlist-production.up.railway.app/api/watchlist?stocklist=aapl,txn,intc,amzn,t' --header 'accept: application/json' --header 'apikey: <API KEY YOU SET AS AN ENVIRONMENT VARIABLE>'with result:
[
  {
    "symbol": "AAPL",
    "lastPrice": 157.96,
    "change": 0.7400055
  },
  {
    "symbol": "TXN",
    "lastPrice": 166.16,
    "change": 0.94999695
  },
  {
    "symbol": "INTC",
    "lastPrice": 31.76,
    "change": -0.15999985
  },
  {
    "symbol": "AMZN",
    "lastPrice": 127.82,
    "change": 1.050003
  },
  {
    "symbol": "T",
    "lastPrice": 17.5,
    "change": -0.040000916
  }
]
Summary
As we saw in this blog post, Railway makes it incredibly easy to deploy and test an API Builder Docker image from a Github repo.
Need help with API Builder? Extend your skills with Axway University.