In this blog post we will see how we can easily deploy an API Builder Docker container using Heroku. Heroku has a “Free and Hobby” plan that is free and can be used for non-commercial apps, such proof-of-concepts, MVPs, and personal projects and supports running Docker images.
For this blog post, you will need familiarity and access to the following:
You will also need a working and tested API Builder project along with it’s pre-requisites. I will use the API Builder Stock Watchlist API described here.
The basic steps are:
- Install Heroku CLI
- Create an app in Heroku
- Set environment variables
- Upload API Builder container image to Heroku Container Registry
- Test API
We will describe the steps from start to finish, and when we are done we will have an API deployed in Heroku that can be publicly accessed over the internet. Most of the work involved is in setting up the Heroku CLI and getting an API Builder Docker image into the Heroku Container Registry. Creating the Heroku app is actually quite quick and easy.
Install Heroku CLI
Follow the “Install the Heroku CLI” instructions here. I used the following terminal command on my mac:
brew tap heroku/brew && brew install herokuNote that I needed to run terminal with Rosetta enabled just for the install since I am on an M1 Mac. This is described here.
Create an App in Heroku
You can create a Heroku app through the CLI using heroku create or the UI. I chose the UI in order to specify the app name and not have a randomly generated Heroku app name as follows:
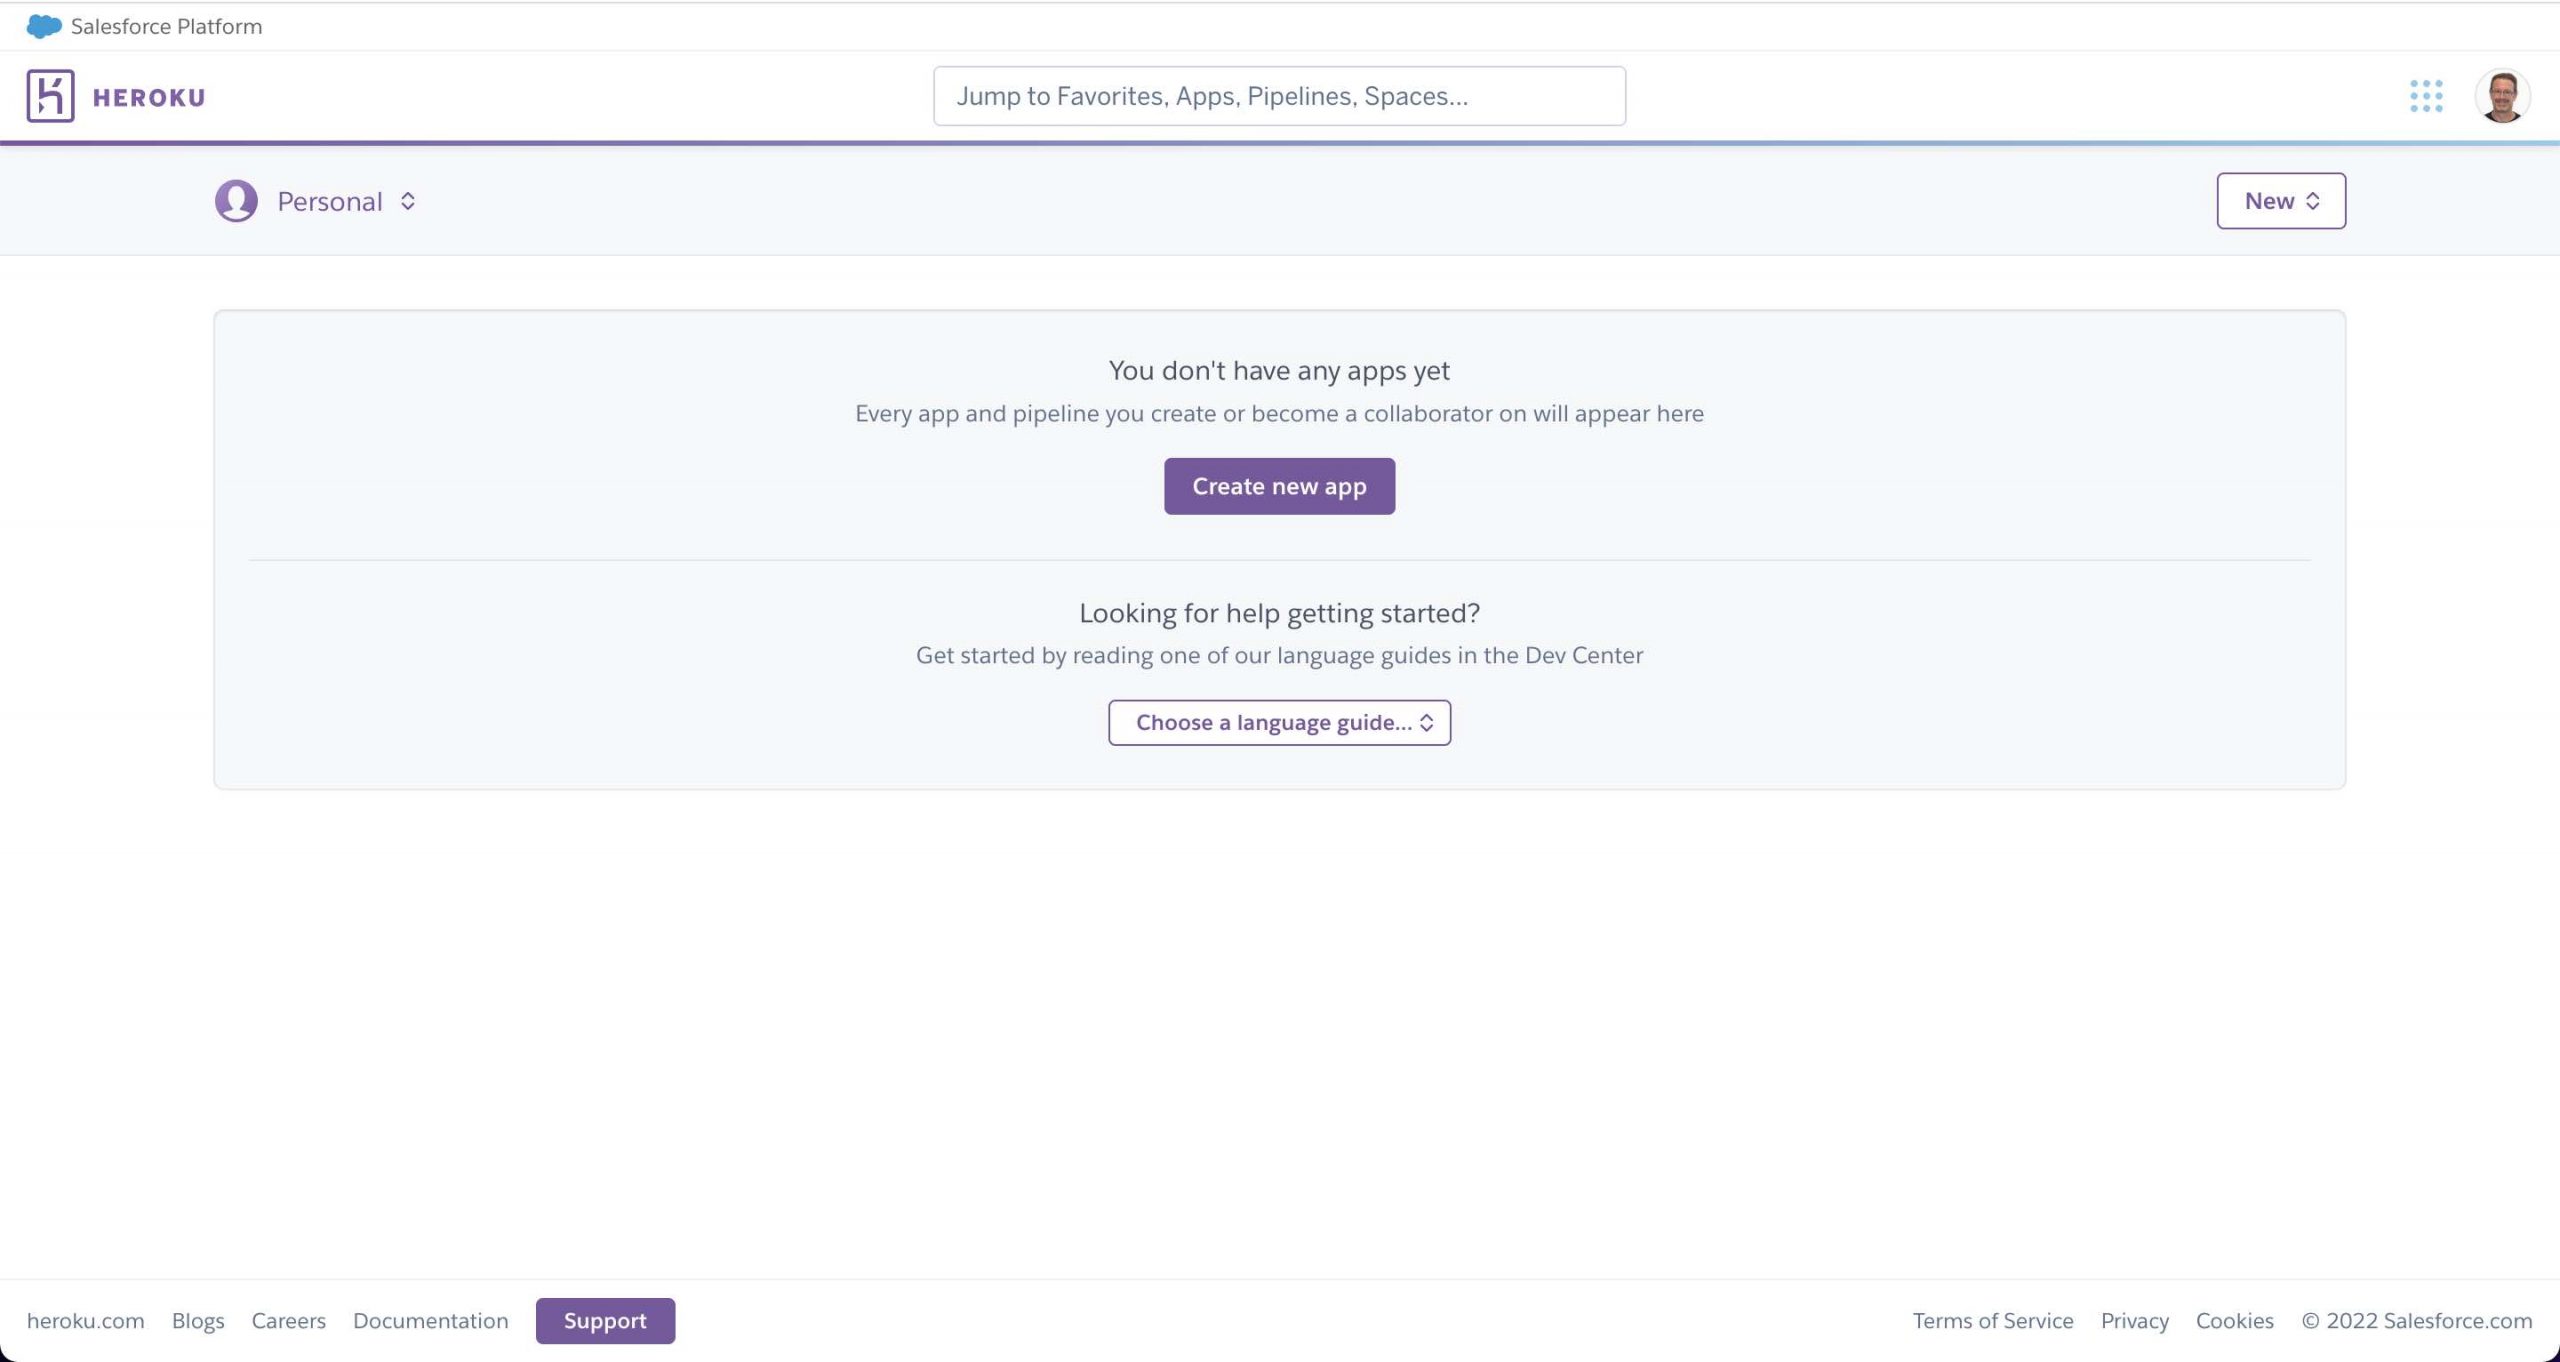
- Start at the Heroku Apps page and click on Create new app button
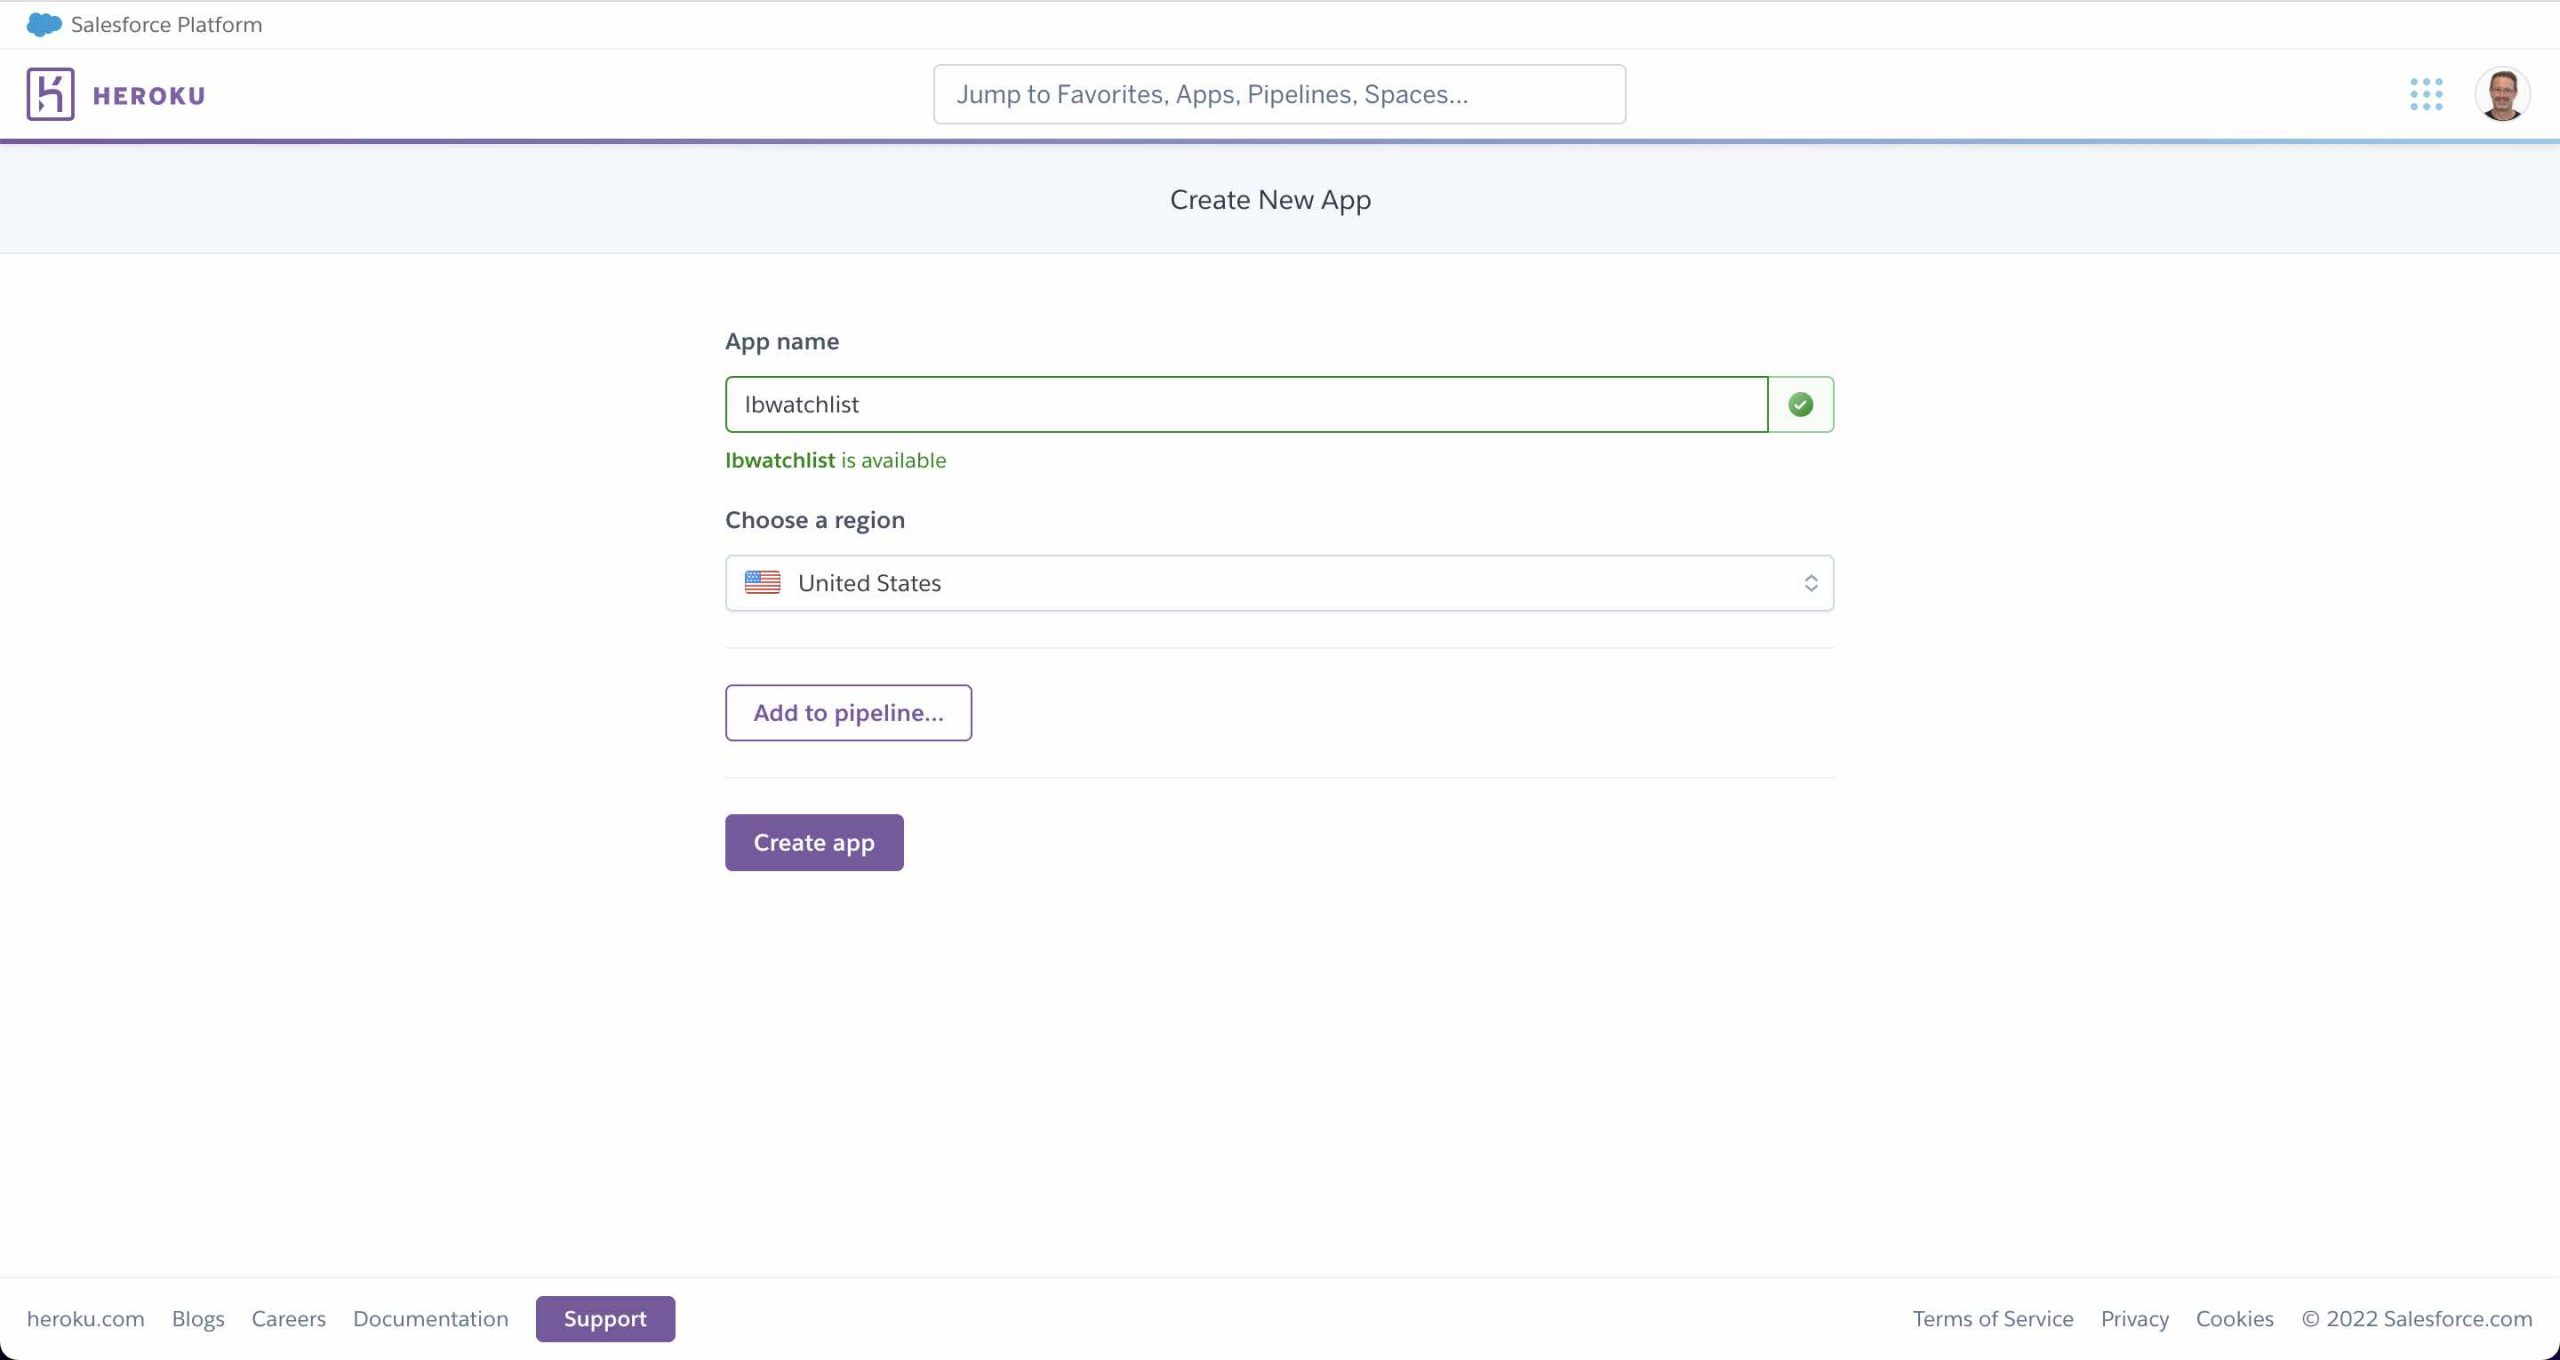
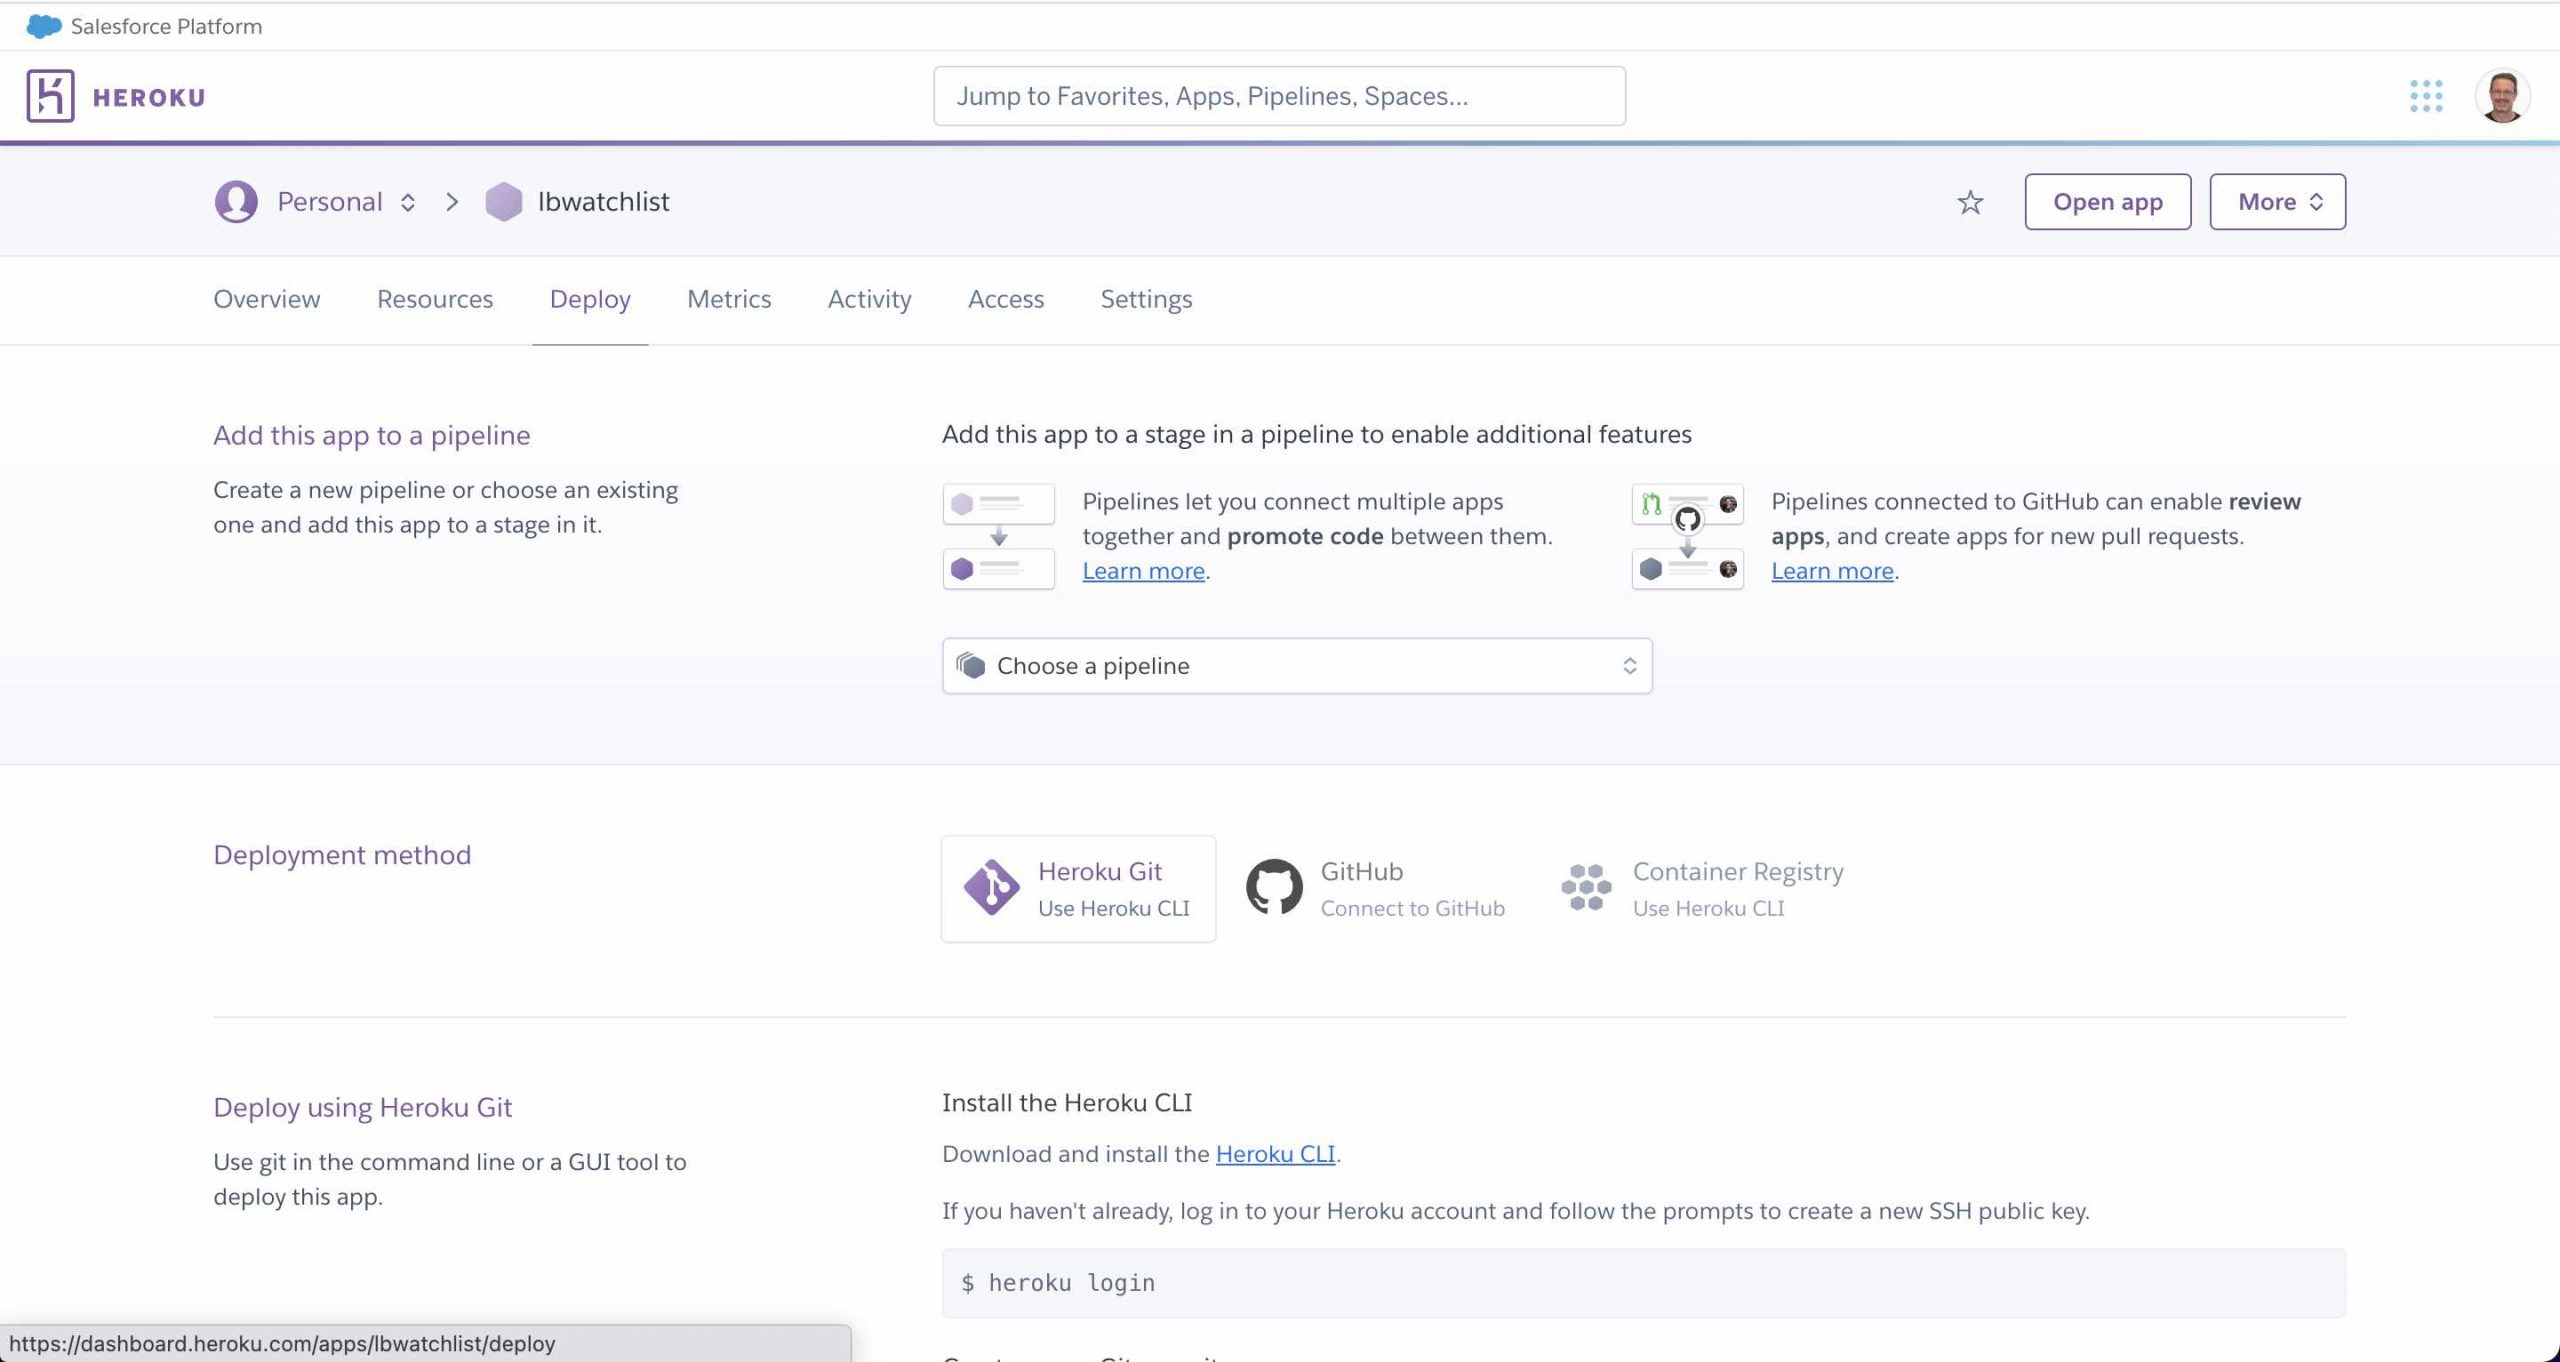
- I created a new app called lbwatchlist and clicked the Create app button
Set Environment Variables
If your API Builder project has environment variables you can set them up in the app’s settings section by clicking on settings
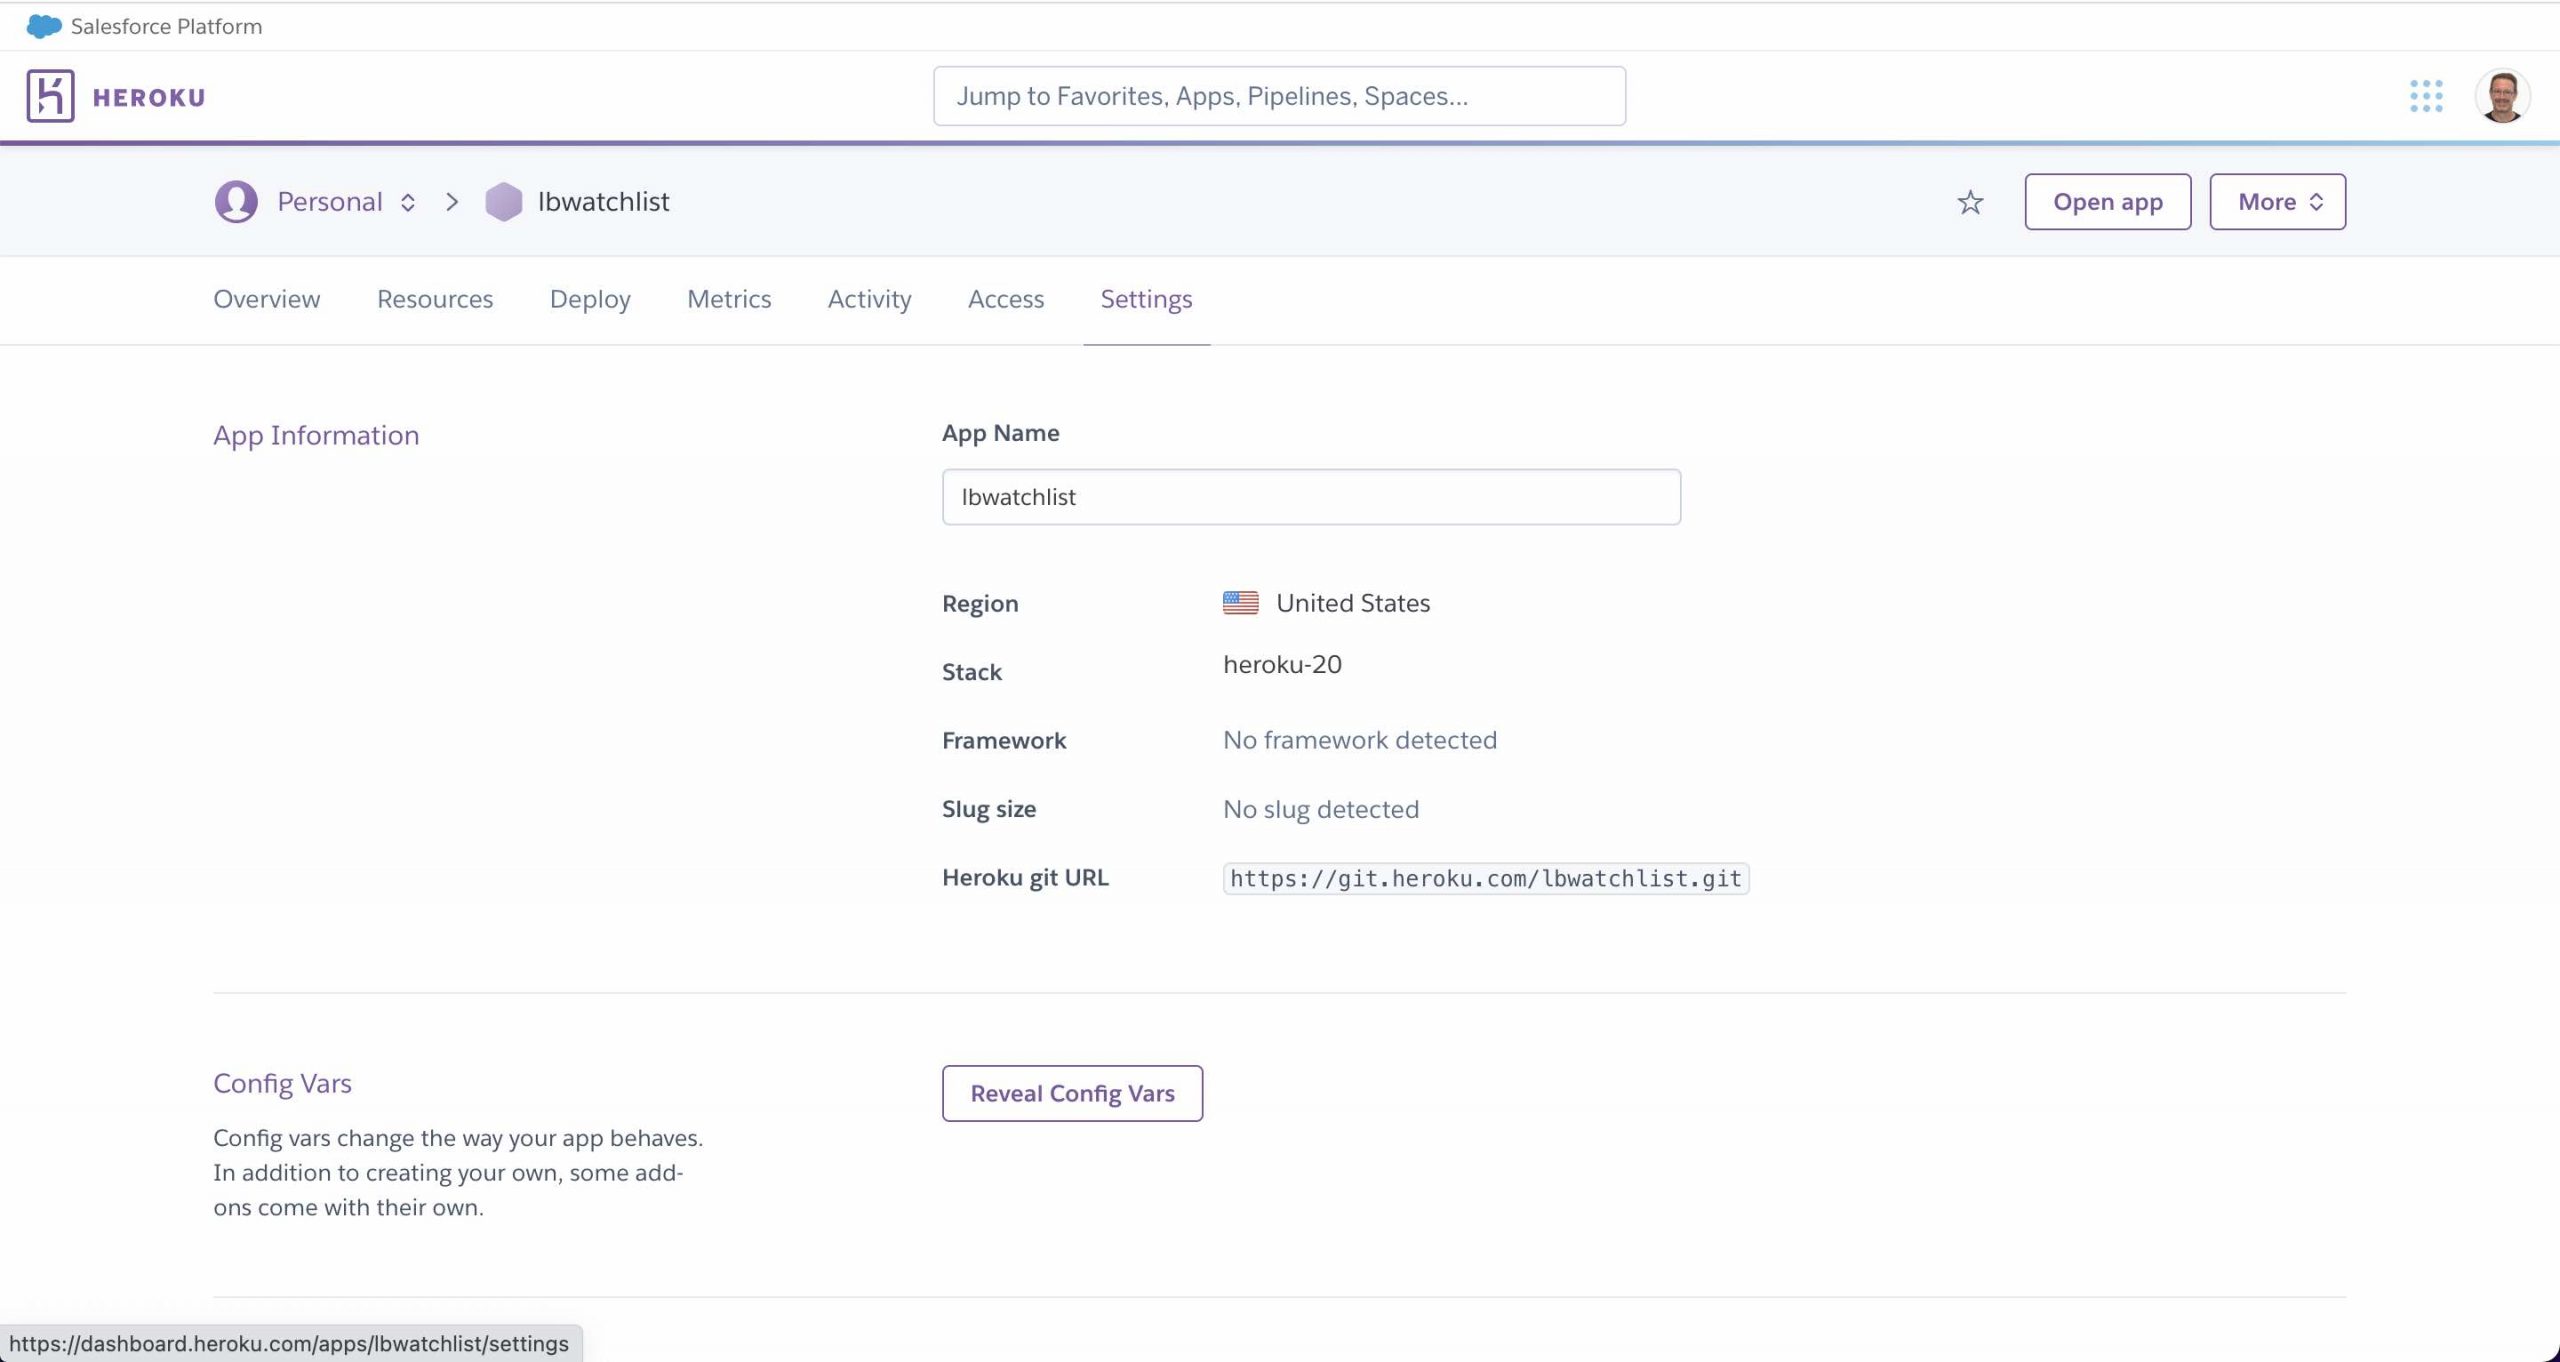
- Scroll down to the Config Vars section and click on Reveal Config Vars
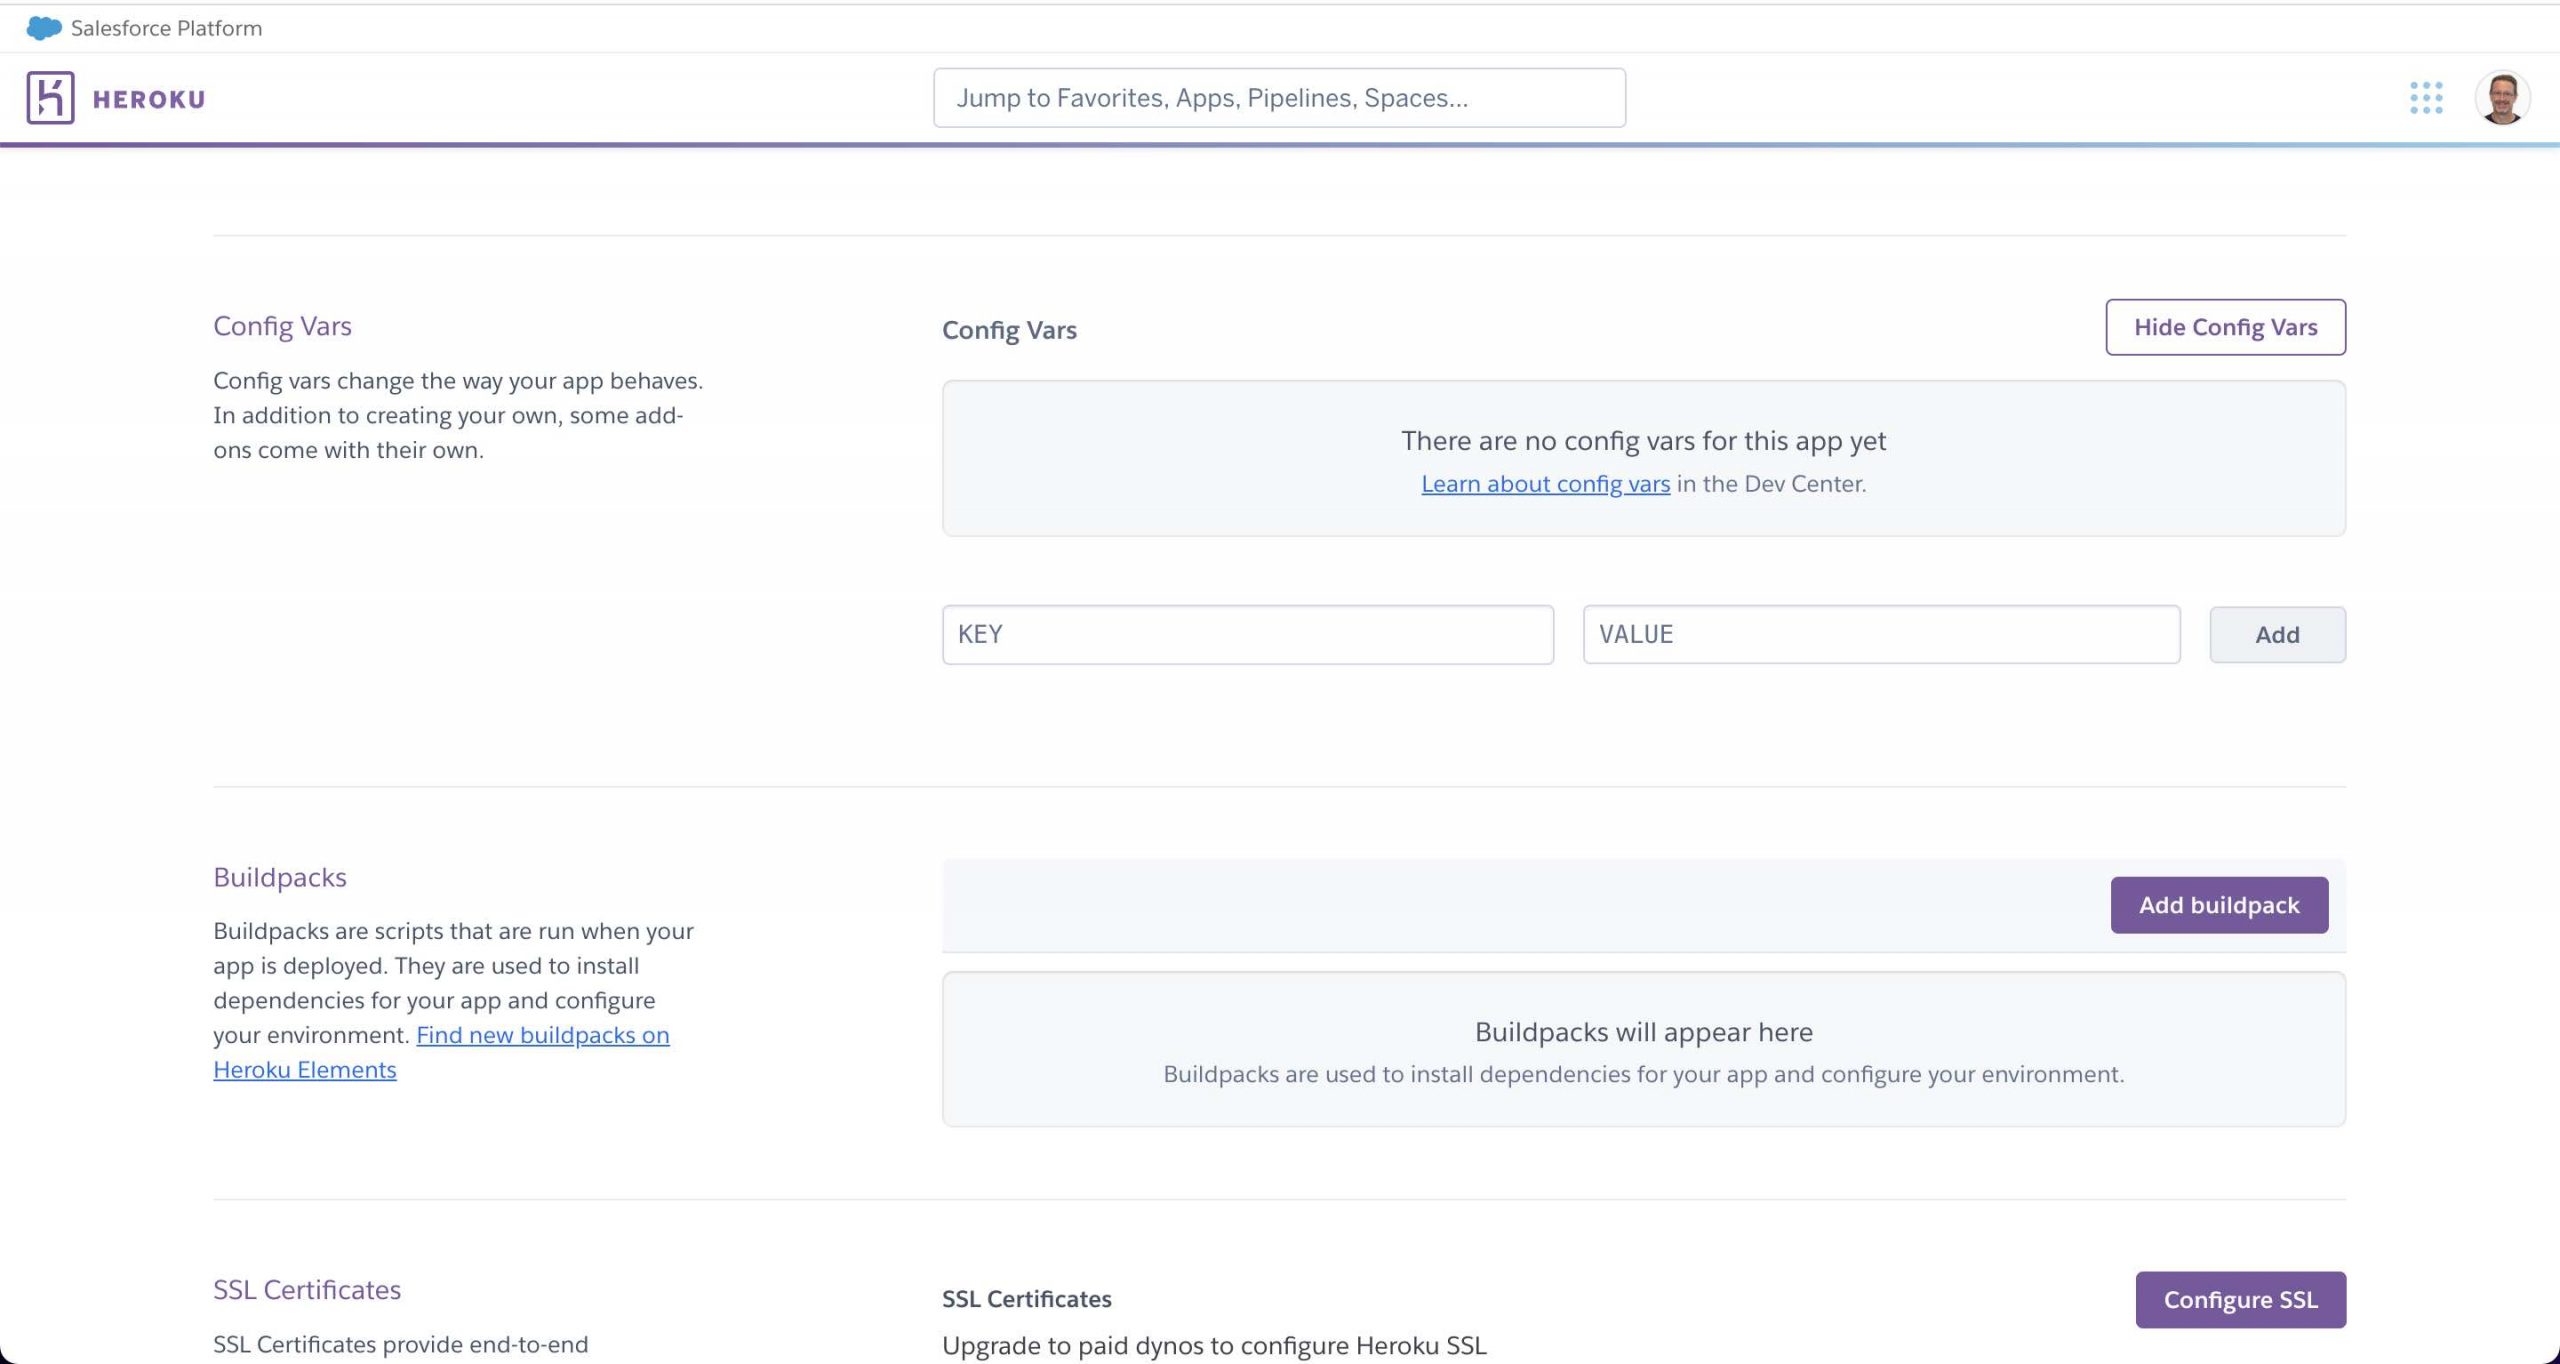
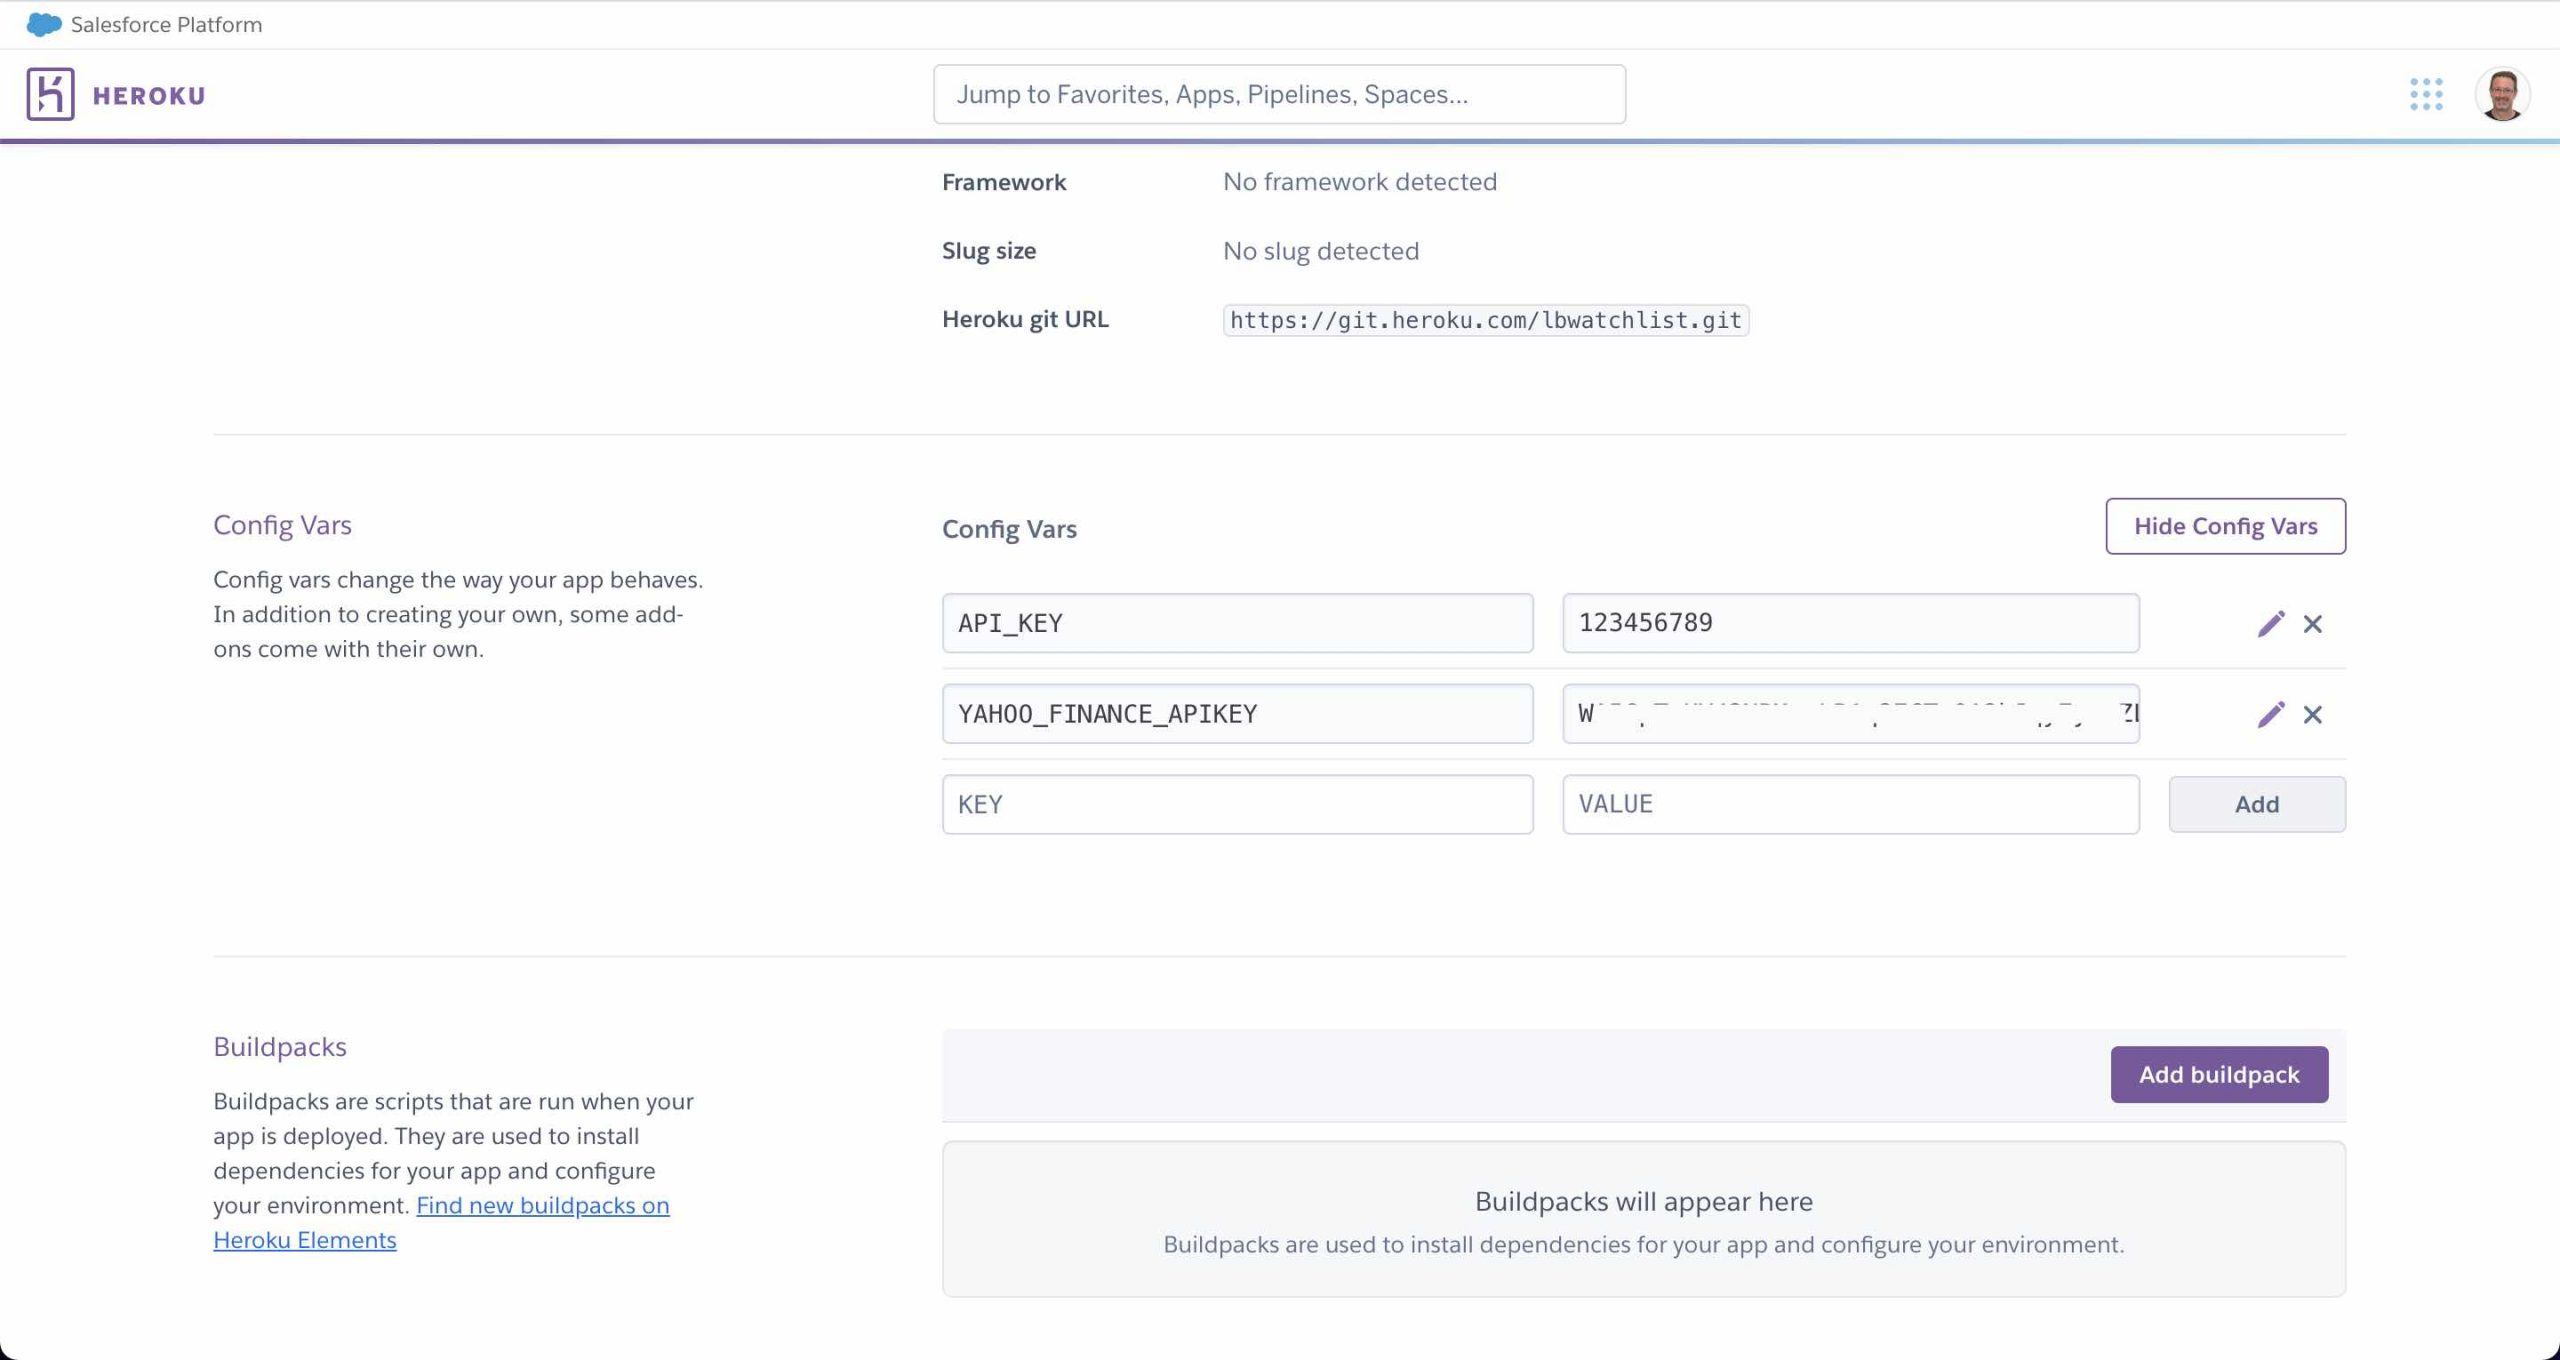
- My API Builder project requires two, YAHOO_FINANCE_APIKEY and API_KEY
Upload API Builder Container Image
Now we can push our API Builder container image to the Heroku Container Registry.
- In terminal, change directory to the API Builder project folder
- If you don’t have your API Builder docker image created yet then run the following docker command:
docker build -t watchlist ./- Add a Heroku git remote to your API Builder App Repo
heroku git:remote -a lbwatchlist- Tag the image for the Heroku Container Registry
docker tag watchlist registry.heroku.com/lbwatchlist/web- Log into the Heroku Container Registry
heroku container:login- Push the image to the registry
docker push registry.heroku.com/lbwatchlist/web- Release the Pushed Docker Image to Your Heroku app
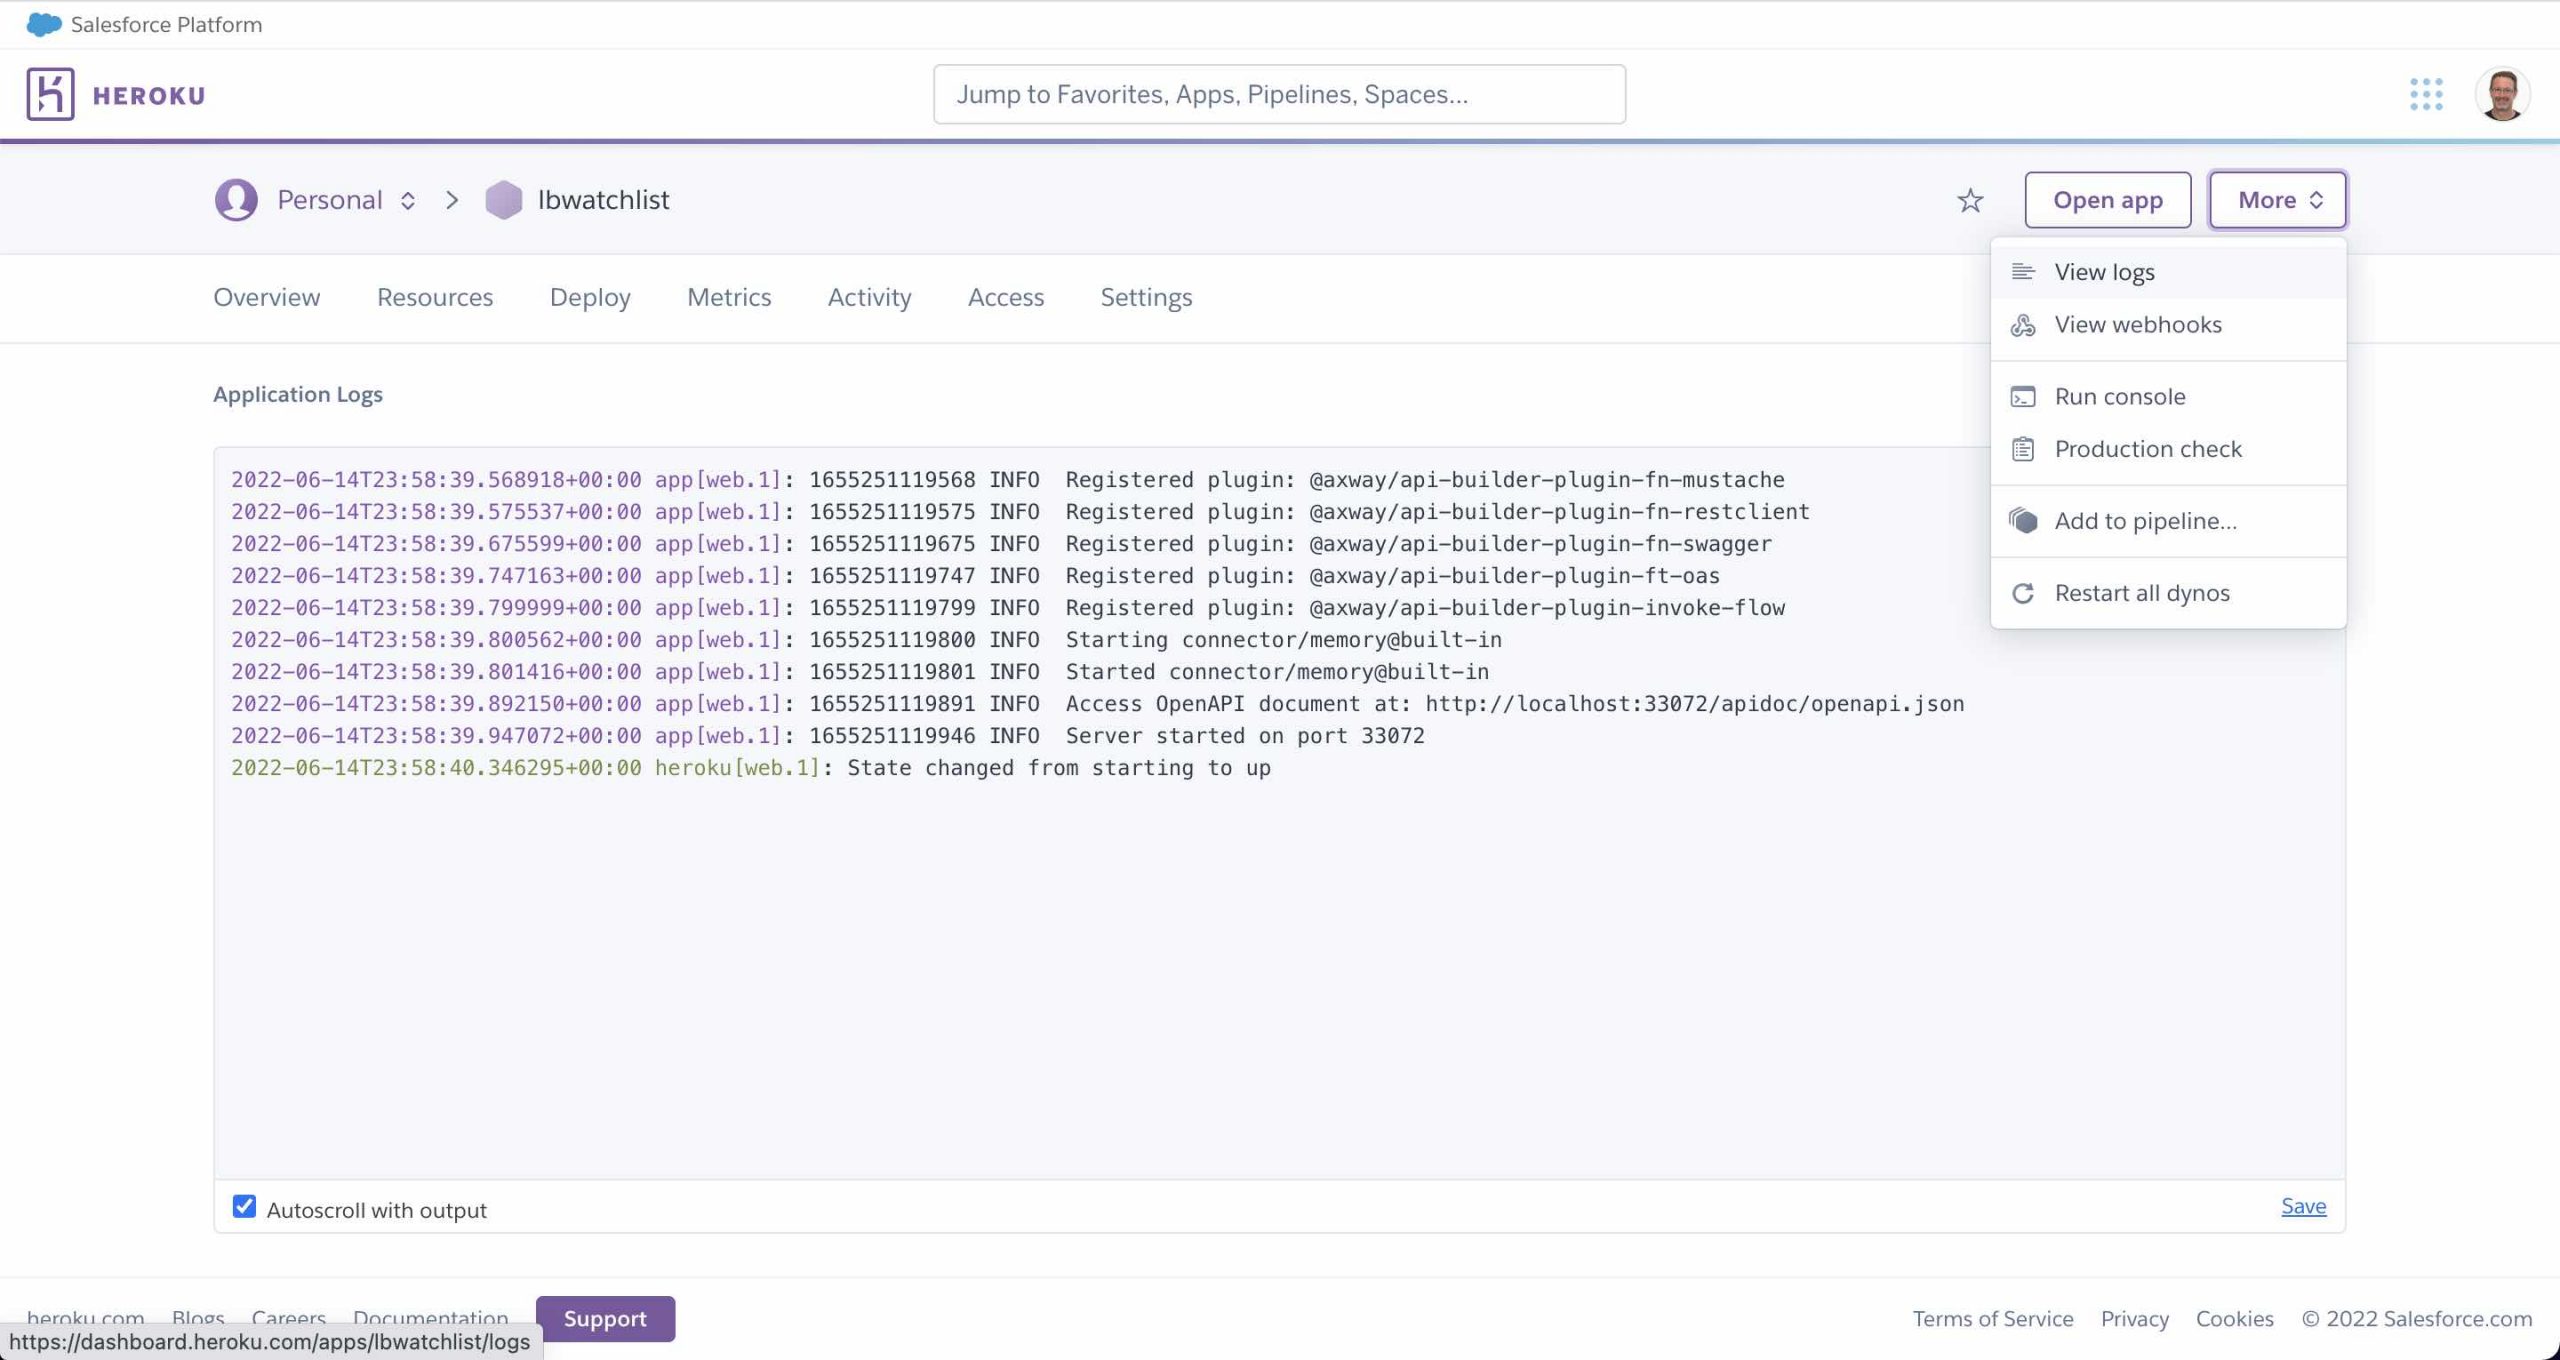
heroku container:release webAt this point your API Builder App should be running. You can check using heroku logs --tail or in the Heroku dashboard by clicking More -> View Logs where you should see the familiar API Builder log
Test API
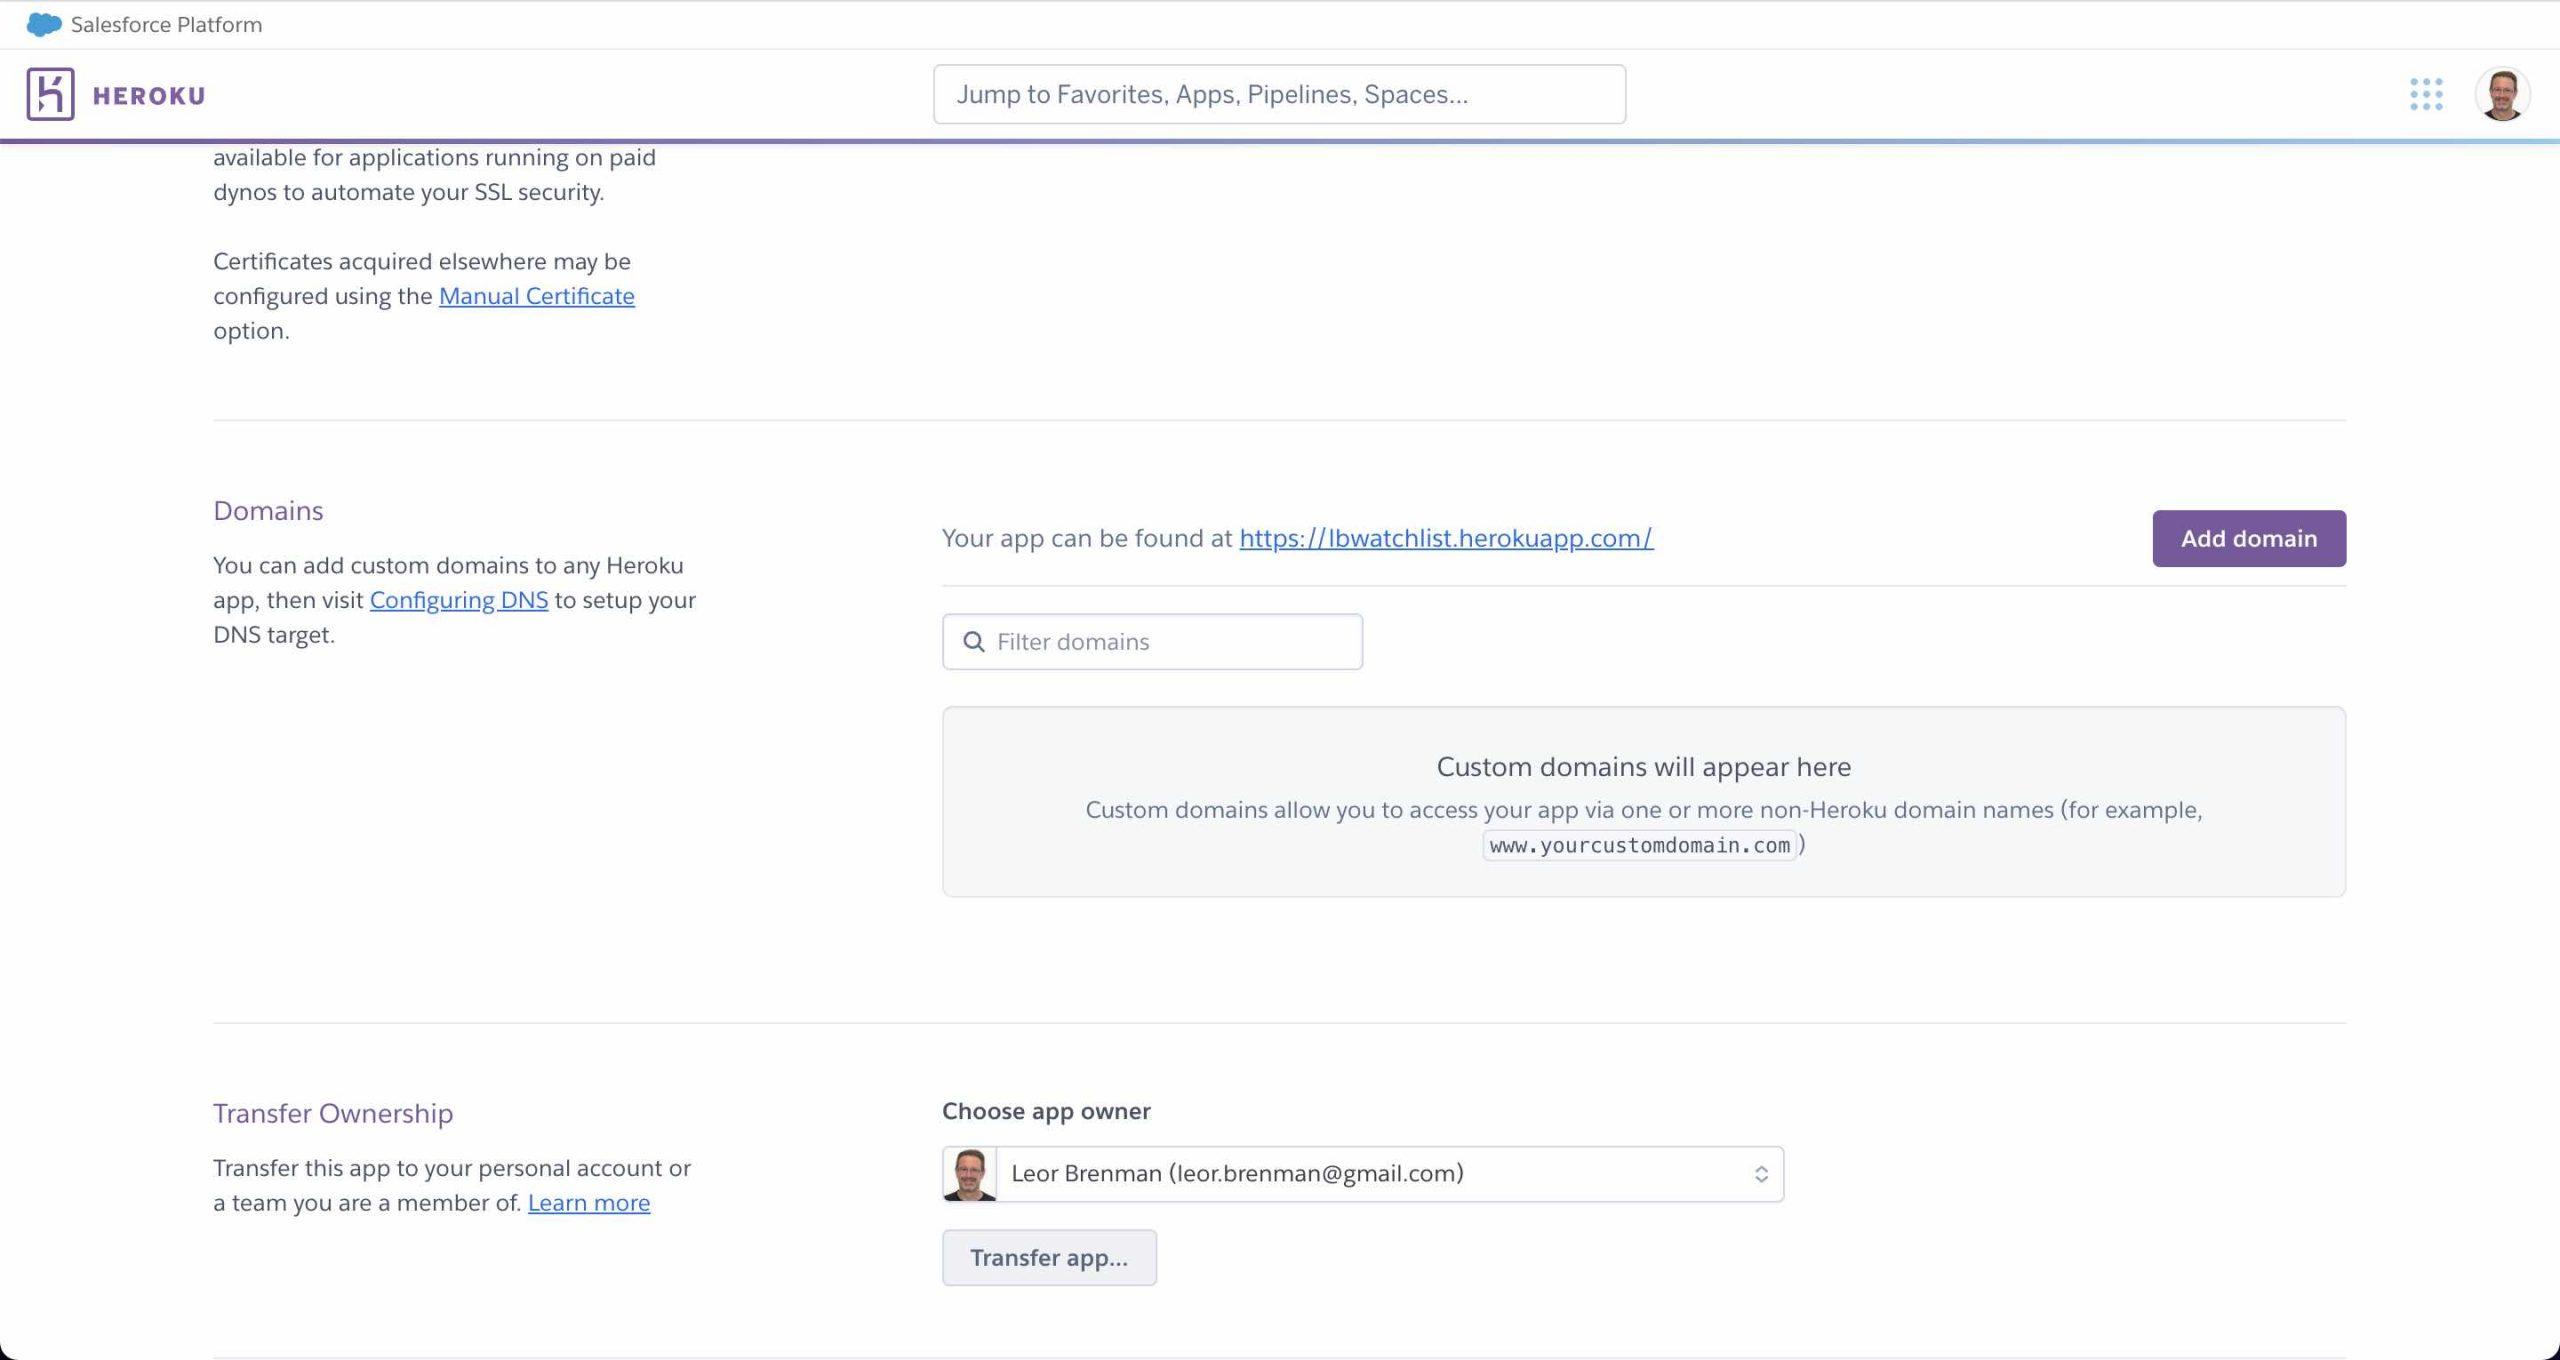
- Click on the Heroku dashboard settings tab and scroll down to the Domains section to find your base address (e.g. https://lbwatchlist.herokuapp.com/). Note that Heroku will manage forwarding incoming requests to the API Builder app without the need to set any port mapping
- Use Postman or construct your curl command with the base address above and test your API:
curl --location --request GET 'https://lbwatchlist.herokuapp.com/api/watchlist?stocklist=aapl,txn,intc,amzn,t' --header 'accept: application/json' --header 'apikey: 123456789'with results:
[
    {
        "symbol": "AAPL",
        "lastPrice": 132.76,
        "change": 0.8799896
    },
    {
        "symbol": "TXN",
        "lastPrice": 154.08,
        "change": 0.55000305
    },
    {
        "symbol": "INTC",
        "lastPrice": 37.93,
        "change": 0.15999985
    },
    {
        "symbol": "AMZN",
        "lastPrice": 102.31,
        "change": -1.3600006
    },
    {
        "symbol": "T",
        "lastPrice": 19.45,
        "change": -0.30999947
    }
]
Summary
As we saw in this blog post, Heroku makes it very easy to deploy and test an API Builder Docker image.
Need help with API Builder? Extend your skills with Axway University.

