

In Part 2 of this series, we used Integration Builder to enhance and customize our Geocode API for our particular needs and in this blog post we used the connector as part of a flow to geocode new Salesforce accounts.
Once your colleagues and customers find out about your cool geocode API, they may want access to it for their own mobile and/or web applications. You can use AMPLIFY Central to expose, secure, manage and monitor your API.
In this blog post, we’ll review how to publish our connector to AMPLIFY Central so that we can secure it and make it available to others for use in their applications.
Configure Your API Proxy
When you created an instance of the OpenCage Geocoder API in Integration Builder, an API Proxy was automatically added to AMPLIFY Central.
To get to the API Proxy in API Central, go to platform.axway.com, find the Mesh Governance tile and click on the API Central link and then click on API Proxies.
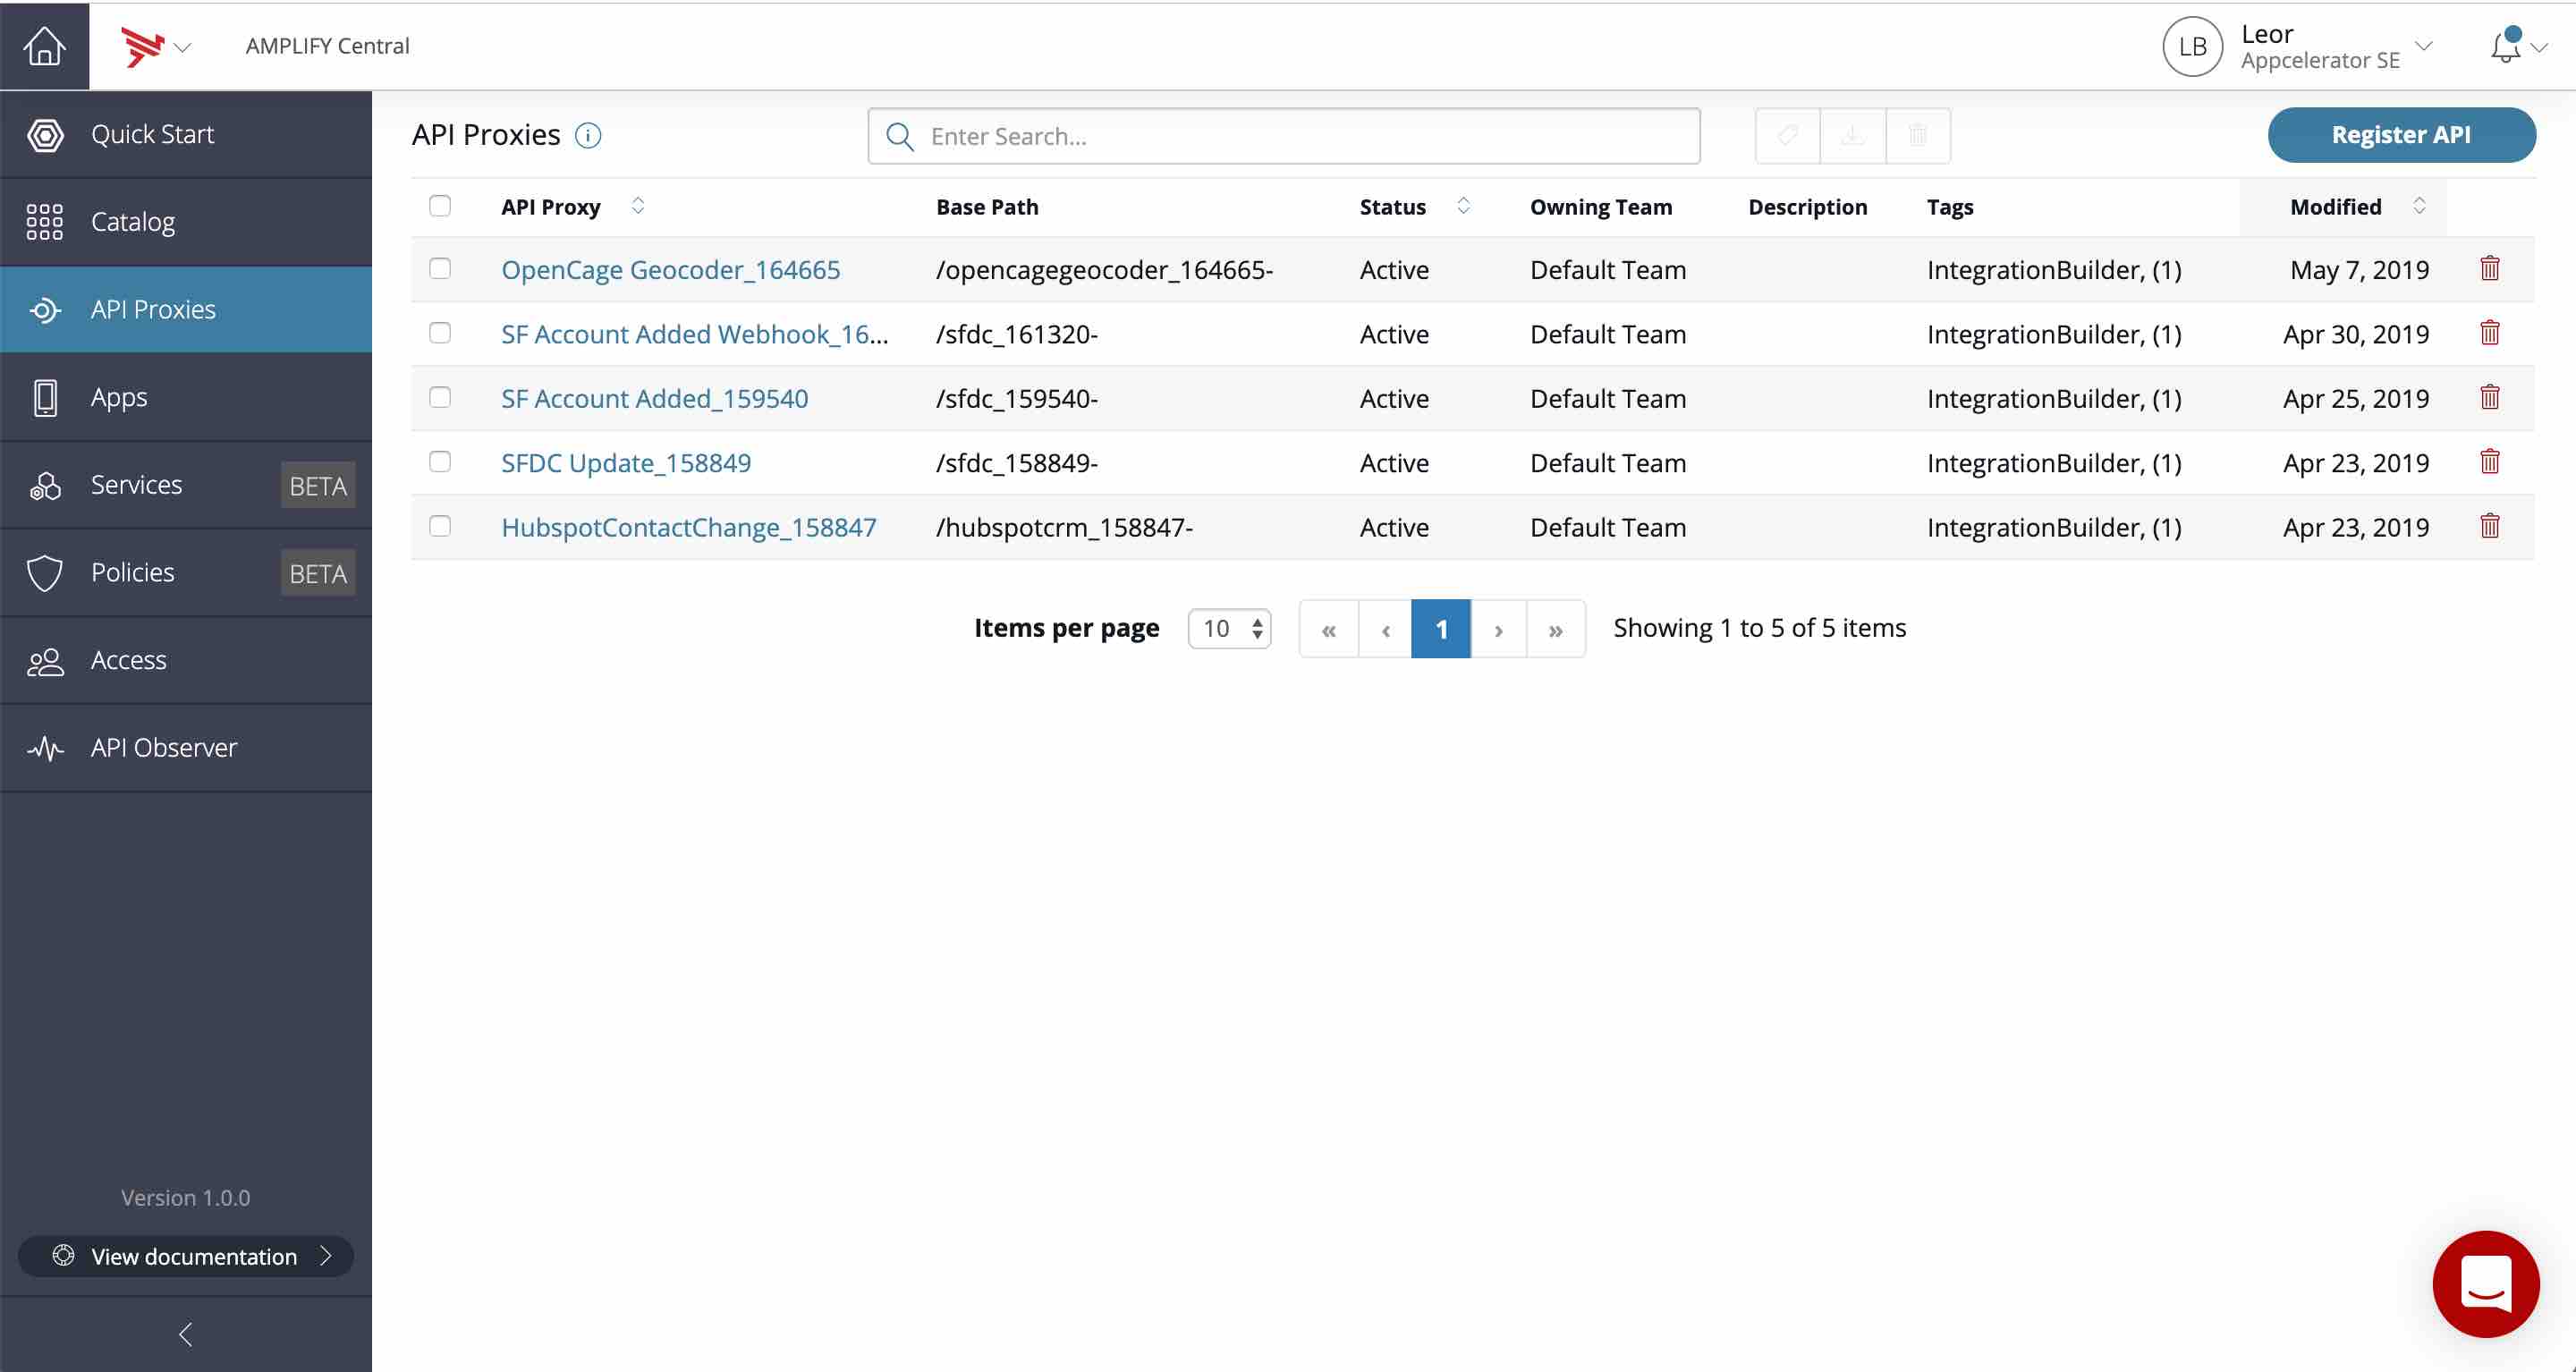
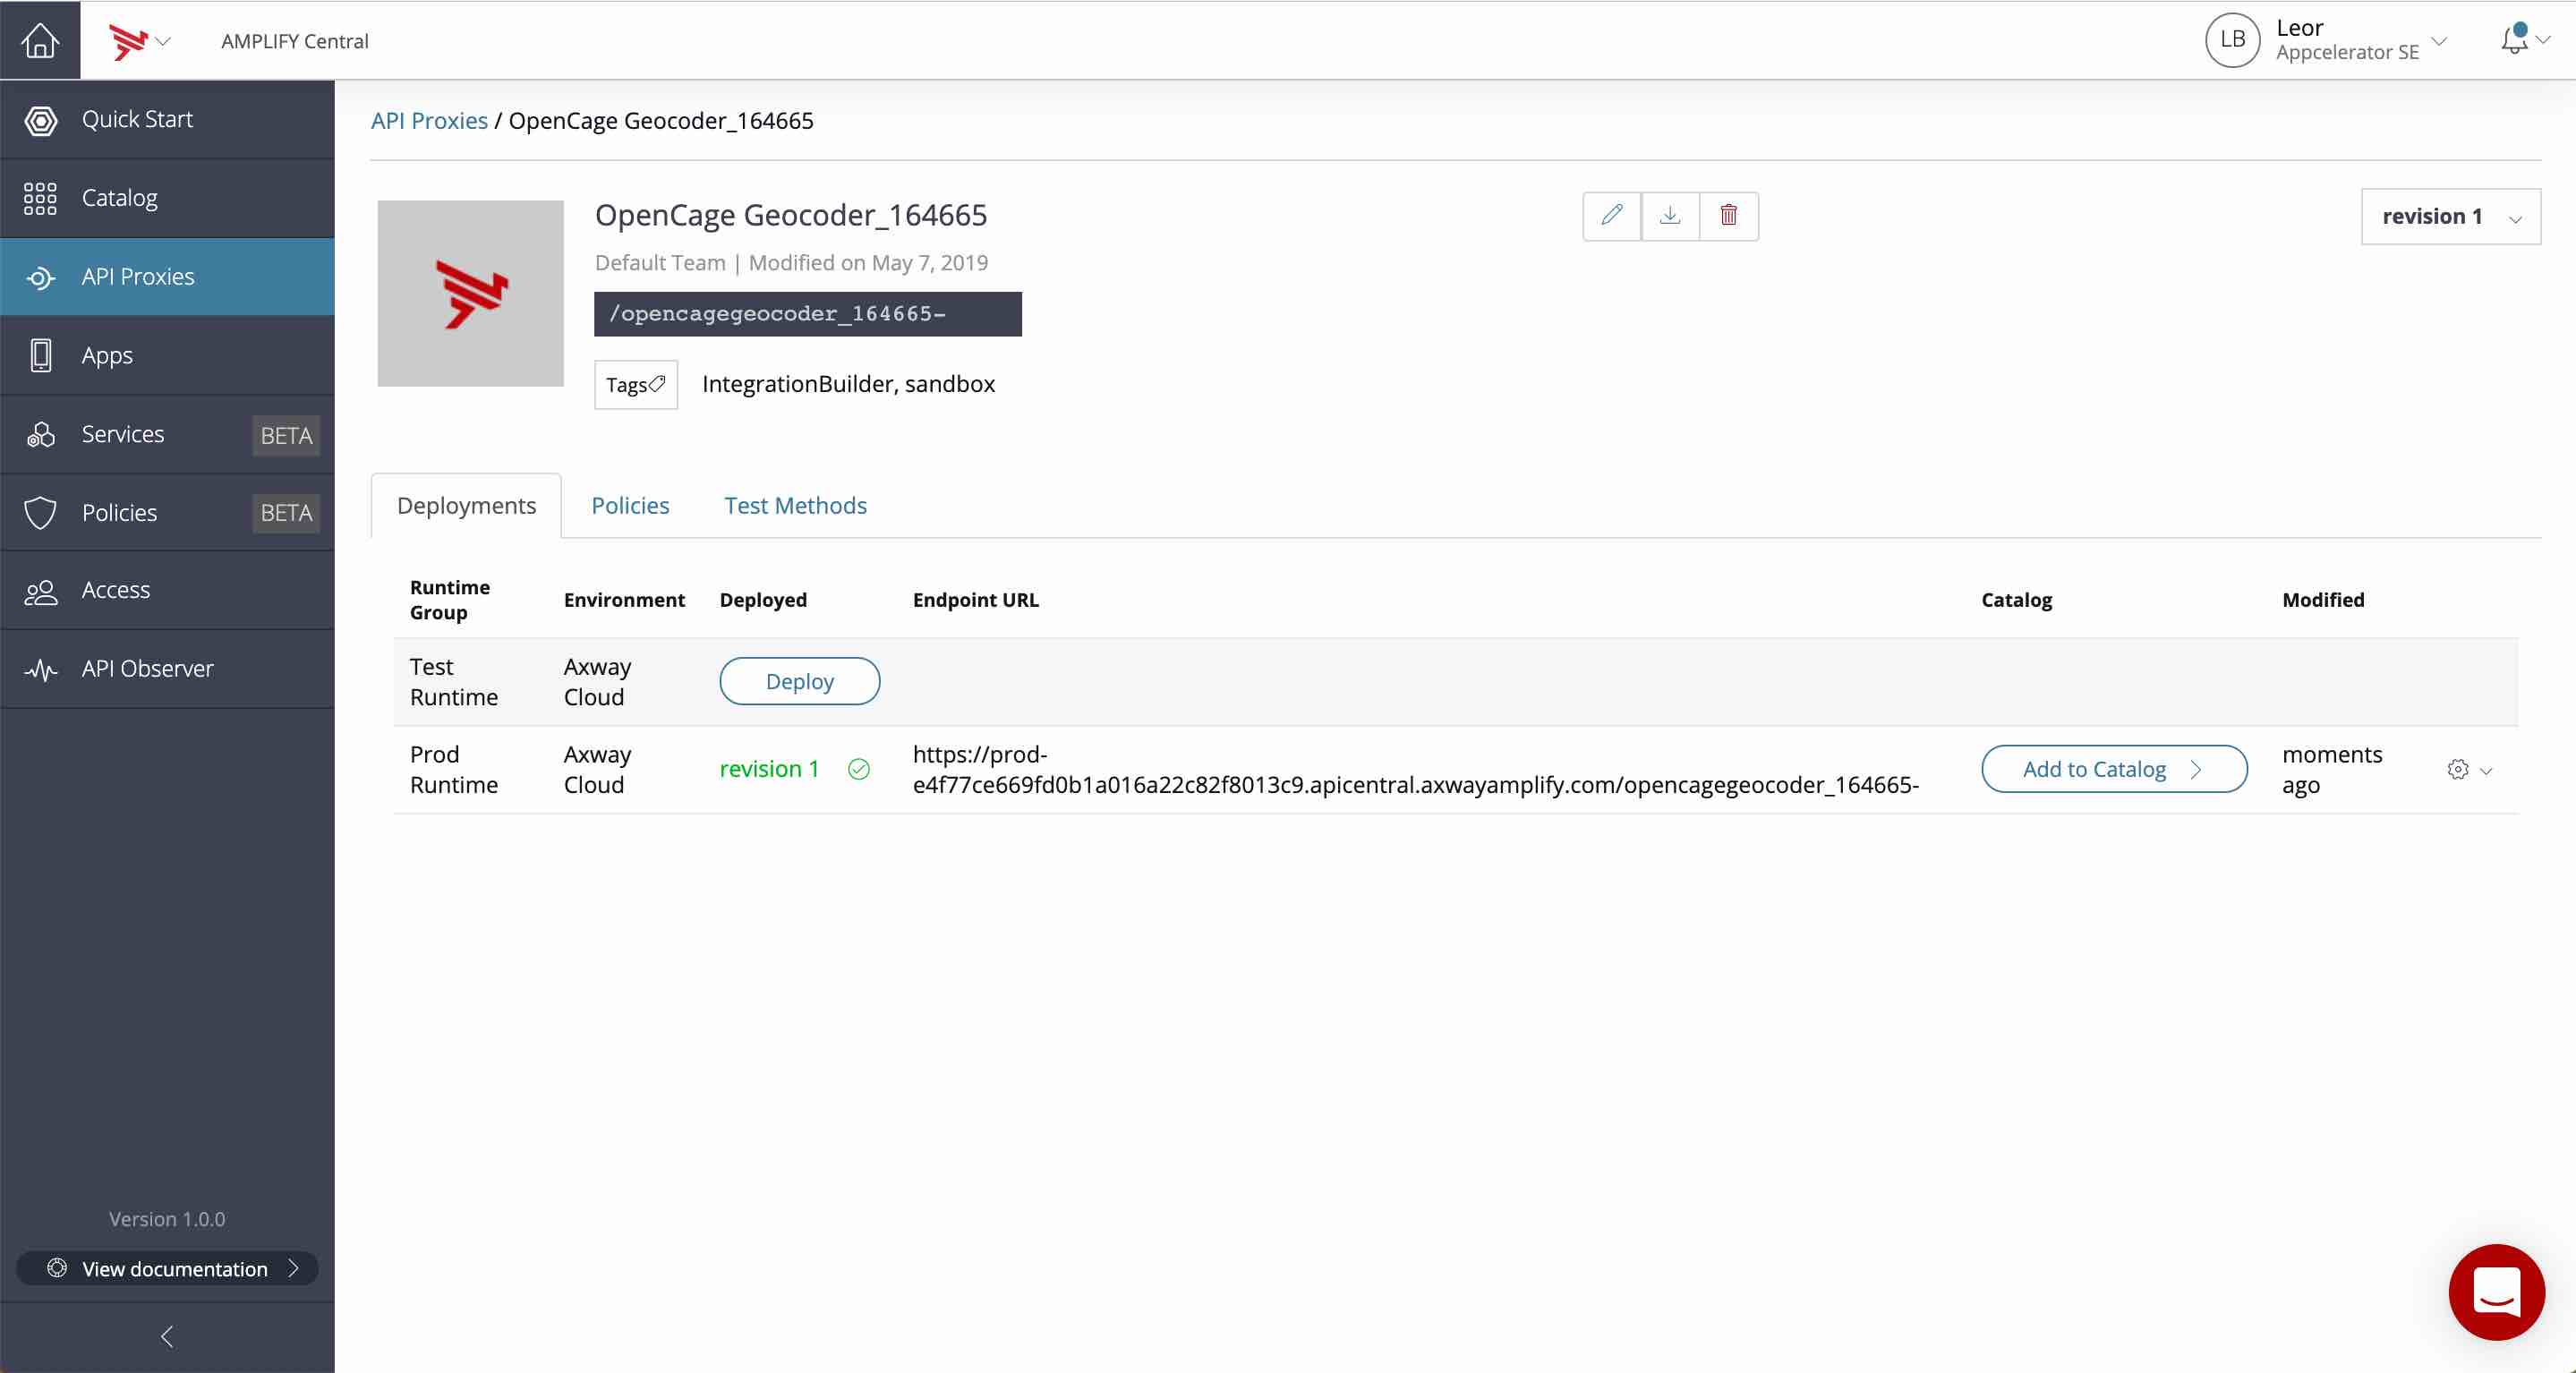
See OpenCage Geocoder_164665 in the screen shot above. Note that the name depends on what you called your instance in Integration Builder
- Click on OpenCage Geocoder_164665 and select the Policies tab
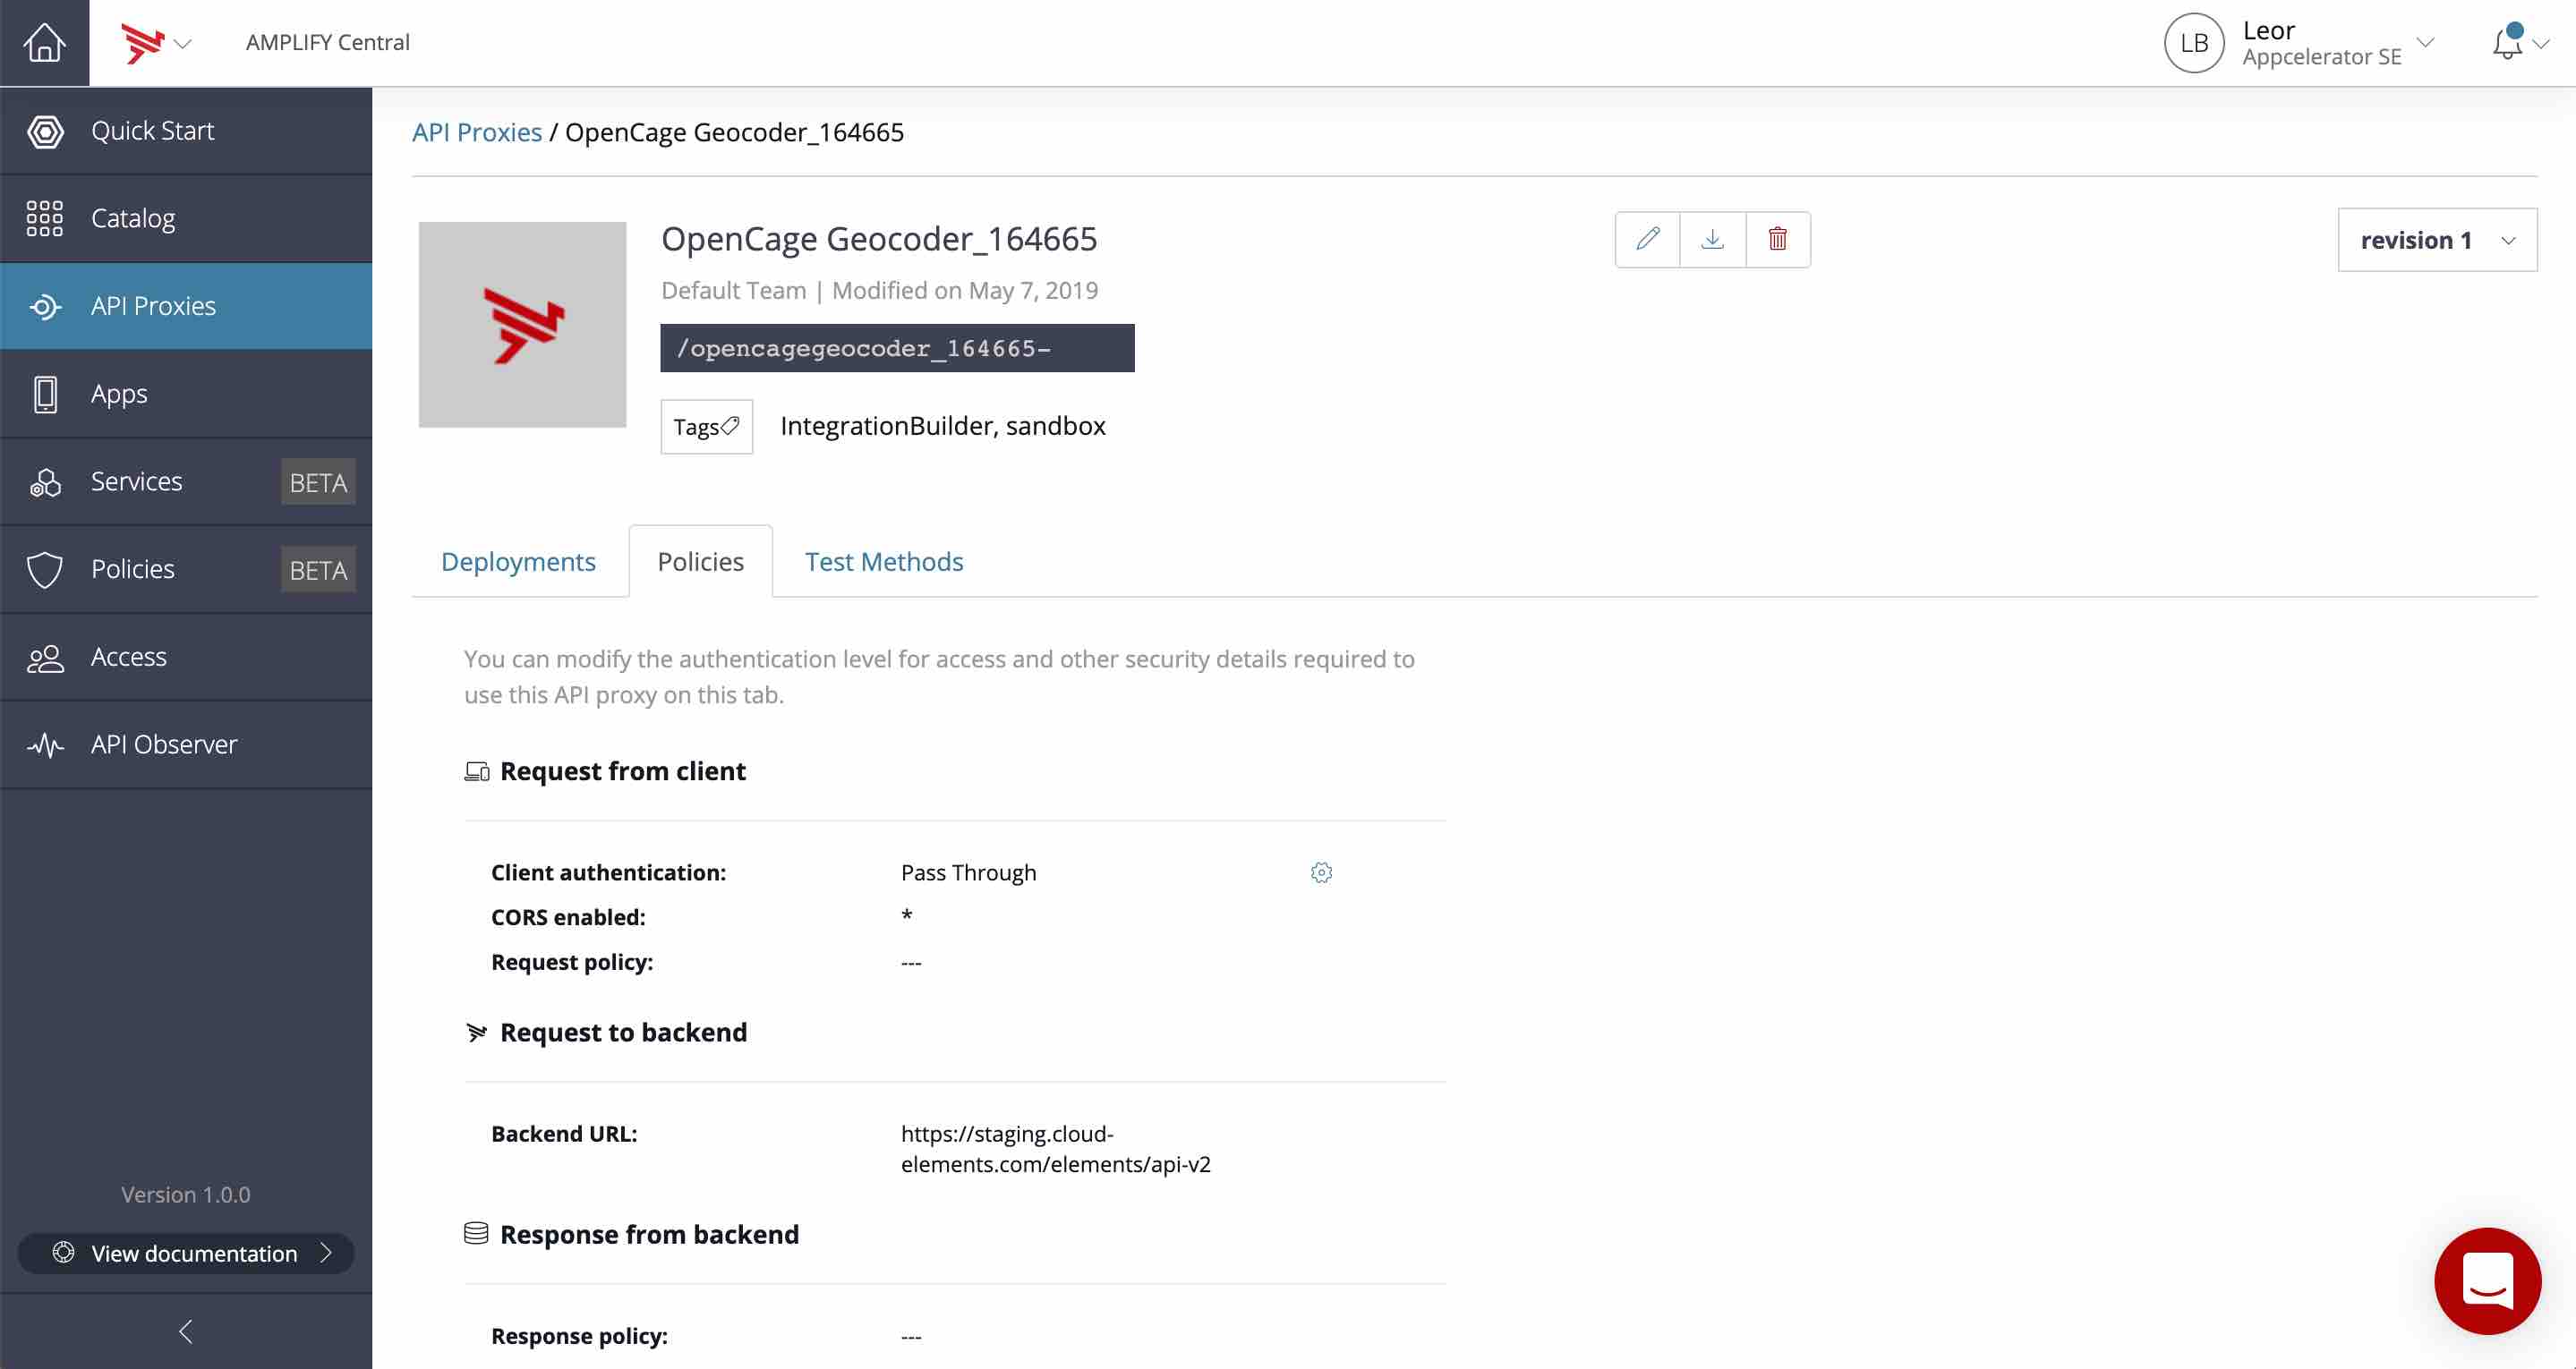
- Click on the gear icon to the right of Client authentication/Pass Through in order to set API Key authentication to our API for security.
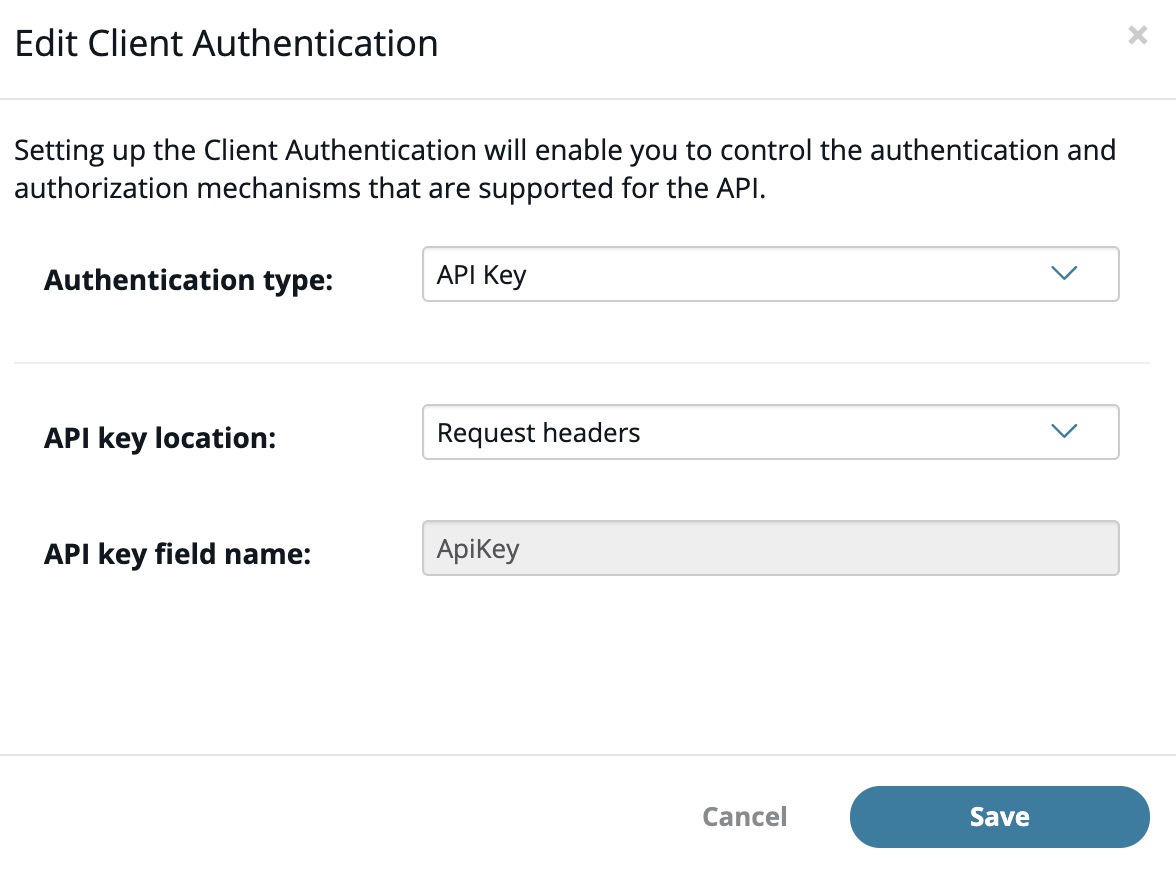
- Select API Key from the pull down and press Save.
- Click on the Deployments tab
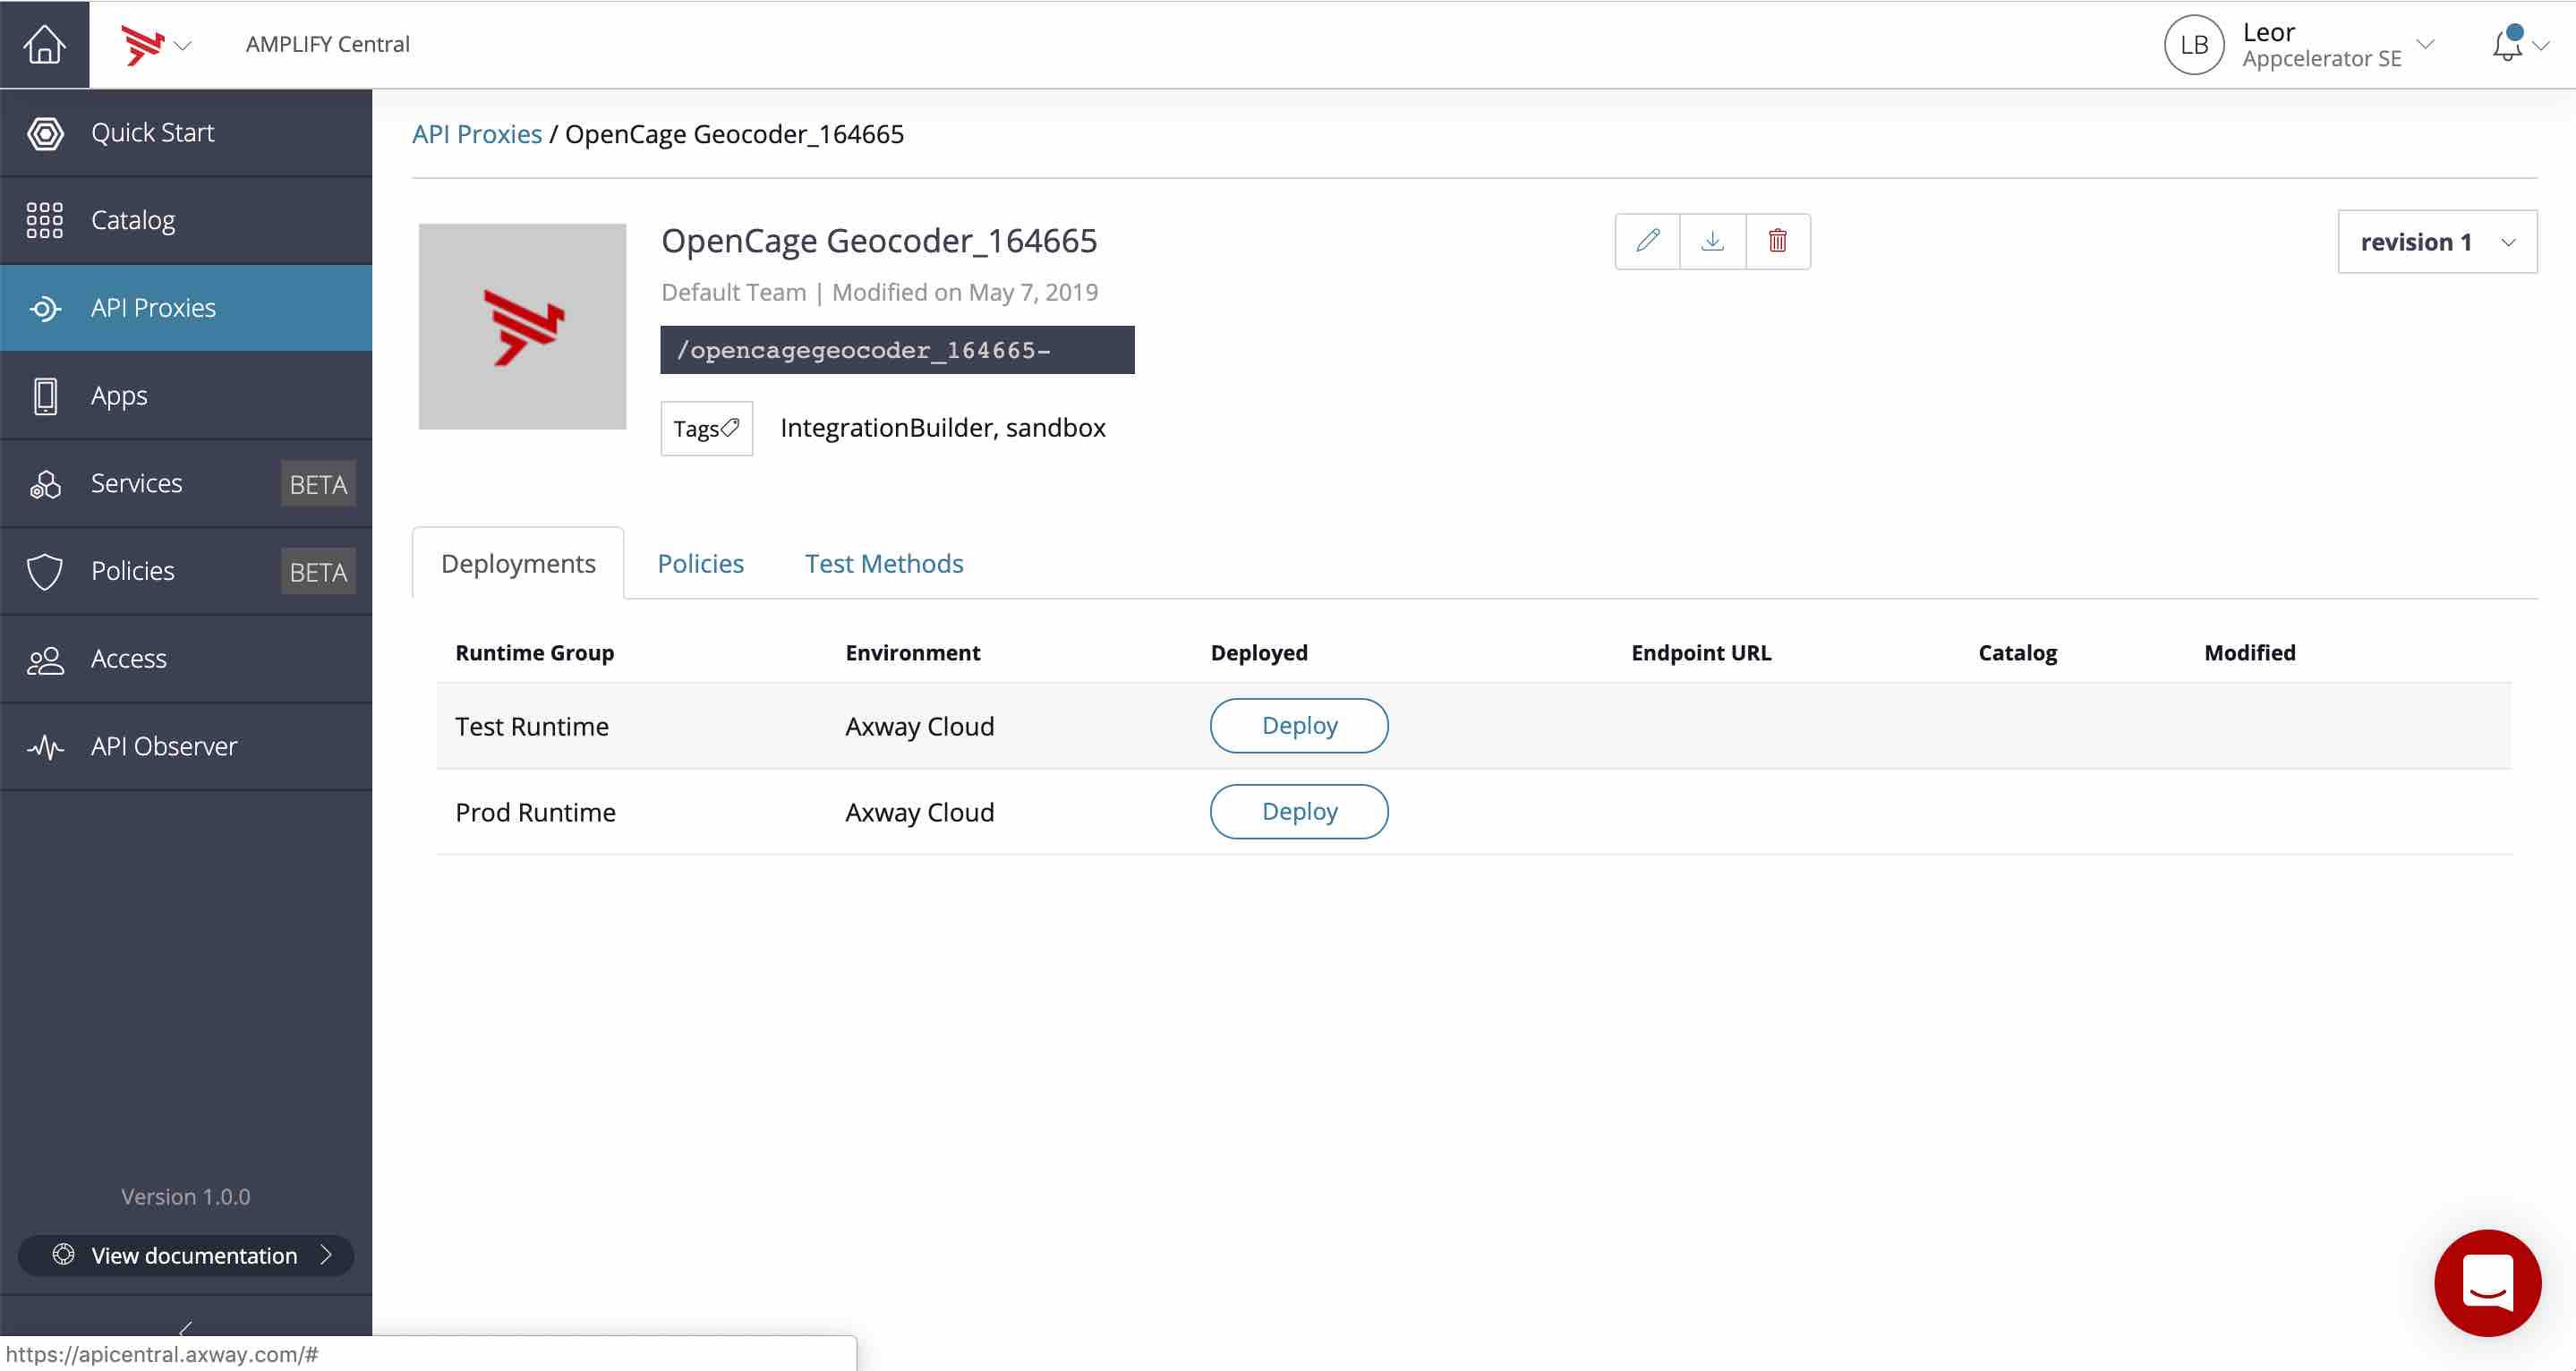
You can see that we have two environments: Test and Prod. Let’s deploy Production by clicking on the Deploy button.
Add API to the Catalog
Now let’s add this API to the Catalog for discovery by clicking on Add to Catalog. We will be redirected to this API in the Catalog.
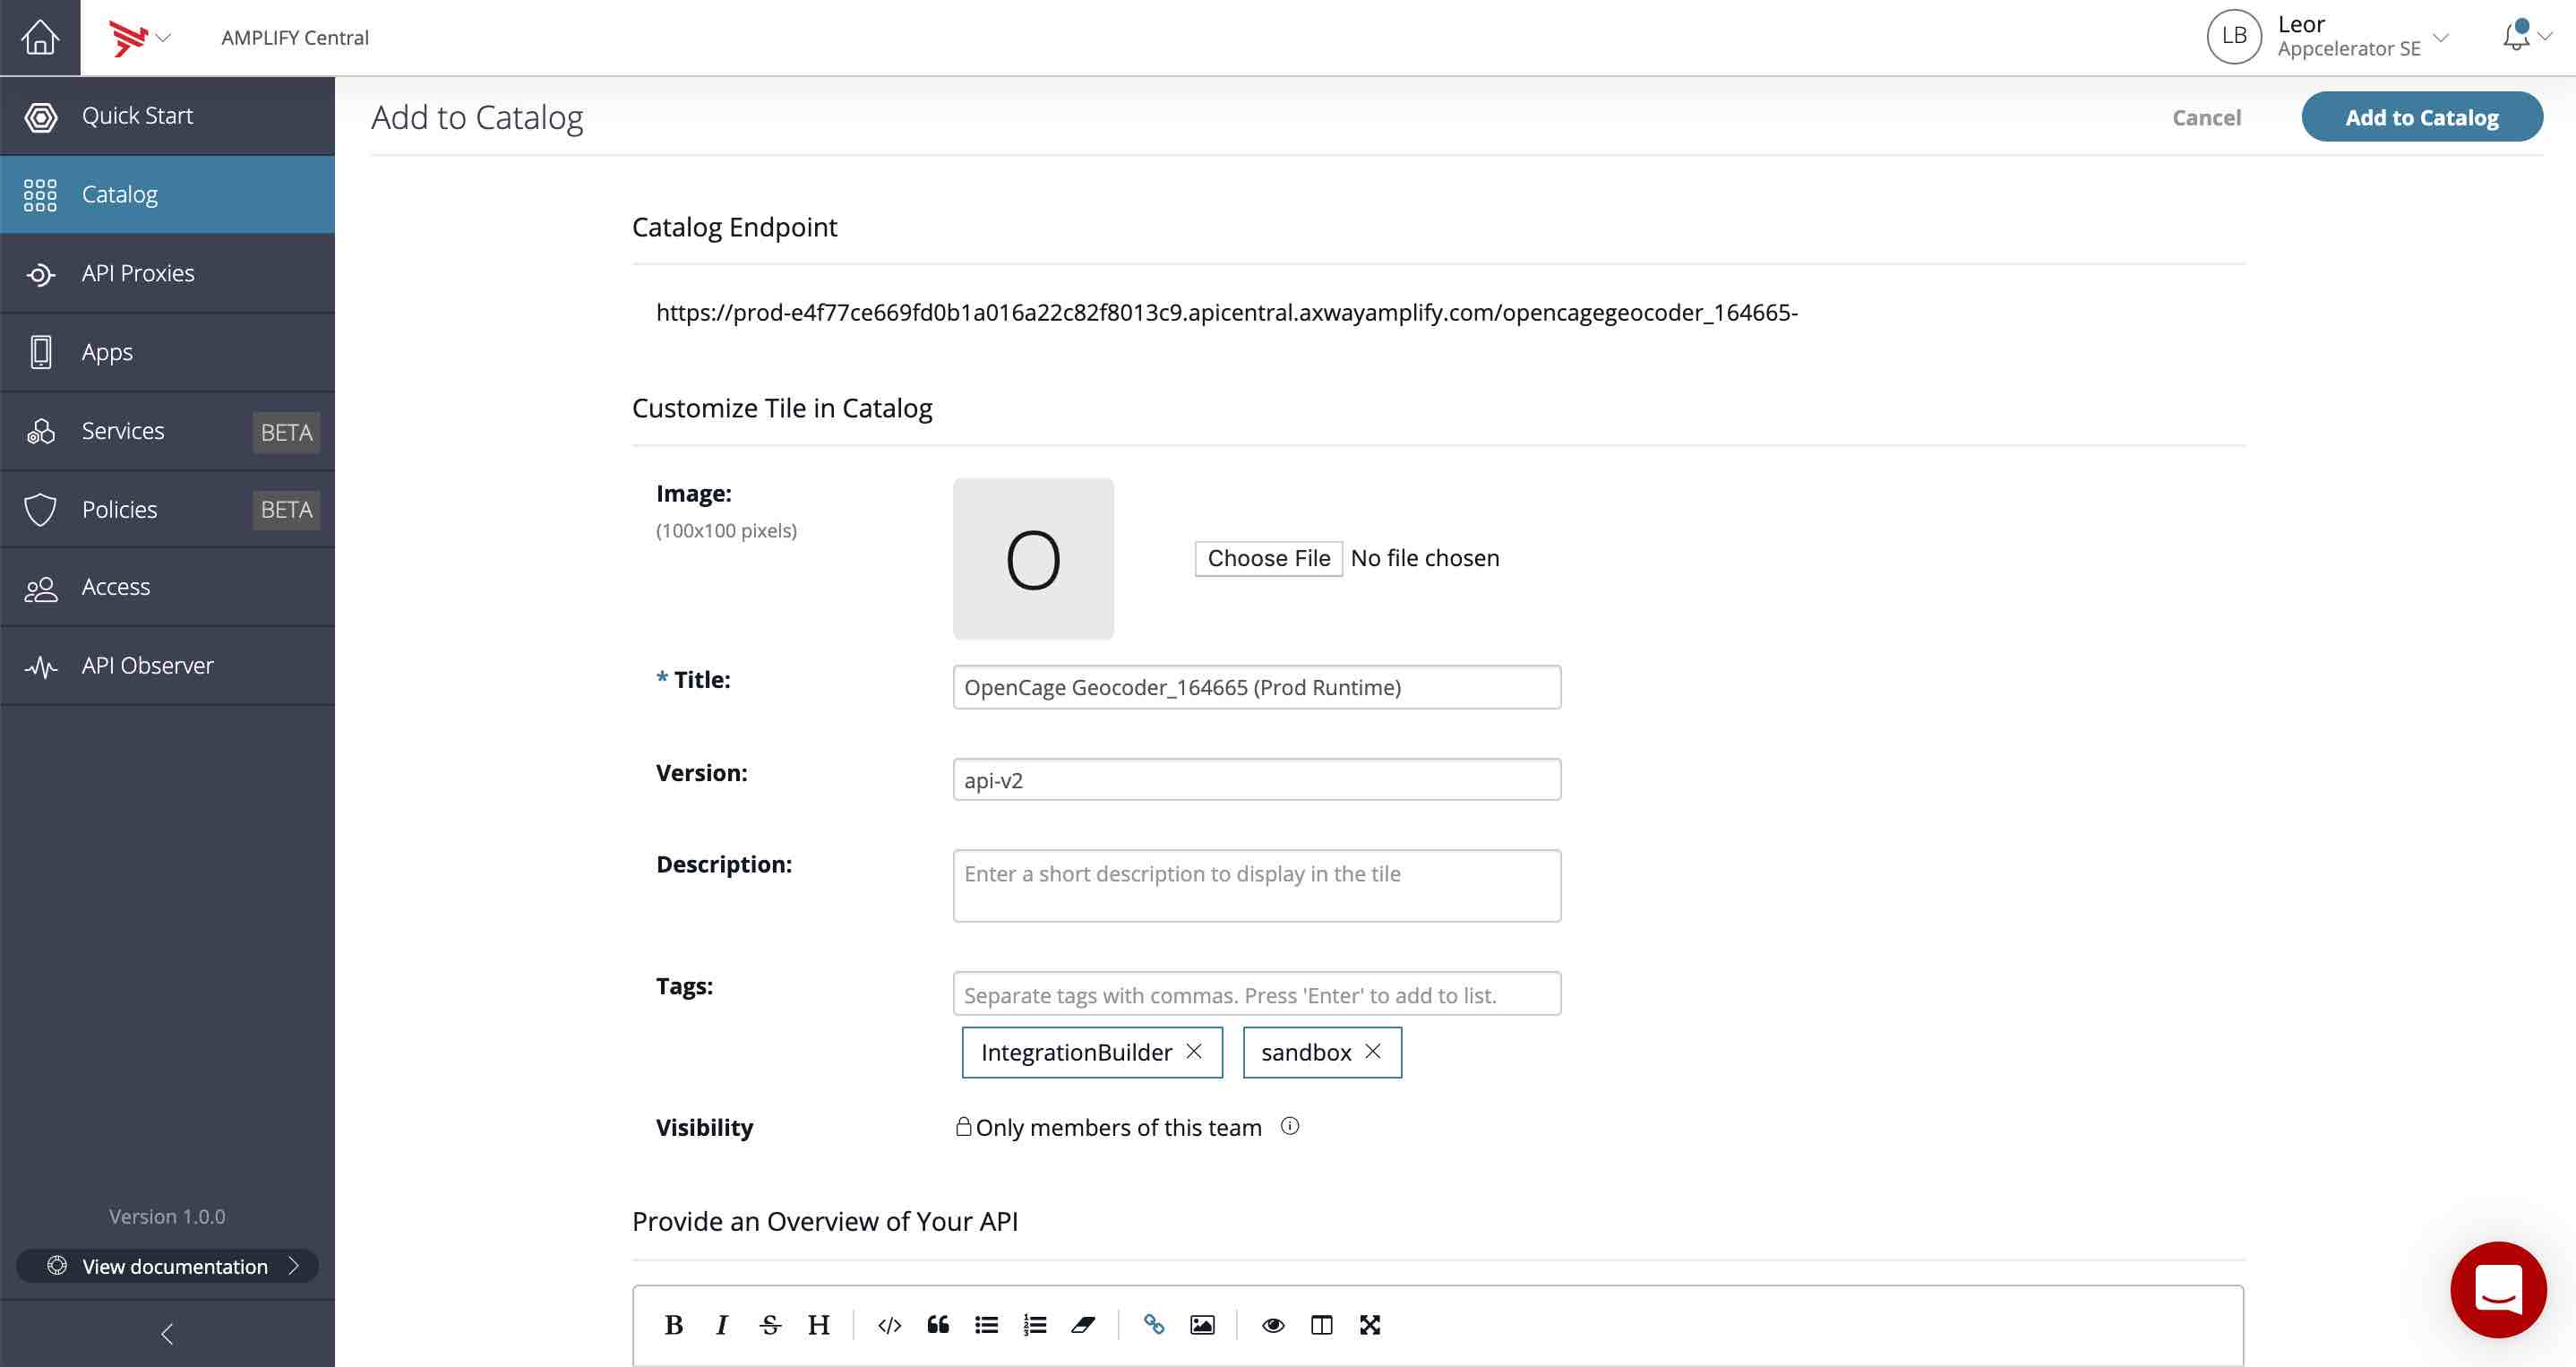
- Enter an Image, Description, Tags and Description.
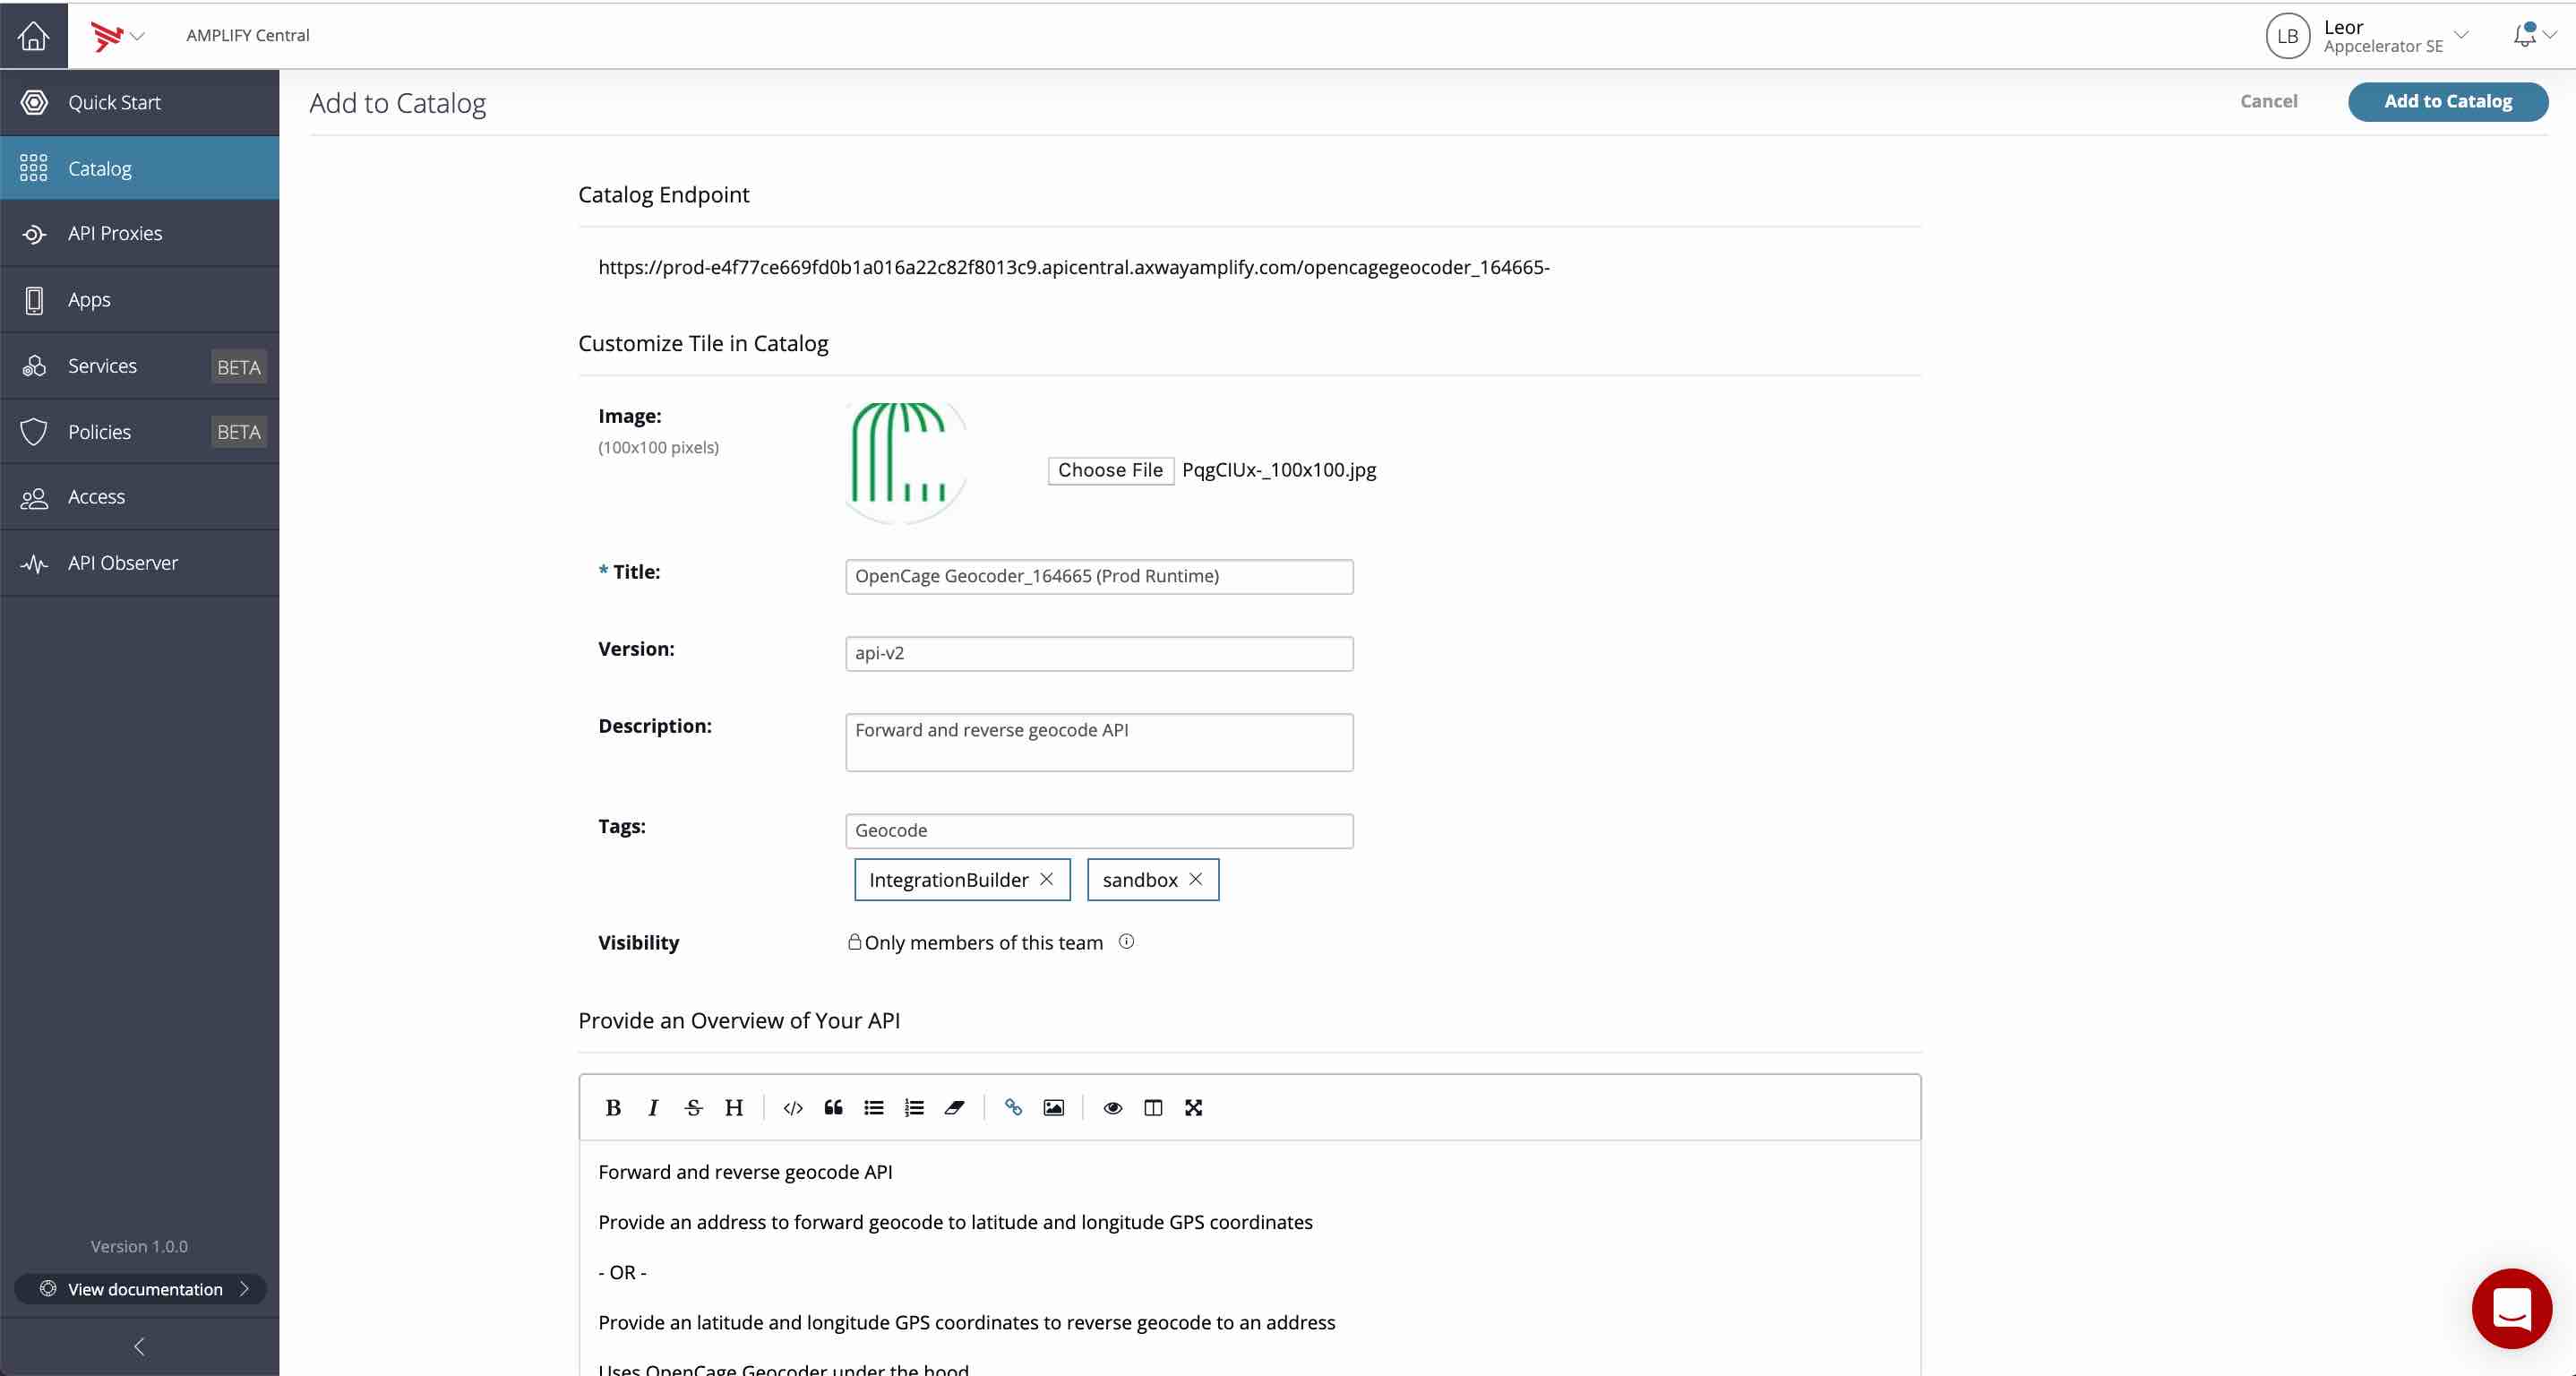
- Press Add to Catalog at the top of the page and then click Go To Catalog when the popup appears.
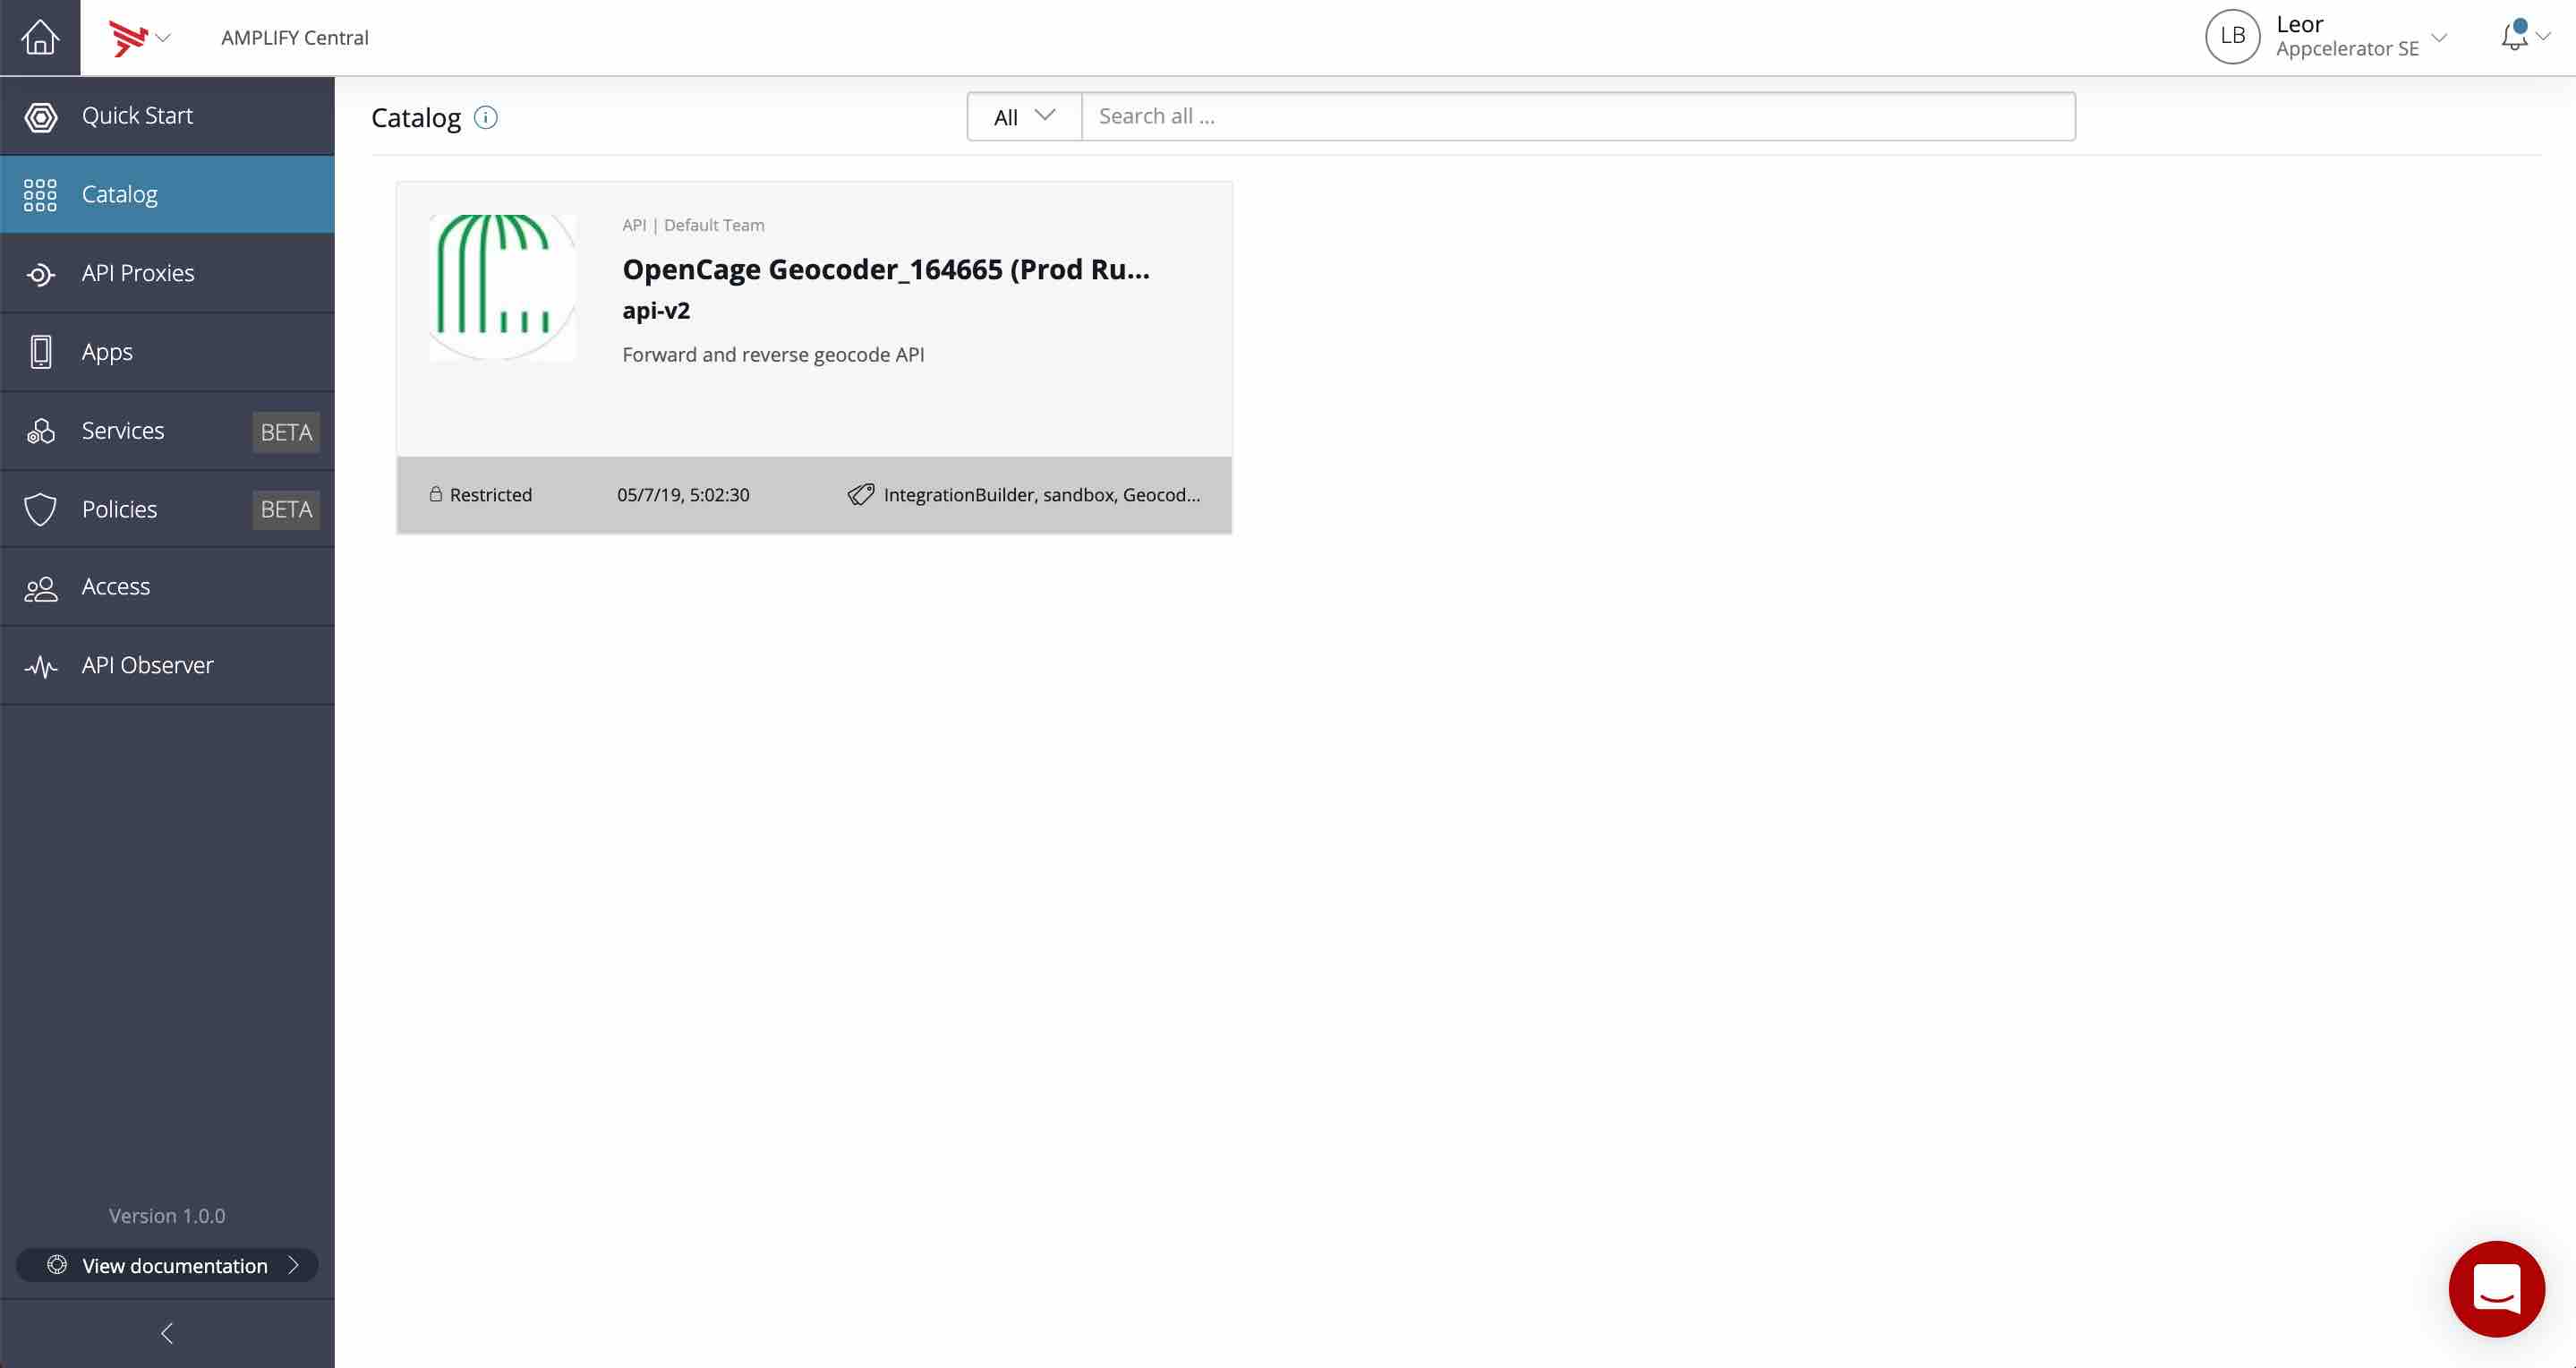
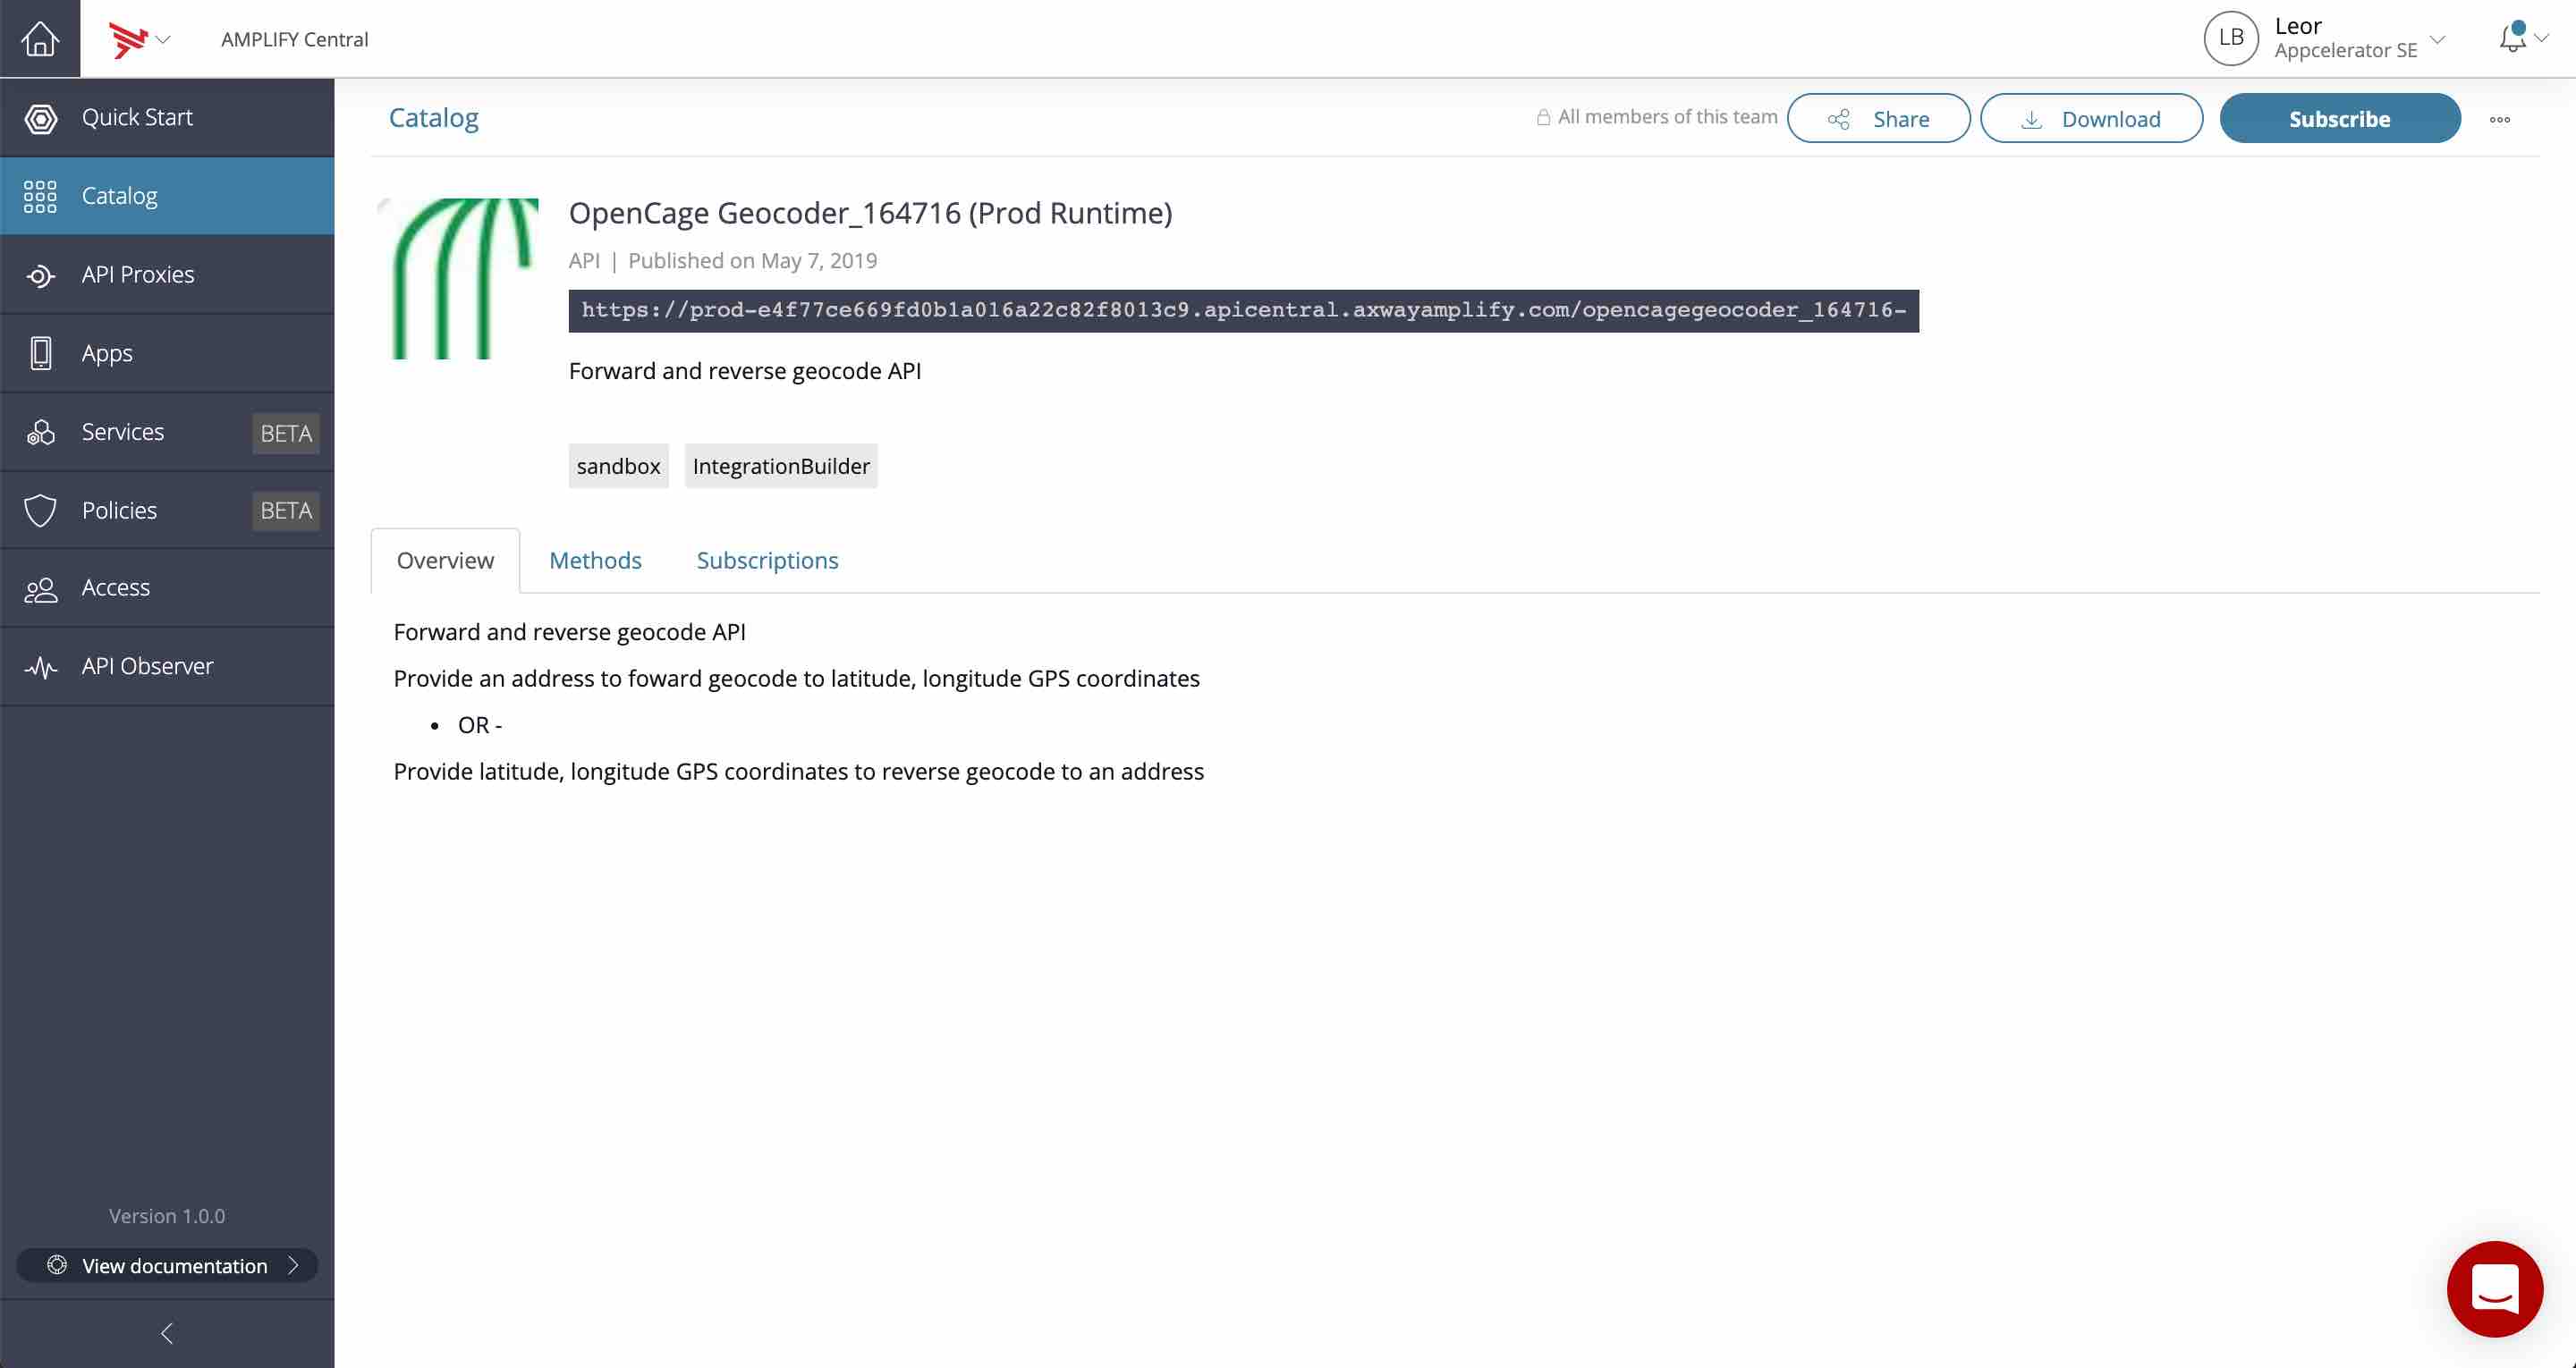
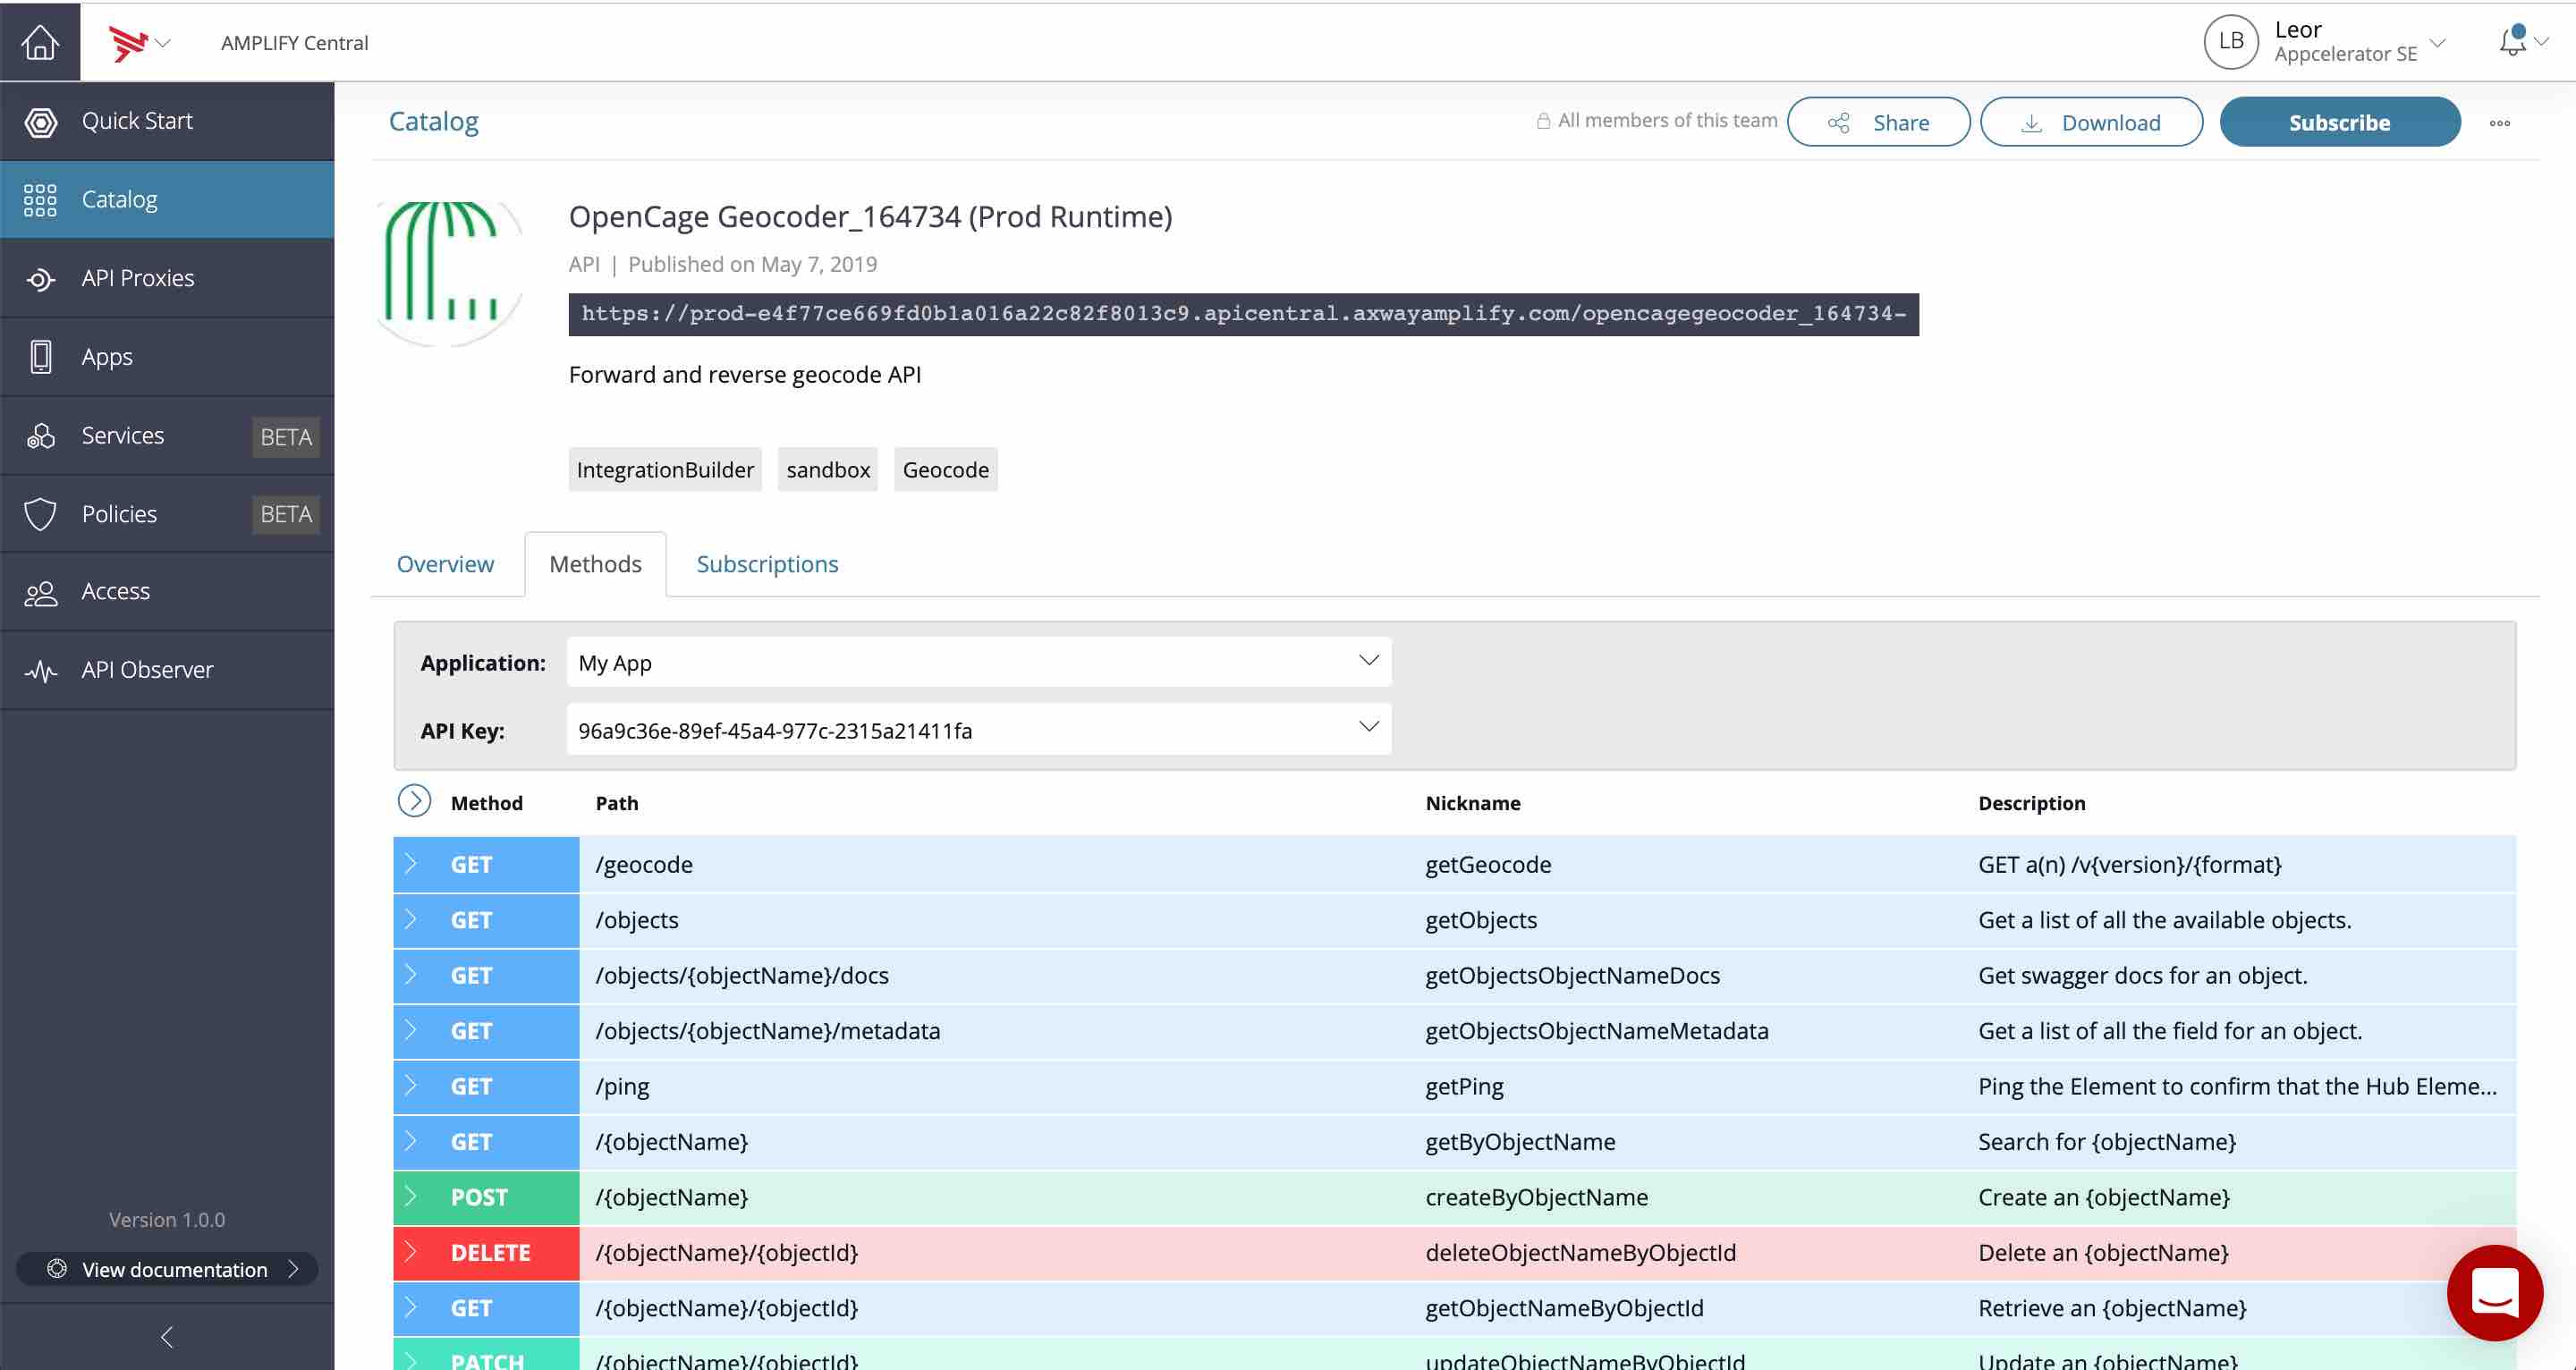
You will see the new API in the Catalog as follows:
Test/Use the API
This is the process your users will follow when they are provided access to your Catalog.
- Click on the API to see the details and subscribe to the API to use it
- Click on the Methods tab and you will see a warning that we need to subscribe an app with a valid API Key in order to test the methods.
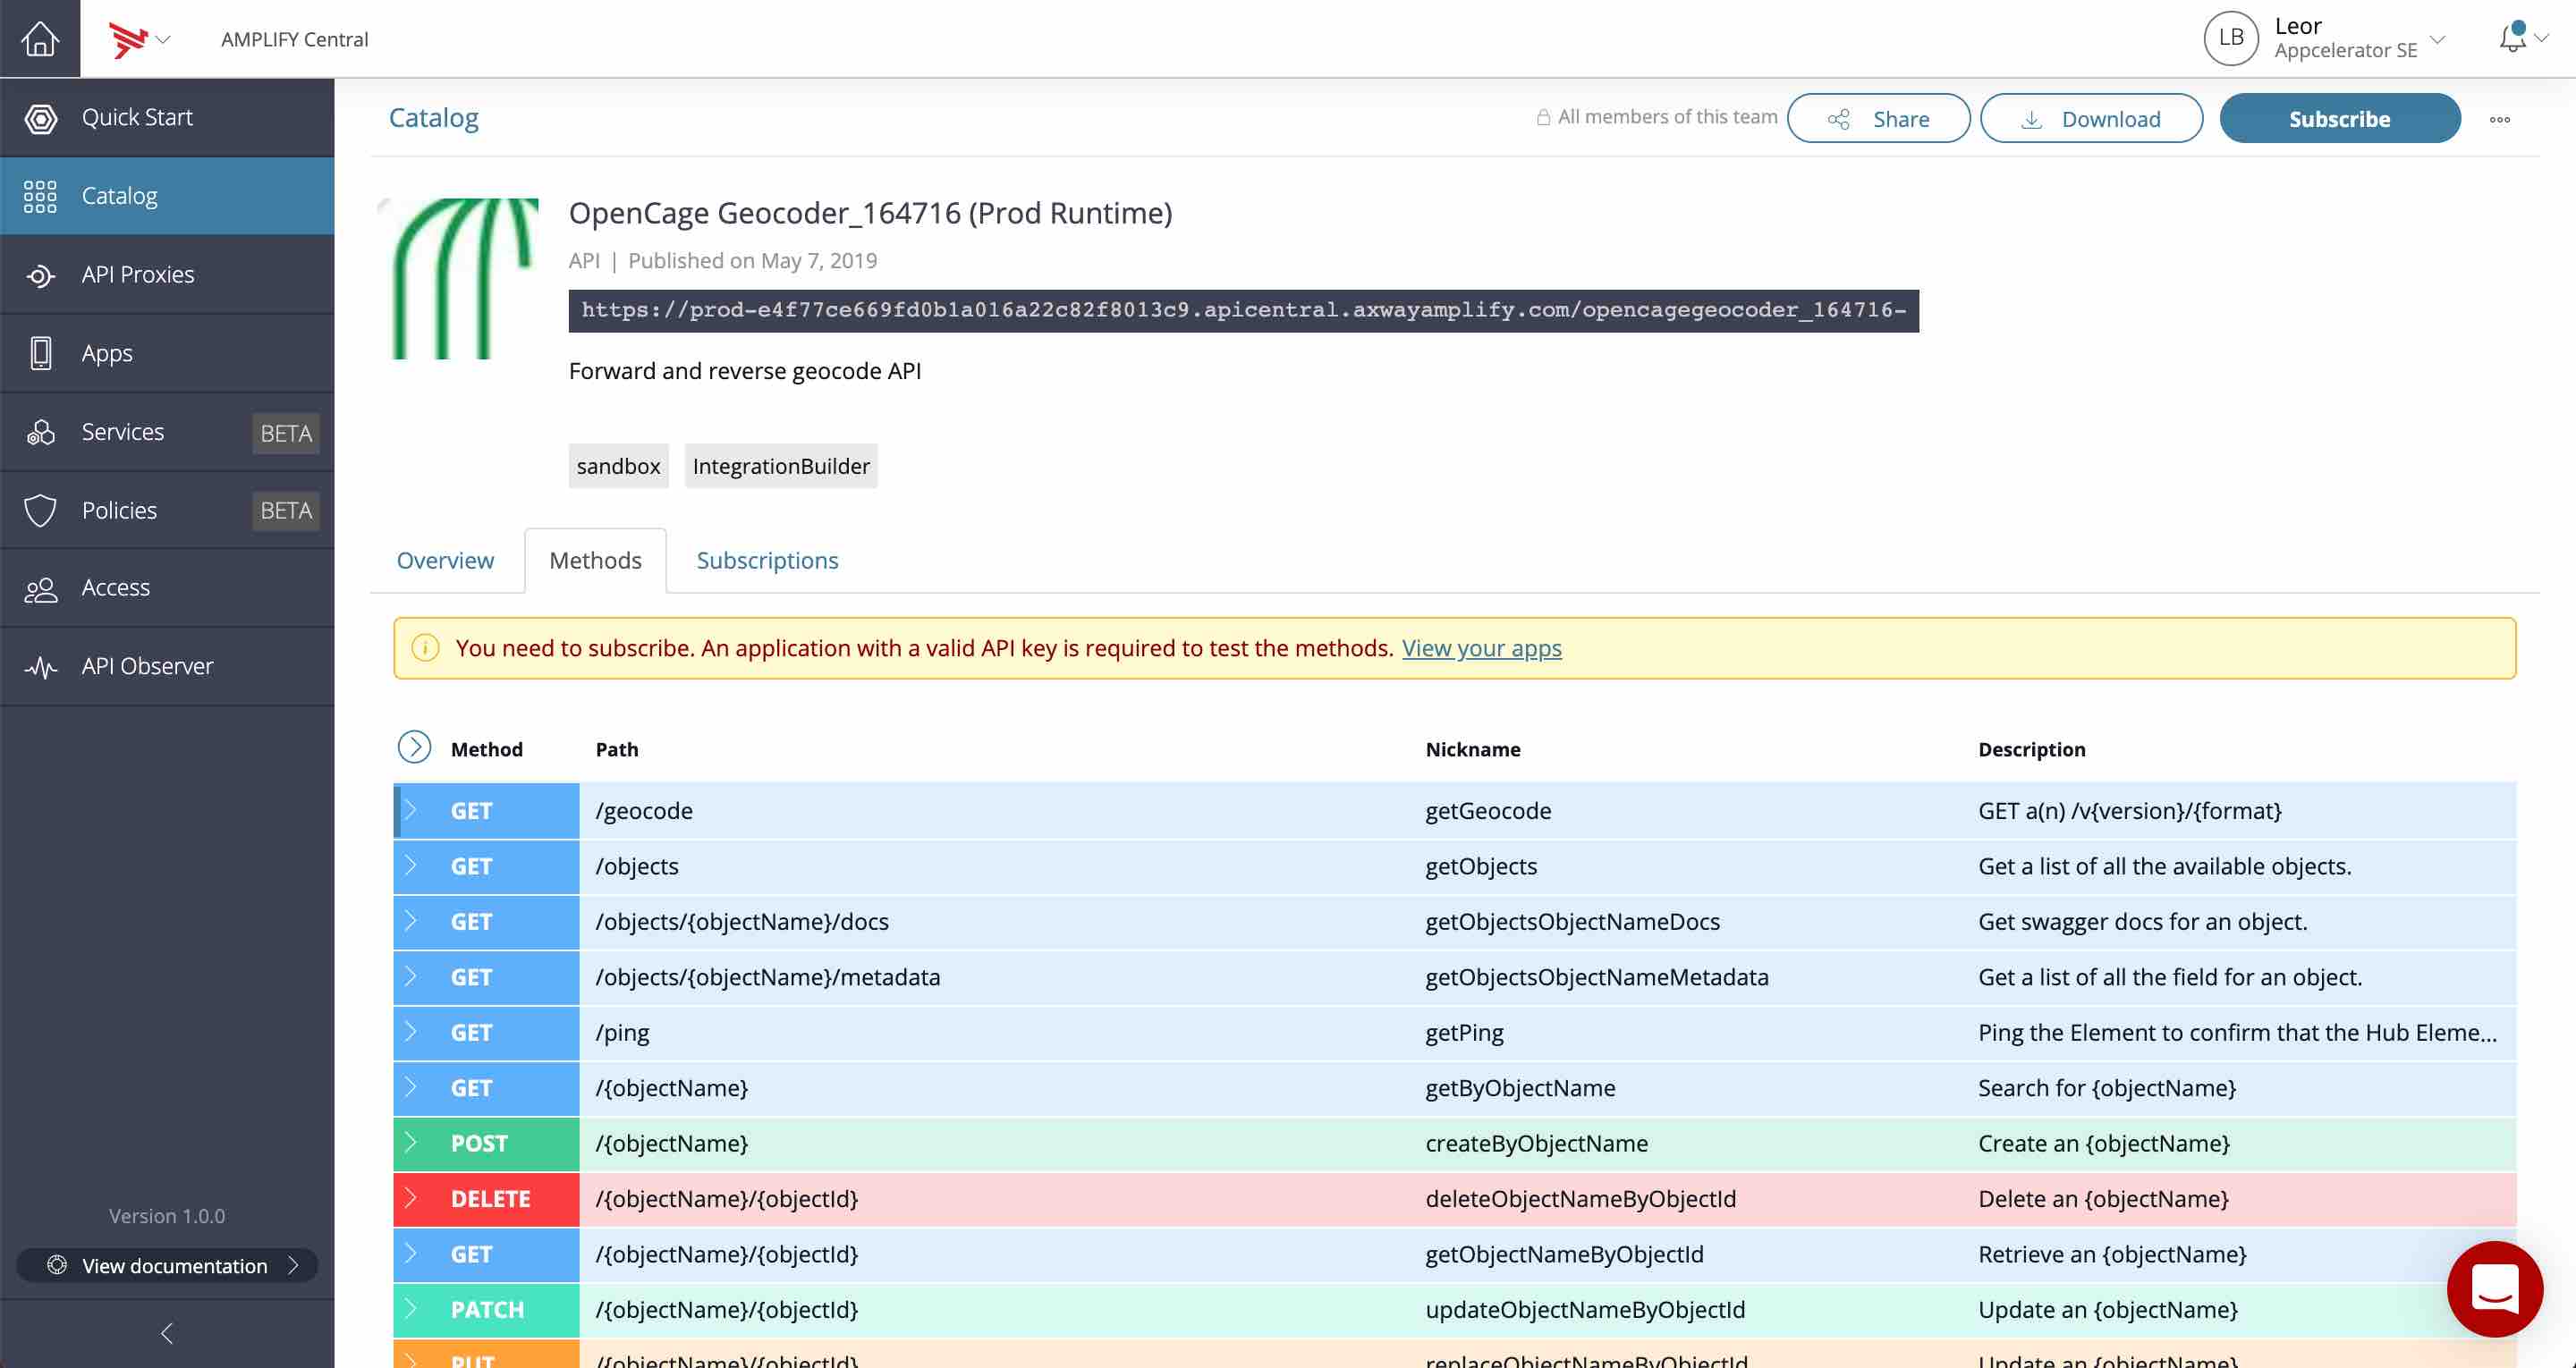
- Click on the View your apps link
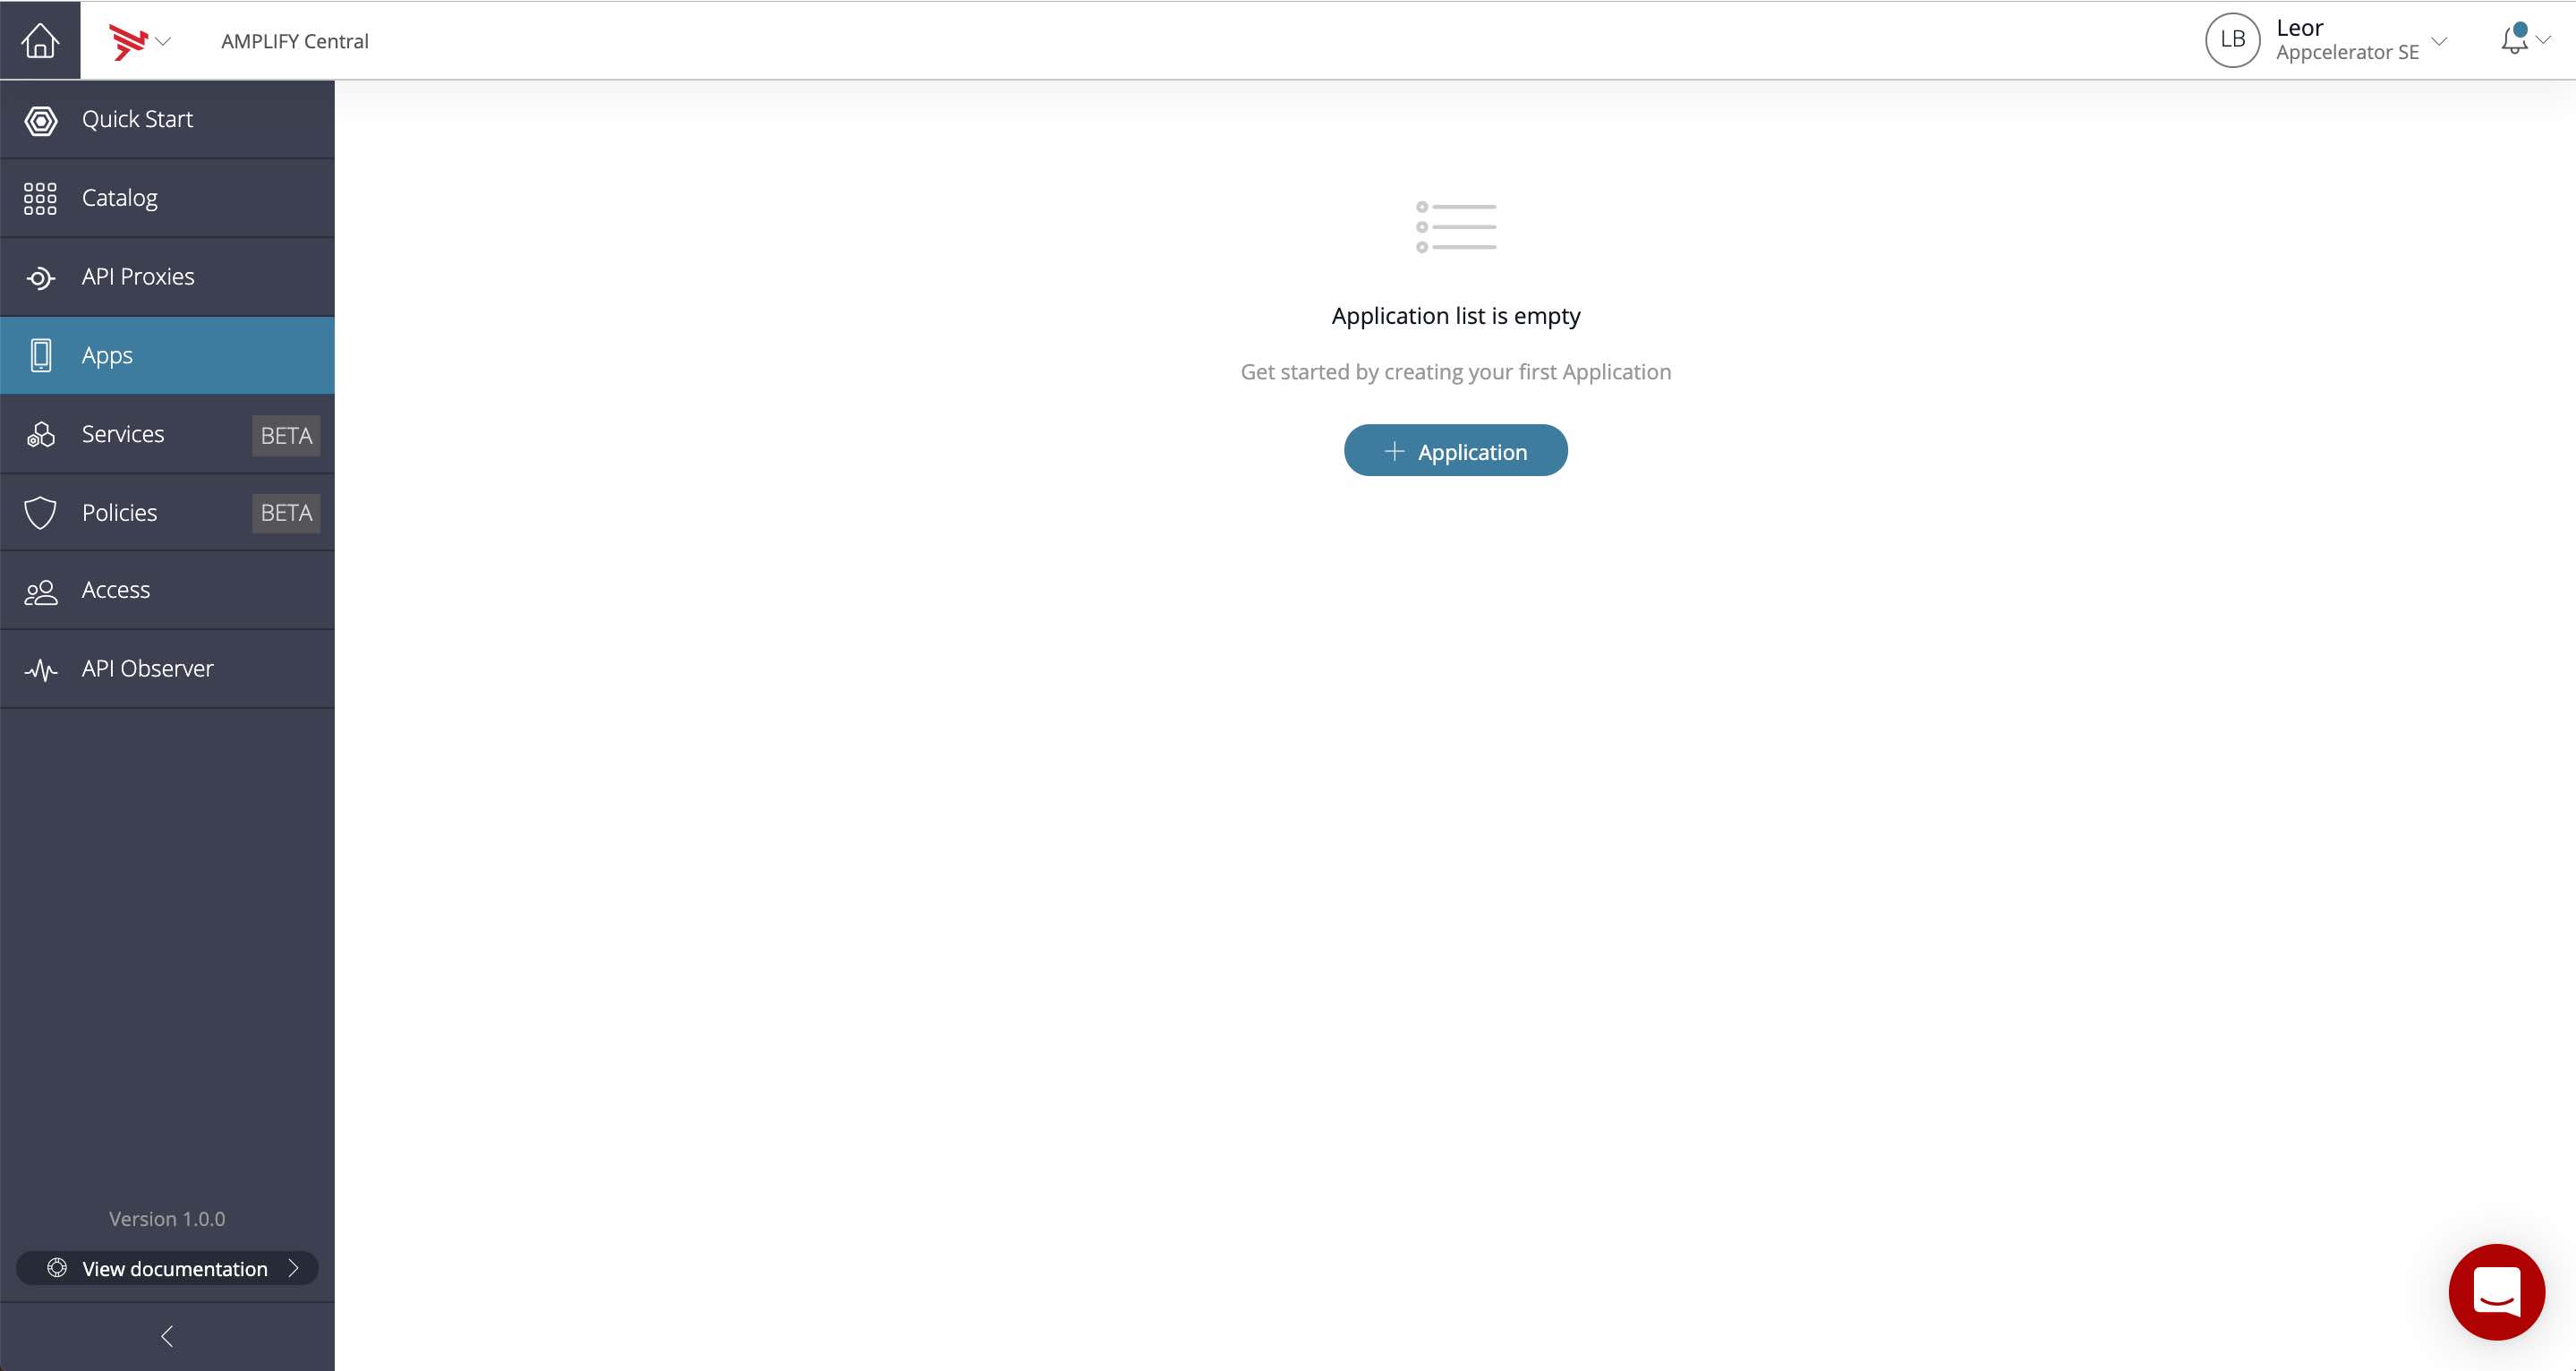
- Click on the + Applications button
- Enter a Name and select a Team from the pull down. Optionally, enter a Description and Tags for your app
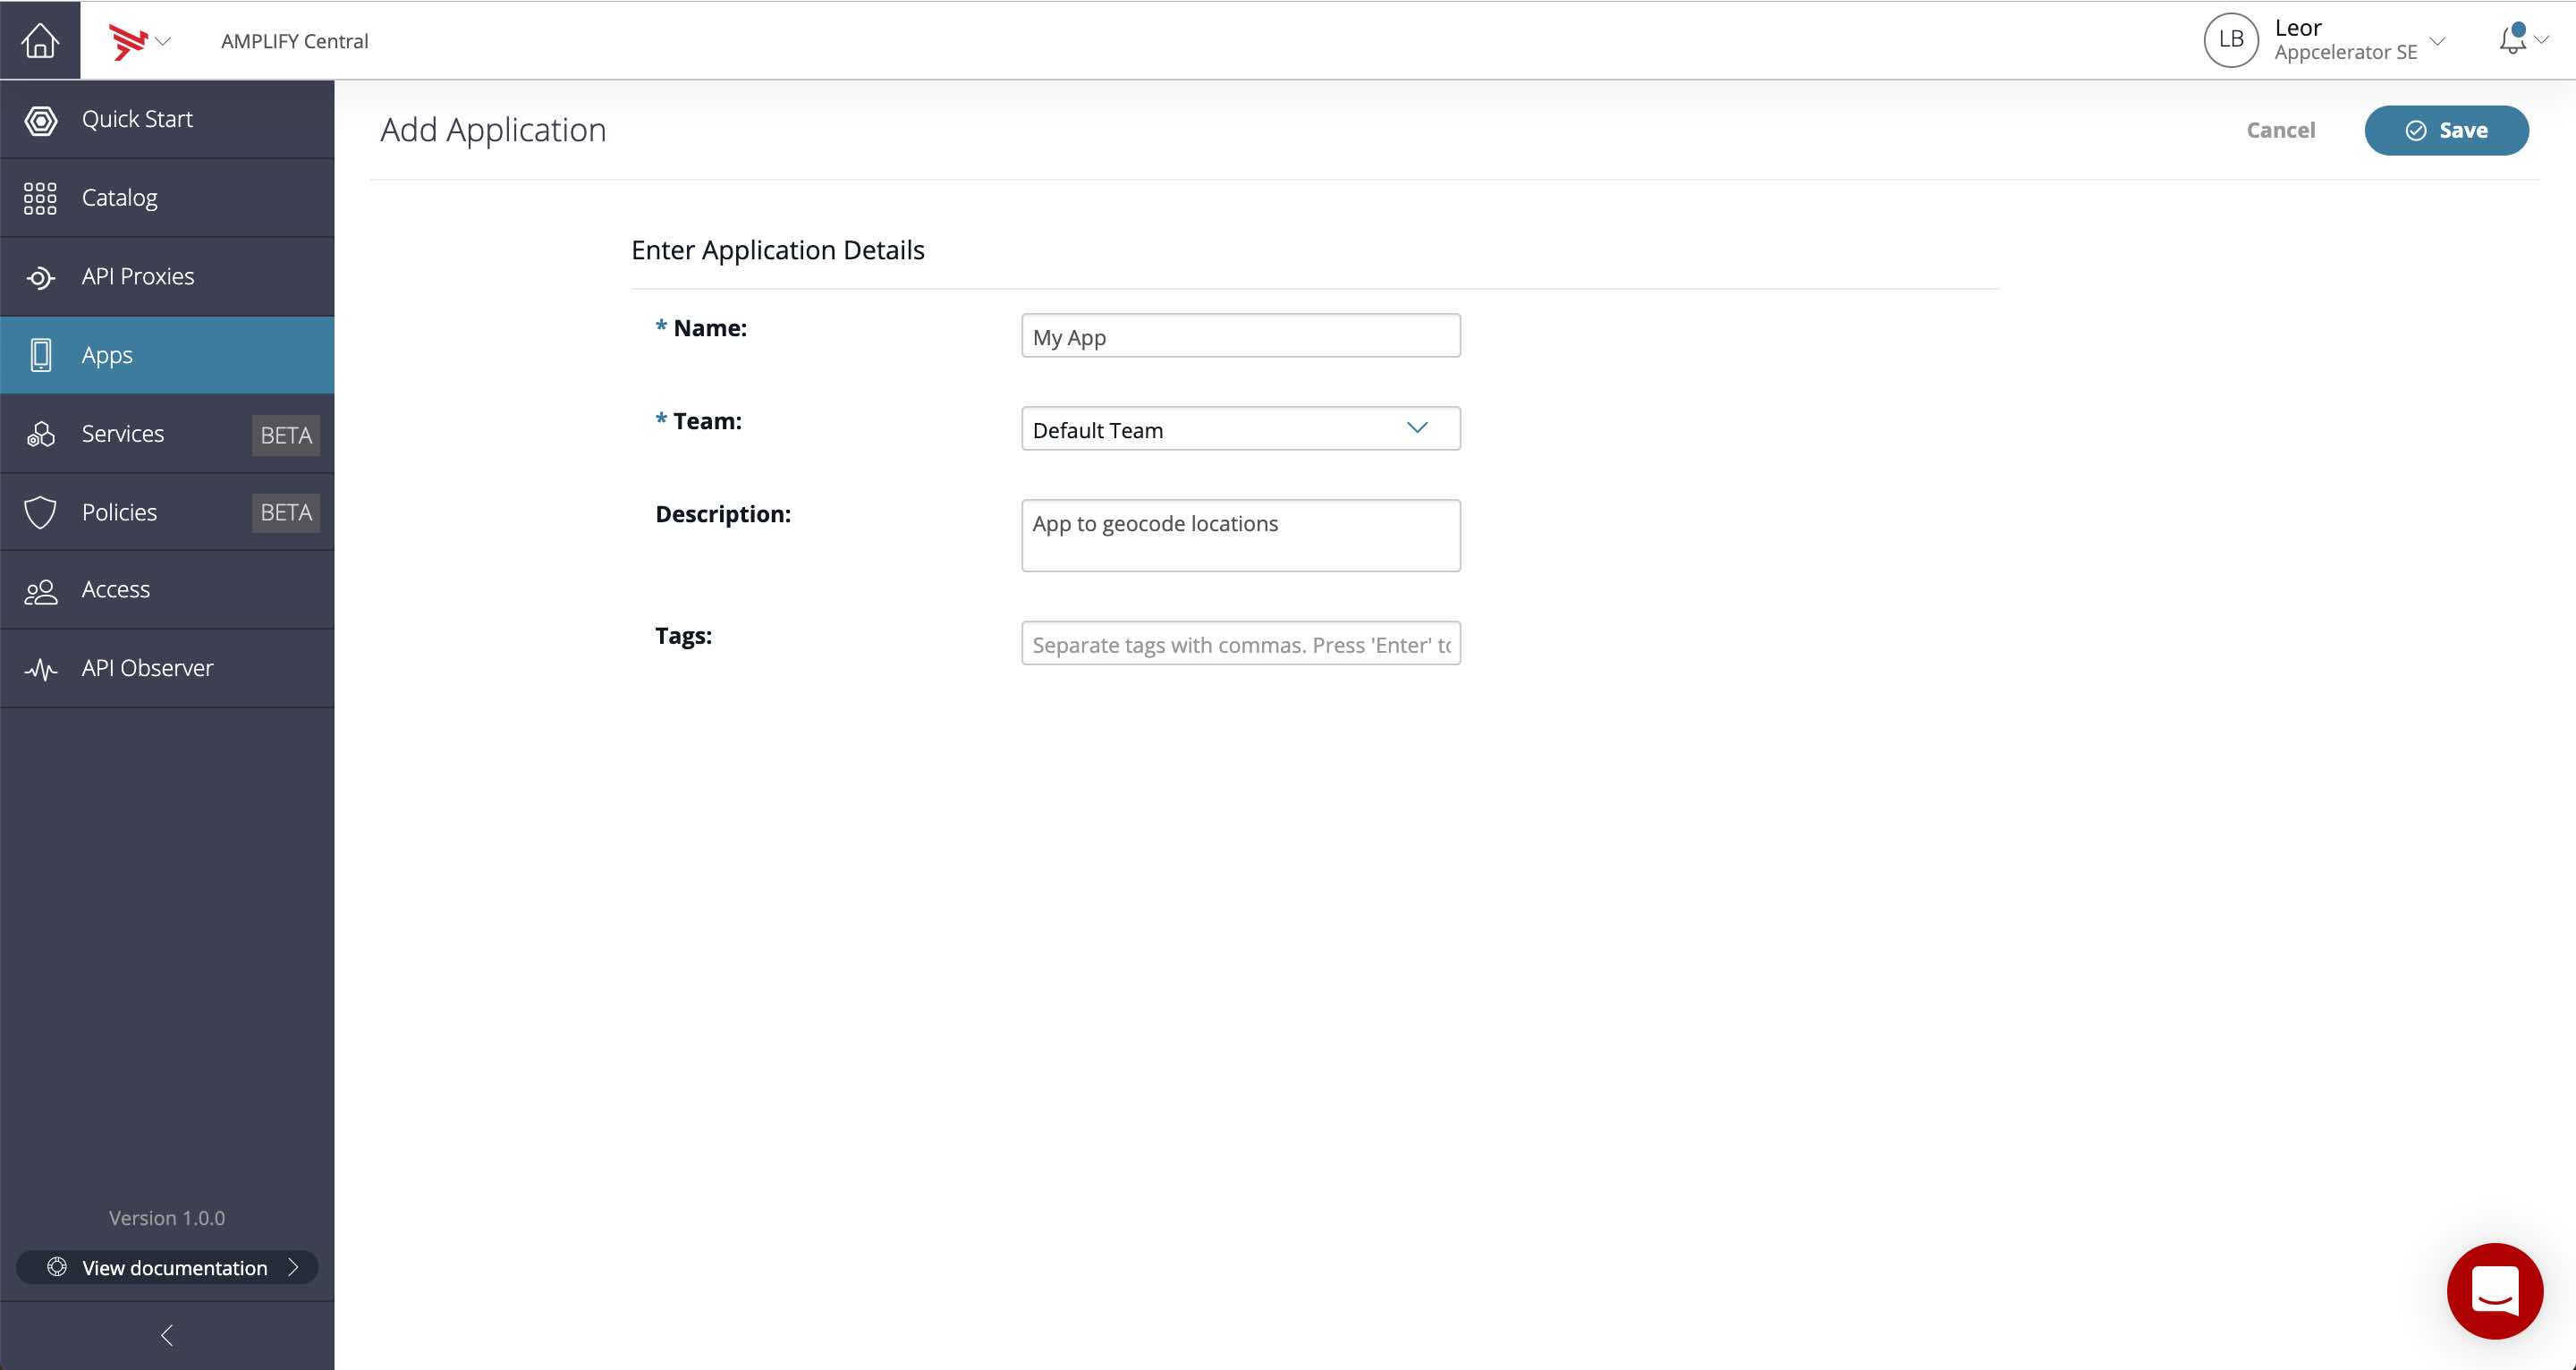
- Click the Save button
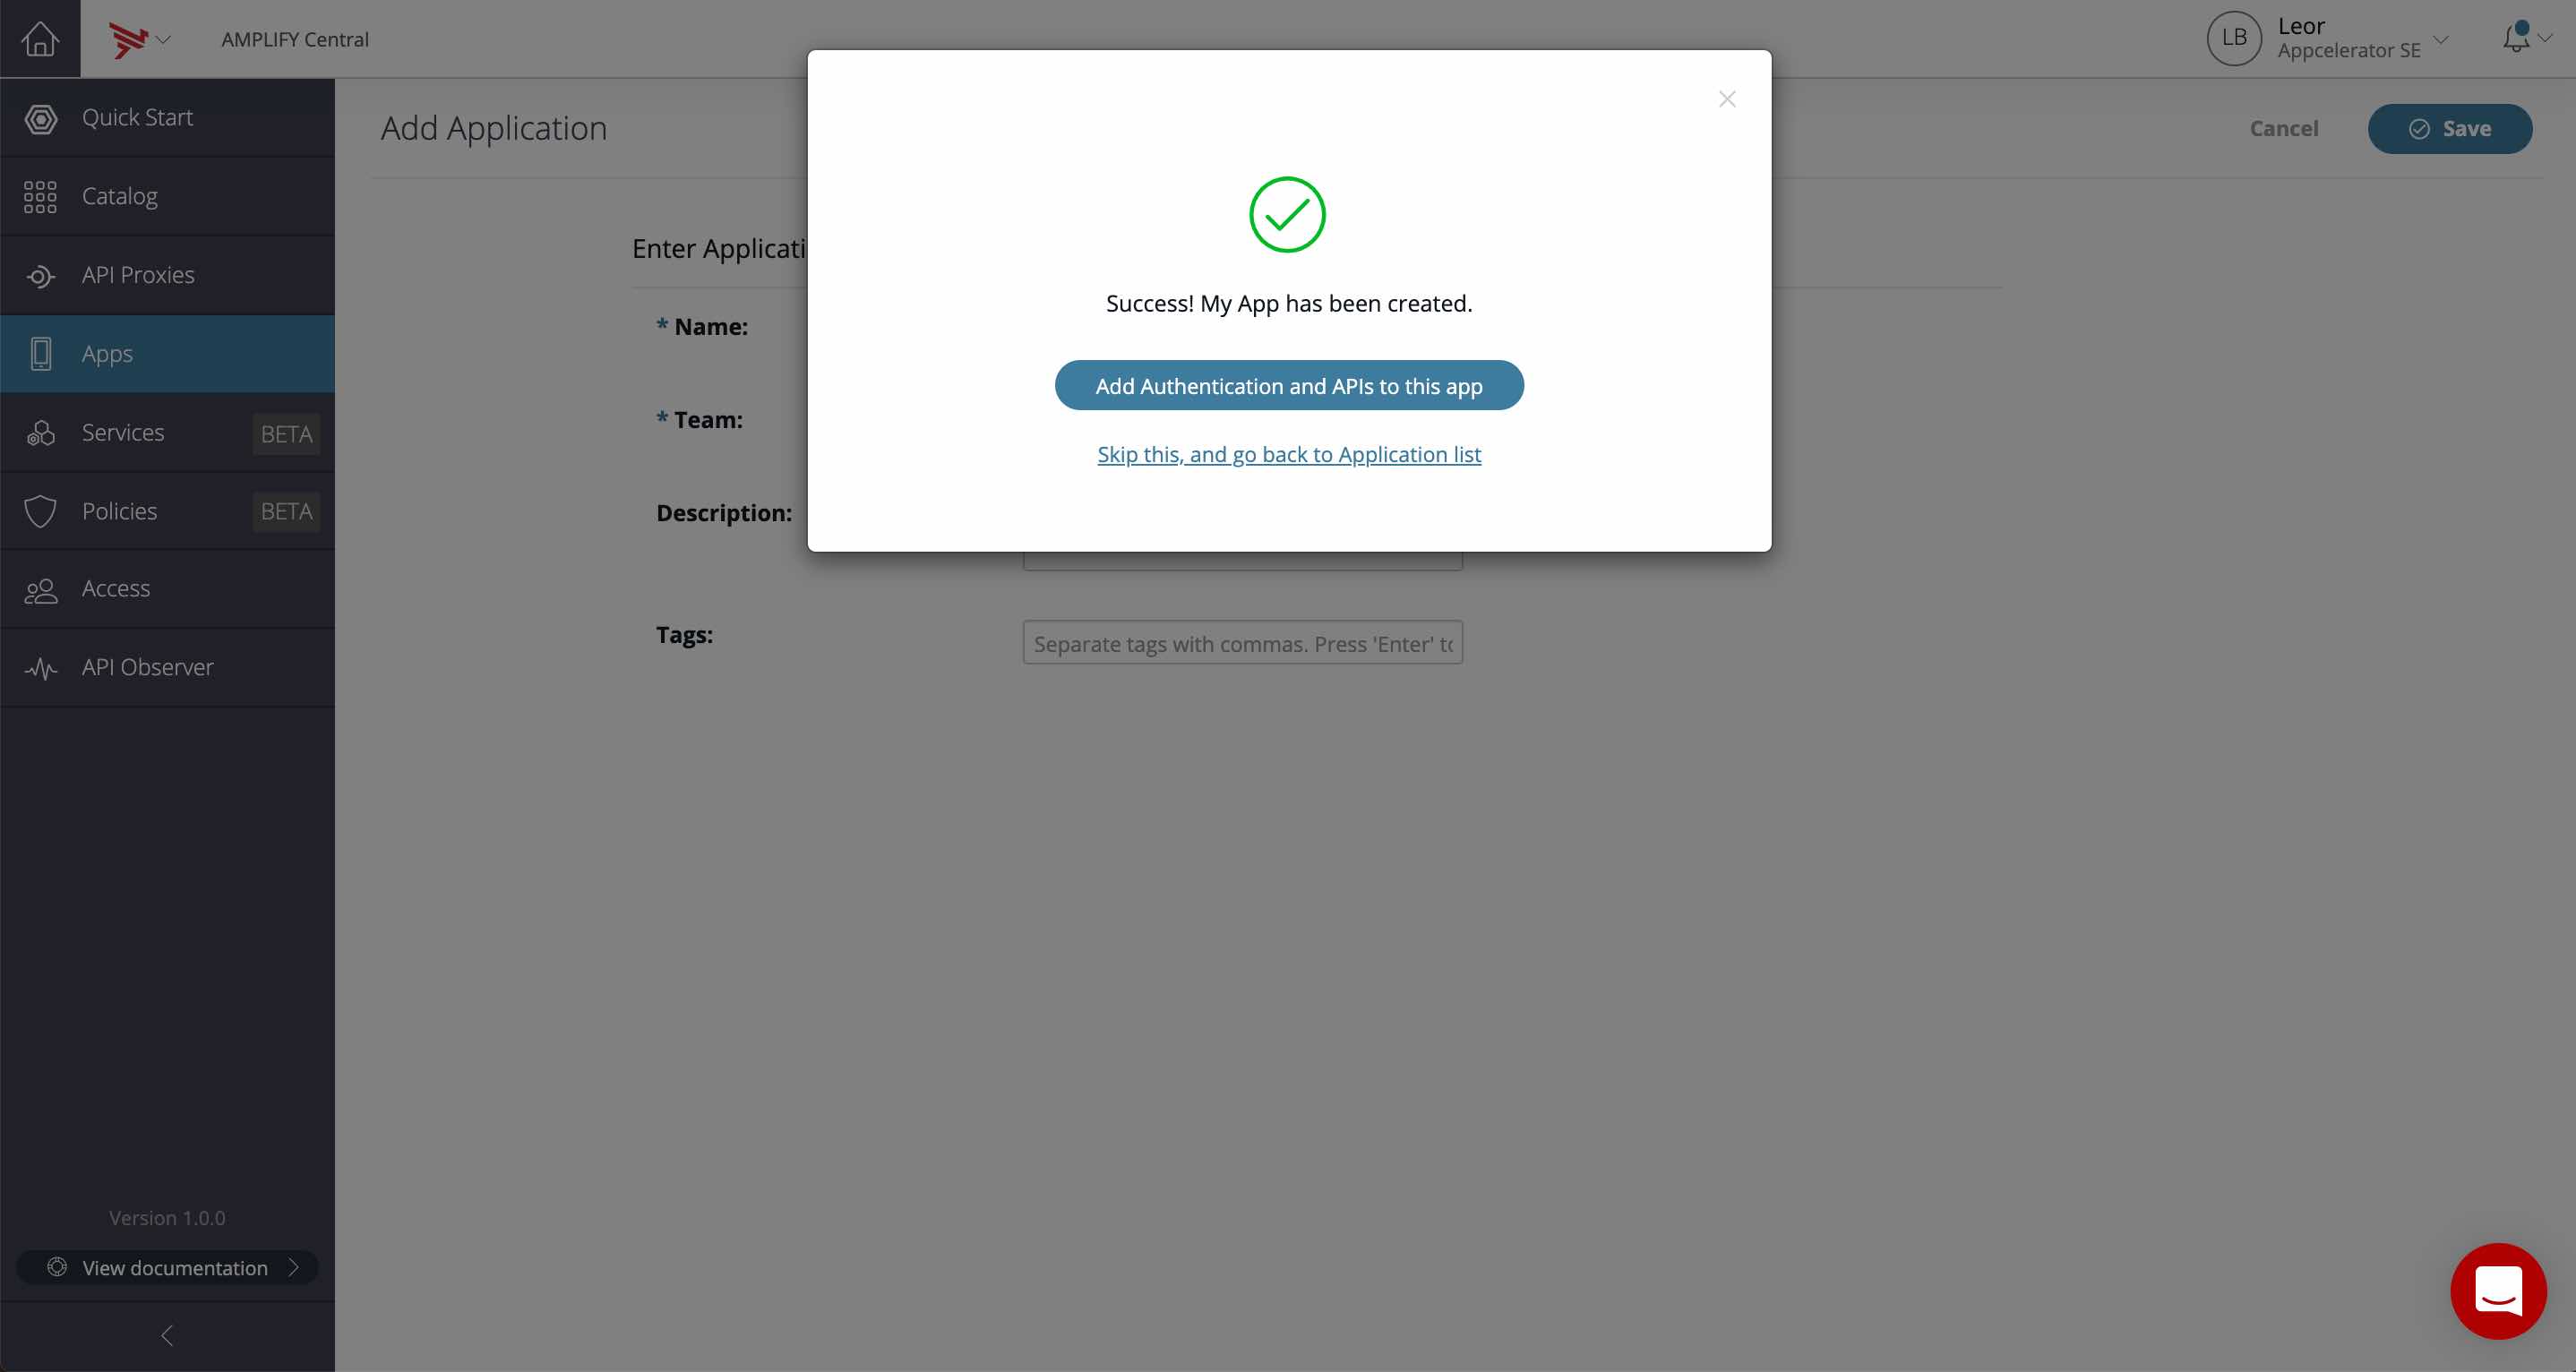
- Click Add Authentication and APIs to this app
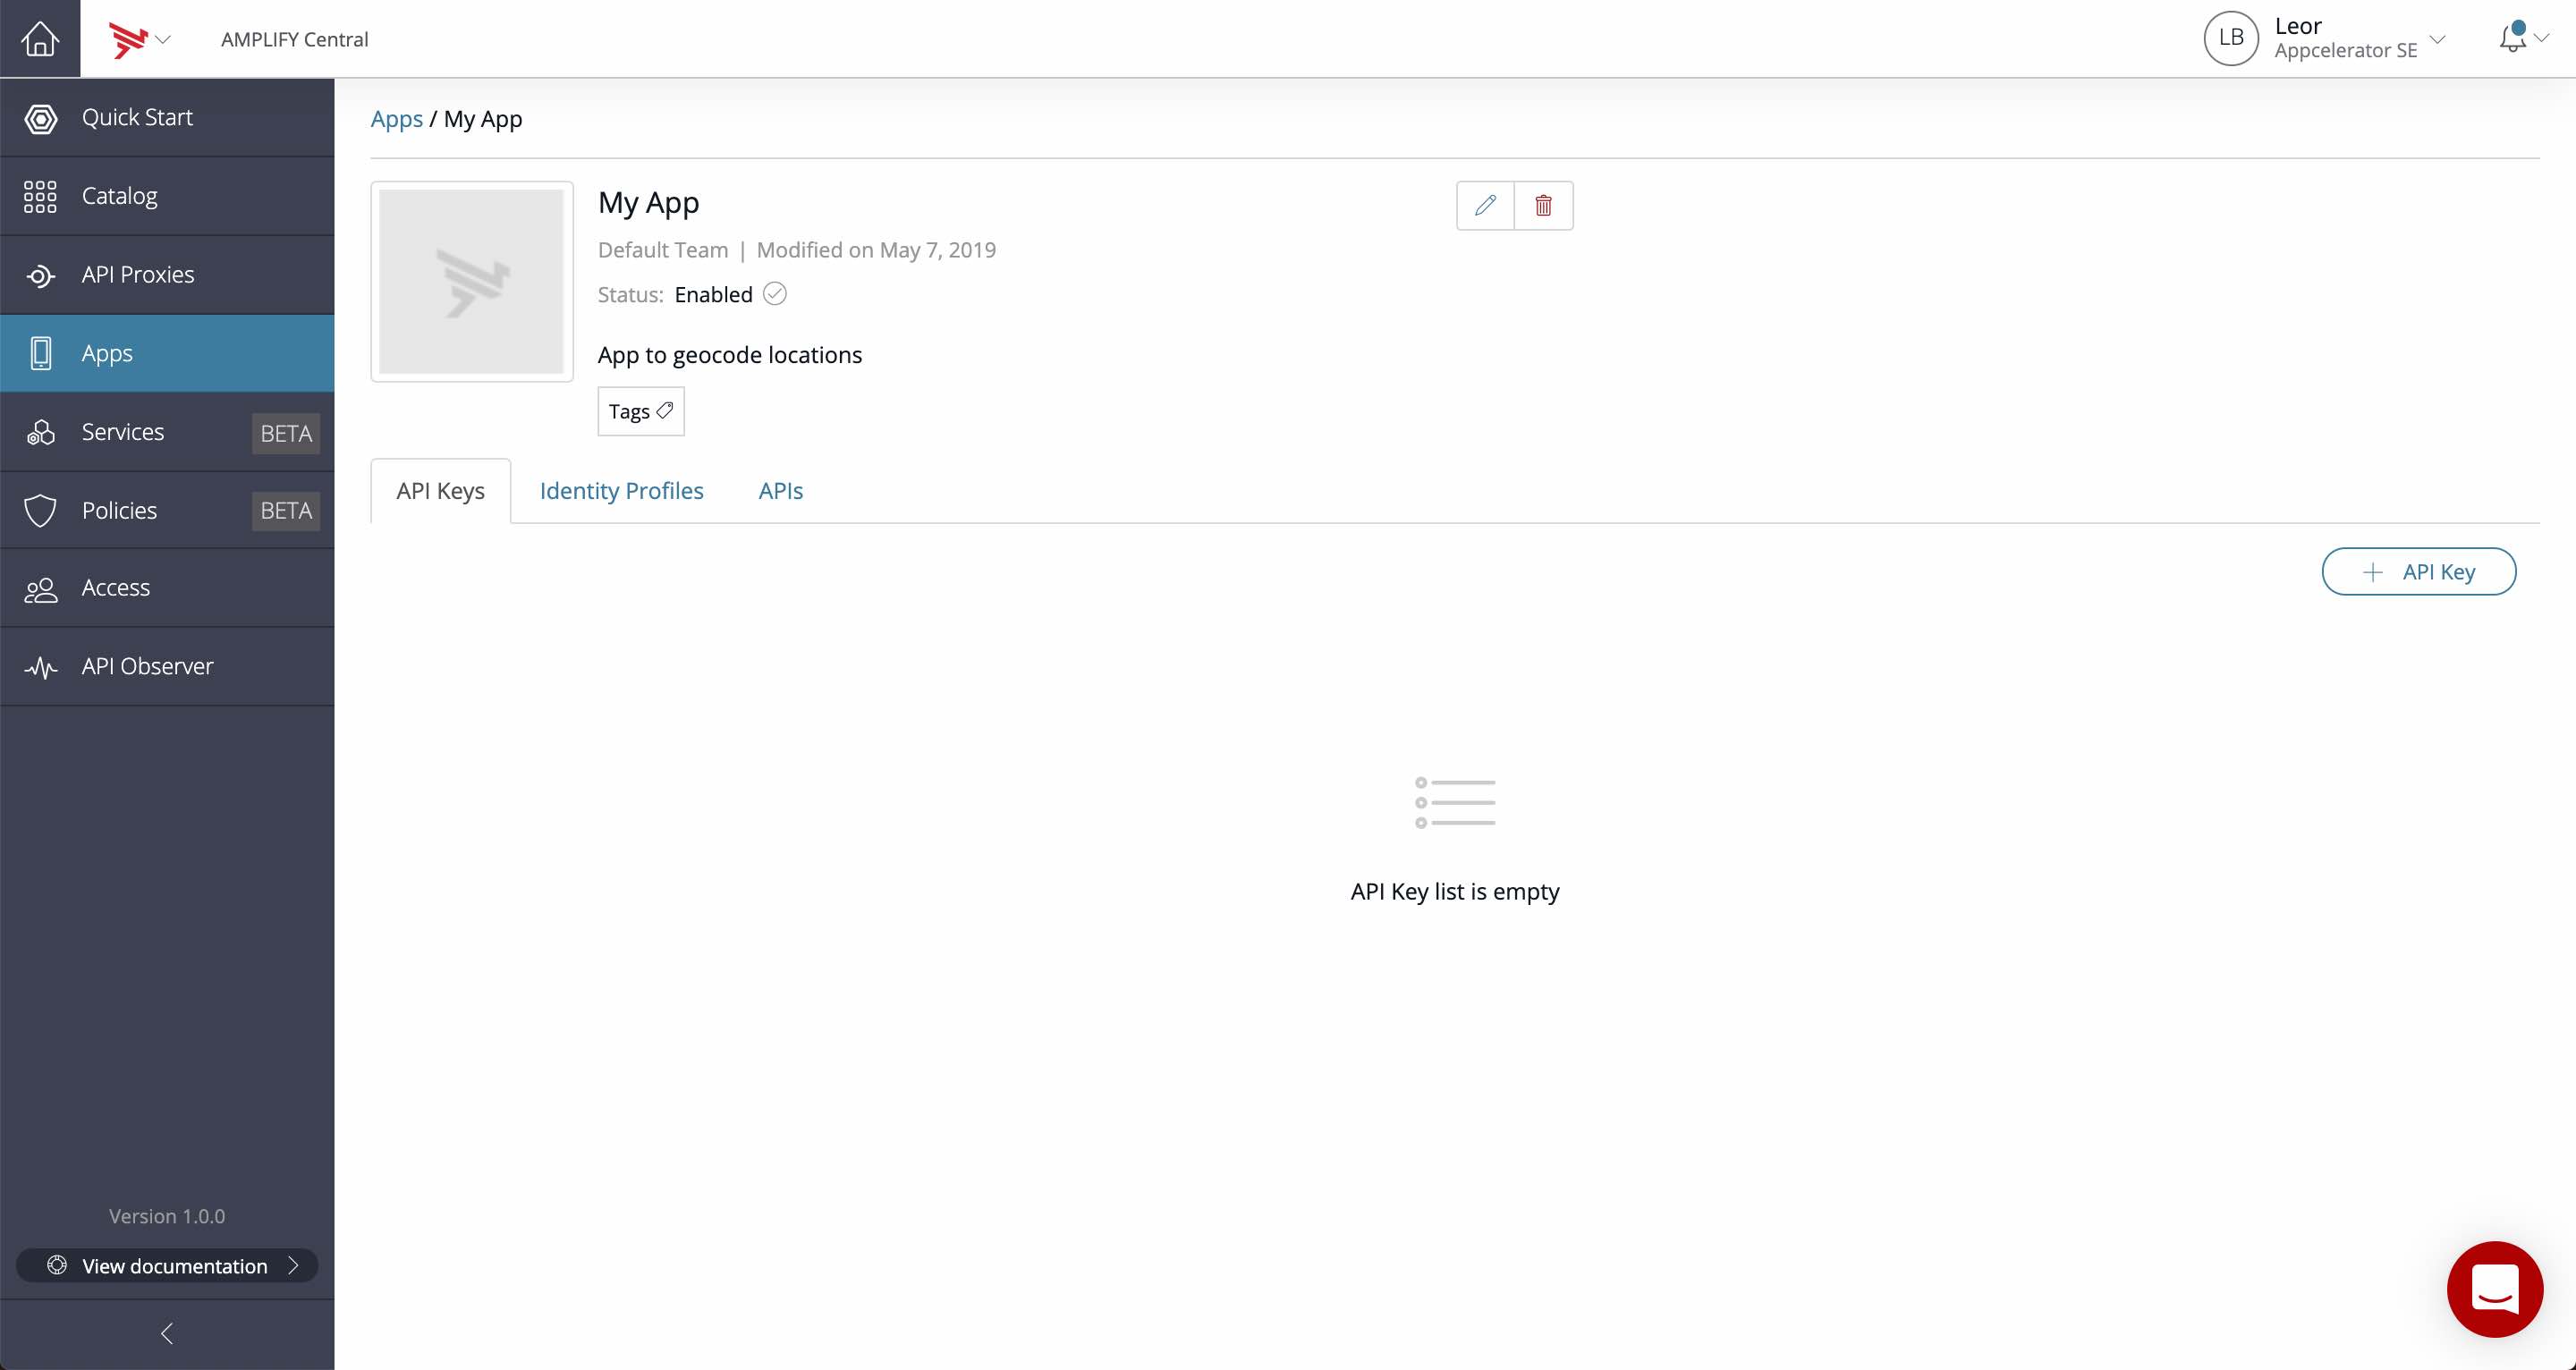
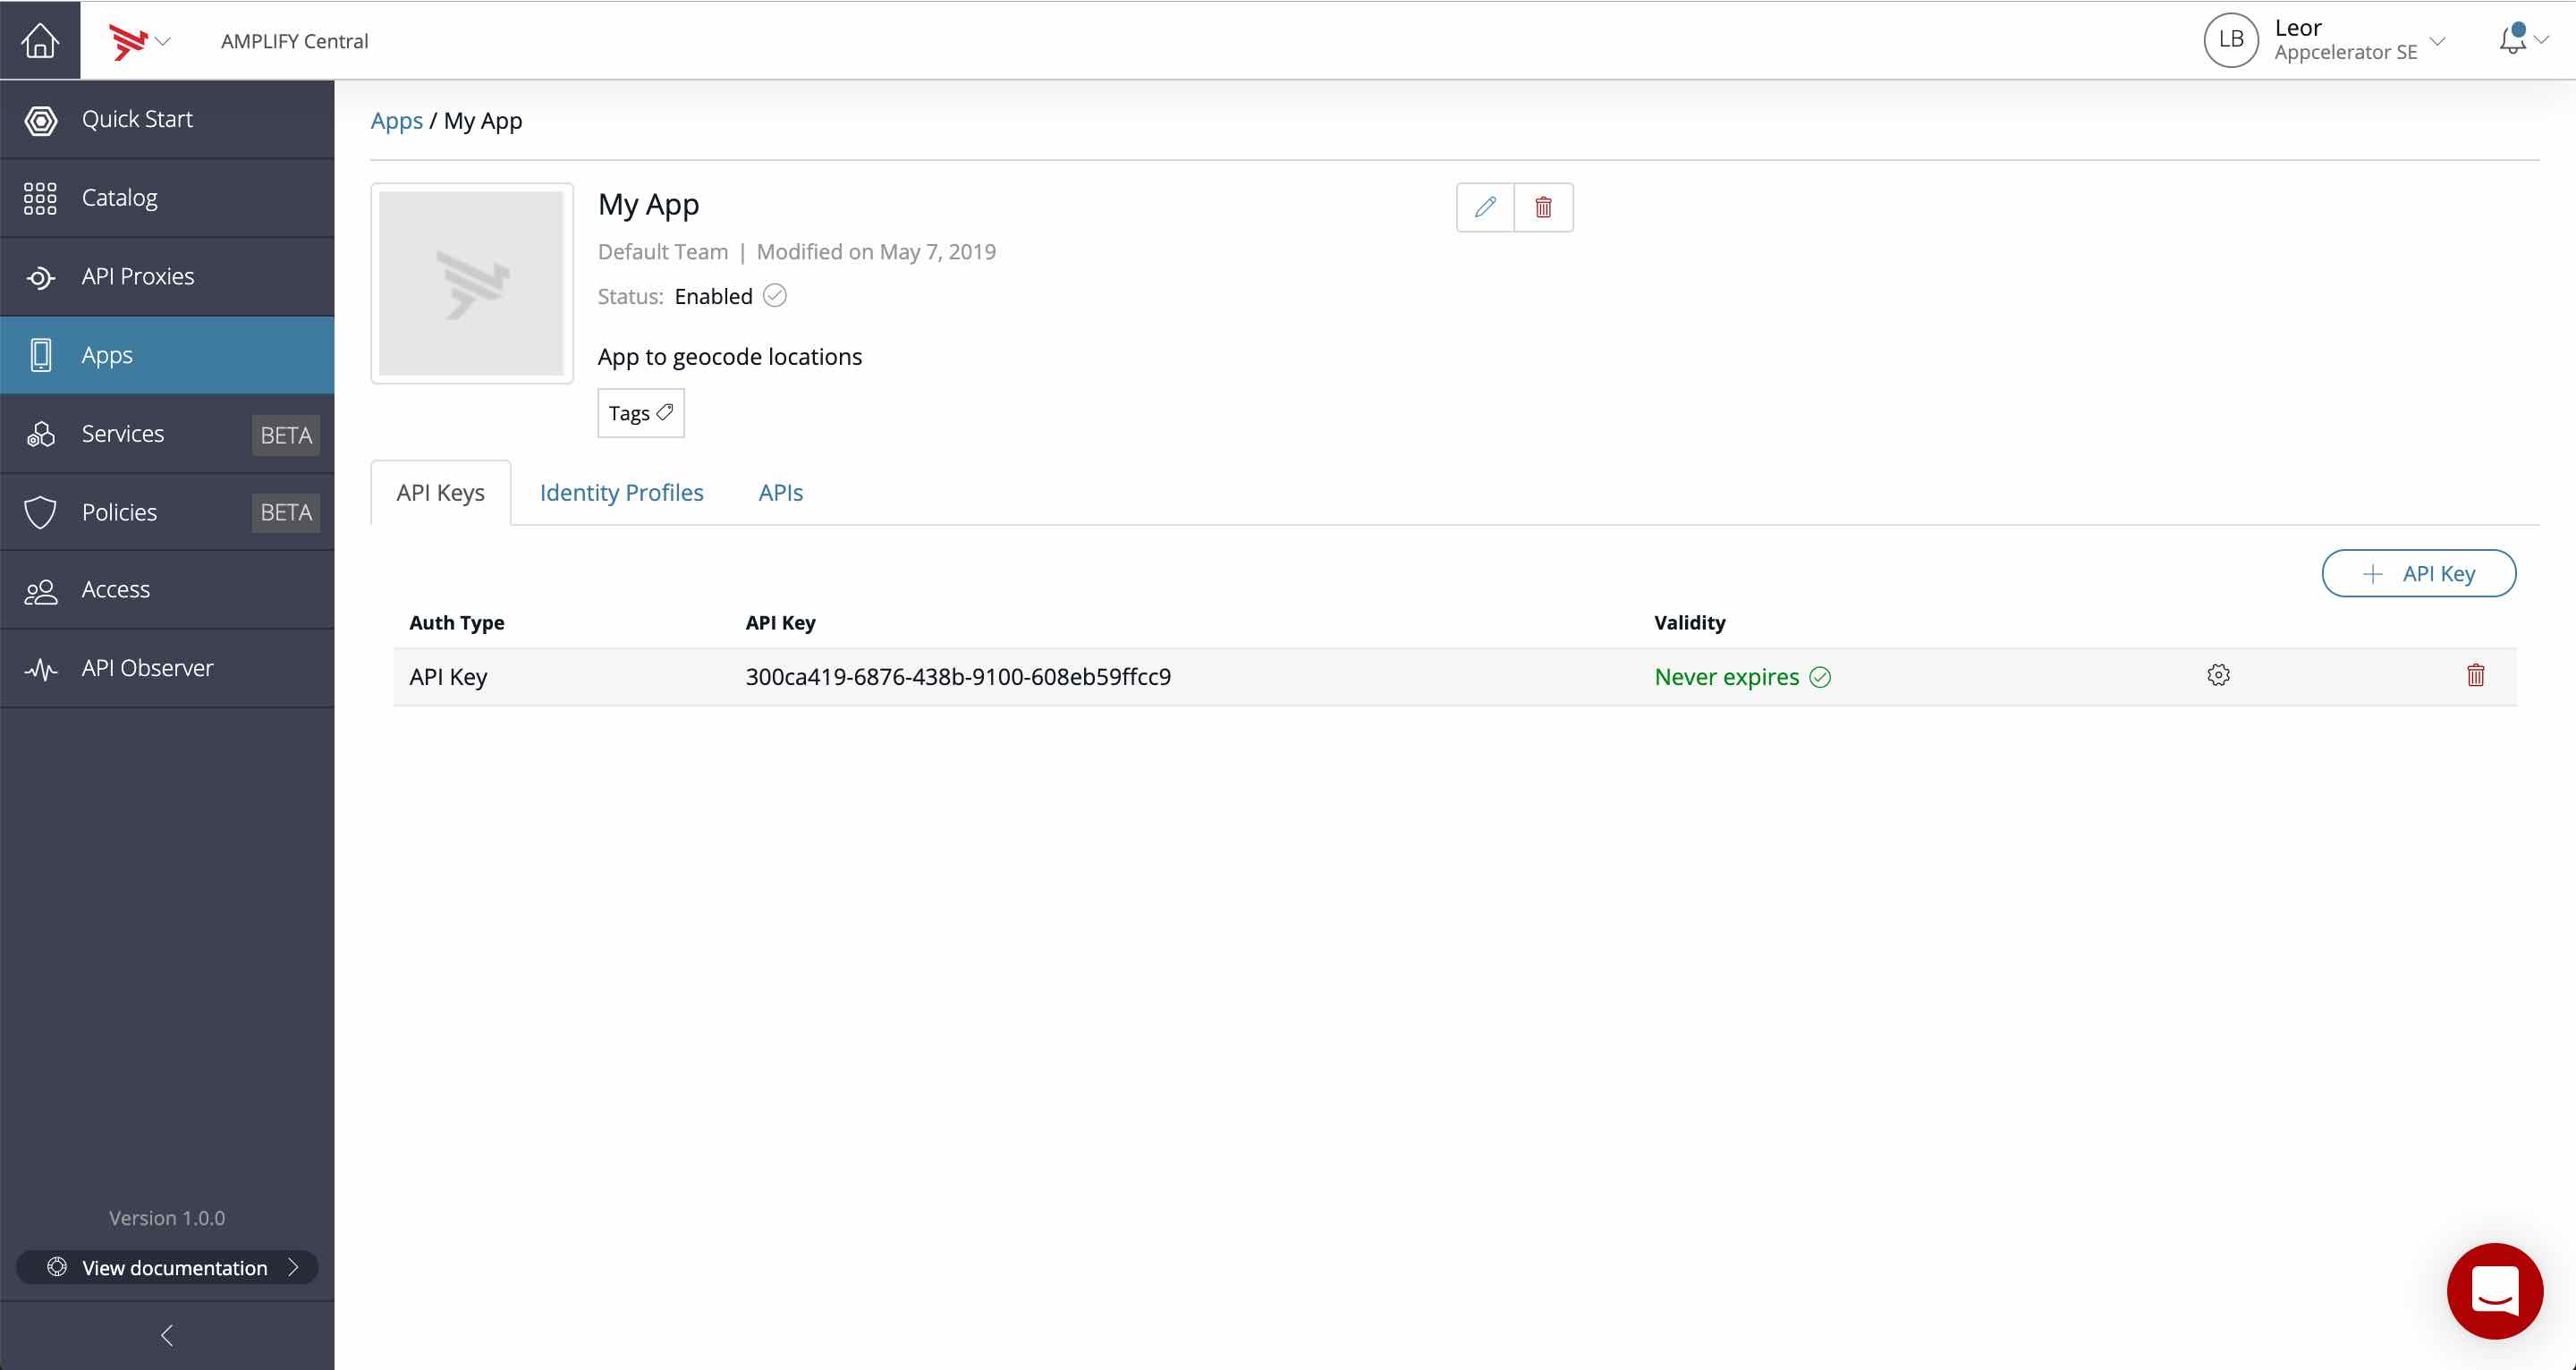
- Click the + API Key button to add an API Key to your app
At this point we’re done with the app and can return to the API in the Catalog and click the Subscribe button and select a Team and an app (the one we just created)
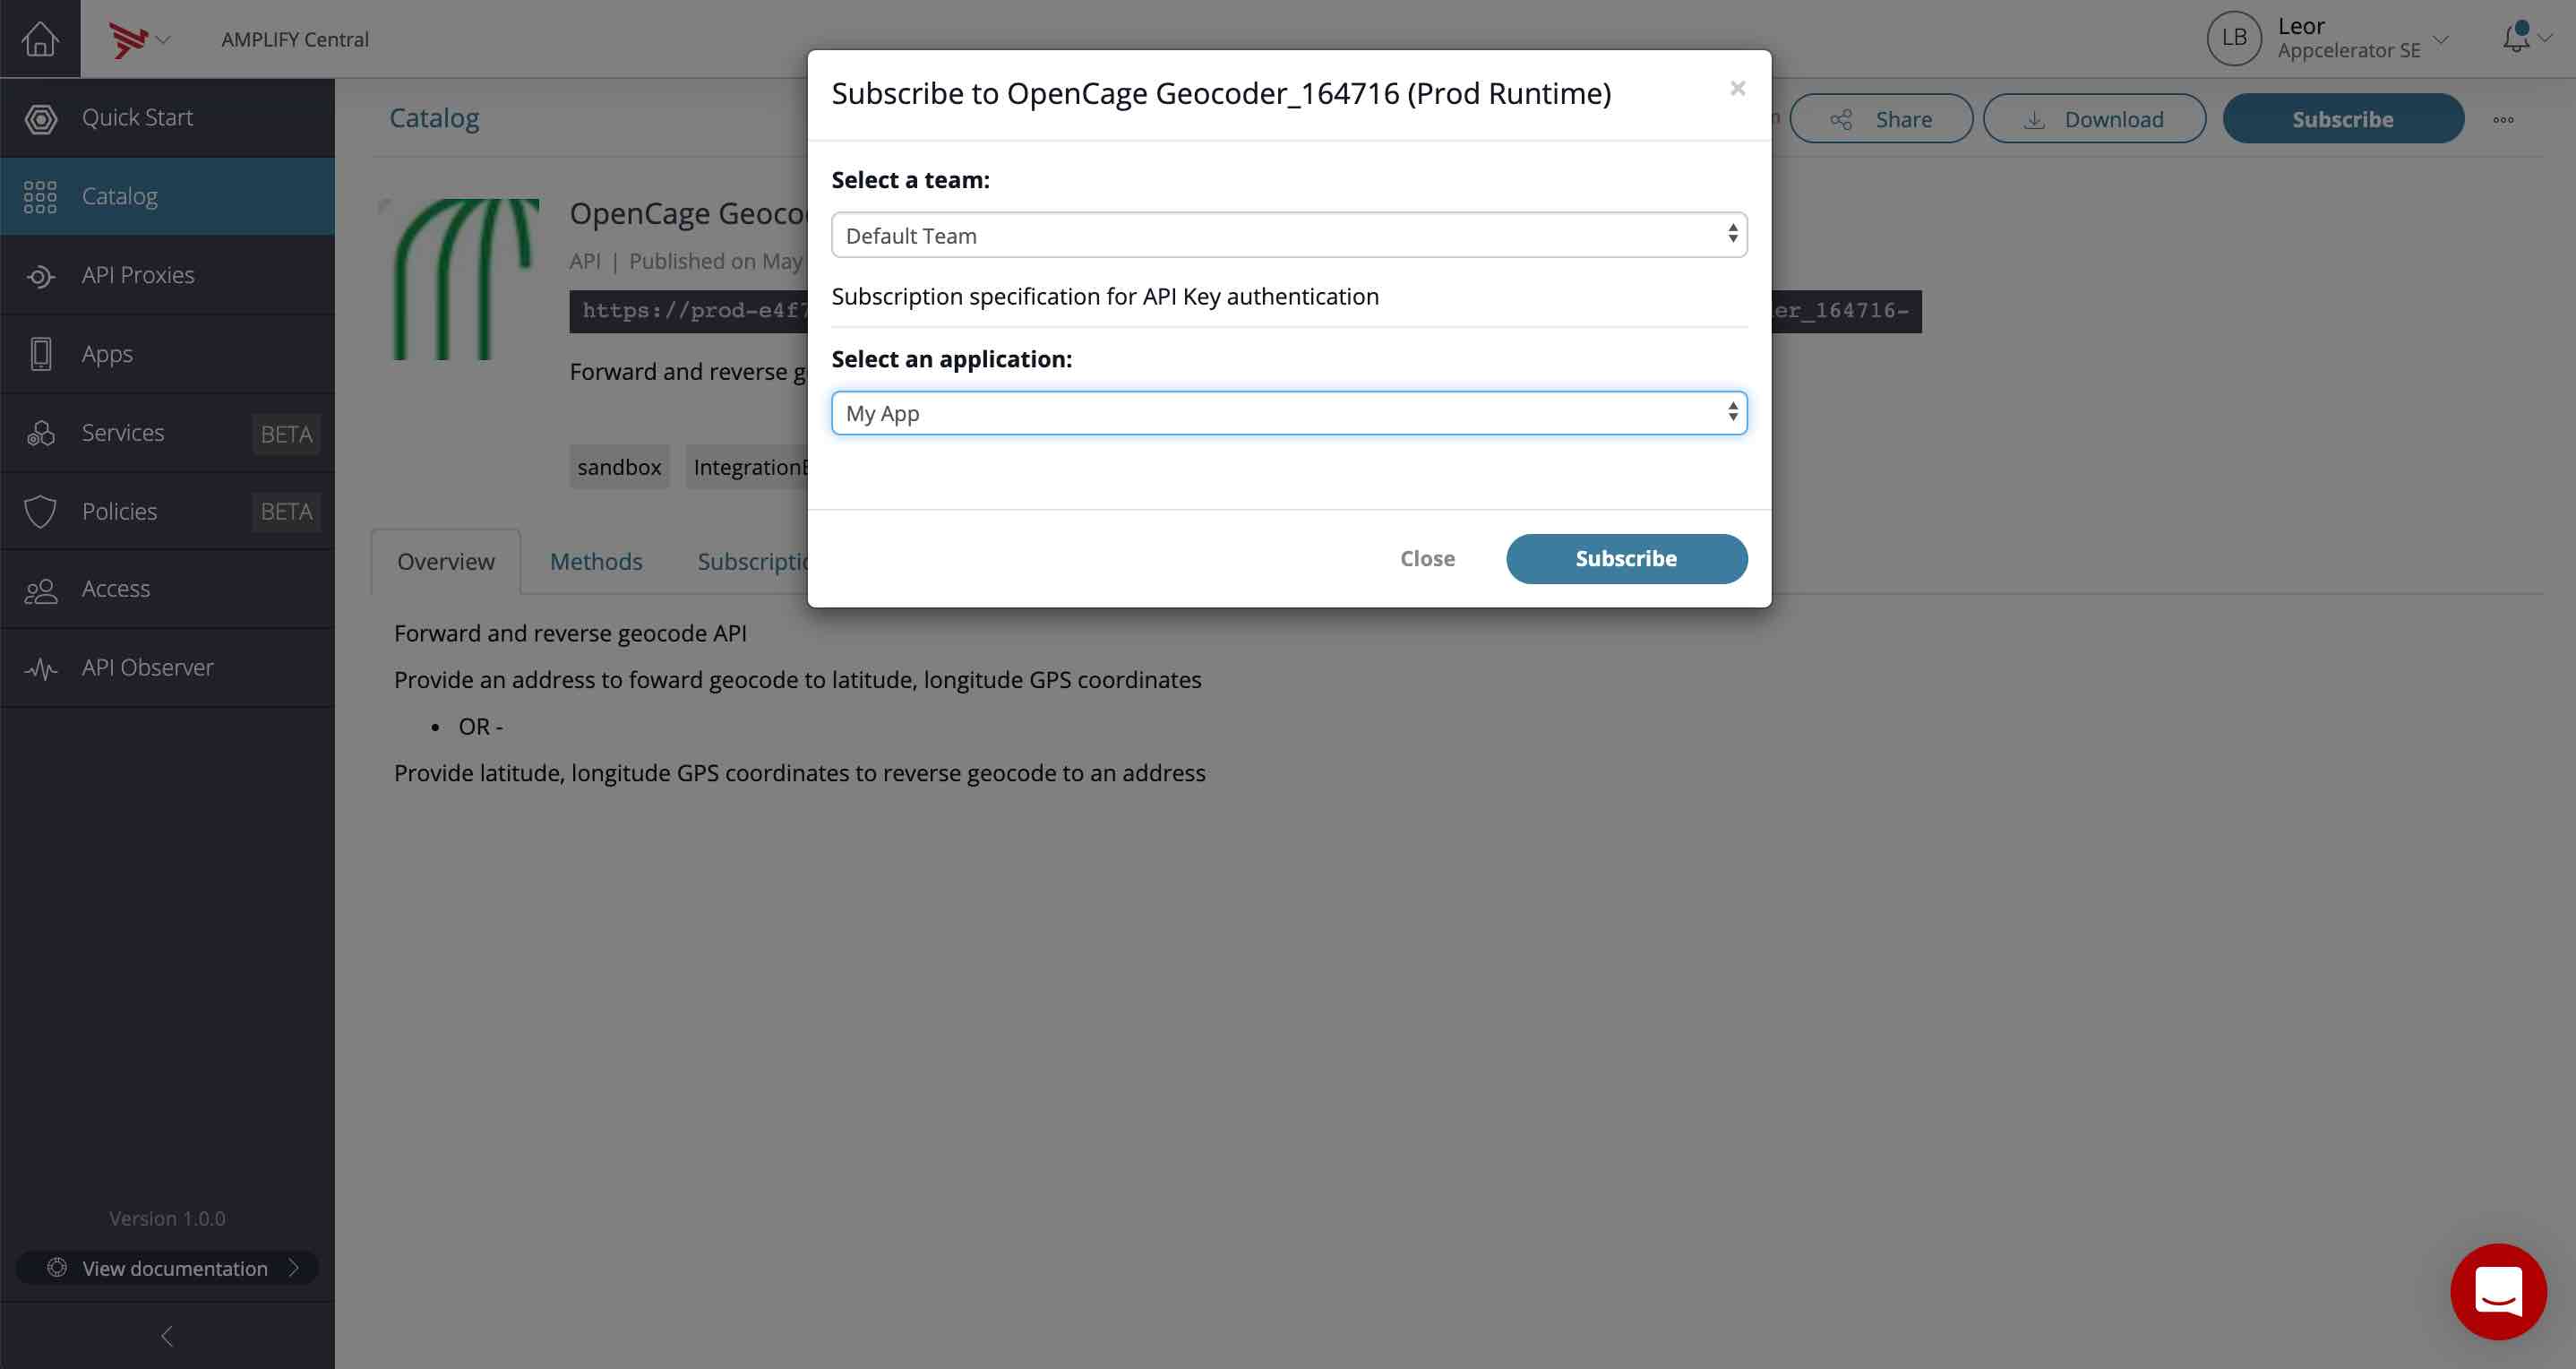
- Click the Subscribe button

- Click the Close button
- Click on the Methods tab and select your application and API Key
- Expand the GET /geocode API, scroll down and enter an address for query, press Execute and see your response:
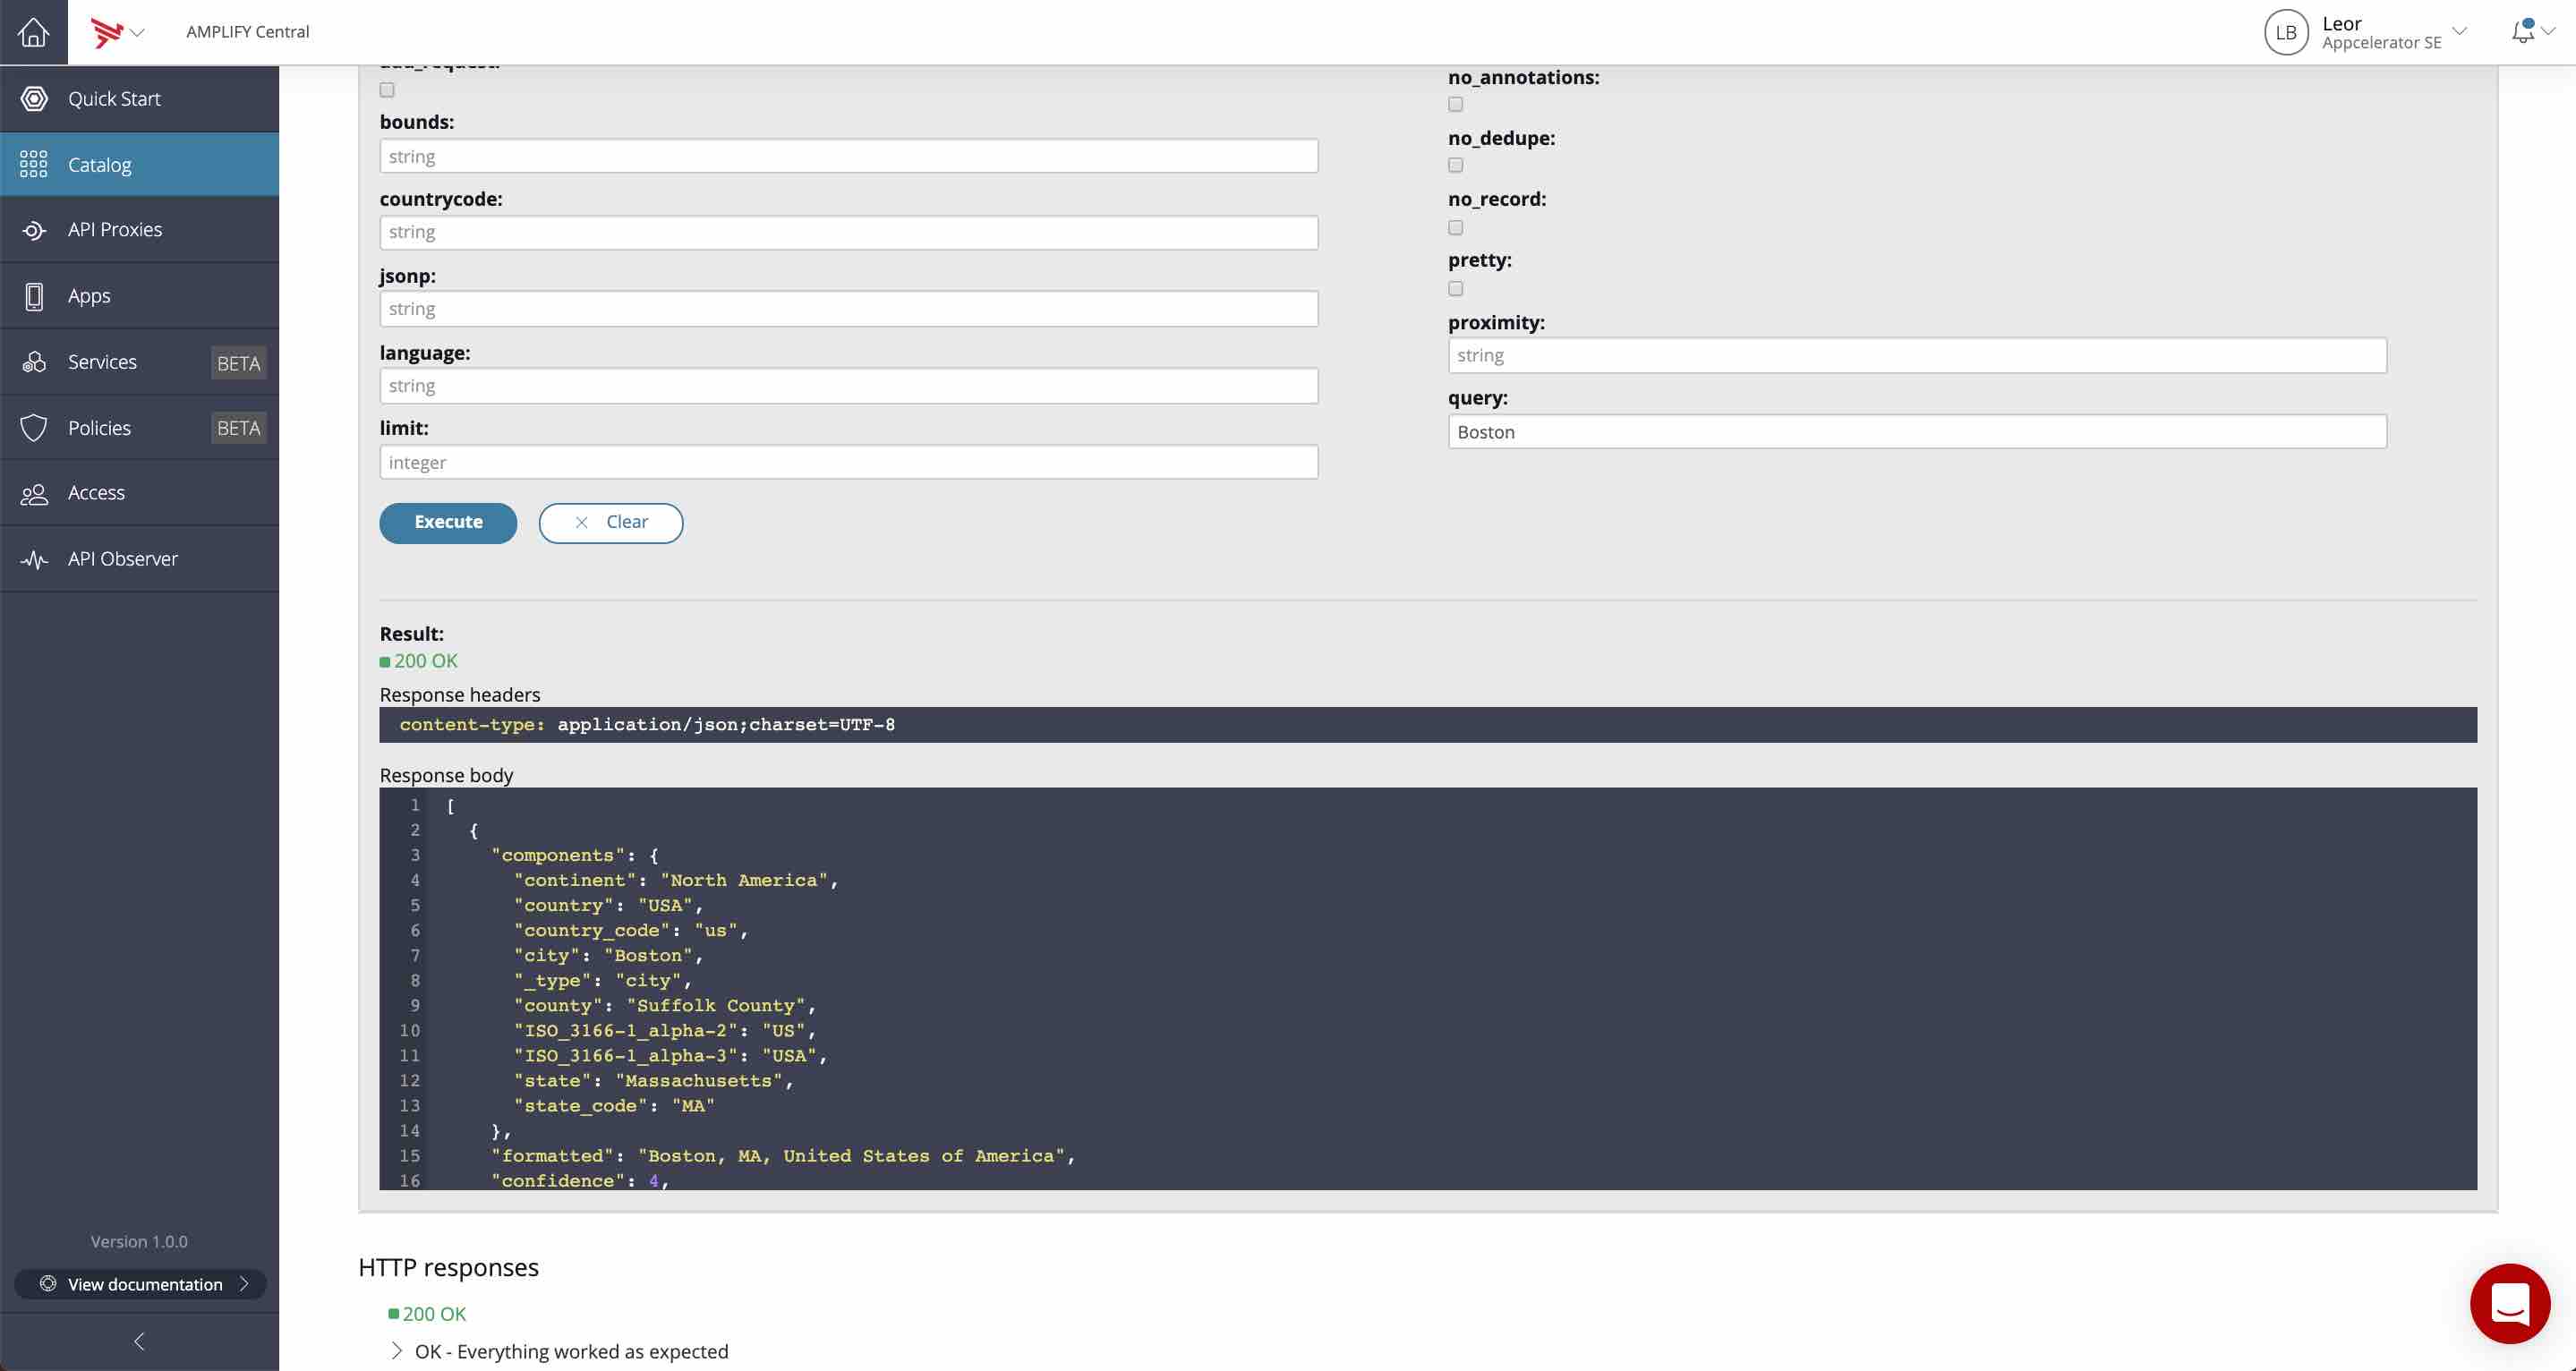
You can test the API in curl as follows:
curl -X GET -H 'Authorization: ApiKey 96a9c36e-89ef-45a4-977c-2315a21411fa' 'https://prod-e4f77ce669fd0b1a016a22c82f8013c9.apicentral.axwayamplify.com/opencagegeocoder_164734-/geocode?query=Boston'
Now you can invite users to access your catalog and access your APIs.
Summary
In this blog post we saw the power and ease of the AMPLIFY platform to take a connector we created in Integration Builder, secure it and publish it to AMPLIFY Central for others to use in their applications.