In this blog post, we’ll walk through the steps for how to easily implement a CI/CD pipeline with stages that automatically build, run, and test an API Builder project.
An API Builder project is a Node.js application that can be deployed as a Docker container running on a microservice architecture
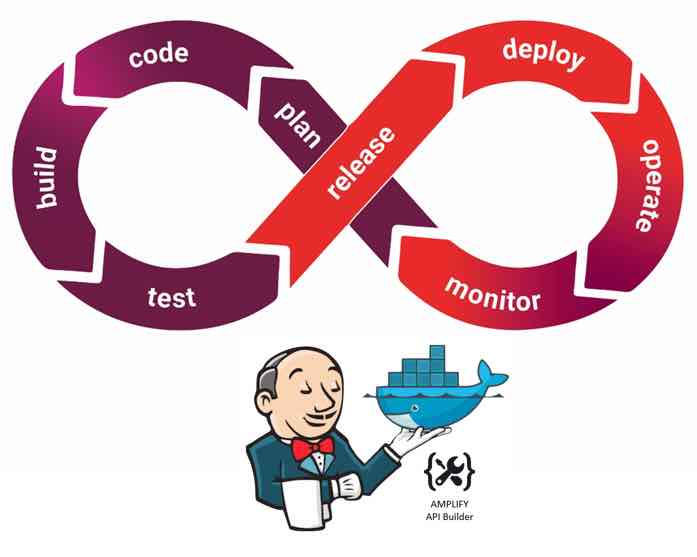
First, what is CI/CD?
CI/CD stands for Continuous Integration and Continuous Delivery. Continuous Integration (CI) is a process in which developers and testers collaboratively validate new code. CI enables developers to perform frequent and iterative builds. Detecting issues early makes it easier and faster to fix the bugs. Continuous Delivery (CD) is the process of ensuring an application software is always ready for deployment. Deployments should be as easy as a push of a button, and rollbacks are seamless.
CI/CD are the key pillars of DevOps, which is a philosophy and practice of collaboration and integration to continuously deliver fast and enable business goals. To learn more about DevOps and a real-life practice, read this blog series.
Understanding the workflow
We’ll cover a simple CI implementation where we’ll create a workflow that will automate the following steps:
- Clone a project from a code repository. To make it simple, I’ve committed the API Builder’s default “myproject” in GitHub as a sample application code. This application includes APIs that we can call to validate the build process.
- Build/compile the project. We’ll build a Docker image using the Dockerfile that comes with the API Builder project.
- Run image as Docker container.
- Test. Execute curl command to validate the application’s API (e.g. /api/greet) .
To orchestrate these steps, we’ll use Jenkins as the CI automation tool. Jenkins is an open source tool with lots of community support and there are many plugins available for integrating tools in the CI/CD toolchain. To implement the workflow in Jenkins, we’ll configure the Jenkins Pipeline which includes stages for building an application, testing it, and then delivering it.
Requirements
We don’t need to sign up to any external solutions for now, so the following is the bare minimum of what you’ll need:
- Docker installed on your server or local machine
- Server that can connect to the Internet
Install Jenkins
Let’s begin by installing Jenkins. We’ll run Jenkins as a Docker container so that we don’t have to go through the manual steps of installation.
Ensure that you already have Docker installed in your server.
Execute the following command (should take around 2 mins):
> docker run -d --name myjenkins -p 9081:8080 -v /var/run/docker.sock:/var/run/docker.sock jocotech/jenkins-docker
Sample output trace:
Unable to find image 'jocotech/jenkins-docker:latest' locally
latest: Pulling from jocotech/jenkins-docker
cd8eada9c7bb: Already exists
c2677faec825: Already exists
fcce419a96b1: Already exists
045b51e26e75: Already exists
88e50f3a5916: Already exists
9db1045008ba: Pull complete
5ba72089e00c: Pull complete
810bdb5dd91f: Pull complete
62b563475556: Pull complete
a2a2a4696ad5: Pull complete
bafbaa3dc29c: Pull complete
e95108b76c18: Pull complete
b576d217ee87: Pull complete
22ea7e4b05ac: Pull complete
52f6bbc55d53: Pull complete
fb1b8b8d85a8: Pull complete
d3e97125d2d4: Pull complete
6724e249196a: Pull complete
1541ce6ca956: Pull complete
bb2f94277986: Pull complete
2b8e2dfef6c1: Pull complete
6672118ddcb6: Pull complete
8fcbc06a30cc: Pull complete
bfa5fcef83ed: Pull complete
513e5fa6617a: Pull complete
Digest: sha256:ca0771afe4c0b0b3feea6d28885e49f019a08a6b5570194f1218c3cdcac95a56
Status: Downloaded newer image for jocotech/jenkins-docker:latest
9661f4ecaf0782d7461d4246222de4794fcfbdd56f1768e1f50a9b4345426a52
Parameters explained
Let’s go through each of the parameters.
docker run -d –name myjenkins -p 9081:8080 -v /var/run/docker.sock:/var/run/docker.sock jocotech/jenkins-docker
Runs the container in detached mode and name it as myjenkins:
-d --name myjenkins
Jenkins browser interface will be accessible through host’s system port 9081 which binds to the inside of the container port 8080 (where the Jenkins service listens):
-p 9081:8080
Mounts the host machine’s Docker socket in the container. This will allow the Jenkins container to use the host machine’s Docker daemon to build images and run containers:
-v /var/run/docker.sock:/var/run/docker.sock
This is a pre-built Jenkins image with Docker binaries. This is the Dockerfile that was used to build this image:
jocotech/jenkins-docker
Validate Jenkins installation
Run this command to validate if the Docker host and container mount is working:
> docker exec myjenkins docker images
Output:
REPOSITORY                            TAG                 IMAGE ID            CREATED             SIZE
jocotech/jenkins-docker               latest              8591474b374f        3 days ago          1.17GB
If it returns ” connect: permission denied ” error (this happens on a few linux distributions), execute this command to fix the persmission error:
> docker exec -u root myjenkins chmod 666 /var/run/docker.sock
Run this command to check if the Jenkins container is running:
> docker ps
Output:
CONTAINER ID  IMAGE                    COMMAND                  CREATED        STATUS        PORTS                                                           NAMES
8591474b374f  jocotech/jenkins-docker  "/sbin/tini -- /us..."   2 minutes ago  Up 2 minutes  0.0.0.0:50000->50000/tcp,0.0.0.0:9081->8080/tcp         myjenkins
Obtain the initial admin password using this command:
>docker exec -it myjenkins cat /var/jenkins_home/secrets/initialAdminPassword
Sample output:
8340d7cbd92440f8857a43f0463efd49
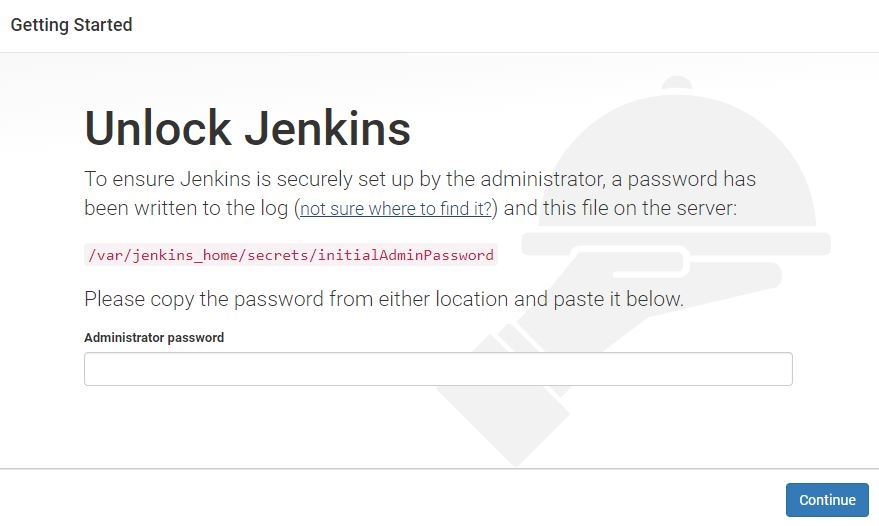
Launch Jenkins through your browser using this url: https://localhost:9081, paste the password then Continue:
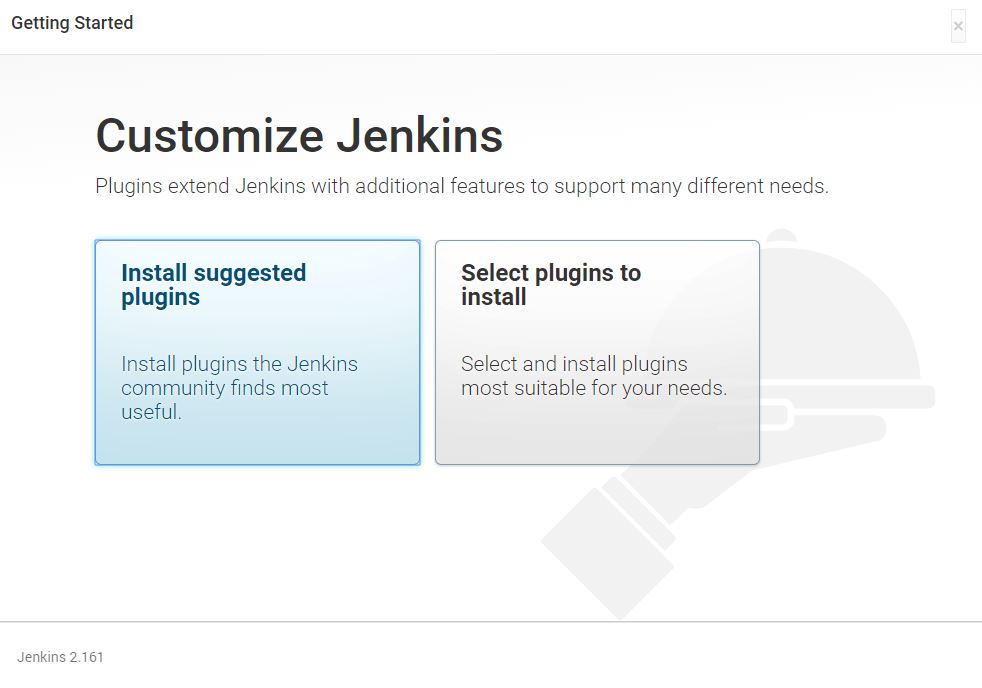
Select Install suggested plugins:
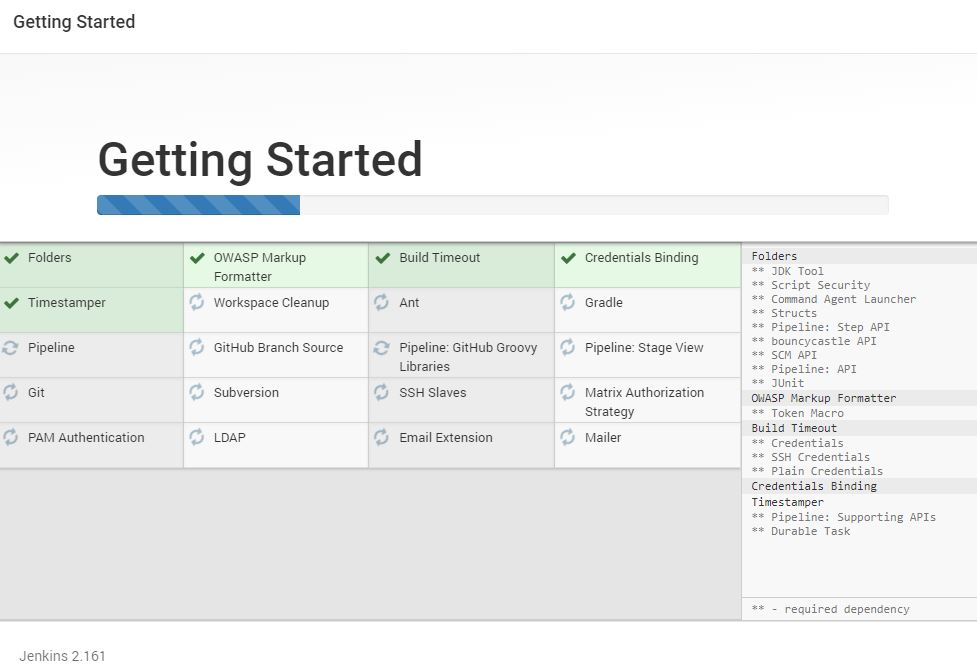
This will display the different plugins that are being installed:
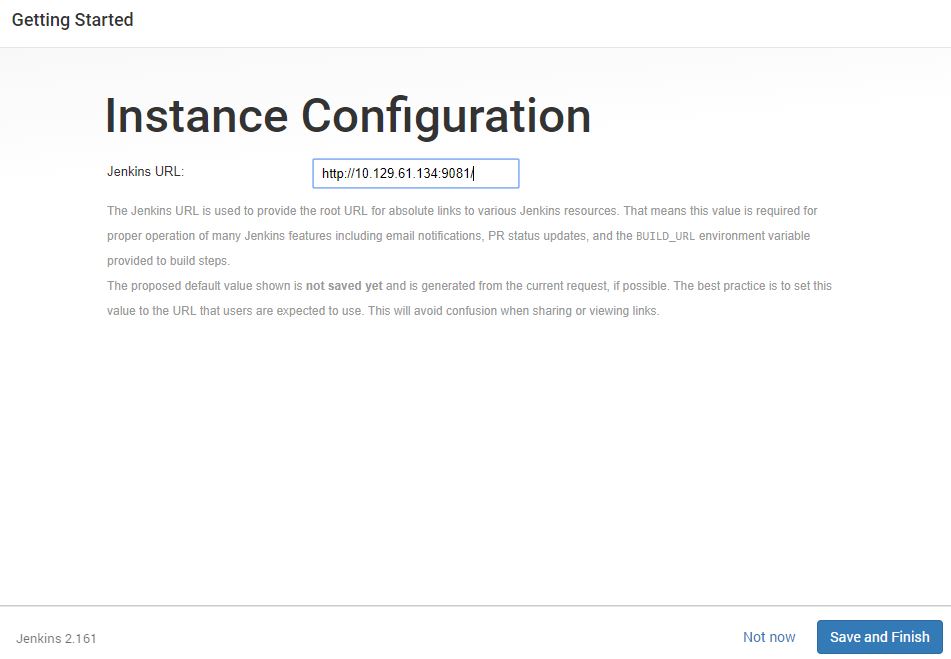
On the next screen, choose Continue as admin then Save and Finish:
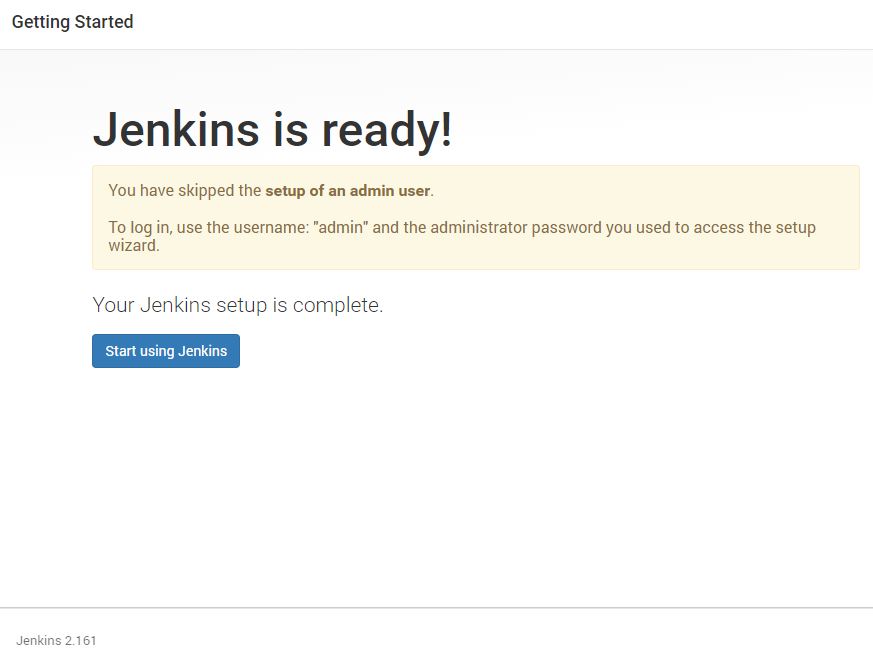
Now, Jenkins installation is complete. Click on Start using Jenkins:
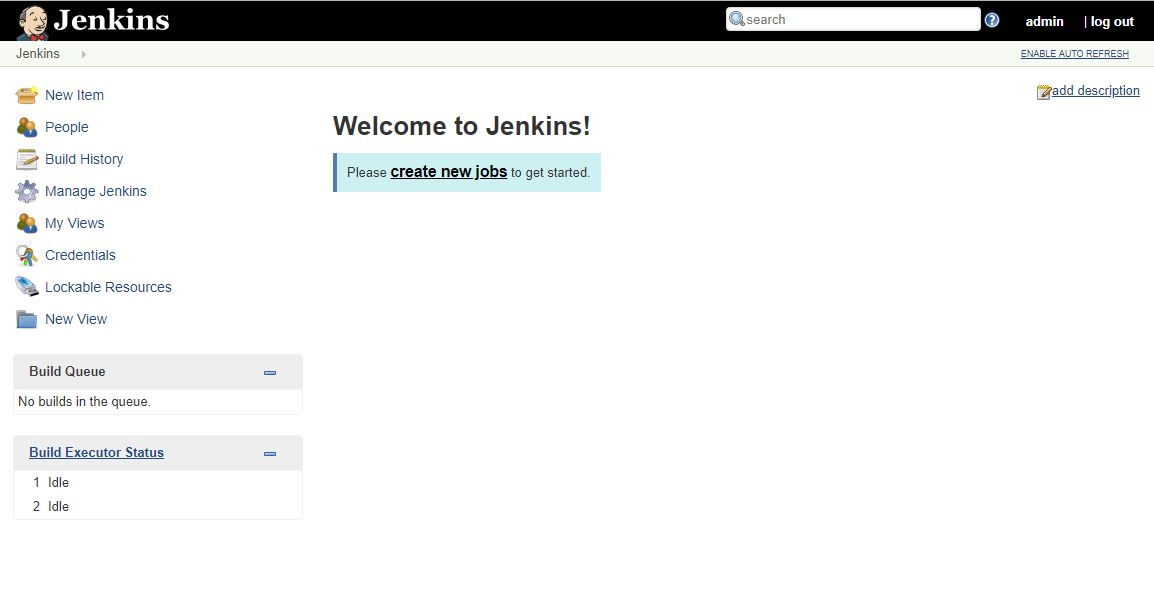
This is the Jenkins home page which is also called Jenkins dashboard:
Pipeline explanation
Let’s go through the different steps of the pipeline that we have to execute. The first step is to make a copy of the API Builder project from the GItHub repository. No GitHub credentials are required to access this project.
    stage('Clone API Builder project') {
      steps {
        git 'https://github.com/jocotech/apib-default'
      }
    }
Next, this script will build the docker image of the application and will be labeled as myproject and tagged with 1.
    stage('Build Docker image') {
      steps{
        script {
           docker.build "myproject:1"
        }
      }
    }
Then run the application as a Docker container labeled with myproject and it will be listening to port 8080.
    stage('Run Docker Container') {
      steps{
        sh "docker run -d --name myproject  -p 8080:8080 myproject:1"
      }
    }
The last step is to test and call the default API. This API will return Howdy Joel as a successful response.
    stage('Test API') {
      steps{
        sh "curl https://server-ip:8080/api/greet?username=joel"
      }
    }
Note that you need to replace server-ip with your server’s ip address.
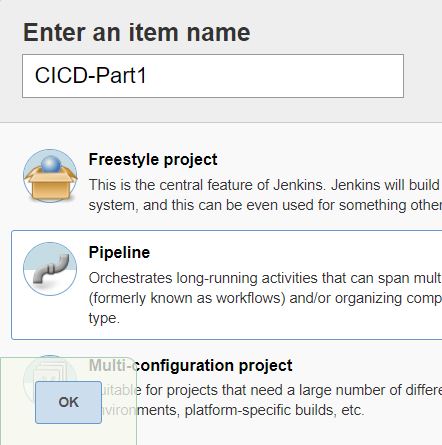
Go back to the Jenkins dashboard. We can now create a job by selecting New Item. Enter the job name (e.g. CICD-Part1), select Pipeline then click Ok.
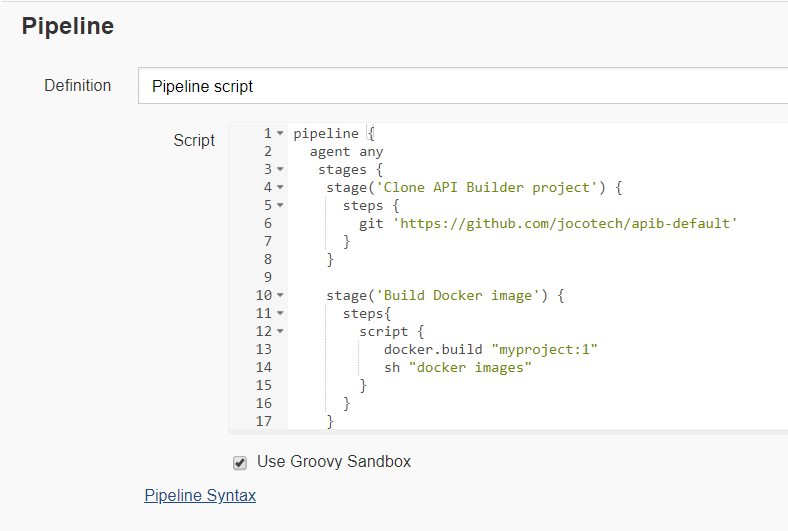
Copy the full pipeline script below
pipeline {
  agent any
   stages {
    stage('Clone API Builder project') {
      steps {
        git 'https://github.com/jocotech/apib-default'
      }
    }

    stage('Build Docker image') {
      steps{
        script {
           docker.build "myproject:1"
           sh "docker images"
        }
      }
    }

    stage('Run Docker Container') {
      steps{
        sh "docker run -d --name myproject  -p 8080:8080 myproject:1"
        sh "docker ps"
      }
    }
    stage('Test API') {
      steps{
        sh  "sleep 4"
        sh "curl https://server-ip:8080/api/greet?username=joel"
      }
    }
  }
}
Remember to replace server-ip with your server’s ip address.
Scroll down to the Pipeline section, paste the script then Save
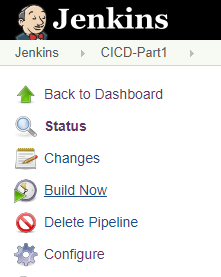
Now, we’re ready to execute the pipeline. Click Build Now to trigger the job.
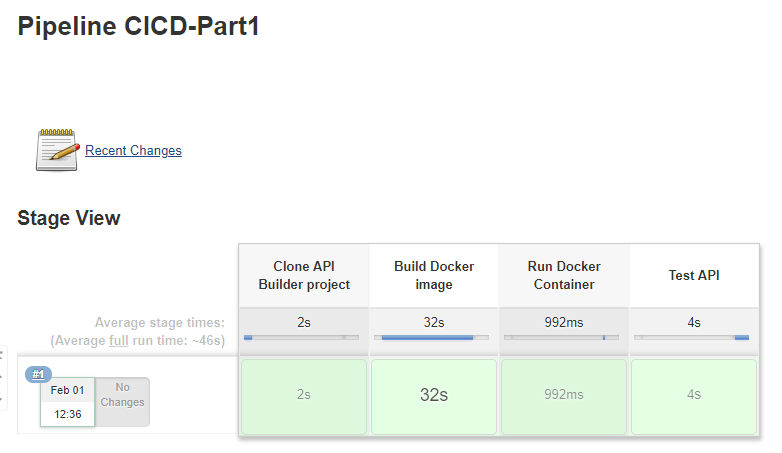
This will show the status and duration for each step. The job is successful if the ball turns into blue color. Notice that it only took less than a minute to execute all the steps.
We can also view the complete trace of the pipeline execution by clicking on the job # and select Console Output.
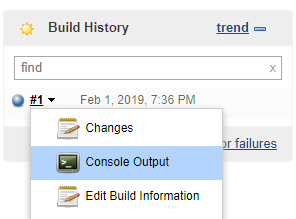
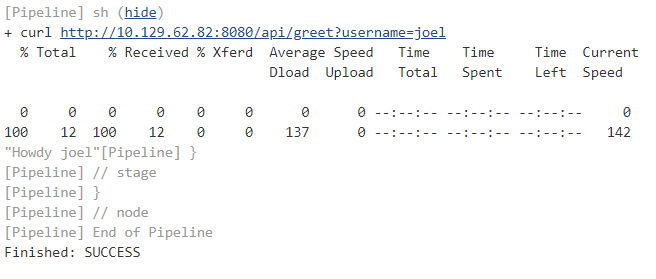
Towards the bottom of the console output, we should see the final status as well as the API response “Howdy joel”.
That’s it. We have configured and successfully ran the CI pipeline through Jenkins.
Clean up
To clean up and remove the docker image and container that were created by the pipeline, run the following commands:
> docker stop myproject
> docker rm myproject
> docker rmi myproject:1
Or automate it by creating another jenkins job with this sample script:
pipeline {
  agent any
  stages {
    stage('Clean up Part1') {
      steps{
        sh "docker stop myproject"
        sh "docker rm myproject"
        sh "docker rmi myproject:1"

      }
    }
  }
}
Summary
In this blog post, we saw how easy it is to install Jenkins and run a simple Continuous Integration process for an API Builder project. With a CI process in place, each code check-in is verified by an automated build, allowing teams to detect bugs early. Stay tuned for the next part that will cover the Continuous Delivery process.

