

In this blog post we’ll continue from Part 1. We’ll deploy a two container application to Kubernetes (Minikube). The two containers will be an API Builder app and a MongoDB instance. We will also see how the Kubernetes Horizontal Pod Autoscaler (HPA) works by applying a load to API Builder and seeing how Kubernetes will scale up API Builder by adding more replicas.
Let’s get started.
Deploy MongoDB
We’ll start by deploying a Mongo container to our Kubernetes cluster.
- Start Minikube
If Minikube is not running, please start it
minikube start
Note: If you haven’t already done so, make sure your prior deployment is removed by following the teardown instructions in Part 1.
- Create a Mongo deployment
Create a file called mongo.yaml with the following contents:
apiVersion: apps/v1beta2
kind: Deployment
metadata:
  name: mongo
spec:
  selector:
    matchLabels:
      app: mongo
  replicas: 1
  template:
    metadata:
      labels:
        app: mongo
    spec:
      containers:
      - name: mongo
        image: mongo:latest
        ports:
        - containerPort: 27017
        volumeMounts:
        - name: mongo-persistent-storage
          mountPath: /data/db
      volumes:
      - name: mongo-persistent-storage
        persistentVolumeClaim:
          claimName: mongo-pv-claim
---
apiVersion: v1
kind: PersistentVolume
metadata:
  name: local-pv-1
  labels:
    type: local
spec:
  storageClassName: manual
  capacity:
    storage: 1Gi
  accessModes:
    - ReadWriteOnce
  hostPath:
    path: "/mnt/mongodata"
---
apiVersion: v1
kind: PersistentVolumeClaim
metadata:
  name: mongo-pv-claim
spec:
  storageClassName: manual
  accessModes:
    - ReadWriteOnce
  resources:
    requests:
      storage: 1Gi
The mongo.yaml file basically describes a simple Mongo deployment with the addition of a volume to persist data in the host (Minikube).
Deploy to Minikube using the following:
kubectl create -f ./mongo.yaml
The response should be:
deployment.apps/mongo created
persistentvolume/local-pv-1 created
persistentvolumeclaim/mongo-pv-claim created
- Make sure the Mongo pod is running properly
kubectl get pods
The response should be:
NAME READY STATUS RESTARTS AGE
mongo-57c5c96b97-mw8nw 1/1 Running 0 38s
Note: If the status is not Running (i.e. Pending), please wait before proceeding
- Expose the Mongo service
kubectl expose deployment mongo --type=NodePort
- In order to populate the Mongo database, get the mongo service IP address and port as follows:
minikube service mongo --url
The response should be:
http://192.168.99.100:32765
Note that your IP address and Port may be different
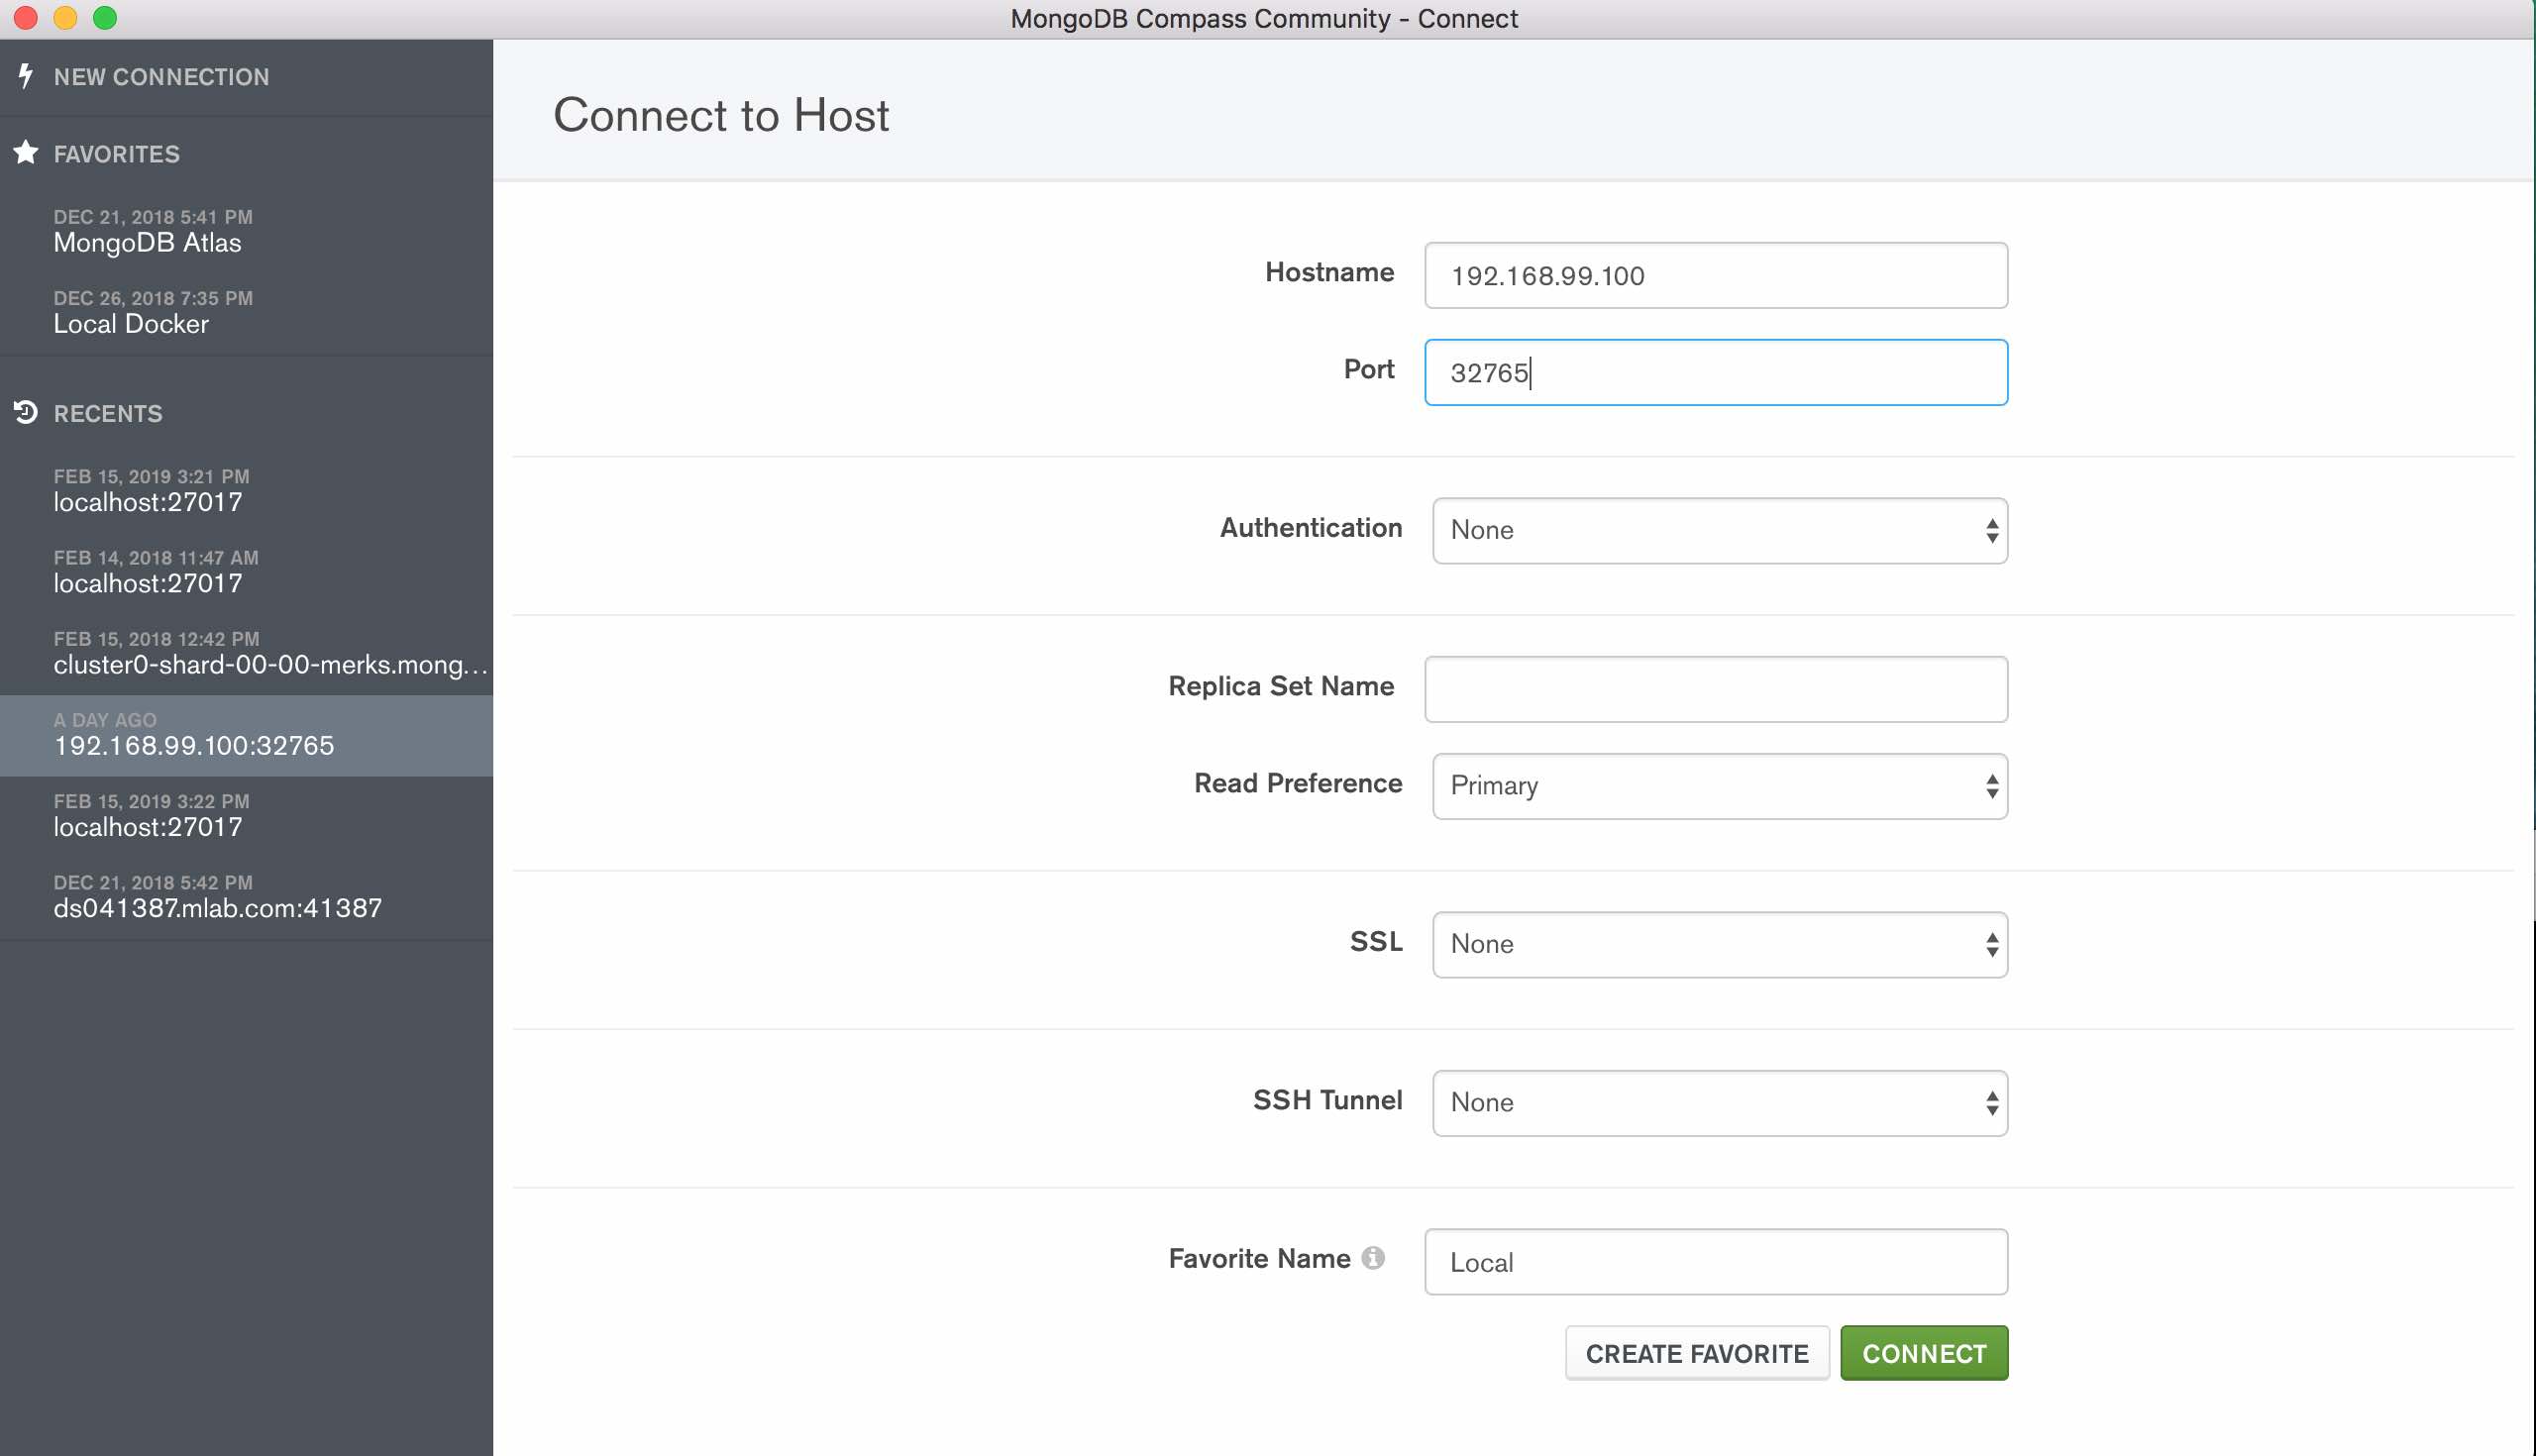
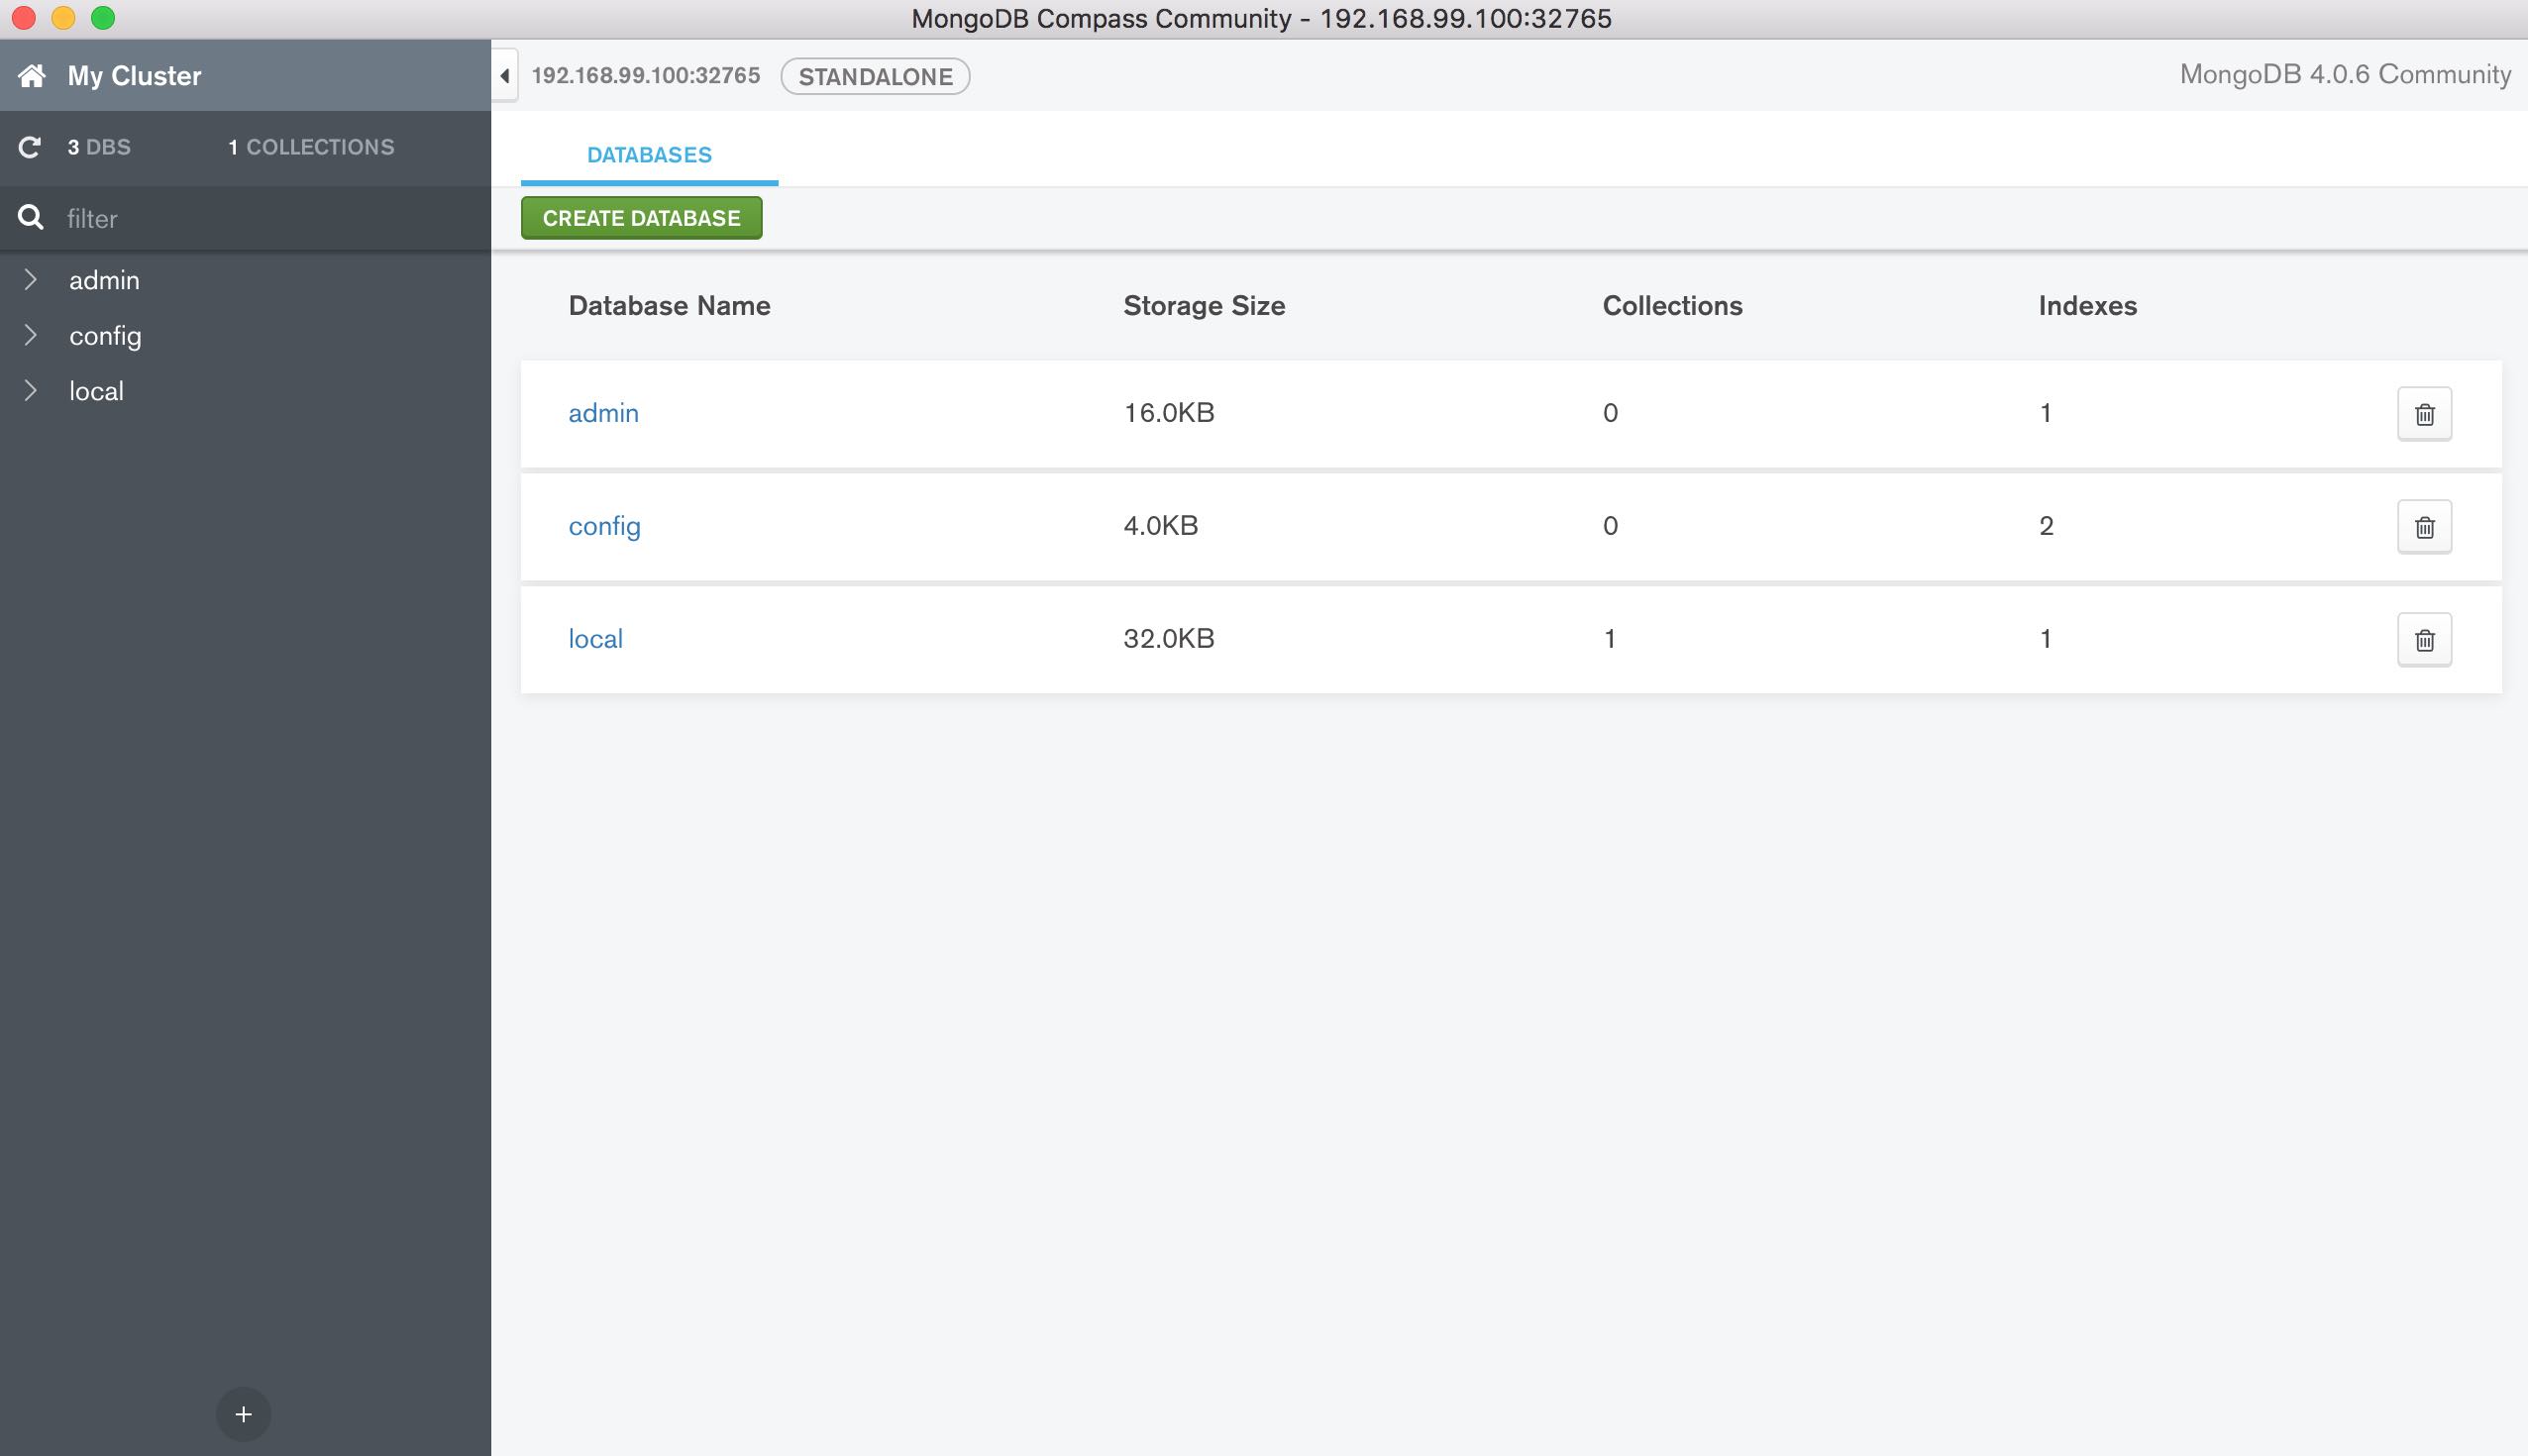
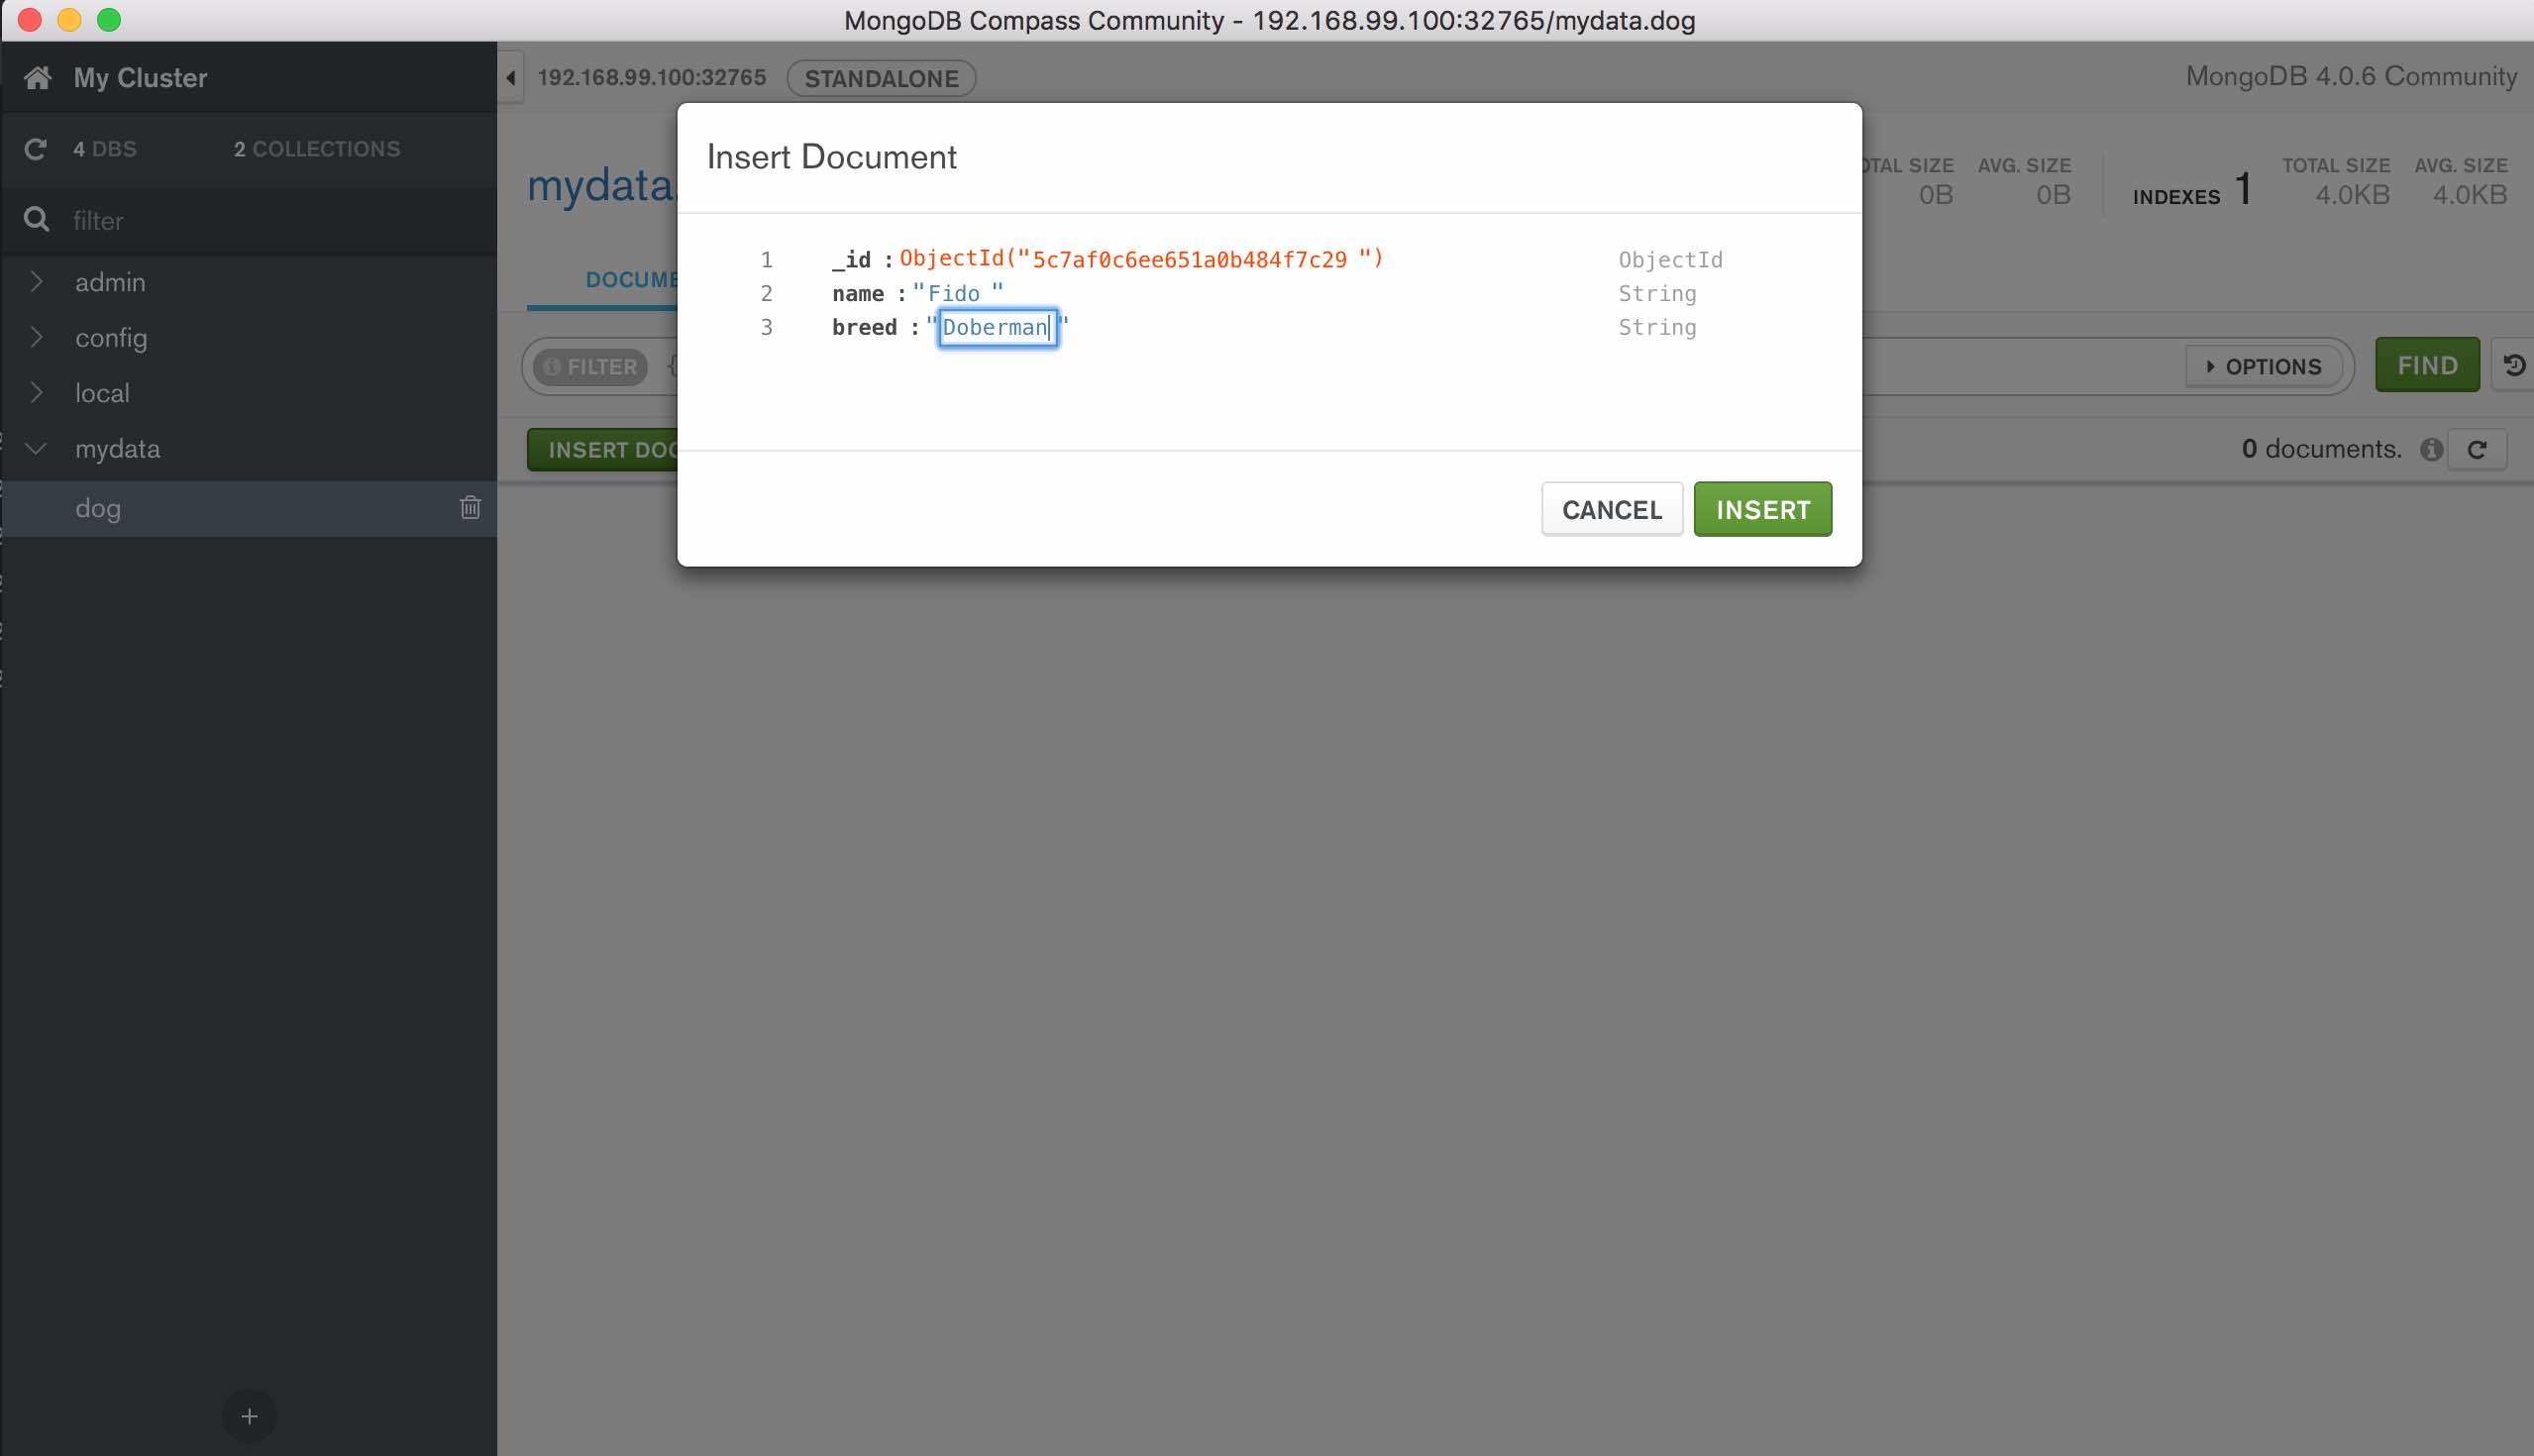
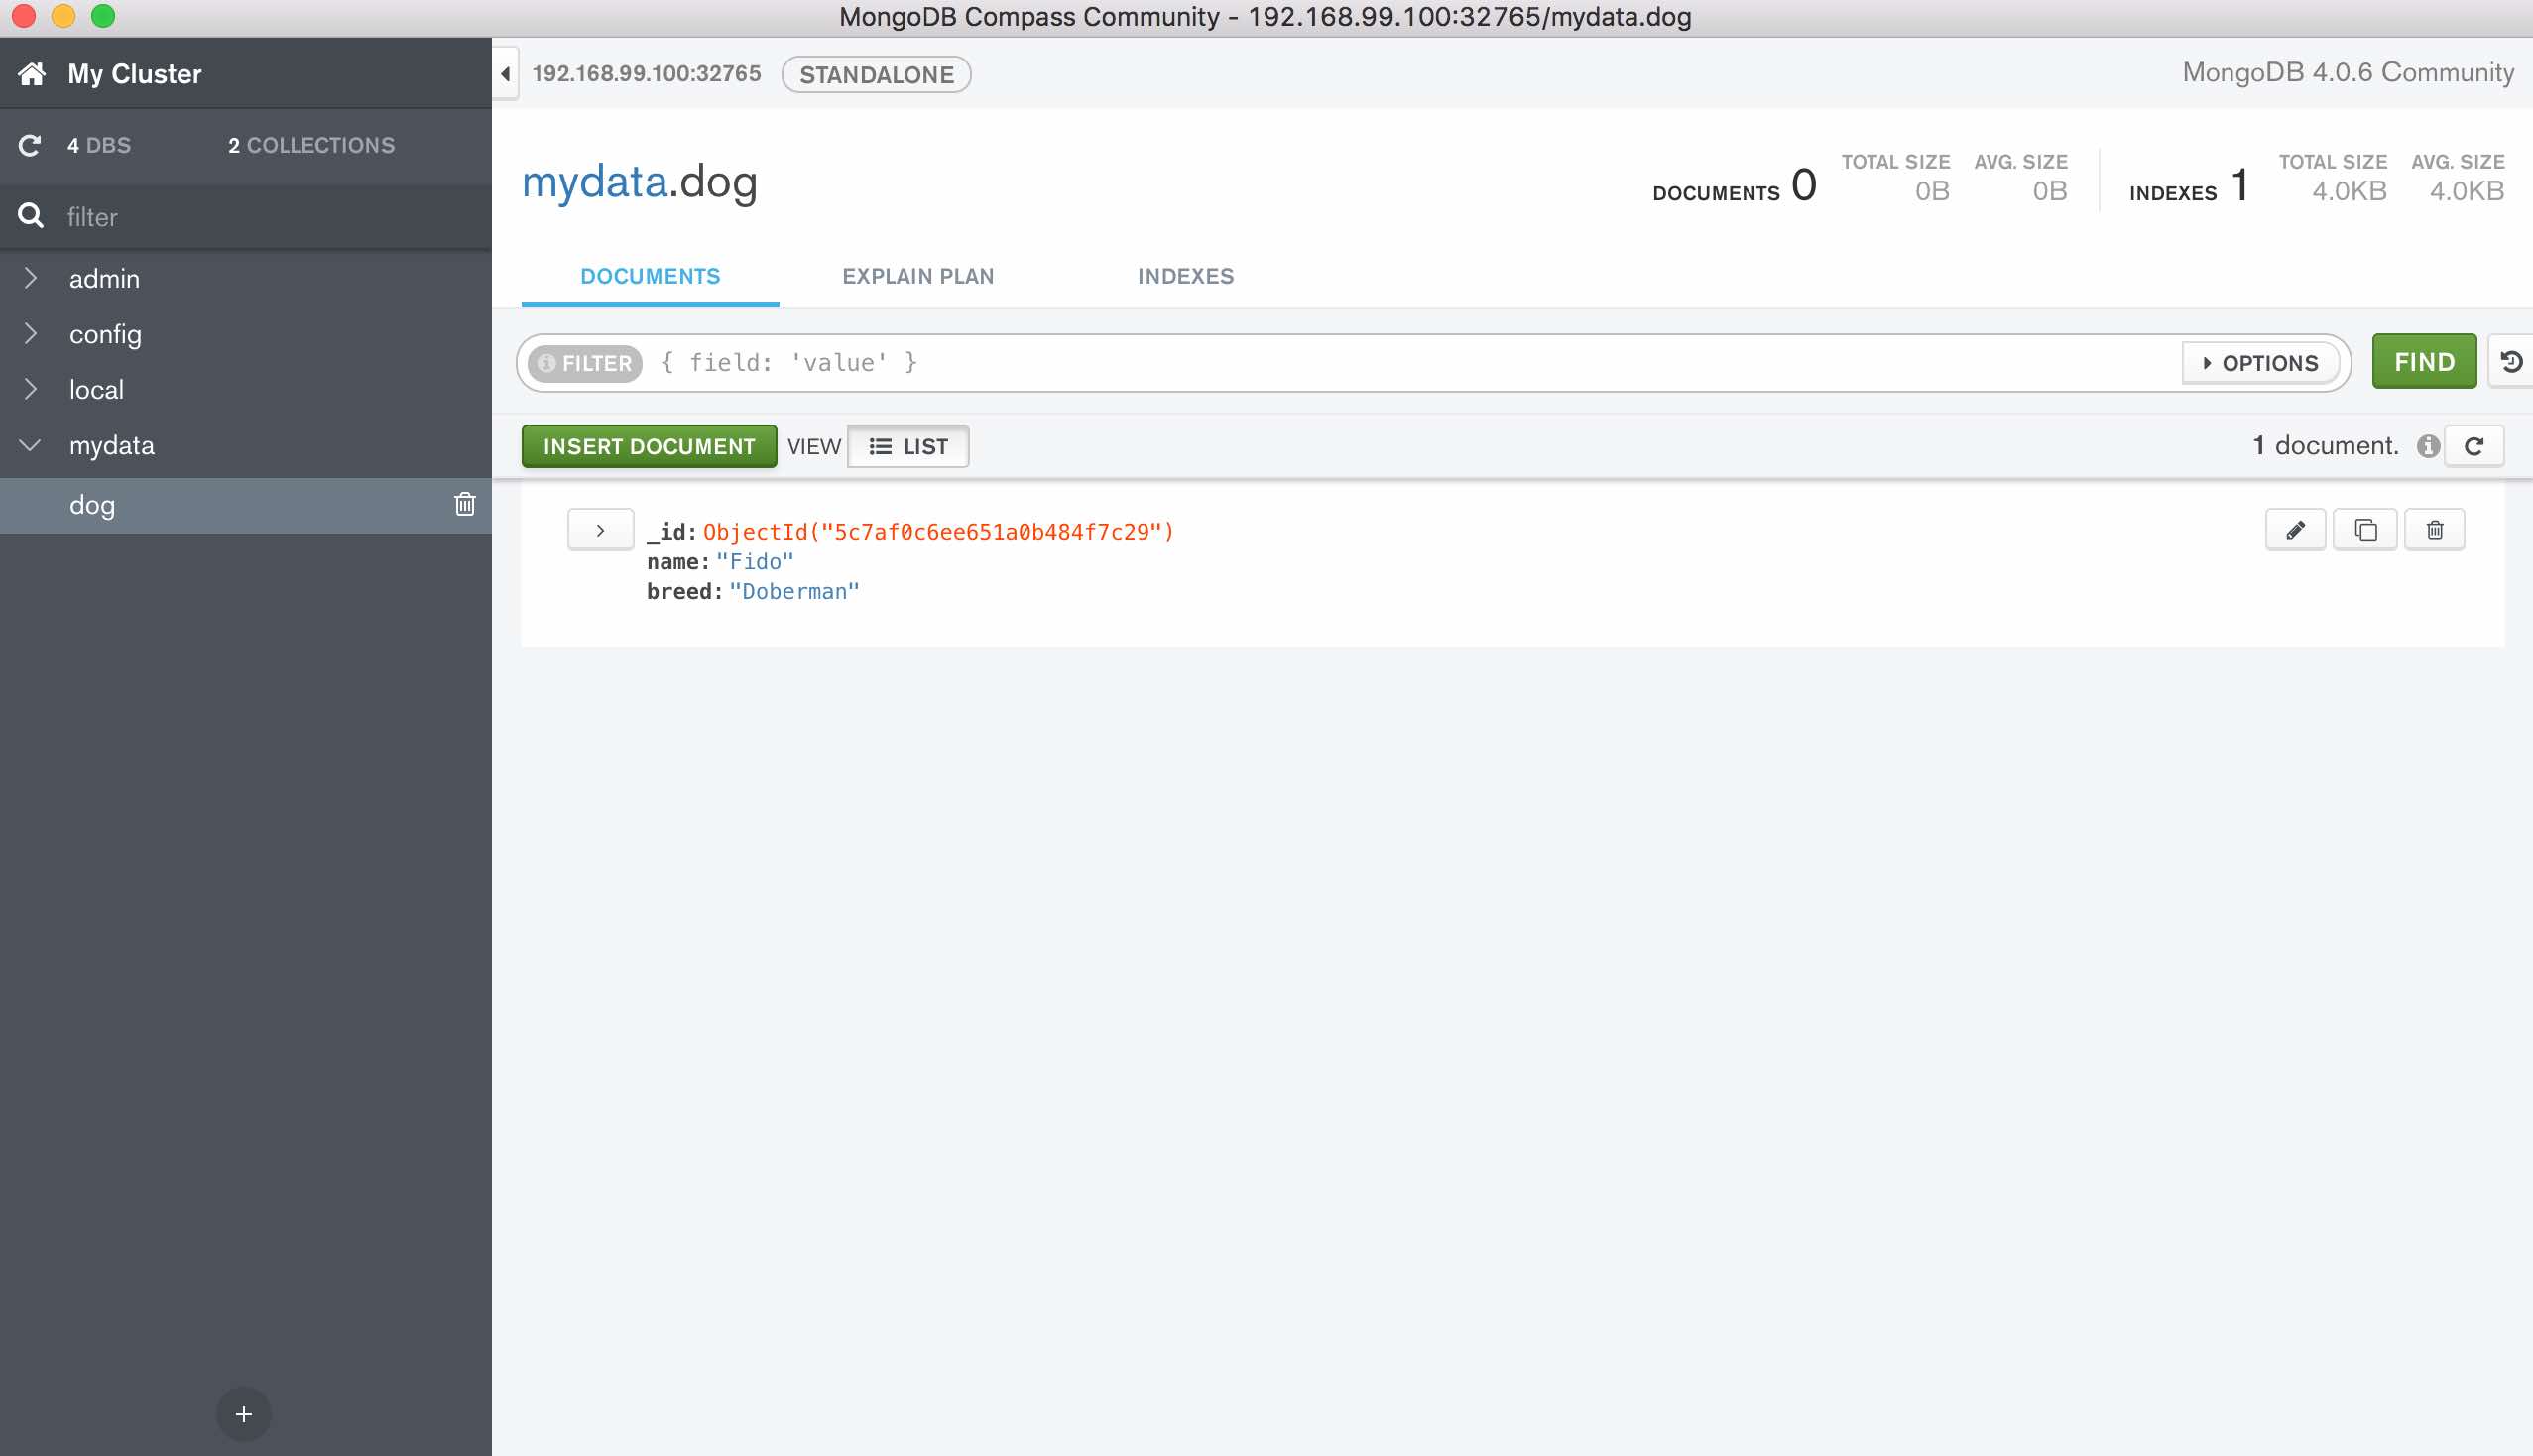
- Connect to Mongo with the URL above (e.g. using MongoDB Compass) to populate data using:
host: 192.168.99.100
- port: 32765
- authentication: none
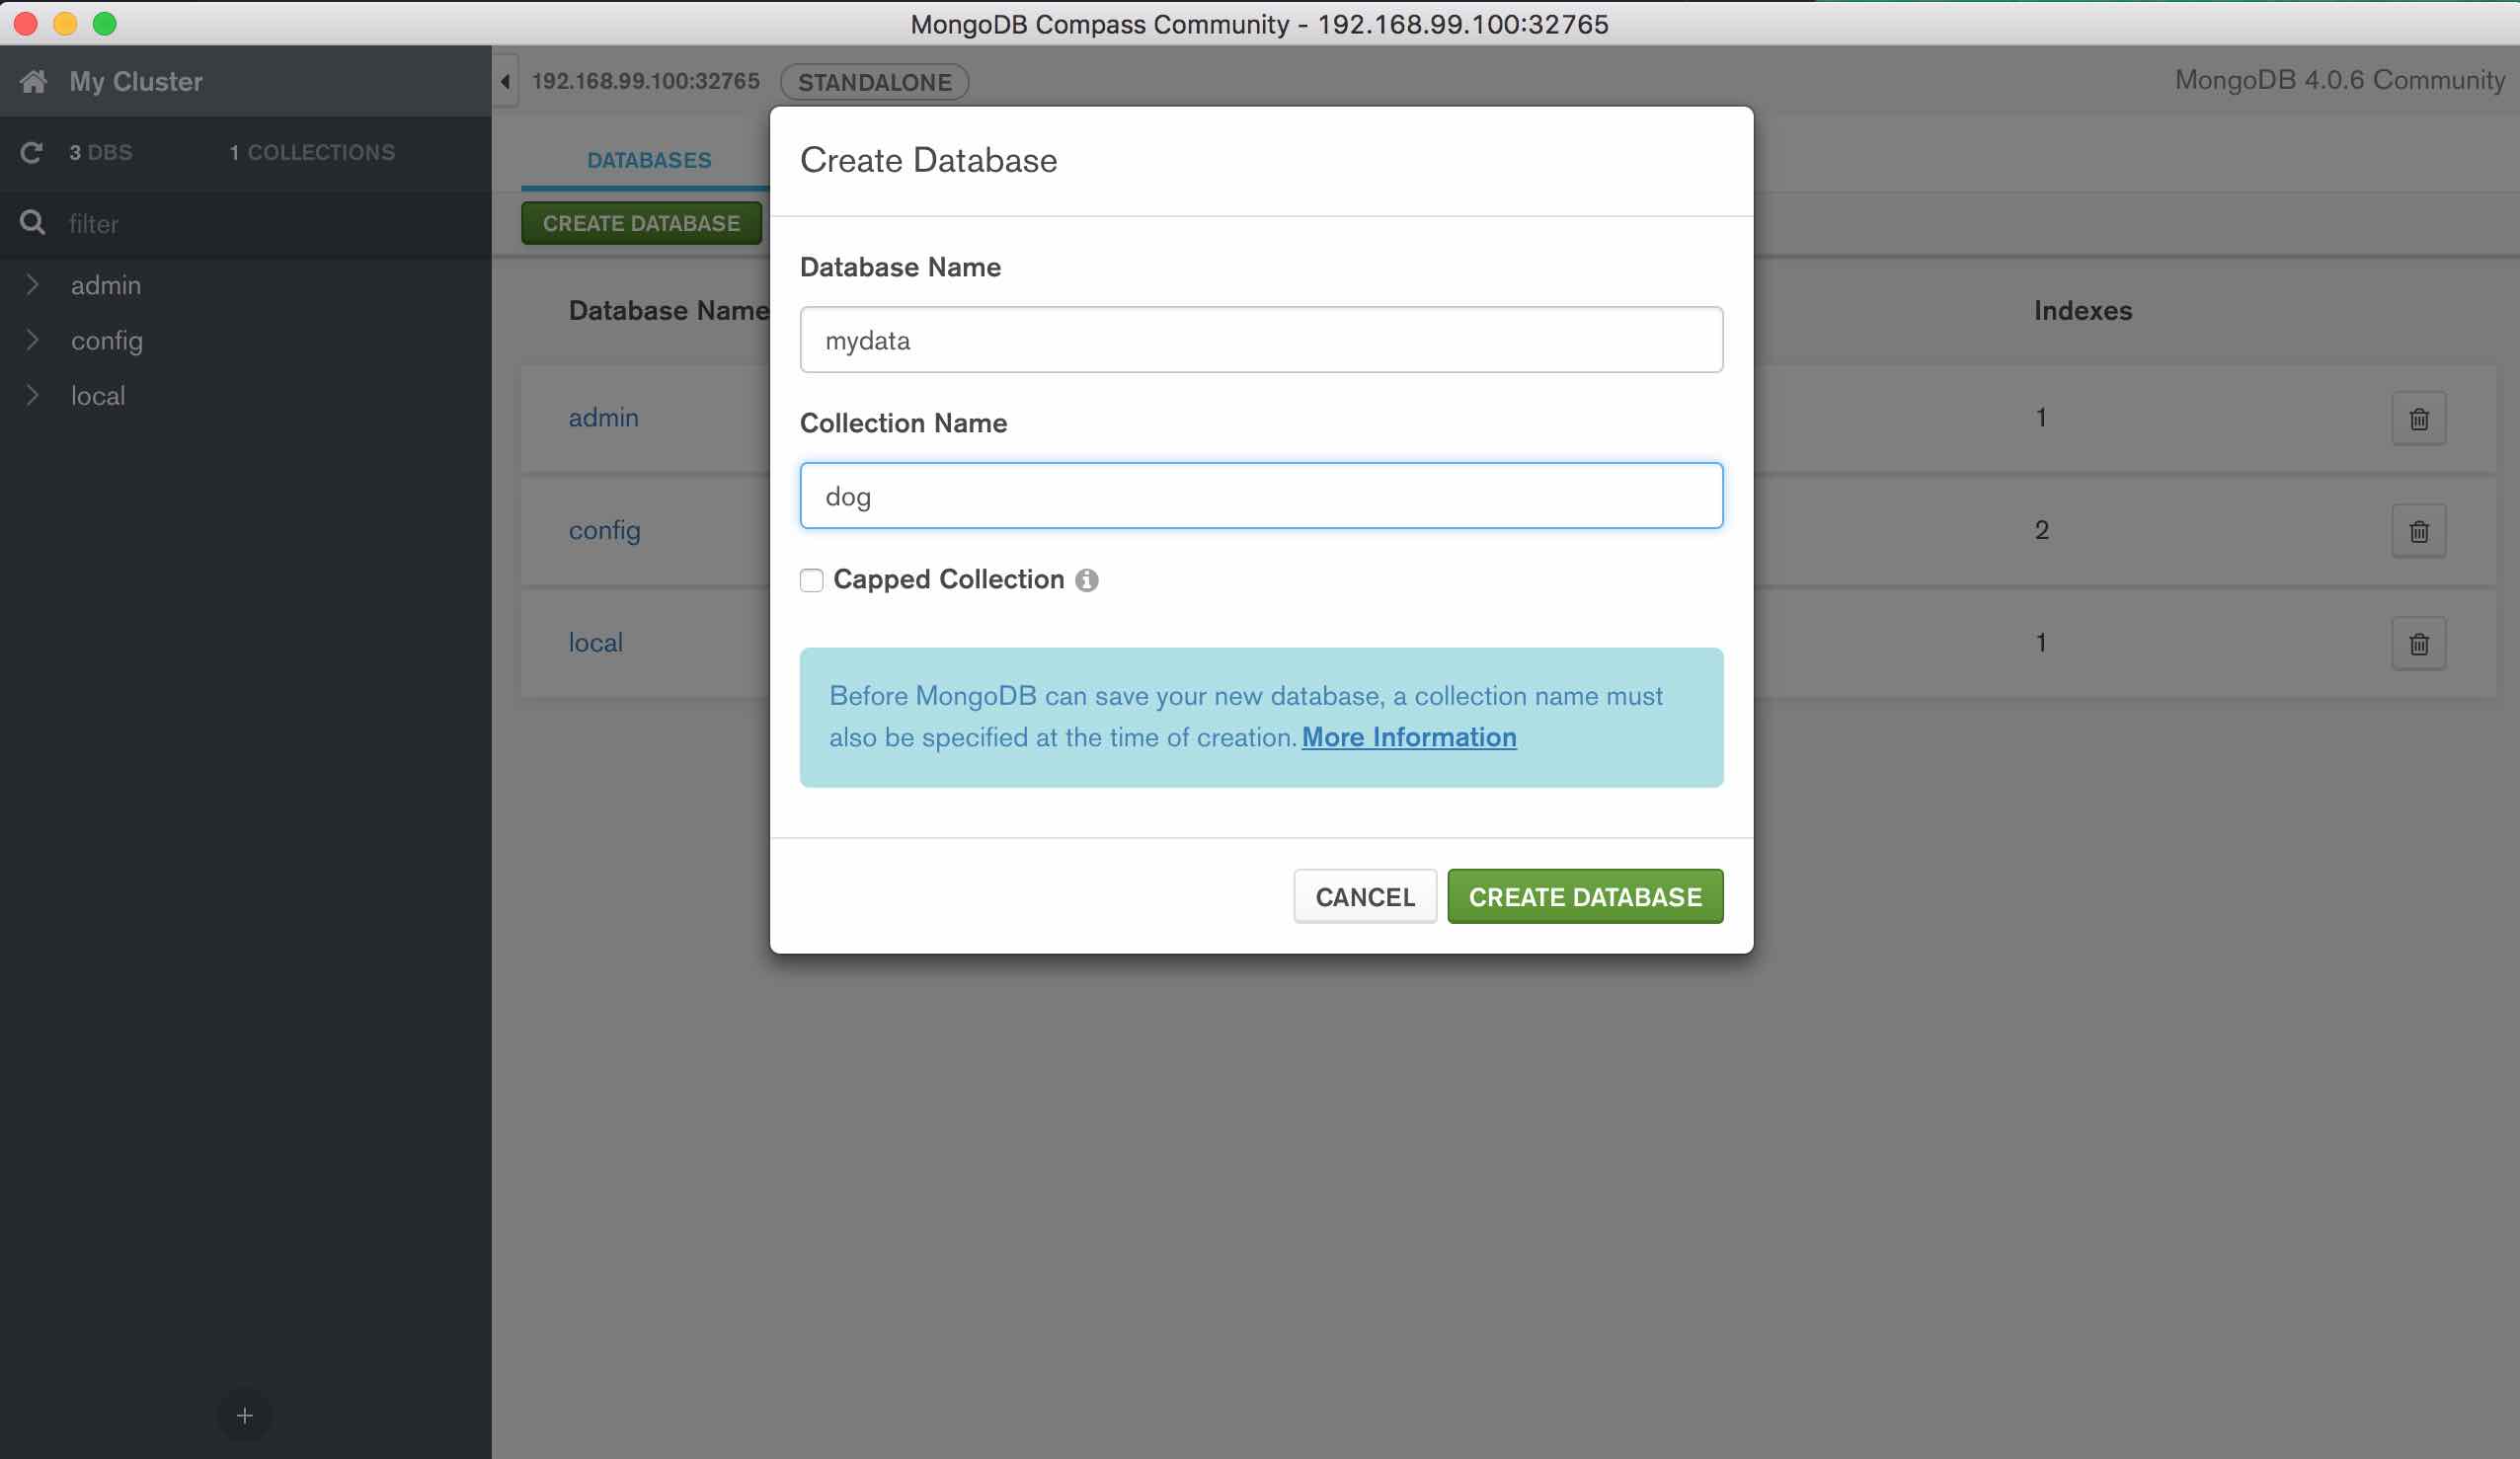
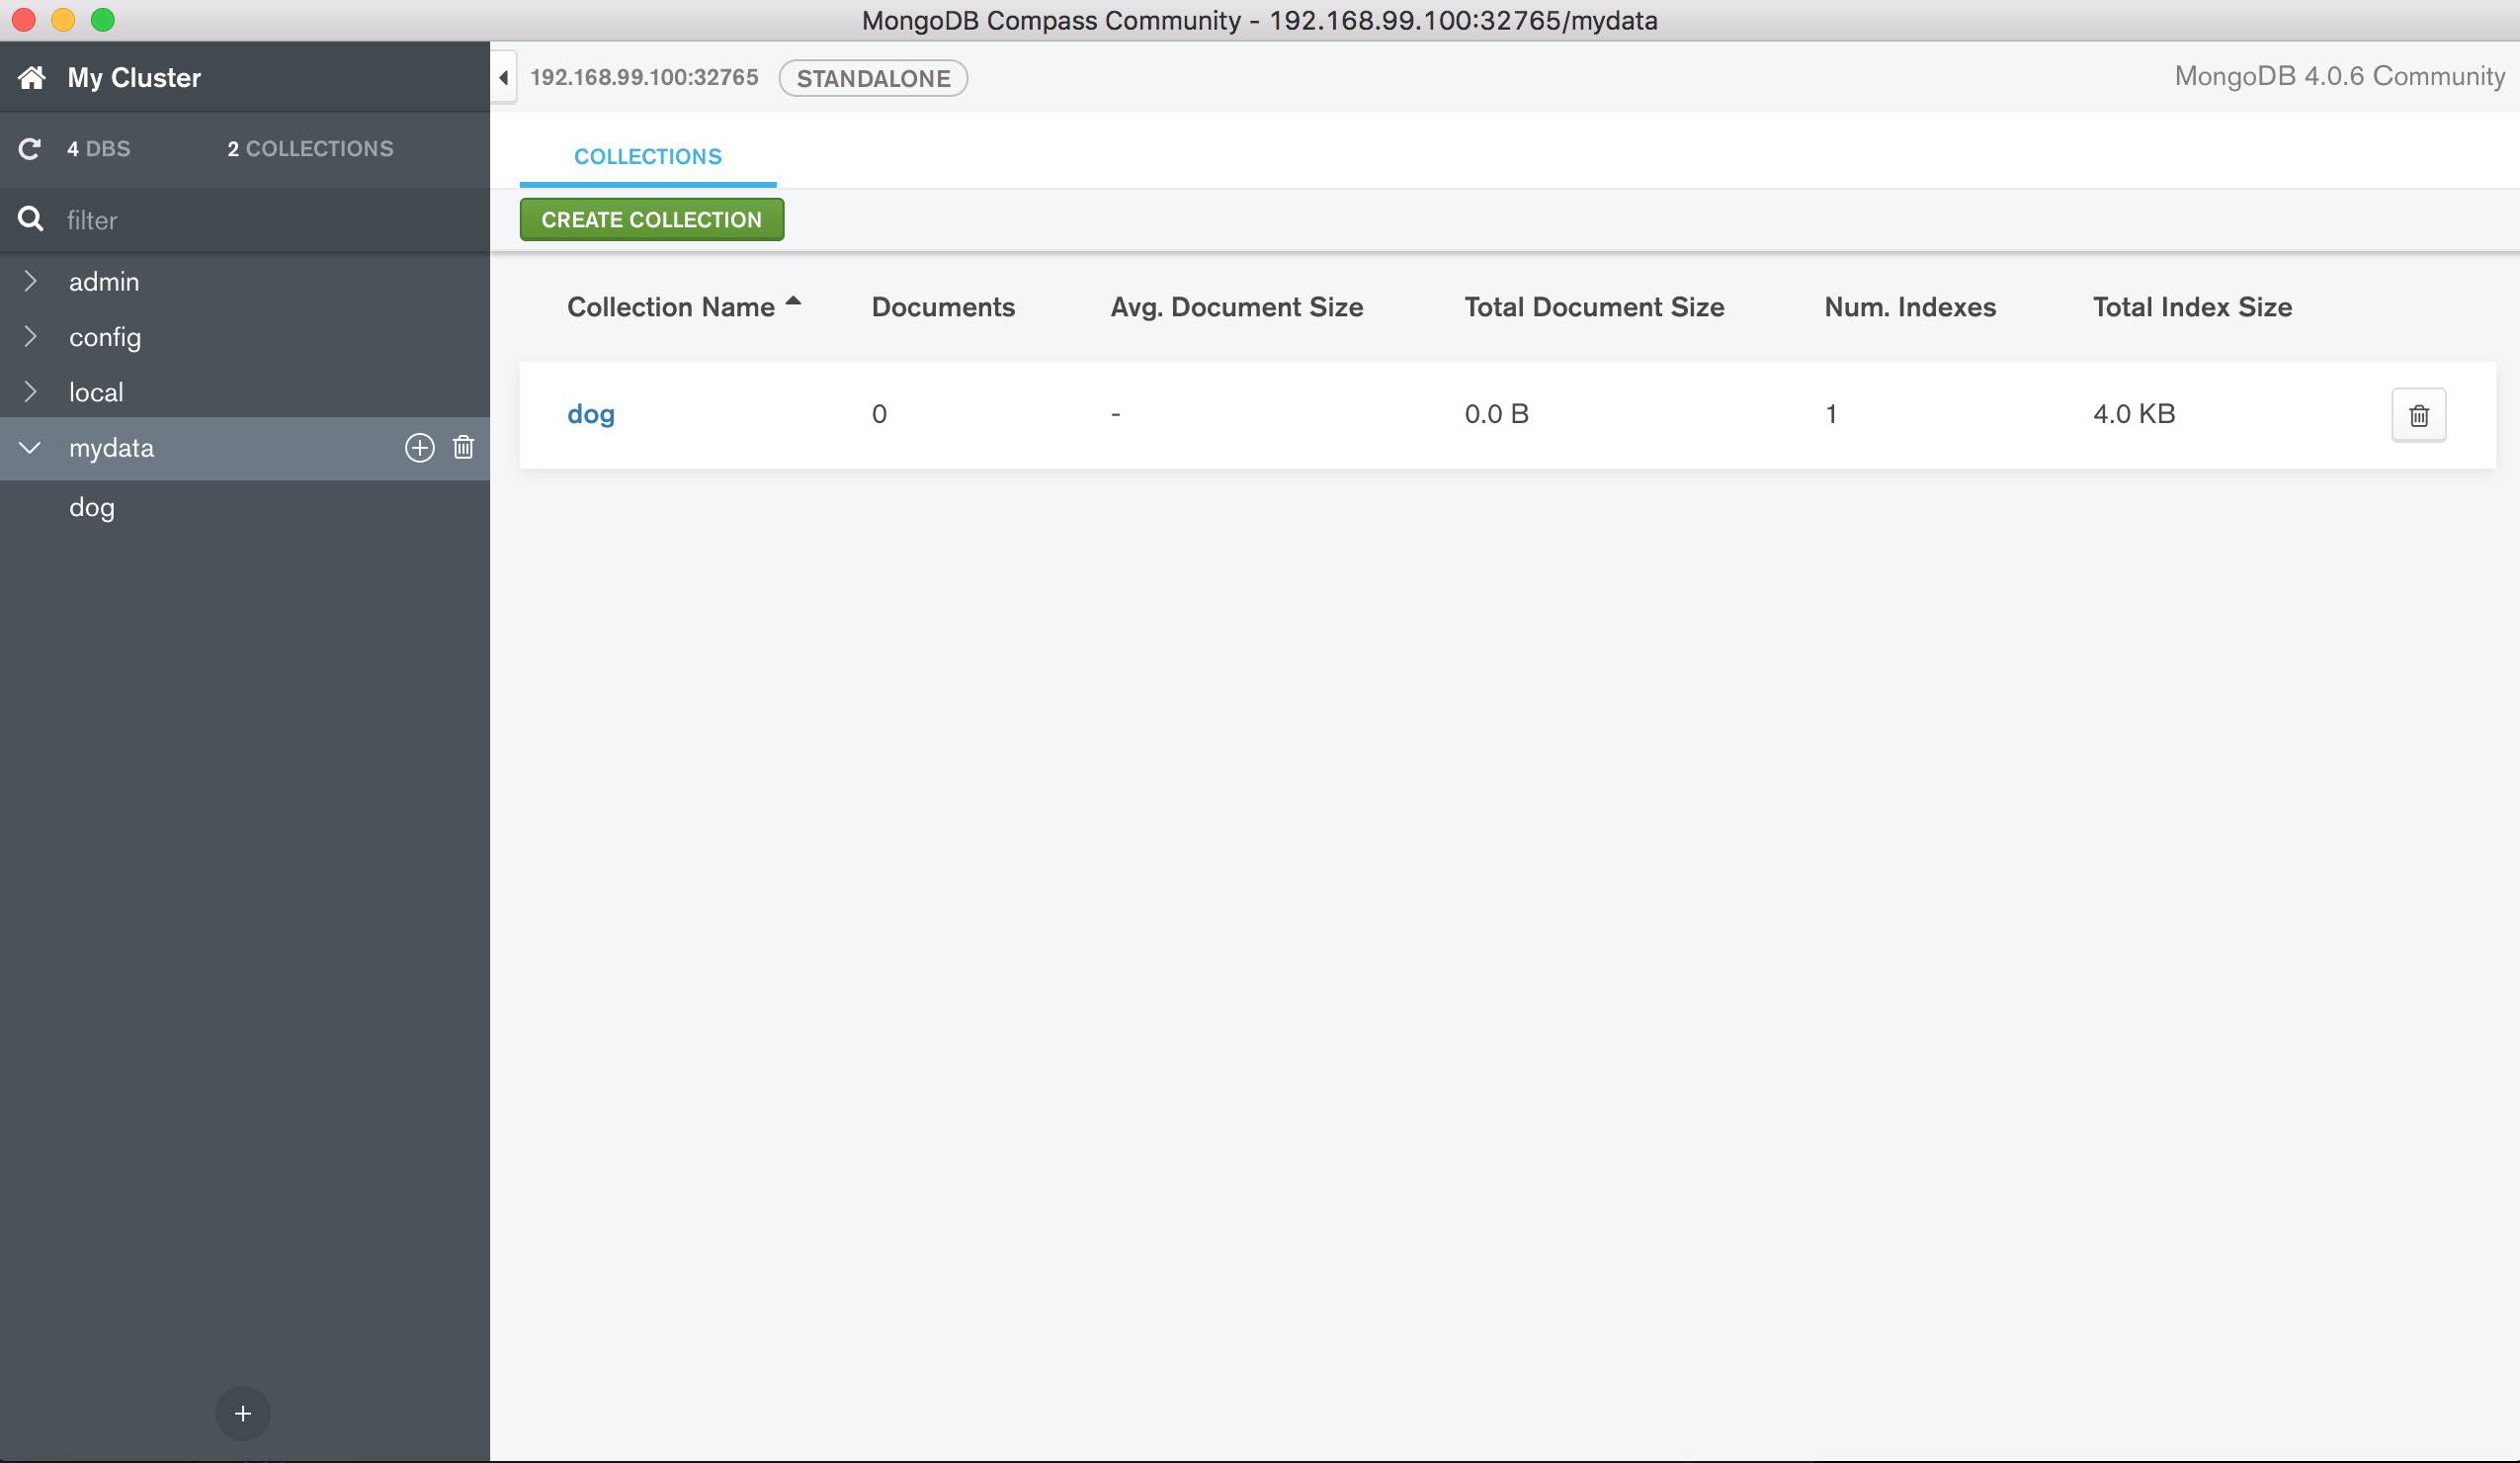
Note: I created a database called mydata with collection called dog and inserted one document (record)
- The next series of screen shots shows how to accomplish this:

Deploy API Builder
Now that Mongo is deployed and populated with a database and collection with data, we can deploy an API Builder app. We’ll use the same API Builder app that we used in Part 1. Remember that this API Builder app can connect to any MongoDB using it’s connection URL, passed in as an environment variable.
- Create an API Builder deployment
Create a file called apib.yaml with the following contents:
apiVersion: apps/v1beta2
kind: Deployment
metadata:
  name: apibmongo
spec:
  selector:
    matchLabels:
      app: apibmongo
  replicas: 1
  template:
    metadata:
      labels:
        app: apibmongo
    spec:
      containers:
      - name: apibmongo
        image: lbrenman/apibmongodb:1.0.0
        env:
        - name: MONGO_URL
          value: "mongodb://mongo:27017/mydata"
        ports:
        - containerPort: 8080
        resources:
          requests:
            cpu: "100m"
Note that we are specifying that the API Builder Pod should not consume more than 10% (100m) of the CPU. This is used for testing the Horizontal Pod Autoscaler.
Deploy to Minikube using the following:
kubectl create -f ./apib.yaml
The response should be:
deployment.apps/apibmongo created
- Make sure the API Builder pod is running properly
kubectl get pods
Note: you may need to wait a bit for API Builder to be able to connect properly to the MongoDB instance since the MongoDB takes some time to start up and be ready to receive incoming requests for data
- Check API Builder logs
kubectl logs apibmongo-758fd66664-6c4bx
Note: replace apibmongo-758fd66664-6c4bx above with the name returned from the get pods command
- Expose the API Builder service via IP address
kubectl expose deployment apibmongo --type=NodePort
- Get the API Builder IP address
minikube service apibmongo --url
The response should be:
http://192.168.99.100:32567
- Make an API Call
curl http://192.168.99.100:30956/api/mongo/dog
You should get the data you populated in MongoDB.
Enable and Test the Kubernetes Horizontal Autoscaler
Now that we have our multi container app running in Kubernetes, let’s take a look at how the Kubernetes Horizontal Pod Autoscaler (HPA) works.
- Enable the Minikube metrics-server (for measuring CPU utilization):
minikube addons enable metrics-server
The response should be:
metrics-server was successfully enabled
- Enable the Horizontal Pod Autoscaler to on our API Builder Pod
kubectl autoscale deployment apibmongo --cpu-percent=10 --min=1 --max=3
The response should be:
horizontalpodautoscaler.autoscaling/apibmongo autoscaled
- Check the Status of the Horizontal Pod Autoscaler
kubectl get hpa
Response should be:
NAME REFERENCE TARGETS MINPODS MAXPODS REPLICAS AGE
apibmongo Deployment/apibmongo 0%/10% 1 3 1 2m7s
Note: You can see above that there is one pod (replicas) currently running and that the HPA can scale up to 3 if it sees that the CPU goes above 10%.
- Create a Load on API Builder
In a separate terminal, we’ll simulate a heavy load on API Builder using an infinite HTTP request loop from a worker pod on our cluster to spike the CPU and see how the HPA responds using:
kubectl run -i --tty load-generator --image=busybox --generator=run-pod/v1 /bin/sh
When you get the command prompt (#), enter the following (with the correct API Builder URL and Port from above and your API route):
while true; do wget -q -O- http://192.168.99.100:30378/api/mongo/dog; done
You should see valid API request response in terminal if all is working properly
- Check the Status of the HPA
Back in the first terminal, check the status of the HPA as follows:
kubectl get hpa
Keep trying the ‘get hpa’ command. Eventually, the response should show that Kubernetes has scaled up the API Builder deployment to 3 pods (replicas) as follows:
NAME REFERENCE TARGETS MINPODS MAXPODS REPLICAS AGE
apibmongo Deployment/apibmongo 668%/10% 1 3 3 4m31s
Note: this can take several minutes, depending on the power of your laptop.
- Stop the load on API Builder by terminating the infinite loop we created above (press control-c)
Come back to the first terminal and check the HPA to see that replicas returns to 1
kubectl get hpa
Eventually, the response will be as follows:
NAME REFERENCE TARGETS MINPODS MAXPODS REPLICAS AGE
apibmongo Deployment/apibmongo 0%/10% 1 3 1 19m
Note that this may take a long time
- Teardown
Use the following commands if you’d like to tear down the application we just deployed:
kubectl delete -f ./
kubectl delete service mongo
kubectl delete service apibmongo
kubectl delete hpa apibmongo
kubectl delete pod load-generator
Note that if you stop minikube, then the host volume (MongoDB database) is deleted
Summary
In this blog post, we used deployment yaml files to stand up a multi container application in Kubernetes using Minikube and the kubectl CLI. We were able to make API requests to API Builder, which retrieved it’s data form a local MongoDB instance (with persistent volume).
Then we enabled the Kubernetes Horizontal Pod Autoscaler and were able to observe how Kubernetes scales up the API Builder pods based on the load of API requests.