

This blog provides a step-by-step guide on how you can configure and use Multi-factor authentication (MFA) in the Amplify Platform.
But before we dive into the guide, let’s first describe what MFA is (definition from Wikipedia):
“Multi-factor authentication (MFA; encompassing Two-factor authentication or 2FA, along with similar terms) is an electronic authentication method in which a computer user is granted access to a website or application only after successfully presenting two or more pieces of evidence (or factors) to an authentication mechanism: knowledge (something only the user knows), possession (something only the user has), and inherence (something only the user is).
MFA protects the user from an unknown person trying to access their data such as personal ID details or financial assets.
A third-party authenticator (TPA) app enables two-factor authentication, usually by showing a randomly-generated and constantly refreshing code to use for authentication.” (Wikipedia)
MFA provides thus an extra layer of security during the authentication process, because even if your credentials are compromised, then a hacker would still not be able to access the Amplify Platform using your account since that hacker does not possess access to your mobile phone and/or your email account.
Multi-factor authentication in the Amplify Platform
The Multi-factor authentication in the Amplify Platform is only possible if your user account is not managed by an external Identity Provider.
If your account is managed by an external Identity Provider, then MFA is handled by that component. Using MFA is not enforced and needs to be set up by each user individually, but it is highly recommended.
Step-by-step guide

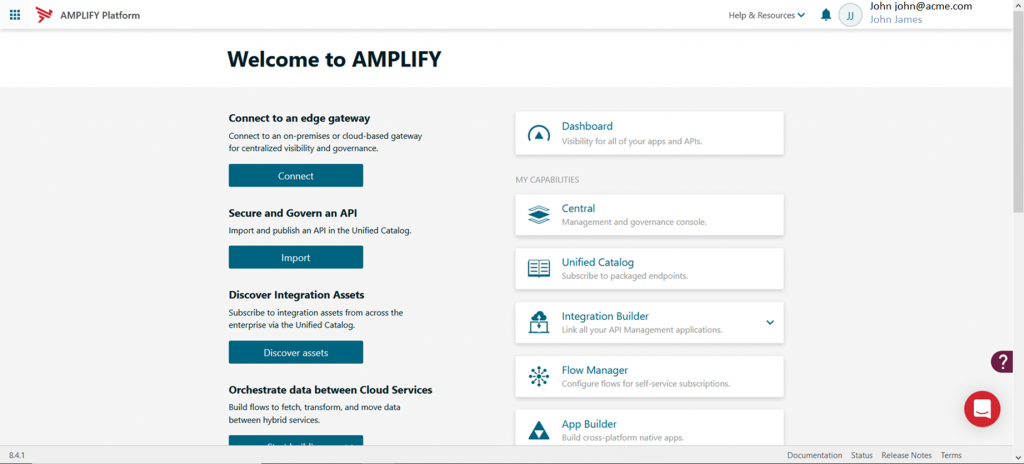
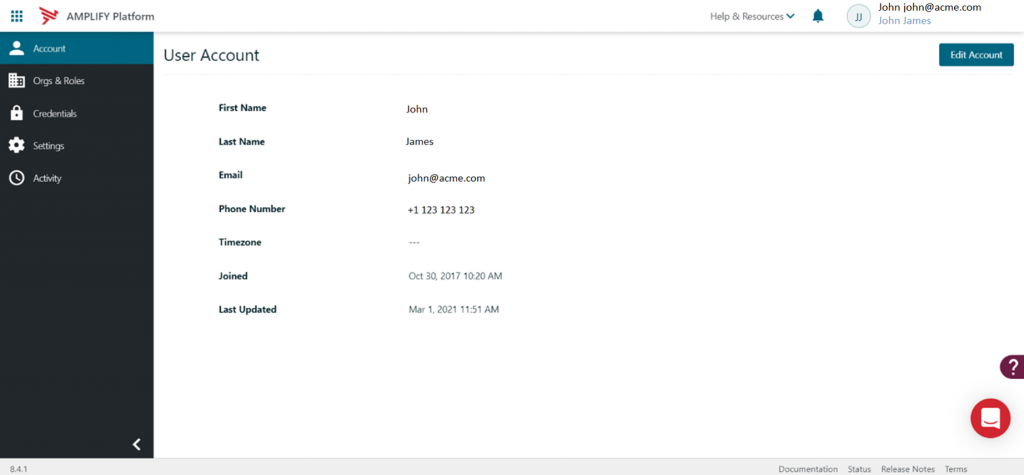
To set up and use MFA, first log in to the Amplify Platform:

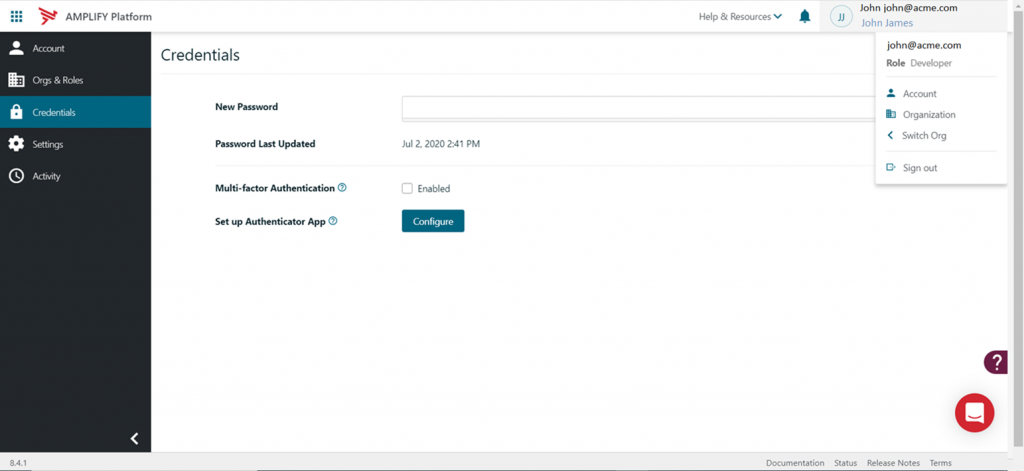
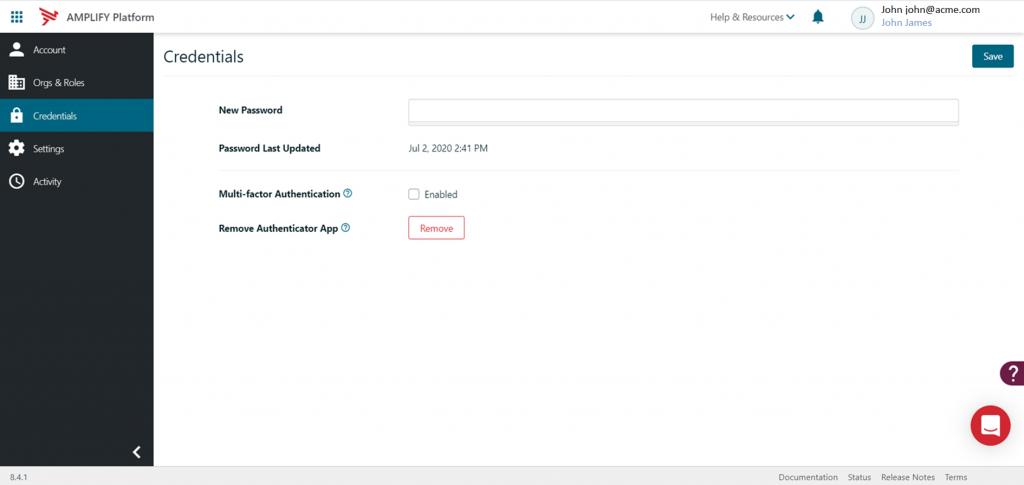
And then go to Account > Credentials:

To enable MFA, check Enabled next to the Multi-factor authentication option. You can then select the preferred MFA Method.
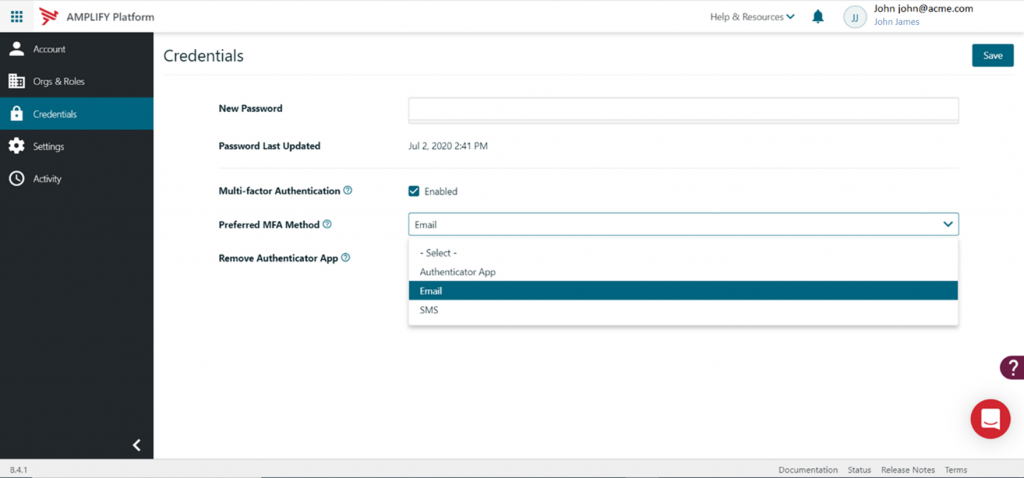
There are multiple options:
| Preferred MFA Method | How this works: | When can this be used? |
| Authenticator App | A random code is generated within the app that needs to be presented when logging in. | Only available when an authenticator app has been configured for your account. See paragraph Set up Authenticator App. |
| A code is sent to your email address that needs to be presented when logging in. | Always available, uses the email address linked to your account. | |
| SMS | A code is sent through SMS that needs to be presented when logging in. | Only available when a phone number is linked to your account. See paragraph Link Phone Number to your account. |
After you have enabled MFA and you log in, you might need to use another browser or a private browser session to test this — you will see a notification asking you to enter an authorization code.
Enter the Authorization code you find on your Authenticator App or in your email or the SMS and click Authorize.
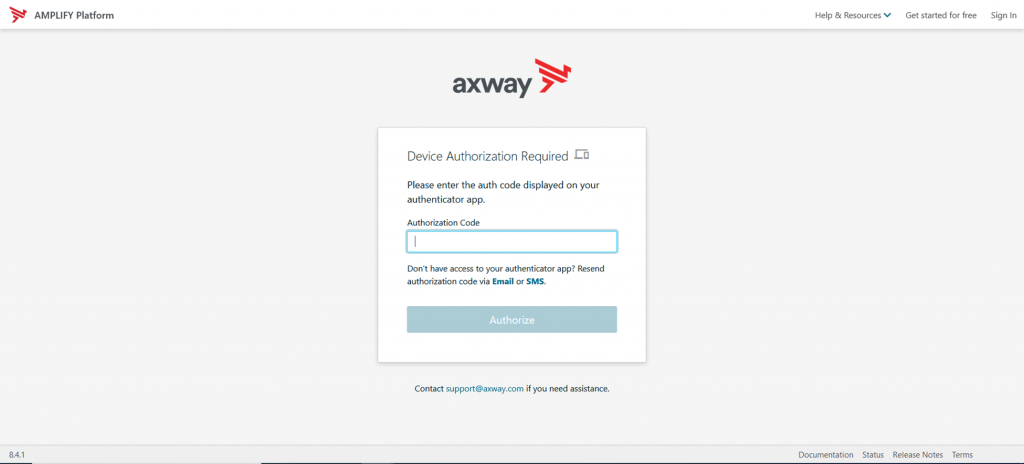
If the code is validated correctly, you will be logged in successfully:
Link Phone Number to your account
How to link a phone number to your account. Go to Account > Edit Account, enter a phone number, and click Verify.
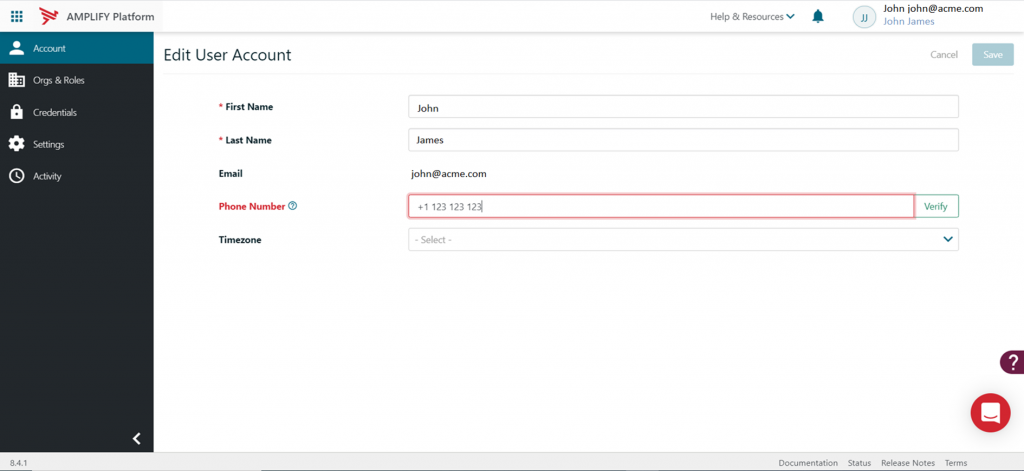
You will receive an SMS code you need to enter to complete the setup:
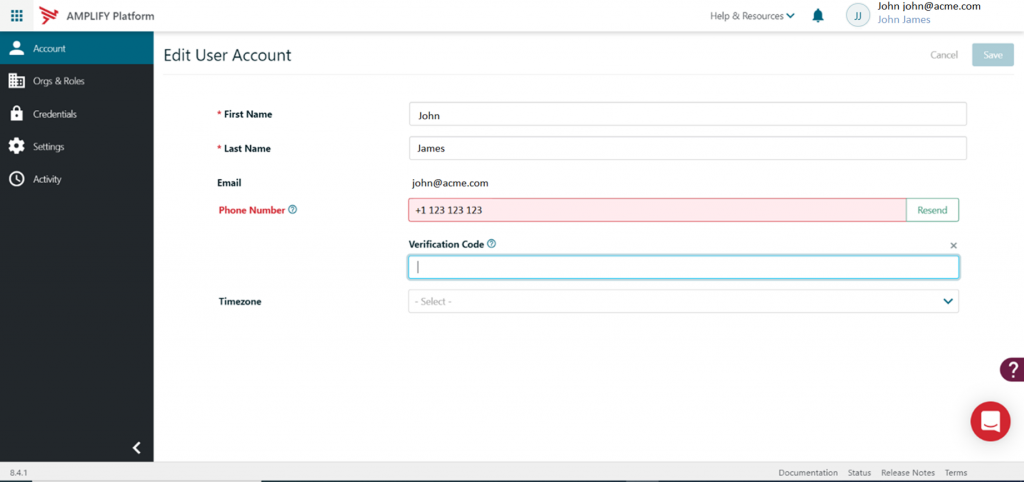
Enter the verification code and click Save and your account will be linked to your phone number.
Set up Authenticator App
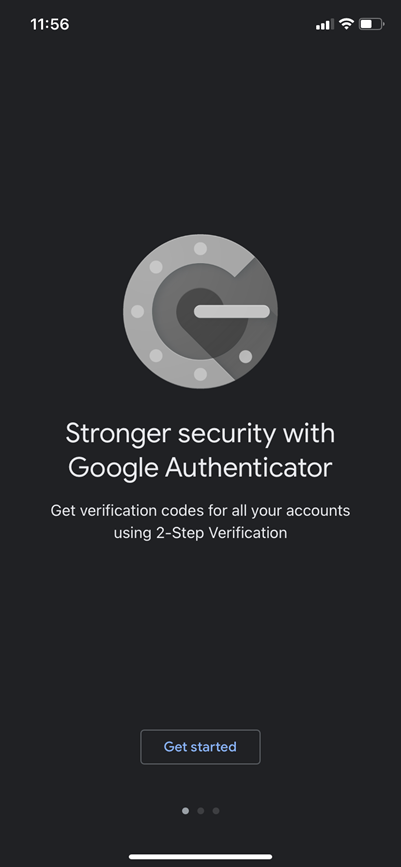
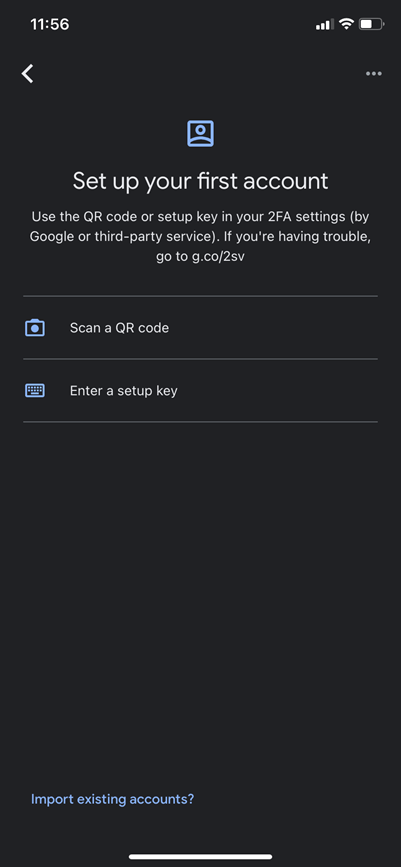
As a first step, you need to install an Authenticator App on your smartphone. I installed the Google Authenticator App:
Go to Account > Credentials and click Configure next to Set up Authenticator App:
A pop-up will open with a QR code:
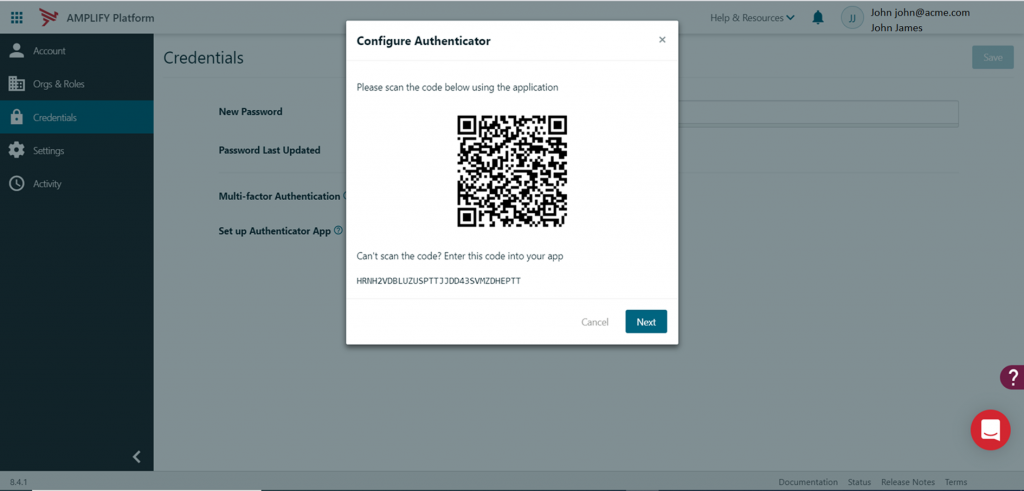
Scan this QR code with your Authenticator App:
Enter the code from the Authenticator App and click Submit:
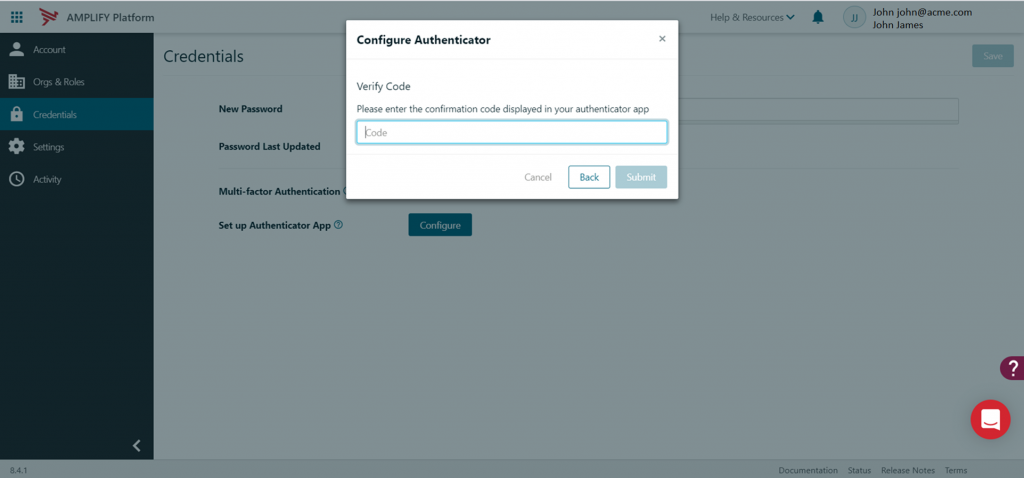
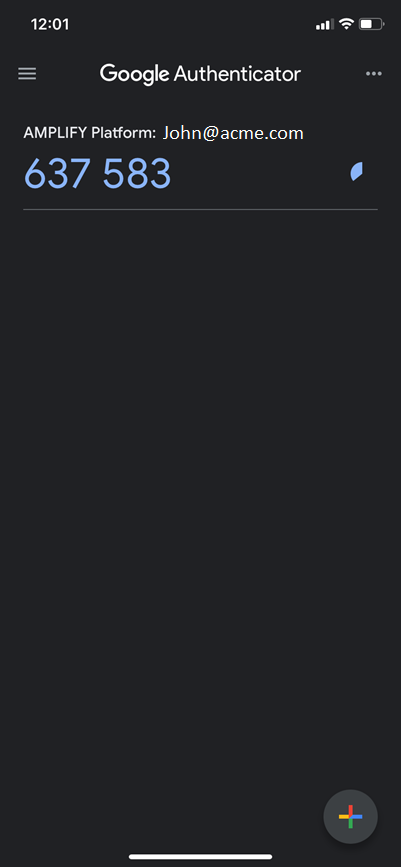
And the Authenticator App is configured:
Conclusion
With these few steps, you can easily configure MFA in the Amplify Platform and add another layer of security during authentication.
Discover some more information and what the Amplify Platform can do for you.