I was playing around with the CLI to see how I can incorporate it into demos and wanted to share a couple of things to remind people of its capabilities.
1. Log in as a human
Note for interactive usage of the CLI, i.e., as a human, you can log in to the platform using your organization’s domain name and password if your organization is delegating authentication to your corporate IdP. Typing the command below will open a browser for you to log in:
amplify auth login.
2. Log in as a machine
If you want to run the CLI unattended for example, in CI/CD scripts, you can use a service account for logging into the platform
amplify auth login –client-id <DOSA Service Account> –secret-file <Private Key>
3. Select the organization
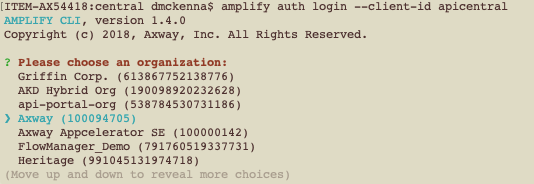
When you have logged in, you can select the organization that you want to use when running the command line.

4. Data returned in different formats
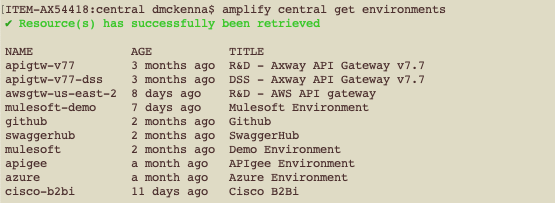
Here is the list of configured environments in my organization:

The above specifies the format of output which can be JSON or YAML.
5. Filter returned lists using jq
As the return from the command line is JSON, you can manipulate and filter the resulting data using jq.
For example, the following command will get the list of environments in JSON but will filter the result to only have the environment that has the title “Azure Environment”:
amplify central get environments -o json | jq ‘.[] | select(.title==”Azure Environment”)
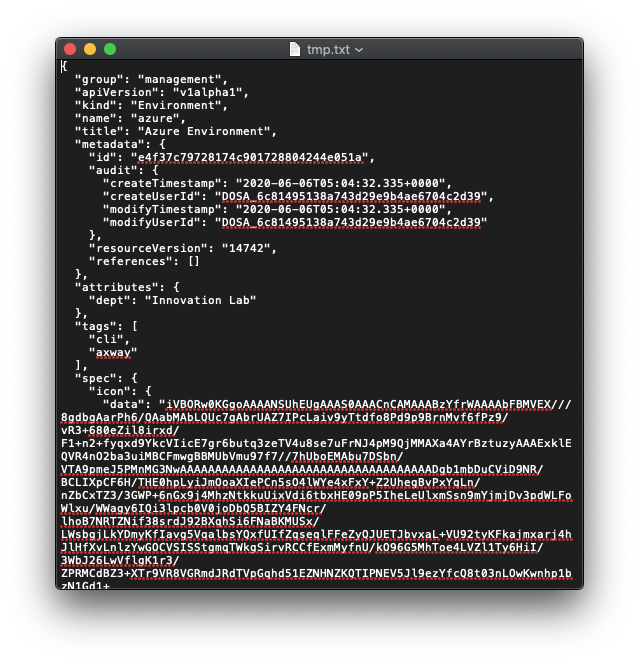
The output of running the above command:
6. The resources in the Central can be manipulated easily
It’s possible to update existing resources in Amplify Central by using the “apply” command. So, if you get a resource (see screenshot above), you can edit it to the necessary changes and “apply”’ back to Central:
amplify central apply -f upload.json
7. As response format is JSON, use jq to manipulate JSON
By piping the outputs of one command you can chain things together. Here we get the list of environments as JSON, find the one with the title Azure Environment and change it to “Hello world”:
amplify central get environments -o json | jq ‘.[] | select(.title==”Azure Environment”)’ | jq ‘.title=”Hello world”‘
8. Putting all the above together
Here is a script I ended up with which will change the image used for an environment (on the script – it’s been a long time since I did any bash). Summary – base64 encode the contents of a file, find the environment to change with the name “cisco-b2bi” change image data and store to file ‘upload.json’. Use the apply command to update the resource:
#!/bin/bash
export encodedImage=base64 -i cisco.png
amplify central get environments -o json | jq ‘.[] | select(.name==”cisco-b2bi”)’ | jq ‘.spec.icon.data = $ENV.encodedImage’ > upload.json
amplify central apply -f upload.json
9. There are a lot of resources that can be manipulated
If you run the following command, you get a list of resources that can be manipulated in a similar fashion:
amplify central get
10. I can’t think of a 10
I can’t think of a t0 – as this is about scripting then go try it out!
GOTO 1
For more documentation and examples, please visit the Amplify Central documentation portal.


