

In this post, we’ll cover the complete CI/CD process to automate the build of an API Builder project and run it as a Docker container into a deployment server. This is a continuation of my previous post where we learned to install Jenkins as a Docker container and implemented a Jenkins pipeline for Continuous Integration (CI) process.
About Continuous Delivery
Continuous Delivery is the process of ensuring an application software is always ready for deployment. Organizations that have an automated application software delivery pipeline respond to market changes better. We’ll continue to utilize Jenkins and configure it to automate the end-to-end process of deploying code from SCM like GitHub into the deployment server. Reusability, consistency, and maintainability are important aspects in DevOps practice, so we’ll treat the Jenkins pipeline script as code that is sourced and maintained in SCM.
Prerequisites
Before starting out, make sure that you have:
- Github account
- Docker Hub account
- Jenkins (use the Jenkins container in Part 1)
- Deployment server (runtime server) where Docker is also installed
Understanding the workflow
The pipeline script will automate the following steps:
- Clone a project from a code repository: We’ll use your copy of API Builder project code
- Build/compile the project: We’ll build a Docker image for the API Builder project. This will use the default Dockerfile that is available in the API Builder project
- Publish the Docker image: Push the Docker image to Docker Hub
- Run: Deploy the Docker image as container in the deployment server
Make a copy of the project
Let’s begin by creating a copy of an existing API Builder project. The easiest way is to fork the existing project to your GitHub repo.
Ensure that you already have a GitHub account.
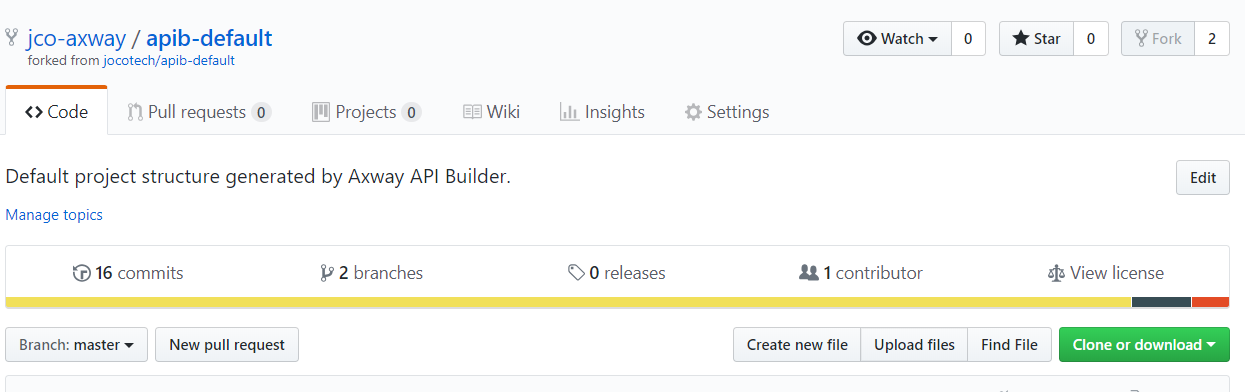
Login to github and browse to this project https://github.com/jocotech/apib-default.
Click the Fork button.

GitHub should generate a similar project like this one:
Create a Docker Hub repository
Next, establish a repository in Docker Hub that will store the API Builder project’s Docker image.
Ensure that you already have a Docker Hub account.

In the visibility section, choose Public.
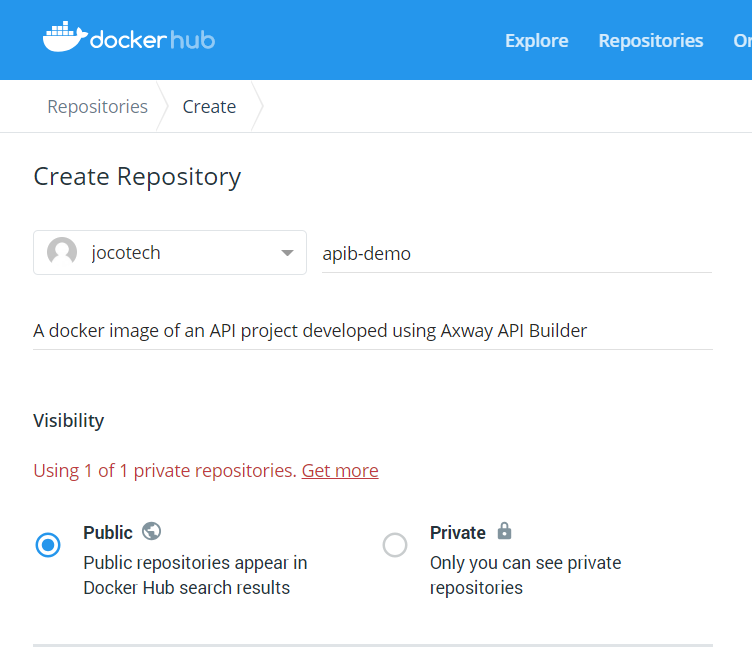
You should see similar info like the screenshot below that shows the command to publish the image to the Docker Hub repo.

Enable SSH between Jenkins container and the deployment server
Let’s configure Secure Shell to gain access to the deployment server’s command line via a secure tunnel.
In the server where you’re running Jenkins container, execute the command to access the Jenkins container:
docker exec -it myjenkins bash
Inside the Jenkins container, issue the command to generate a SSH Key Pair:
ssh-keygen
You can use the default values by pressing Enter/Return for each prompt:
Generating public/private rsa key pair.
Enter file in which to save the key (/var/jenkins_home/.ssh/id_rsa):
Enter passphrase (empty for no passphrase):
Enter same passphrase again:
Your identification has been saved in /var/jenkins_home/.ssh/id_rsa.
Your public key has been saved in /var/jenkins_home/.ssh/id_rsa.pub.
The key fingerprint is:
SHA256:uvUdDg5YzO/AZF7KhGGG7l3ljwwqPv70e7giIbAXoA1o jenkins@bvx58c31e20c
The key randomart image is:
+---[RSA 2048]----+
| |
| . . |
|. E o + . |
|.+ . + = o |
|. o . o S o |
| + + & * |
| = = @ + o |
| . + O B o |
| o.ooO+O. |
+----[SHA256]-----+
You now have an SSH Key pair generated. These two files are stored at ~/.ssh:
- id_rsa – The private key
- id_rsa.pub – The public key
Next, copy the public key file to the deployment server. This can be done with the command:
ssh-copy-id USER@DEPLOYMENT_SERVER_IP
Where USER is a username on deployment server and DEPLOYMENT_SERVER_IP is the IP address of the deployment server.
If this is the first time you’ve secure shelled into the deployment server, you’ll be prompted to type yes to continue with the connection. Otherwise, you’ll be prompted to type the user password on the deployment server. Once you’ve successfully typed the password, the key will be copied and you’re ready to test the connection. You should see a similar prompt:
sh-copy-id: INFO: Source of key(s) to be installed: "/root/.ssh/id_rsa.pub"
ssh-copy-id: INFO: attempting to log in with the new key(s), to filter out any that are already installed
ssh-copy-id: INFO: 1 key(s) remain to be installed -- if you are prompted now it is to install the new keys
Password:
Test the connection by issuing this command (replace USER and DEPLOYMENT_SERVER_IP with the correct values):
ssh USER@DEPLOYMENT_SERVER_IP docker -v
The result should show the Docker version that is running on your deployment server. This means that the Jenkins container can run a command remotely to the deployment server.
Configure credentials in Jenkins
We’ll store the 3rd party credentials that Jenkins needs to gain write access to 3rd party sites like Docker Hub. We can set a credential ID for each 3rd party site then use the credentials ID in the pipeline. This protects your credential information by eliminating the need to hard code the userid and password in the pipeline script.
To set the Docker Hub credentials, go to the Jenkins dashboard.
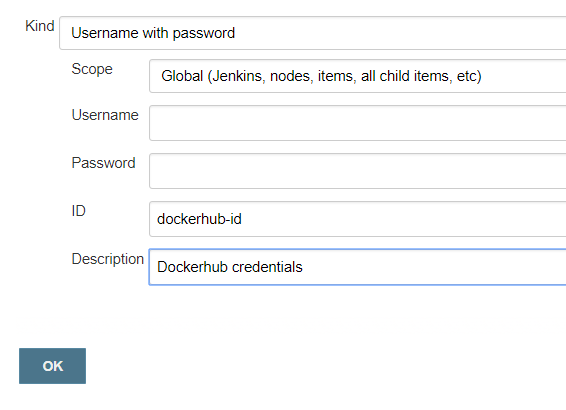
Click on Credentials > System > Select Global credentials domain > Add credentials.
Select Username with password for Kind, select Global for Scope, enter your Docker Hub credentials and use dockerhub-id for the ID field then click OK.
Configure the pipeline
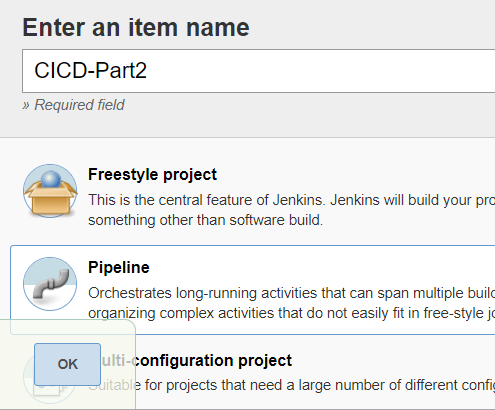
Go back to the Jenkins main page, create a pipeline by selecting New Item.
Enter the job name (e.g. CICD-Part2), select Pipeline then click OK.
We’ll define the necessary variables (keys and default values) required by the pipeline script thru parameters.
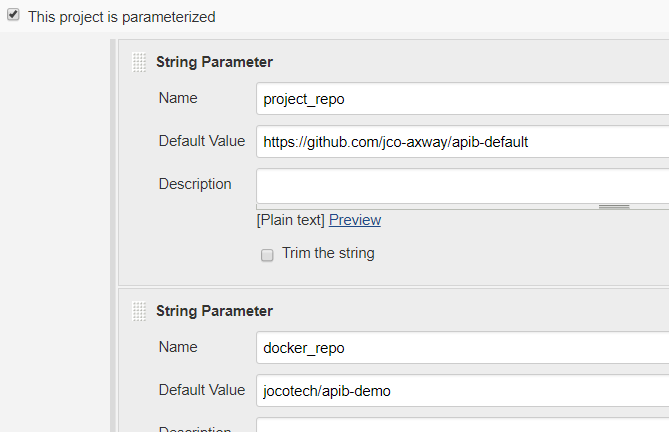
Select the option This project is parameterized then add the following string parameter names and default values:
- project_repo – enter the GitHub project you forked earlier (format is https://github.com/your-github-id/apib-default)
- docker_repo – enter your Dockerhub repository (sample format is your-docker-id/apib-demo)
- deploy_ip – enter your deployment server’s ip address
- deploy_user – enter your deployment server’s user id that will run the Docker container
- credential_id – enter dockerhub-id
Copy the full pipeline script below:
pipeline {
agent any
stages {
stage('Clone API Builder project') {
steps {
git "${params.project_repo}"
}
}
stage('Build Docker image') {
steps{
script {
image = docker.build params.docker_repo + ":latest"

}
}
}
stage('Push Docker Image') {
steps{
script {
docker.withRegistry( '', params.credential_id ) {
image.push()
}
}
}
}
stage('Run Docker Container') {
steps{
sh "ssh ${params.deploy_user}@${params.deploy_ip} docker run -d --name myproject -p 8080:8080 $docker_repo:latest"
sh "ssh ${params.deploy_user}@${params.deploy_ip} docker ps"
}
}
stage('Clean up') {
steps{
sh "docker rmi ${params.docker_repo}:latest"
deleteDir()
}
}
}
}
Scroll down to the Pipeline section, choose Pipeline script. Then, paste the script.
Pipeline script explanation
The first stage will create a local copy of the API Builder project that you forked in GitHub:
stage('Clone API Builder project') {
steps {
git "${params.project_repo}"
}
}
The next step will build the Docker image of the API Builder project. The image will be tagged as latest:
stage('Build Docker image') {
steps{
script {
image = docker.build params.docker_repo + ":latest"
}
}
}
Then, push the Docker image to Docker Hub using the credentials that you configured. We’re leveraging Docker Hub to manage the docker images of our API project.
stage('Push Docker Image') {
steps{
script {
docker.withRegistry( '', params.credential_id ) {
image.push()
}
}
}
}
Next, run the container in the deployment server and check if the container is running. The Docker run command will pull the image from Docker Hub if the image doesn’t exist in the deployment server. The name of the container is myproject running on port 8080. Note that we’re utlizing ssh to remotely invoke the commands in the deployment server.
stage('Run Docker Container') {
steps{
sh "ssh ${params.deploy_user}@${params.deploy_ip} docker run -d --name myproject -p 8080:8080 $docker_repo:latest"
sh "ssh ${params.deploy_user}@${params.deploy_ip} docker ps"
}
}
The last step is to cleanup the pipeline artifacts that were generated in the Jenkins container.
stage('Clean up') {
steps{
sh "docker rmi ${params.docker_repo}:latest"
deleteDir()
}
}
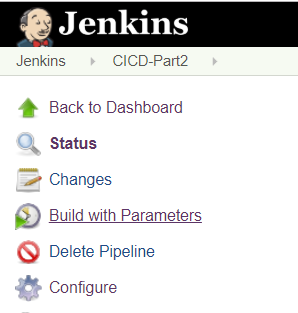
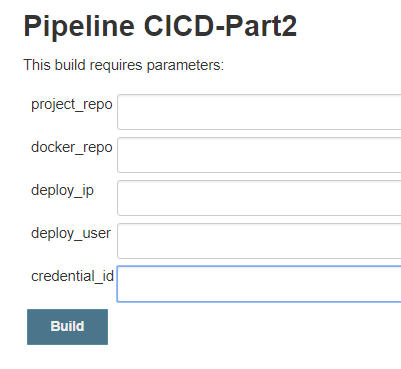
Now Save and we’re ready to execute the pipeline. Click Build with Parameters to trigger the job.
The parameters should be automatically populated with the default values, select Build.
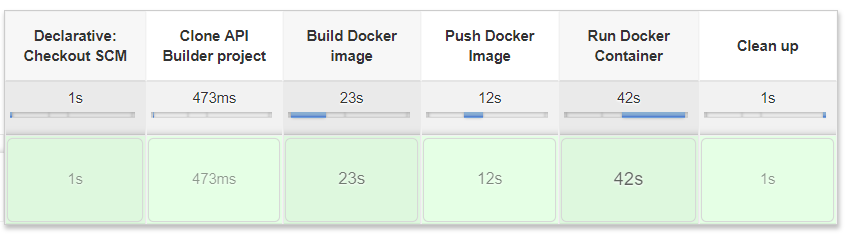
The dashboard shows the status and duration for each step of the pipeline. Blue means successful.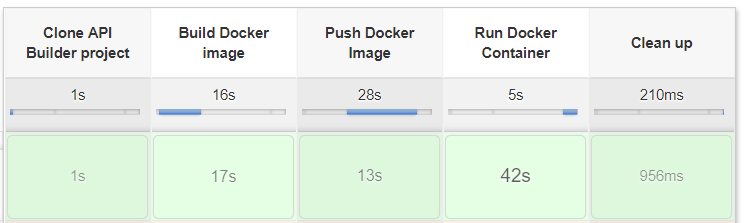
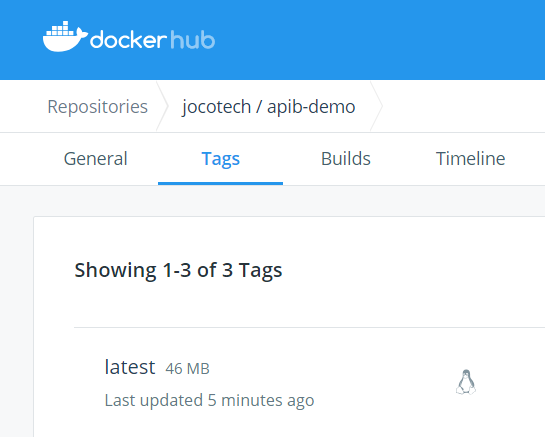
Validate the pipeline
Check your Docker Hub repository. Under Tags, the latest image should be updated:
Test the deployed API (greet API) by running this command in your Jenkins container:
curl https://DEPLOYMENT-IP:8080/api/greet?username=Joel
Note that DEPLOYMENT-IP is your deployment server’s ip address. Here’s a successful result:
"Howdy Joel"
Update the project
Now, let’s try and test how easy it is to apply a simple change in the API Builder project and quickly deploy the changes to the deployment server.
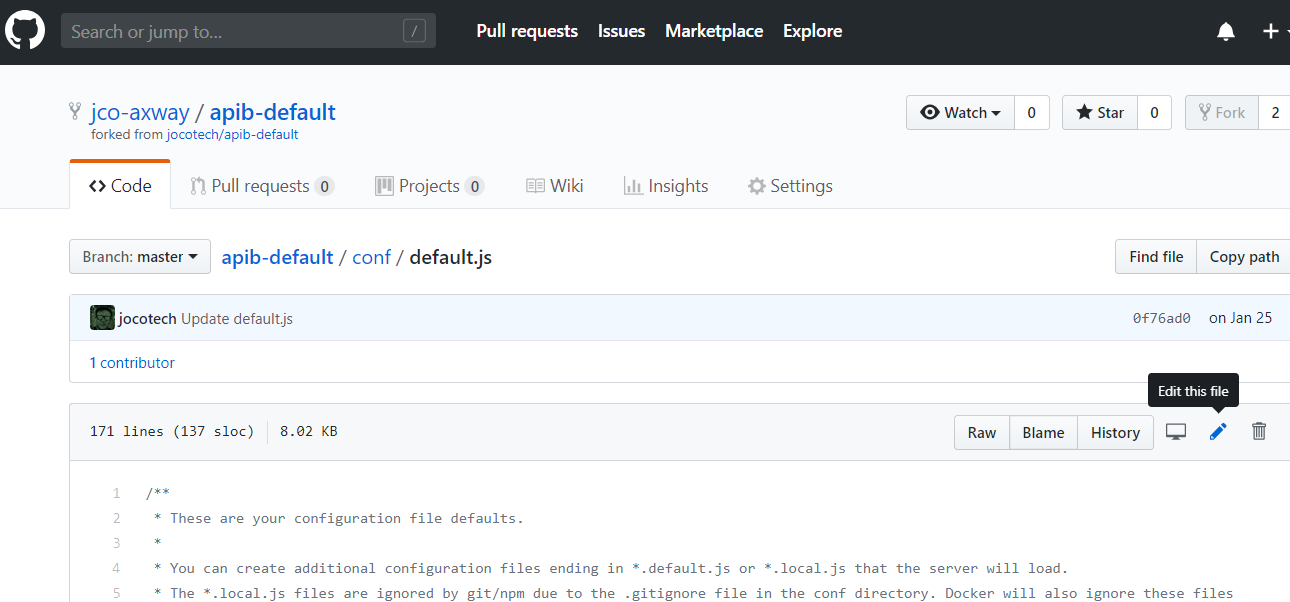
The greet API that is deployed doesn’t enforce any security. Let’s try and modify the project to secure the API with API Key. One approach is to modify the configuration through the API Builder UI. But, for this exercise, we can easily apply the change by directly modifying the configuration file.
In GitHub, browse to your API Builder project. Under the conf folder, edit the file default.js.
Search for apikey and copy the value:
apikey: 'bIgz1hrBgsbtCFMfjQuuYb8akNh3NpuY',
Search for:
APIKeyAuthType: 'none',
Then replace it with:
APIKeyAuthType: 'apikey',
Scroll down and commit your changes:
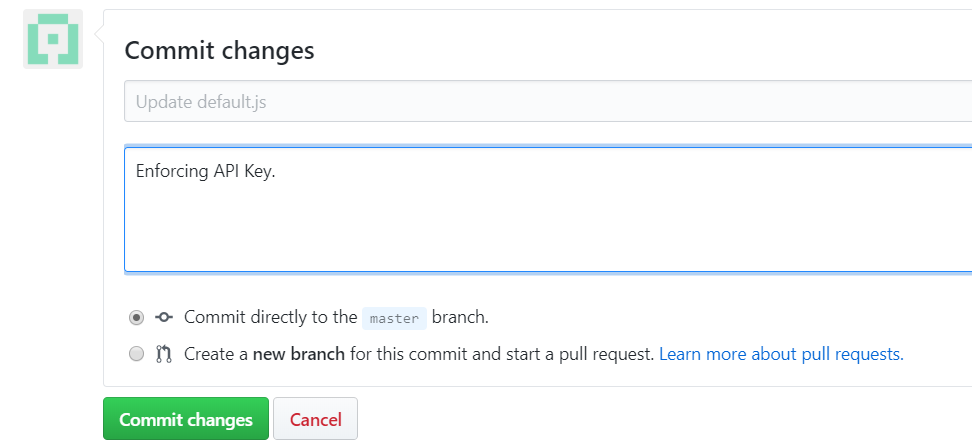
Now, we’ve configured this API project to enforce API Key security.
Before we run the Jenkins pipeline, stop the container and remove the Docker image in the deployment server using these commands (where DOCKERHUB-ID is your Docker Hub id):
docker stop myproject
docker rm myproject
docker rmi DOCKERHUB-ID/apib-demo
Now, run your Jenkins pipeline.
Test the deployed API, by running this command in your Jenkins server:
curl https://DEPLOYMENT-IP:8080/api/greet?username=Joel
This time you’ll get an error:
{"id":"com.appcelerator.api.unauthorized","message":"Unauthorized","success":false}
This means that the API is now enforcing an API security. To test the updated API, rerun the command by adding the apikey:
curl -H apikey:bIgz1hrBgsbtCFMfjQuuYb8akNh3NpuY https://DEPLOYMENT-IP:8080/api/greet?username=Joel
You should get a successful result.
"Howdy Joel"
Pipeline-as-code
Now that we’ve fully tested the pipeline script, we can source it thru SCM. The pipeline script can be stored alongside with our API Project code then sourced in GitHub. All we have to do is to save the CI/CD script that we created as Jenkinsfile and modify the Jenkins pipeline job to use the Jenkinsfile dynamically.
Pipeline-as-code Github configuration
Create a new file called Jenkinsfile in your API Project repo in GitHub. Copy your Jenkins CICD-Part2 pipeline script and paste it to the Jenkinsfile.
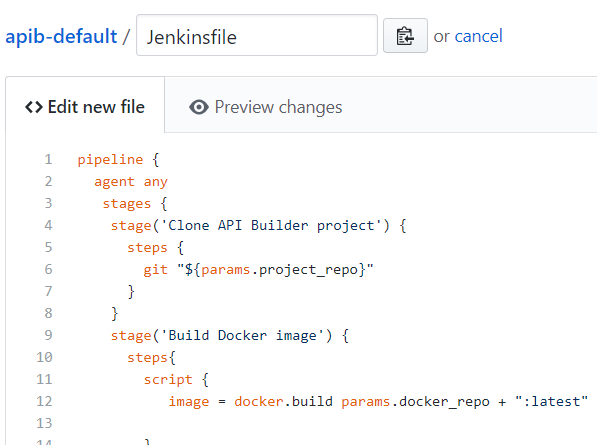
Then select Commit new file.
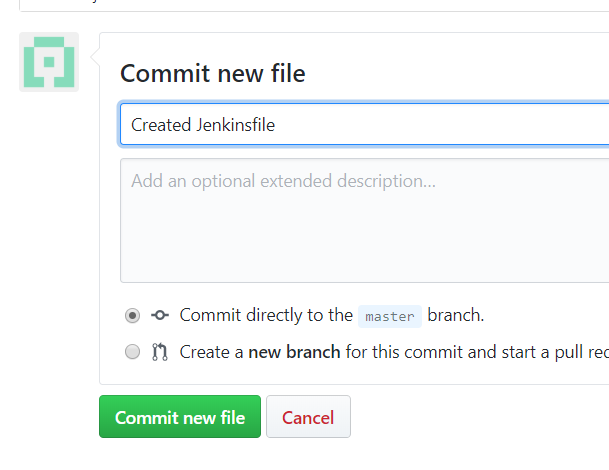
The Jenkins pipeline script is now sourced in GitHub.
Pipeline-as-code Jenkins configuration
In the Jenkins dashboard, configure the CICD-Part2 job.
Scroll down to the Pipeline section, update the Definition to use Pipeline script from SCM.
Select Git for SCM. Enter your API Builder project’s GitHub url to Repositoy URL. Since your GitHub project is publicly accessible, set none for Credentials.
In the pipeline section, choose Pipeline script from SCM for Definition and Git for SCM. Enter your API Project’s GitHub repo for Repository URL and -none- for Credentials. Jenkins will look for the Jenkinsfile in the repository.

Save to complete the pipeline configuration.
Before we run the Jenkins pipeline, stop the container and remove the Docker image in the deployment server using these commands (where DOCKERHUB-ID is your Docker Hub id):
docker stop myproject
docker rm myproject
docker rmi DOCKERHUB-ID/apib-demo
Go back to Jenkins and click Build with Parameters to trigger the CICD-Part2 job.

Use the default values, so just select Build. This shows all the steps for this pipeline.
Notice that the first step Declarative: Checkout SCM means that the pipeline is using the Jenkinsfile from SCM.
Summary
Technically, we learned how easy it is to create a CI/CD pipeline that automates the pull of an API Builder project code from GitHub, create the Docker image, push the image to Docker Hub, and run it as a Docker container in a deployment server. Looking at this from a business level, organizations that practice the CI/CD process are able to deploy valuable features to their customers faster, resolve issues quicker, and reduce cost through automation.