

This blog provides a step-by-step guide on how to configure your organization in the Amplify Platform with an external IdP (Identity Provider). An IdP is an amenity that stores and oversees digital identities.
In this guide, we chose the Okta IdP. There are other IdP’s out there, but the reason we chose Okta is that Amplify is Okta certified and you can have a free 30-day trial of Okta.
But before we get into the details, let’s first discuss what the advantages are:
- Identities are centrally managed in your company IdP.
- SSO capabilities can be applied.
- No need to manage multiple passwords.
- User roles in the Amplify platform can be linked to the role that the user has in the company by mapping Amplify roles to attributes in the IdP.
Prerequisites
You need to own a domain that is linked to the email addresses of the users. You will need to do a verification of the ownership of that domain and be able to add a DNS entry for that domain. I created a domain, called jdelbarre.com, in my personal AWS account.
You need to be an Administrator in an Amplify organization where you have the Identity Provider option enabled.
Setup Guide
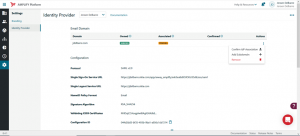
Setup Domain in Amplify Platform
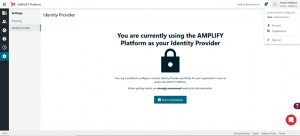
Log in to your Amplify organization. Go to the Organization > Settings > Identity Provider view.
If you do not have the Identity Provider option, you do not have the correct subscription and you can contact the Amplify Platform team to enable this functionality.
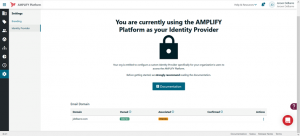
Add a domain and make sure it has the status Verified. Follow this guide to add a domain and verify ownership.
Okta IdP setup
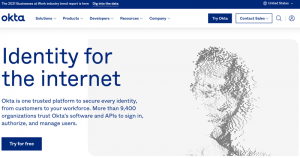
Create an account in Okta.
Go to the Okta website, click Try for free, and create a free account that is valid for 30 days.
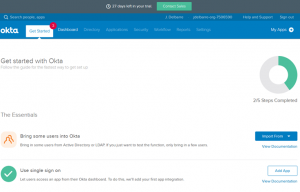
Create an App in Okta
An application in Okta is used to configure the authentication to the system that you want your users to have access to.
In our case, we will create an application that defines the authentication to the Amplify Platform. Make sure you are in the admin view to create this application.
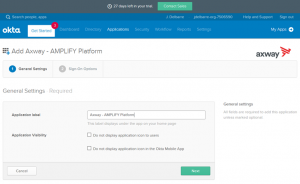
Search for the Axway — Amplify Platform app, select it and click Add:

Click Next on General Settings:
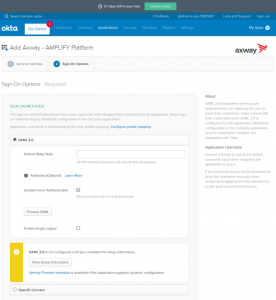
In the Sign-On Options tab, I chose SAML, but you could use OpenID Connect as well, and follow the instructions that you can find by clicking View Setup Instructions.\
At one point, you are asked for a customer ID, which corresponds with the organization ID of your Amplify organization.
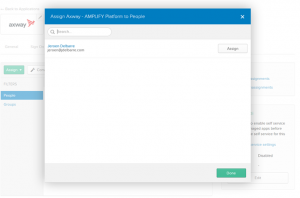
Assign the app to the people that need to access the Amplify Platform:
Finish setting up in the Amplify Platform:
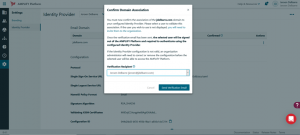
Associate your domain with the IdP by clicking Confirm IdP Association:
Confirm your domain association using the Send Verification Email option:
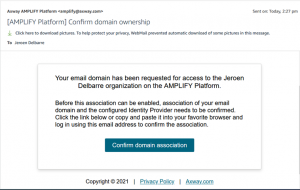
Check your email and click Confirm domain association:
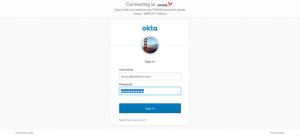
Log in here using your Okta account:
You see this message that shows that it has finalized the domain verification:
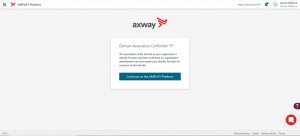
Click Continue to the Amplify Platform. You are now logged in successfully to the Amplify Platform using the Okta IdP for authentication:
Conclusion
Thanks for reading and I hope this blog gives you all the information required to set up your Amplify organization with the Okta IdP.
Get the Amplify difference. Learn more here.