

You can use Azure Container Instances to run serverless Docker containers in Azure with simplicity and speed. Deploy an application to a container instance on-demand when you don’t need a full container orchestration platform like Azure Kubernetes Service. This is perfect for Test or Development deployments.
Pre-requisites
Before we begin, please make sure you have the following pre-requisites
* An Microsoft Azure account (a 12-month free trial is available)
* Microsoft Azure CLI installed on your machine
* A Docker account
* Docker installed and working on your machine
* A working API Builder Application Dockerized and pushed to Docker Hub
* Alternatively, you can use my API Builder MongoDB project on Docker Hub but you will need a MongoDB instance, such as on MongoDB Atlas (which has a free tier)
Once you have all of that, let’s get started.
Overview
Here is an overview of what we will do:
- Make sure the API Builder Project in Docker Hub is working locally by making a local API call
- Use the Azure CLI to create a resource group
- Use the Azure CLI to add our API Builder Container from Docker Hub
- Test our API by making an API call to API Builder in Azure
We will be following the Azure Container Instances Quick Start Guide.
Prepare your API Builder Project
The instructions in this blog post will assume that you are using my API Builder MongoDB image that is in Docker Hub but you’ll need a MongoDB instance with a database, collection, and data. You can use MongoDB Atlas as described in the pre-requisites. You’ll need your MondoDB connection URL.
Publish API Builder Docker Image to Docker Hub
If you are using my Docker image from Docker Hub then you can skip this part. If you created your own API Builder project then follow the steps here to Dockerize your project and then follow the steps below to publish to Docker Hub.
- Tag your image
docker tag apibm lbrenman/apibmongodb:1.0.0
Note that my local docker image is called apibm and I want to publish to my Docker Hub account, lbrenman, with a version of 1.0.0 and a name of apibmongodb
- Publish Your Image
docker image push lbrenman/apibmongodb:1.0.0
Note that if you get an error trying to publish to Docker Hub, make sure you are logged in using ‘docker login’
- Make sure your image appears in the repository (and add the short and full description)
Test Docker Hub API Builder Project
It is best to remove the Docker image on your machine and make sure you can run your API Builder project directly from Docker Hub because this is what will happen in OpenShift.
For example, to run my apibmongodb API Builder Docker Image, use the following command (with your MongoDB connection URL):
docker run --rm --name apibm -p 80:8080 -e MONGO_URL="mongodb://admin:xxxxxx@192.168.1.38:27017/mydata?authSource=admin" lbrenman/apibmongodb:1.0.0
Note: replace with your API Builder Docker Image or if using mine, then replace the MONGO_URL value with the MongoDB connection URL for your MongoDB instance
Test the API from Curl
curl 'http://localhost/api/mongo/dog'
Note: replace the path to the API with the one appropriate for your project or MongoDB database
Install the Azure CLI
Install Azure CLI following the instructions here. This takes a long time. On my machine, it took over 5 minutes so please be patient.
Publish API Builder Container
We will be using the Azure CLI for the following steps.
- Log into Azure
az login
See sample response:
Note, we have launched a browser for you to login. For old experience with device code, use "az login --use-device-code"
You have logged in. Now let us find all the subscriptions to which you have access...
[
  {
    "cloudName": "AzureCloud",
    "id": "f4636590-4dd8-4185-9395-e60fd87195e5",
    "isDefault": true,
    "name": "Free Trial",
    "state": "Enabled",
    "tenantId": "abf6a1b7-8615-4061-84d9-95ea50ce7a54",
    "user": {
      "name": "lbrenman99@hotmail.com",
      "type": "user"
    }
  }
]
- Create a resource group
az group create --name myResourceGroup --location eastus
Note that the name of my resource group is myResourceGroup and that I picked the eastus region
See sample response:
{
  "id": "/subscriptions/f4636590-4dd8-4185-9395-e60fd87195e5/resourceGroups/myResourceGroup",
  "location": "eastus",
  "managedBy": null,
  "name": "myResourceGroup",
  "properties": {
    "provisioningState": "Succeeded"
  },
  "tags": null,
  "type": null
}- Create the API Builder Container
az container create --resource-group myResourceGroup --name apibm --image lbrenman/apibmongodb:1.0.1 --dns-name-label apibm --ports 8080 --environment-variables MONGO_URL="mongodb://<username>:<password>@cluster0-shard-00-00-merks.mongodb.net:27017,cluster0-shard-00-01-merks.mongodb.net:27017,cluster0-shard-00-02-merks.mongodb.net:27017/<database>?ssl=true&replicaSet=Cluster0-shard-0&authSource=admin&retryWrites=true"Note: replace the MONGO_URL environment variable with the MongoDB connection URL for your MongoDB instance.
See sample response:
{
  "containers": [
    {
      "command": null,
      "environmentVariables": [
        {
          "name": "MONGO_URL",
          "secureValue": null,
          "value": "mongodb://<username>:<password>@cluster0-shard-00-00-merks.mongodb.net:27017,cluster0-shard-00-01-merks.mongodb.net:27017,cluster0-shard-00-02-merks.mongodb.net:27017/<database>?ssl=true&replicaSet=Cluster0-shard-0&authSource=admin&retryWrites=true"
        }
      ],
      "image": "lbrenman/apibmongodb:1.0.1",
      "instanceView": {
        "currentState": {
          "detailStatus": "",
          "exitCode": null,
          "finishTime": null,
          "startTime": "2019-03-20T22:00:37+00:00",
          "state": "Running"
        },
        "events": [
          {
            "count": 1,
            "firstTimestamp": "2019-03-20T22:00:24+00:00",
            "lastTimestamp": "2019-03-20T22:00:24+00:00",
            "message": "pulling image \"lbrenman/apibmongodb:1.0.1\"",
            "name": "Pulling",
            "type": "Normal"
          },
          {
            "count": 1,
            "firstTimestamp": "2019-03-20T22:00:33+00:00",
            "lastTimestamp": "2019-03-20T22:00:33+00:00",
            "message": "Successfully pulled image \"lbrenman/apibmongodb:1.0.1\"",
            "name": "Pulled",
            "type": "Normal"
          },
          {
            "count": 1,
            "firstTimestamp": "2019-03-20T22:00:37+00:00",
            "lastTimestamp": "2019-03-20T22:00:37+00:00",
            "message": "Created container",
            "name": "Created",
            "type": "Normal"
          },
          {
            "count": 1,
            "firstTimestamp": "2019-03-20T22:00:38+00:00",
            "lastTimestamp": "2019-03-20T22:00:38+00:00",
            "message": "Started container",
            "name": "Started",
            "type": "Normal"
          }
        ],
        "previousState": null,
        "restartCount": 0
      },
      "livenessProbe": null,
      "name": "apibm",
      "ports": [
        {
          "port": 8080,
          "protocol": "TCP"
        }
      ],
      "readinessProbe": null,
      "resources": {
        "limits": null,
        "requests": {
          "cpu": 1,
          "gpu": null,
          "memoryInGb": 1.5
        }
      },
      "volumeMounts": null
    }
  ],
  "diagnostics": null,
  "dnsConfig": null,
  "id": "/subscriptions/f4636590-4dd8-4185-9395-e60fd87195e5/resourceGroups/myResourceGroup/providers/Microsoft.ContainerInstance/containerGroups/apibm",
  "identity": null,
  "imageRegistryCredentials": null,
  "instanceView": {
    "events": [],
    "state": "Running"
  },
  "ipAddress": {
    "dnsNameLabel": "apibm",
    "fqdn": "apibm.eastus.azurecontainer.io",
    "ip": "52.151.232.42",
    "ports": [
      {
        "port": 8080,
        "protocol": "TCP"
      }
    ],
    "type": "Public"
  },
  "location": "eastus",
  "name": "apibm",
  "networkProfile": null,
  "osType": "Linux",
  "provisioningState": "Succeeded",
  "resourceGroup": "myResourceGroup",
  "restartPolicy": "Always",
  "tags": {},
  "type": "Microsoft.ContainerInstance/containerGroups",
  "volumes": null
}- Check container status
az container show --resource-group myResourceGroup --name apibm --query "{FQDN:ipAddress.fqdn,ProvisioningState:provisioningState}" --out tableSee sample response:
FQDN                            ProvisioningState
------------------------------  -------------------
apibm.eastus.azurecontainer.io  Succeeded
Note the FQDN above. You will need this shortly in order to test your microservice
One of the very nice features of Azure Container Instances is that when you create your container, you automatically and instantaneously get a fully qualified domain name for your container without needing to create services and expose them.
- Check the logs
az container logs --resource-group myResourceGroup --name apibmSee sample response:
553119238599 configuration applied in this order: /app/conf/default.js,/app/conf/mongo.default.js
1553119239122 API Builder/Kobe (4.5.8) apibmongodb/1.0.0
1553119239122 APIKey is: 3wEwROK+ZEyt4pr5k9lA5NQE9te8dG7p
1553119239336 No APIKey or APIKeyAuthPlugin set in your config.  Your server has no authentication strategy.
1553119239338 Registering upgrade handler for flow
1553119239345 waiting on server to finish loading
1553119239863 Registered plugin: @axway/api-builder-plugin-dc-mongo
1553119239864 Registered plugin: @axway/api-builder-plugin-fn-base64
1553119239864 Registered plugin: @axway/api-builder-plugin-fn-dot
1553119239864 Registered plugin: @axway/api-builder-plugin-fn-json
1553119239864 Registered plugin: @axway/api-builder-plugin-fn-restclient
1553119239864 Registered plugin: @axway/api-builder-plugin-fn-swagger
1553119240010 Starting connector/mongo@1.1.3
...
1553119240325 binding api (get) /api/dog/distinct/:field [model] sort:-2
1553119240325 binding api (get) /api/mongo/dog/distinct/:field [model] sort:-2
1553119240327 Access the swagger API documentation at http://localhost:8080/apidoc/swagger.json
1553119240328 server started!
1553119240329 server started on port 8080
Now we know that API Builder is operating properly and connected to the back end data source (MongoDB) and we can make API calls.
- Test Your API Builder API
Use the FQDN and make a curl API request to API Builder:
curl http://apibm.eastus.azurecontainer.io:8080/api/mongo/dogSee sample response:
{
  "success": true,
  "request-id": "f81e0903-4f8f-48ac-90d7-cfb648a0d630",
  "key": "dogs",
  "dogs": [
    {
      "id": "5a24a9a67779e860d007b13e",
      "breed": "Poodle",
      "name": "Fido"
    },
    {
      "id": "5a24a9d27779e860d007b140",
      "breed": "Lab",
      "name": "Fred"
    },
    ...
    {
      "id": "5b3aafcb9de9003840480fe7",
      "breed": "Doberman",
      "name": "Doobie"
    }
  ]
}
Azure Portal
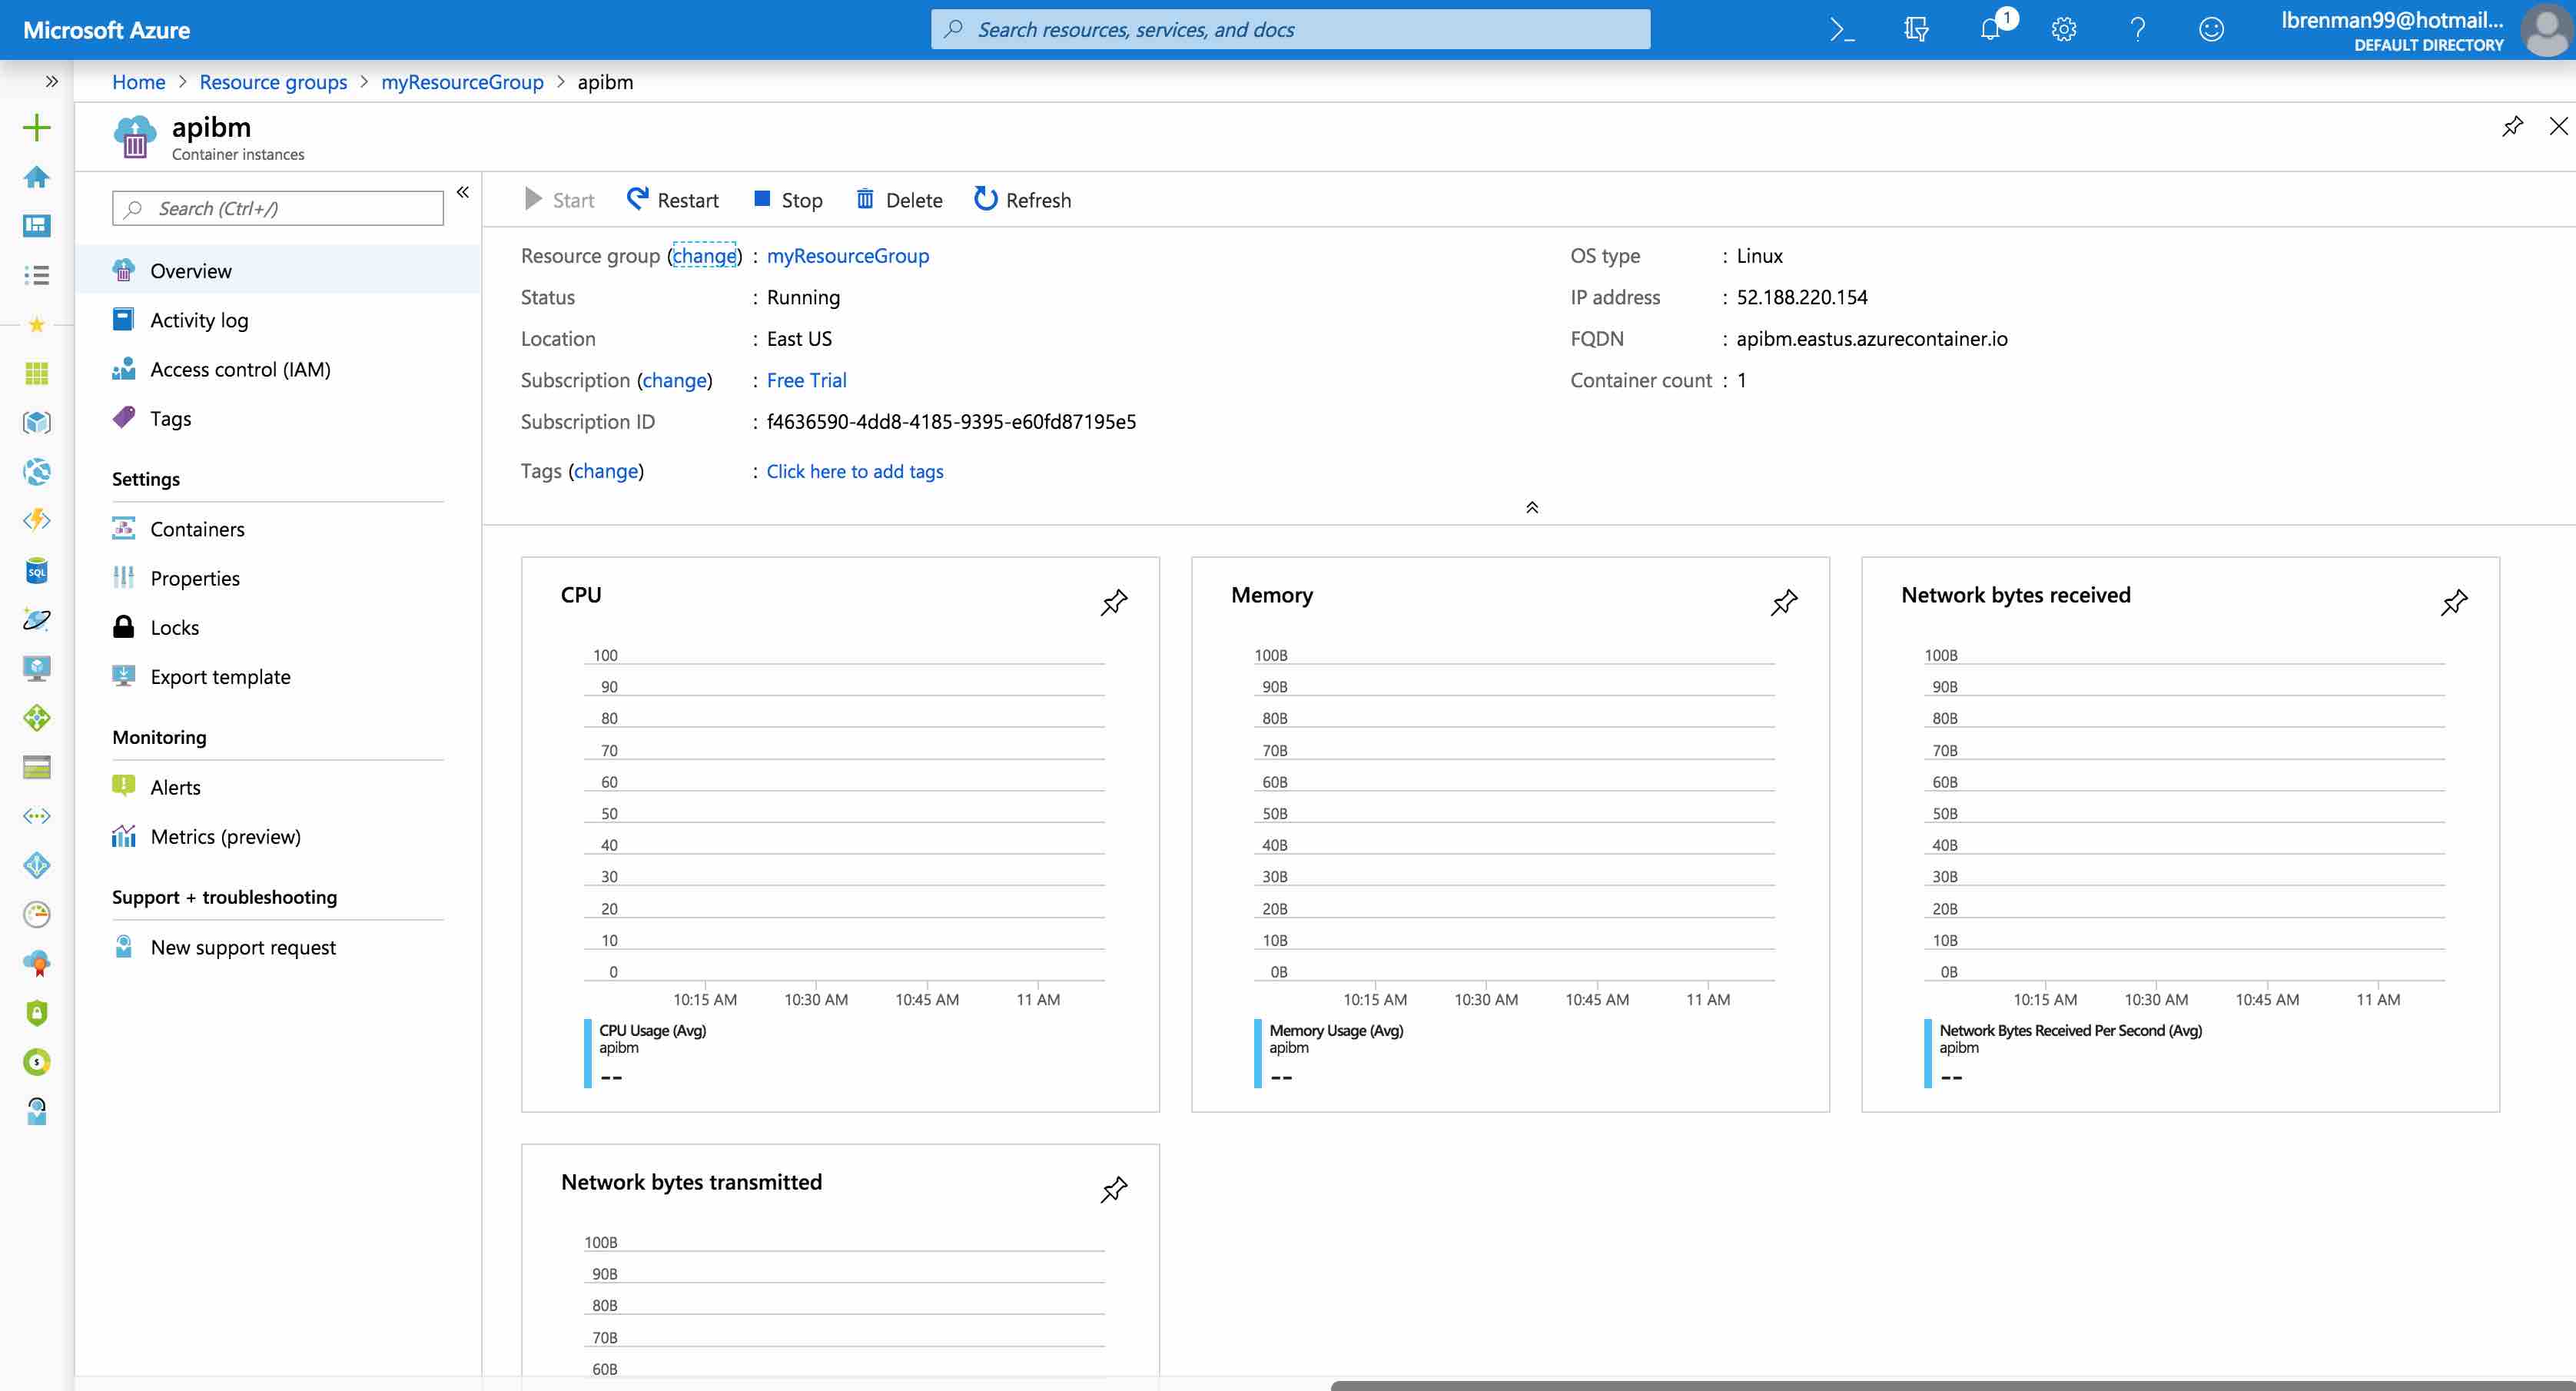
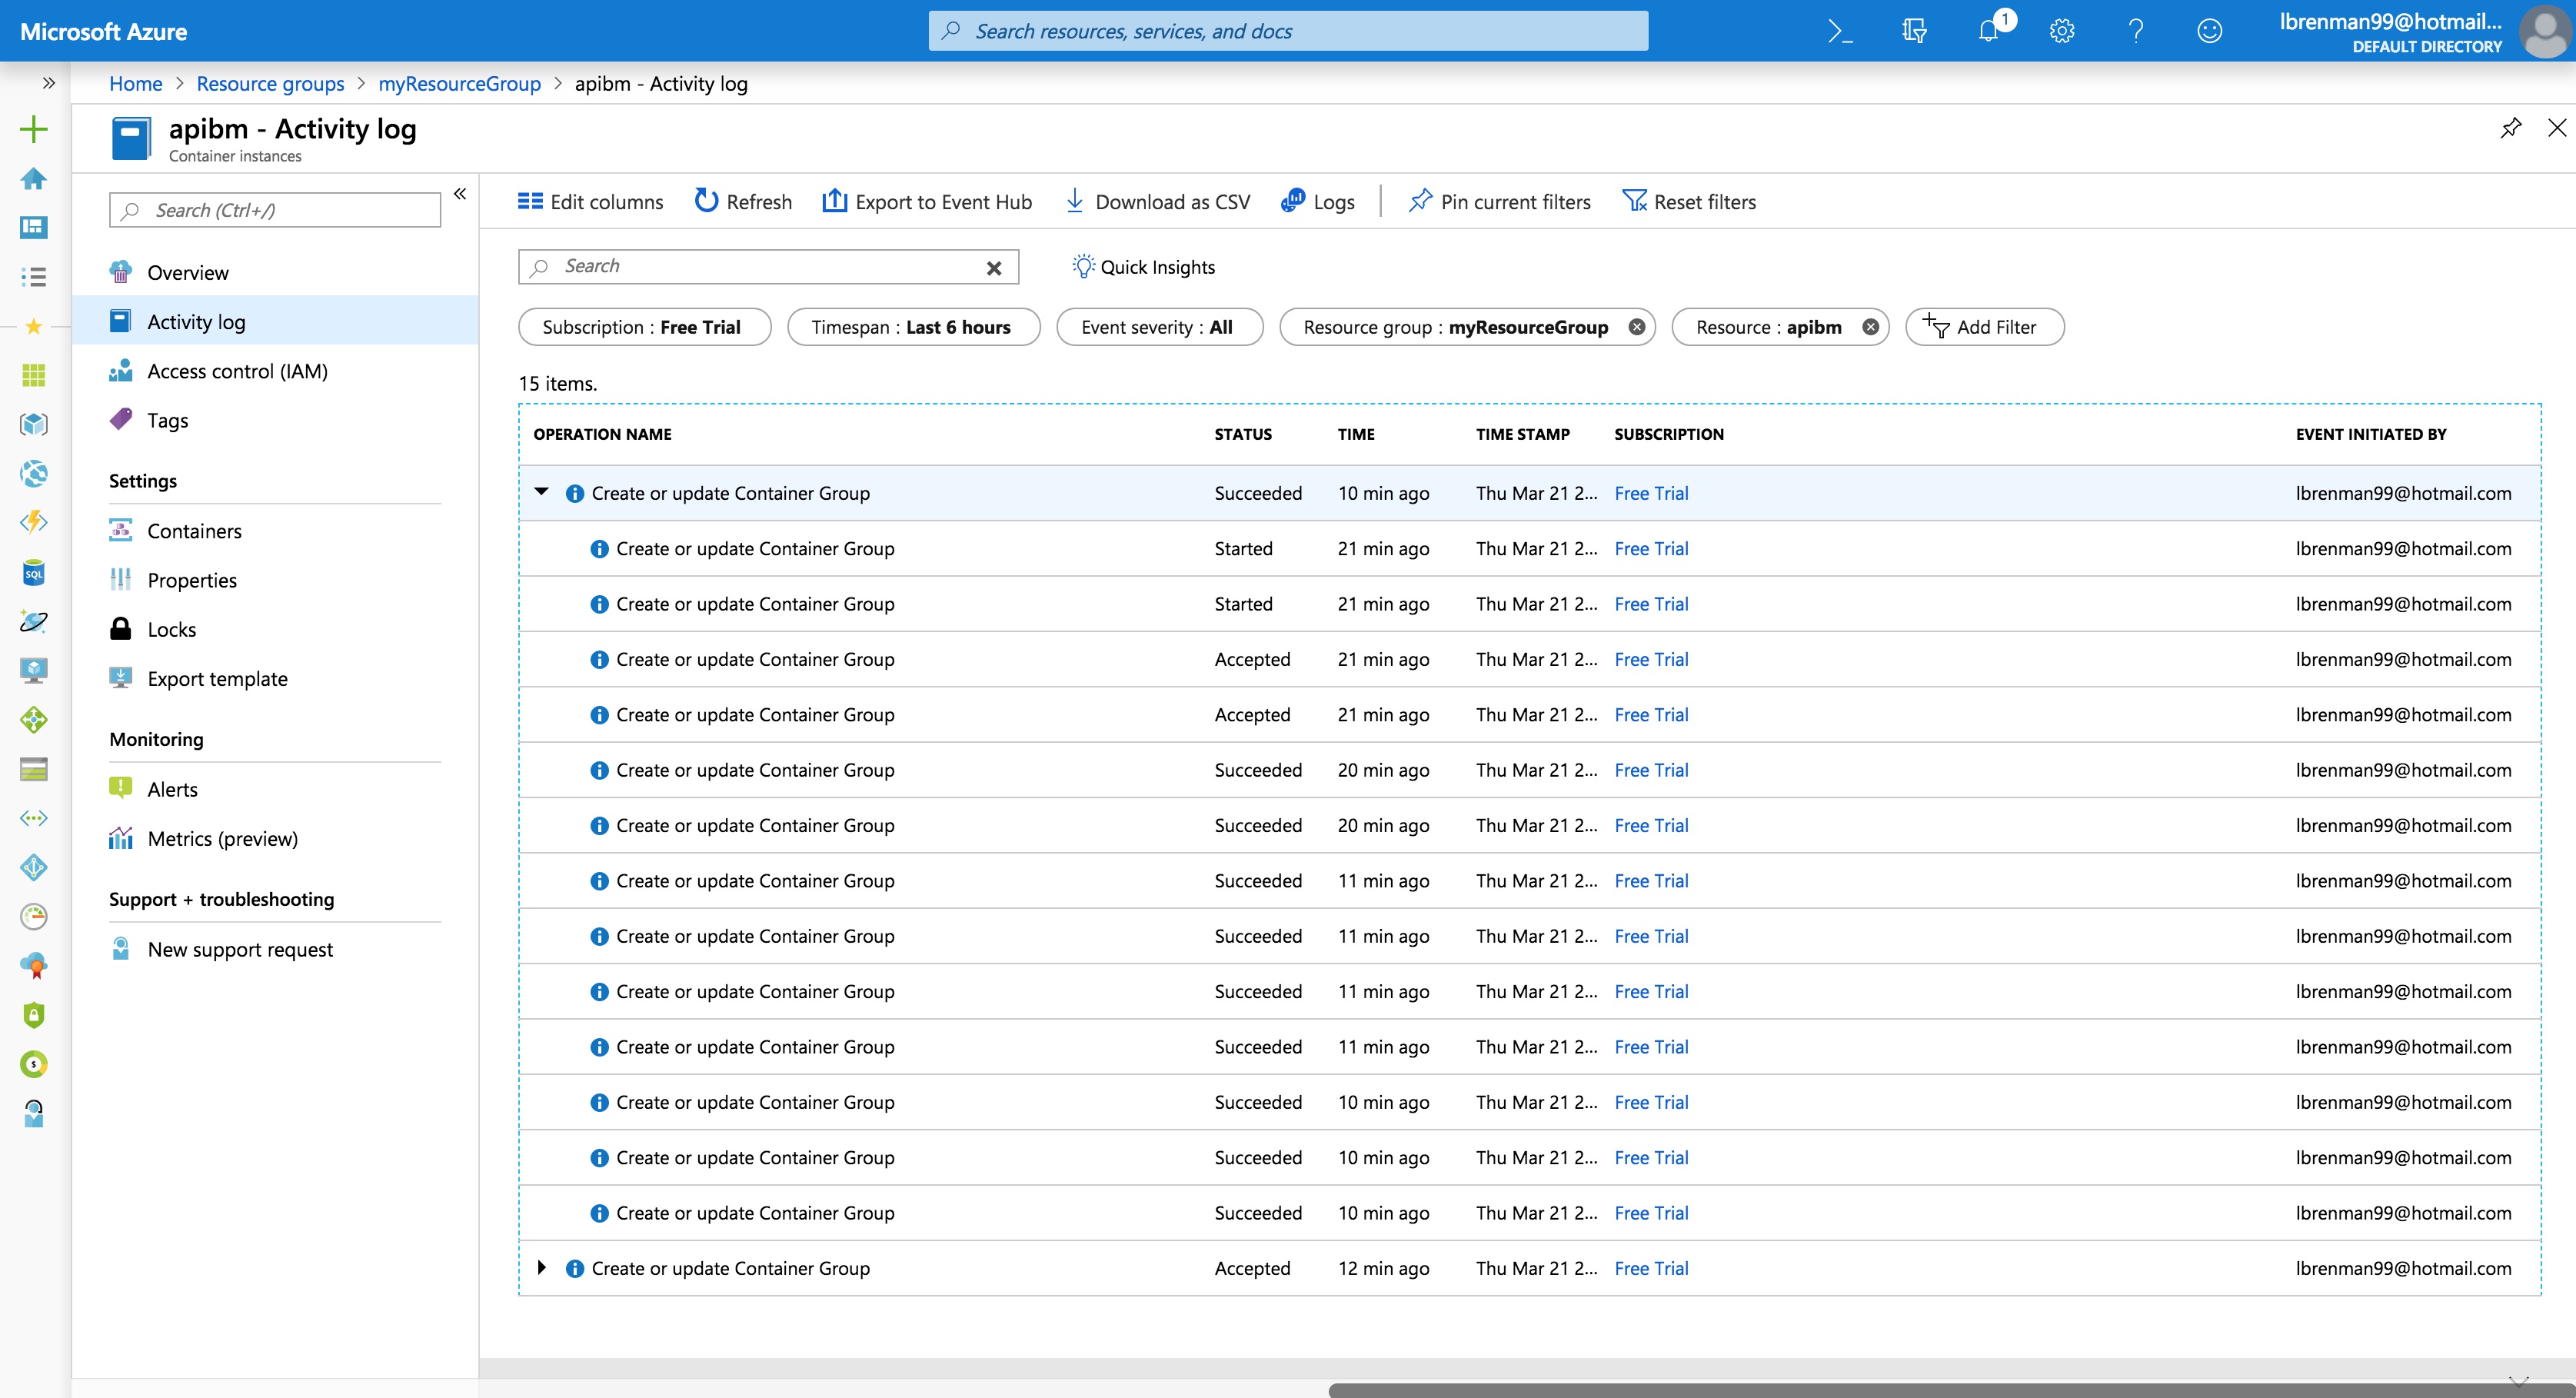
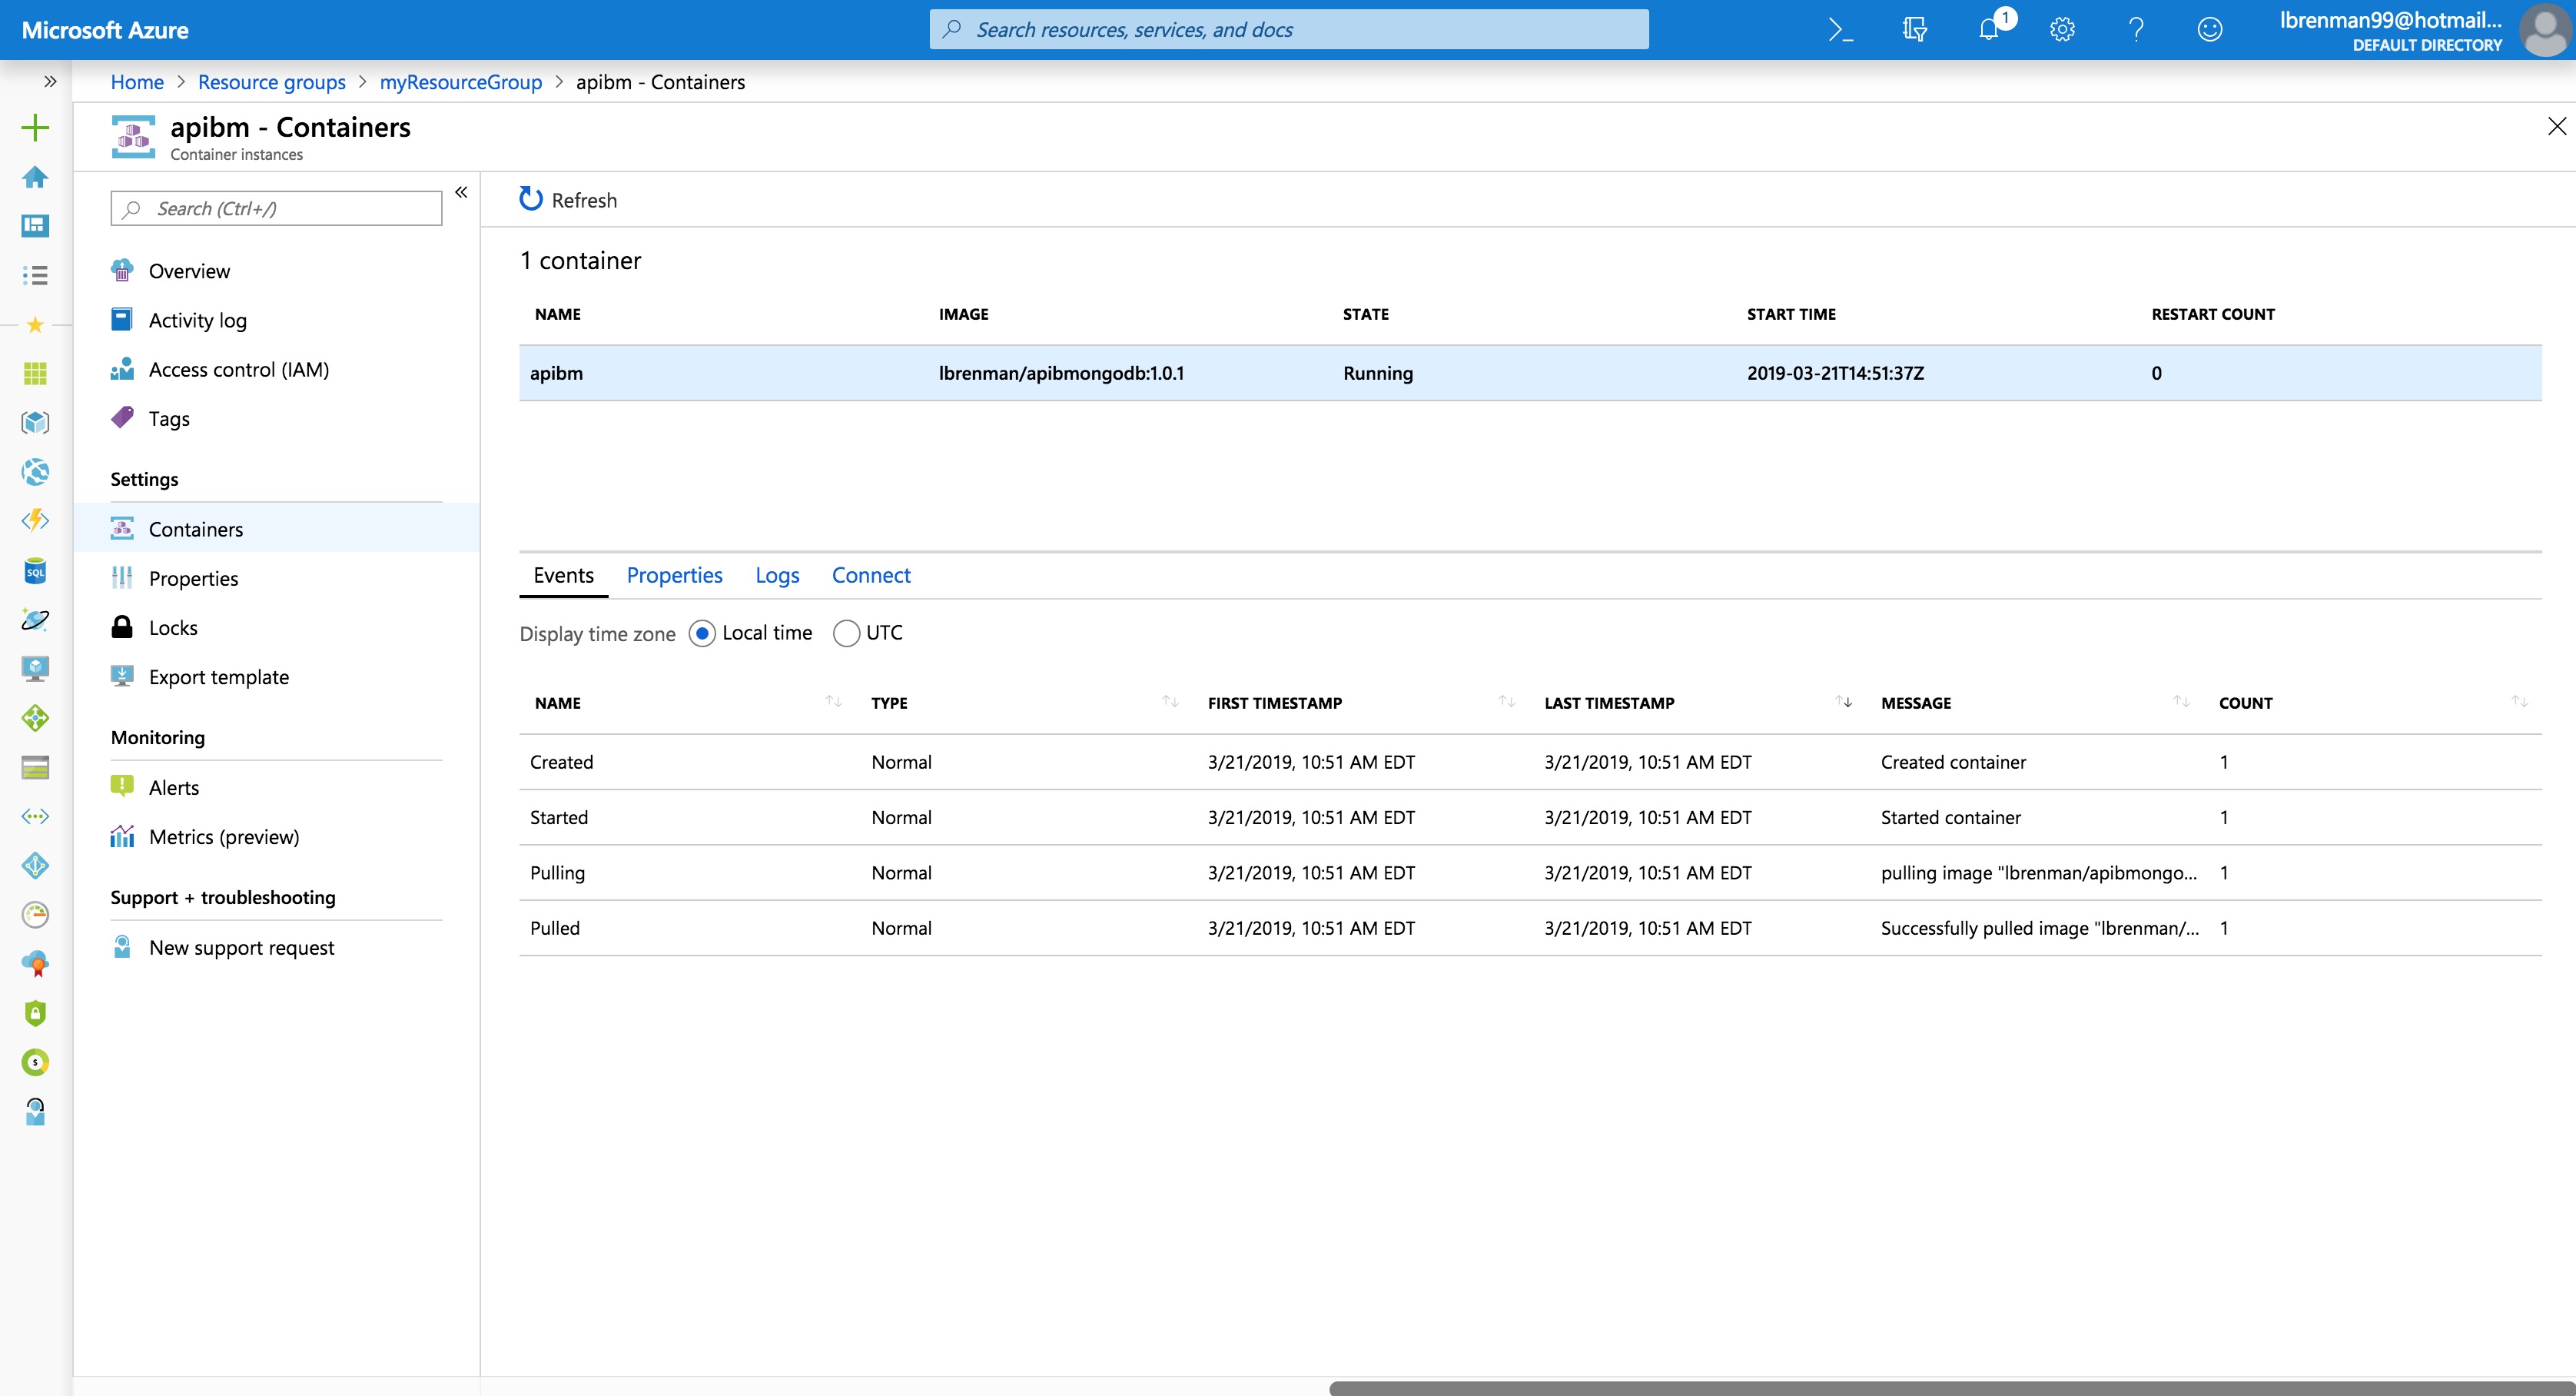
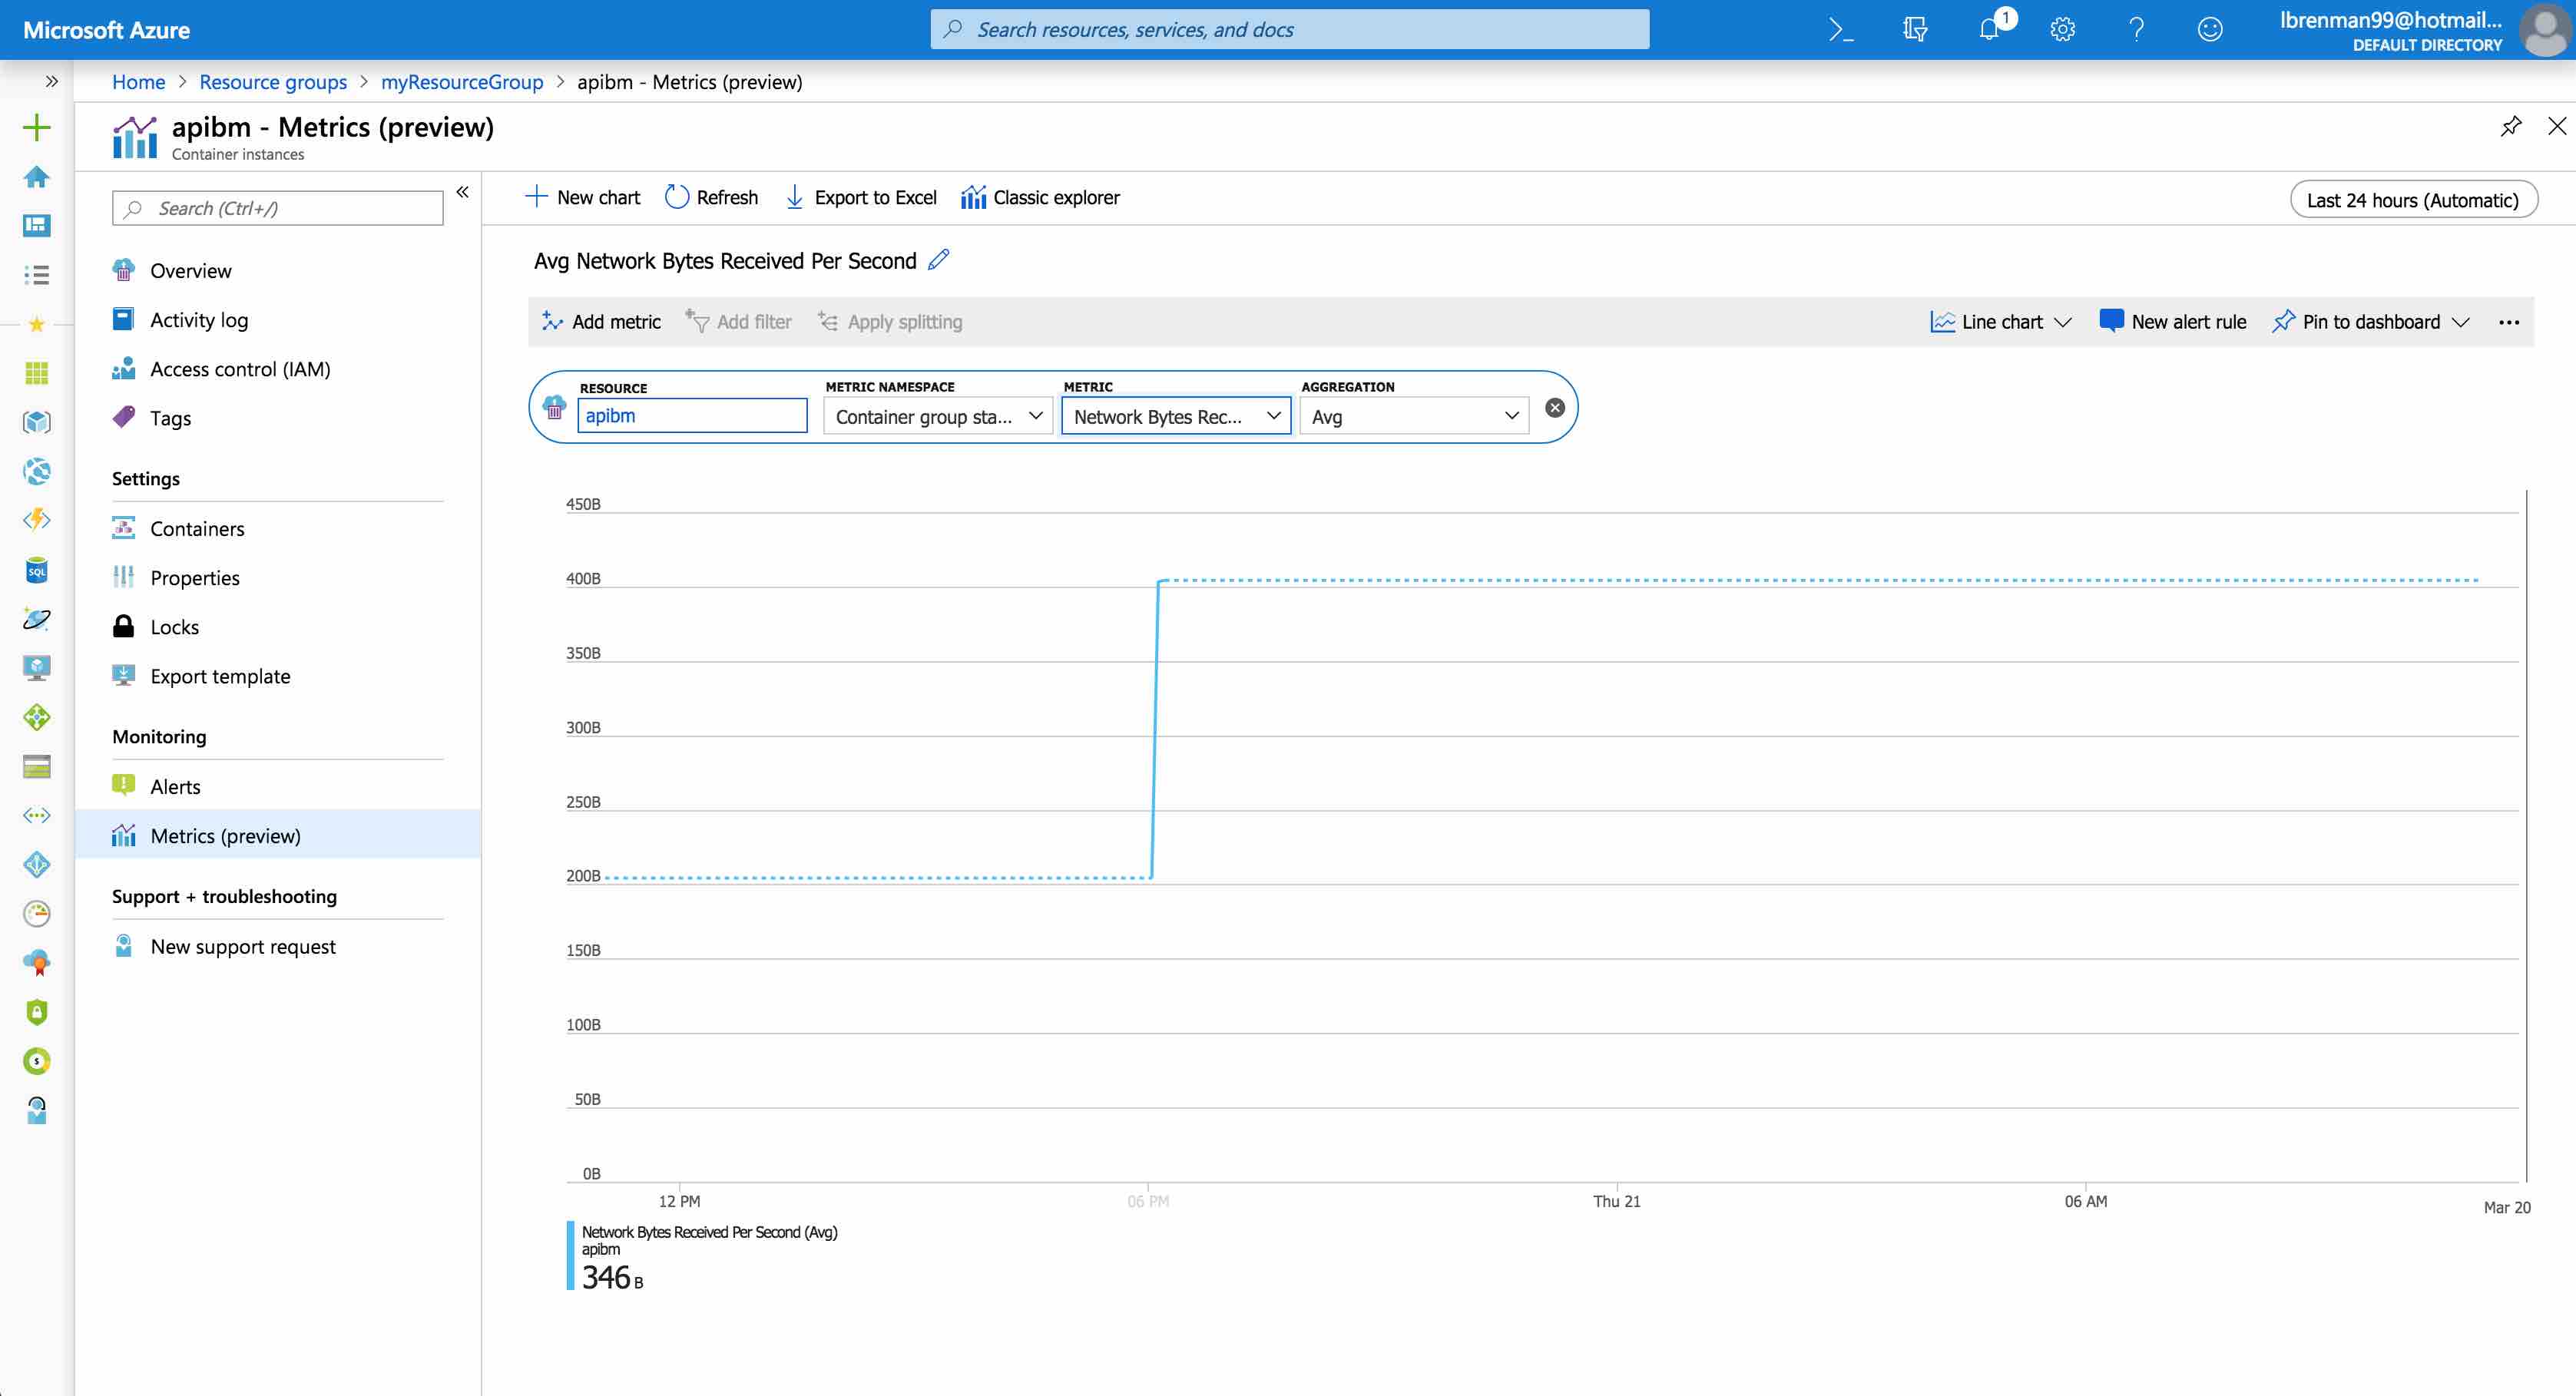
You can log into the Azure Portal to view your resource group and API Builder Container for viewing and managing various aspects of your container.
Screenshots of my API Builder Container are shown below:
Cleanup
If you’d like to clean up your Azure environment, you can perform the following to delete your container and resource group:
az container delete --resource-group myResourceGroup --name apibm
az group delete --name myResourceGroup
Summary
In this blog post, we saw how easy Azure Container Instances makes it deploy an API Builder Microservice for Dev or Test.