

Axway AMPLIFY Integration Builder flows are used to orchestrate the execution of Connectors, APIs and business logic. A flow can be triggered automatically or manually. In Create a Simple Integration Builder Flow, we covered using a connector’s polling mechanism to trigger a flow. In Integration Builder – Manually Triggered Flow Example, we learned the basics of creating a manual trigger. In this blog, we’ll explore using a manual trigger to invoke a flow that automatically pushes a contact to both HubSpot and Salesforce Sales Cloud instances.
What is a manual flow trigger?
When an Integration Builder flow is created with a manual trigger, a corresponding API Proxy is generated in AMPLIFY Central. This provides a managed API that can be invoked programmatically. Using a flow with a manual trigger allows you to encapsulate the orchestration of service calls into a reusable asset that can be incorporated into larger services or applications.
Prerequisites
You’ll need the following for this tutorial:
- Axway AMPLIFY account – register for free at: https://platform.axway.com/
- HubSpot CRM account – sign up for a free account at: https://www.hubspot.com/
- Salesforce Sales Cloud account – Get a free developer account at: https://developer.salesforce.com/
Overview of steps
- Create instances of HubSpot and Salesforce Connectors
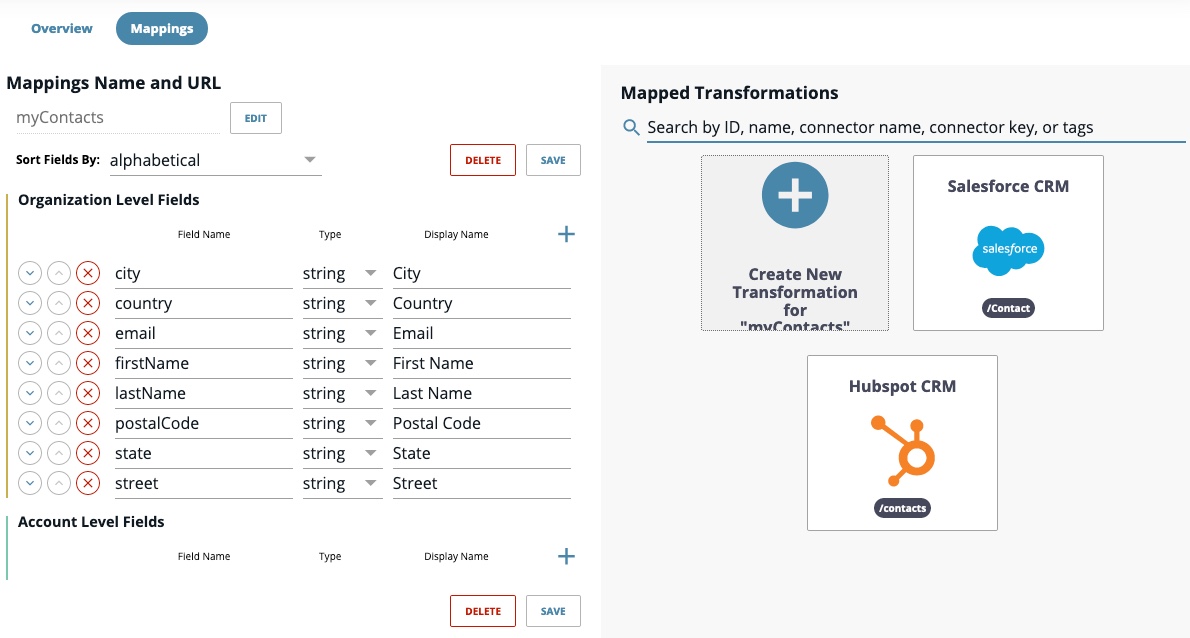
- Build a data mapping to create a normalized representation of a Contact
- Configure your connector instances to use the mapping
- Build a flow template with a manual trigger using the connector instances and mapping
- Create an instance of the flow
- Deploy the generated API Proxy in AMPLIFY Central
- Publish the API Proxy to the AMPLIFY Catalog
Create Connectors and Mapping
We will reuse the connectors and mapping from Create a Simple Integration Builder Flow. If you’ve completed that exercise then you are ready to go. If not, then follow the steps for Create Connector Instances, Create a Mapping, Associate Mapping with a Connector Instance and Associate Mapping with Salesforce Connector Instance. The process defined in this blog does not require polling to be enabled on the HubSpot Connector, but leaving it enabled will not cause problems.
Note: I have used the names HubSpot CRM and Salesforce CRM for the Connectors in this article. If you are reusing connectors from the previous article, just note that your connectors will have different names.
When finished, you should have the following connectors and mapping:

Create a Flow
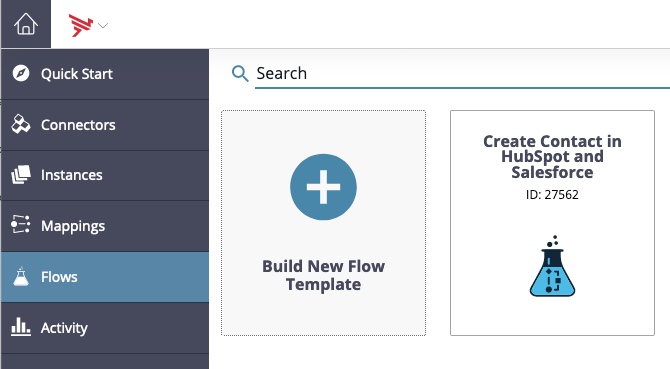
- Navigate to the Flows tab in the Integration Builder UI
- Click the Build New Flow Template tile
- Click the BUILD NEW FLOW option
- Name the flow Create Contact in HubSpot and Salesforce
- Click CREATE
- Select Manual as the trigger type by clicking the ADD MANUAL button
- Click SAVE
Create Flow Variables
- Click the VARIABLES button at the top left of the flow builder pallet
- Click the Connector Instance icon
- Name the variable hubspot-destination
- Click Save
- Click on the Create New Variable button
- Click the Connector Instance icon
- Name the variable salesforce-destination
- Click Save
- Click Cancel
Build the Flow
You should now be in the flow editor with the beginning of a flow on the pallet.
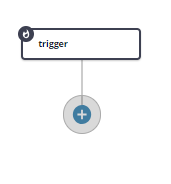
Next, we’ll add a call to the HubSpot Connector instance:
- Click the plus icon under the trigger and select Connector API Request from the Add Flow Step list.
- Configure the flow step:Name: CreateHubSpotContact
Connector Instance Variable: (click the + button and select hubspot-destination)
Method: POST
API: /myContacts
Click SHOW ADVANCED
Body: ${trigger.args}
Click SAVE
![]()
This will send the JSON body received by the manual trigger and pass it as the request body to the myContacts API of the HubSpot Connector.
Now, add a call to the SalesForce Connector instance:
- Click on the CreateHubSpotContact step in the Flow Editor and select ADD ONSUCCESS
- Select Connector API Request from the Add Flow Step list.
- Configure the flow step:Name: CreateSalesforceContact
Connector Instance Variable: (click the + button and select salesforce-destination)
Method: POST
API: /myContacts
Click SHOW ADVANCED
Body: ${trigger.args}
Click SAVE
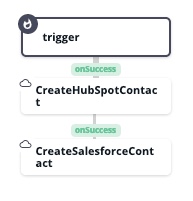
Similar to above, this will send the JSON body received by the manual trigger and pass it as the request body to the myContacts API of the Salesforce Connector.
The flow logic is now complete.
Create an Instance of the Flow
- Click on the Flows menu item
- Hover over the tile for your Create Contact in HubSpot and Salesforce flow.
- Click CREATE INSTANCE
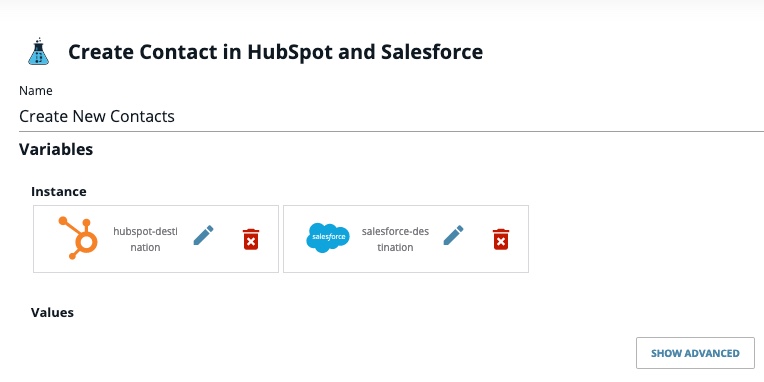
- Configure the Flow Instance:Name: Create New Contacts
Click the + button next to the hubspot-destination icon and select your HubSpot CRM Connector Instance
Click the + button next to the salesforce-destination icon and select you Salesforce CRM Instance - Click CREATE INSTANCE
Once the Flow Instance has been created, an API Proxy is automatically generated in AMPLIFY Central.
Deploy the API Proxy
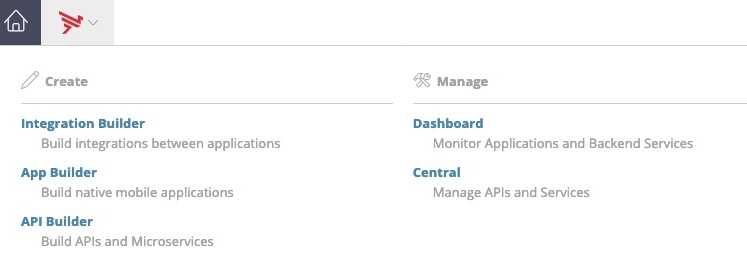
- Click the Axway logo in the menu bar and select Central from the list
- Click API Proxies in the navigation menu
- Click on your Create New Contacts API Proxy in the list

From here you can manage where the proxy is deployed, apply policies and test methods.
- Click the Deploy button next to the Test Runtime environment. This will deploy the API Proxy to the Test Runtime.
- Click the Add to Catalog button in the Test Runtime Environment.

- Accept the defaults for the Catalog Endpoint and click Add to Catalog.
- Once the Proxy has been added to the Catalog, click the Go To Catalog button.
- Click the tile for the Create New Contacts API in the catalog.
- Click on the Methods tab and expand the POST method.
Test the Manual Flow Trigger
- Paste the following into the Body field of the Test API Method dialog:
{
   "city" : "Phoenix",
   "country" : "United States",
   "email" : "patrick@axwaydemo.com",
   "firstName" : "Patrick",
   "lastName" : "Wilson",
   "postalCode" : "85054",
   "state" : "Arizona",
   "street" : "6811 E Mayo Blvd"
}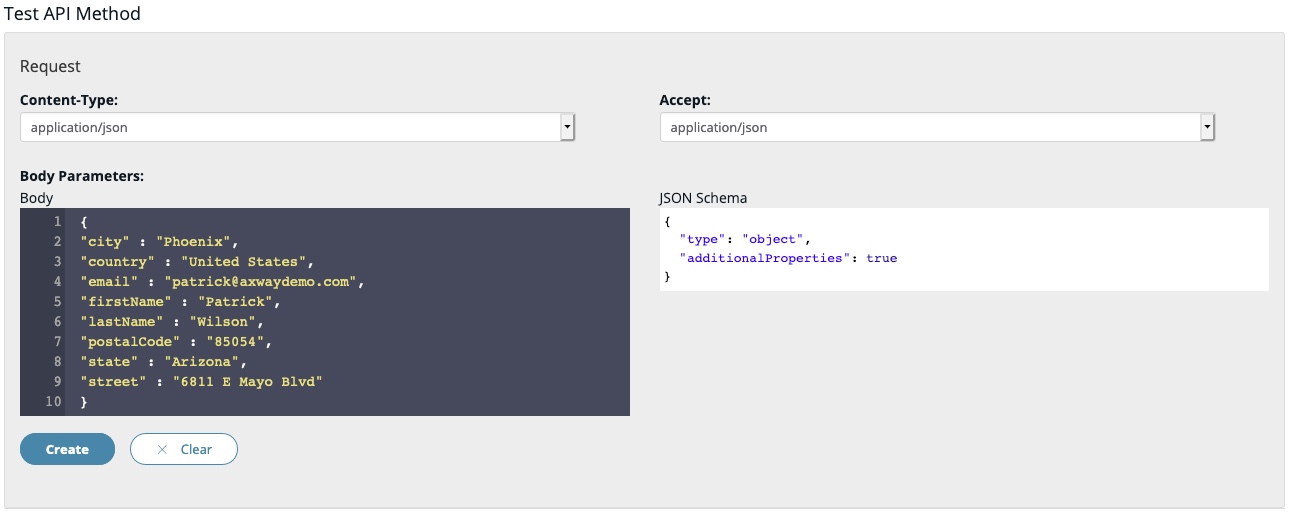
- Click Create
 You should get a 200 response.
- Navigate back to the Instances tab in the Integration Builder view.

- Click on the Flow tab.
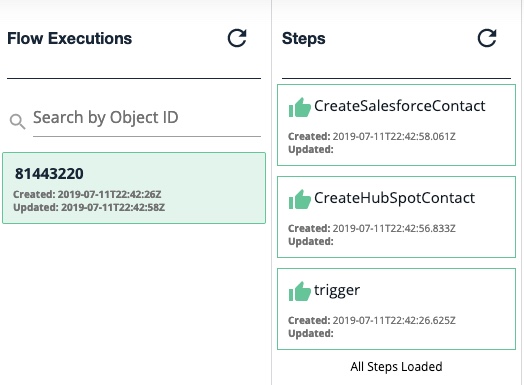
- Click on the EXECUTIONS button for your flow.
- If all went well you should see the flow steps highlighted in green. If you get any red boxes, click on them to view the details and attempt to troubleshoot the issue.
- Navigate to your HubSpot account and you should see the new contact in your contact list

- And the same with Salesforce

Consume the flow from an Application
The flow can now be invoked by making calls to the generated API.
- Navigate to AMPLIFY Central (click on the Axway logo if you need to switch views).
- Click on Catalog in the navigation menu.
- Click on the tile for your flow’s API.

From here, you can view the URL for the API Proxy representing your flow. Clicking on the download icon will retrieve the Swagger document for the API, which can be used when building applications. Expand the POST method and scroll down to see code examples for invoking the method programatically.
In this blog, we demonstrated how to create a manually triggered Integration Builder flow, deploy an instance of the flow, and use AMPLIFY Central to deploy an API Proxy for the flow to the AMPLIFY Catalog. Once the API Proxy has been published, it is available to be invoked programmatically, allowing you to include the encapsulated flow logic into your application logic.