In this blog post we’ll use API Builder to create an API using an API First approach. Specifically, we’ll design a sentiment analysis API using Stoplight and then we’ll leverage the no-code/low-code features of API Builder to create the API. We’ll also leverage the API Builder Comprehend Plugin for NLP described here.
Designing a sentiment analysis API
Sentiment analysis (also known as opinion mining or emotion AI) refers to the use of natural language processing, text analysis, computational linguistics, and biometrics to identify systematically, extract, quantify and study affective states and subjective information. Sentiment analysis is widely applied to voice of the customer materials such as reviews and survey responses, online and social media, and healthcare materials for applications that range from marketing to customer service to clinical medicine.
The API we’ll create is shown below:
GET /detectSentiment?text=this%20is%20great
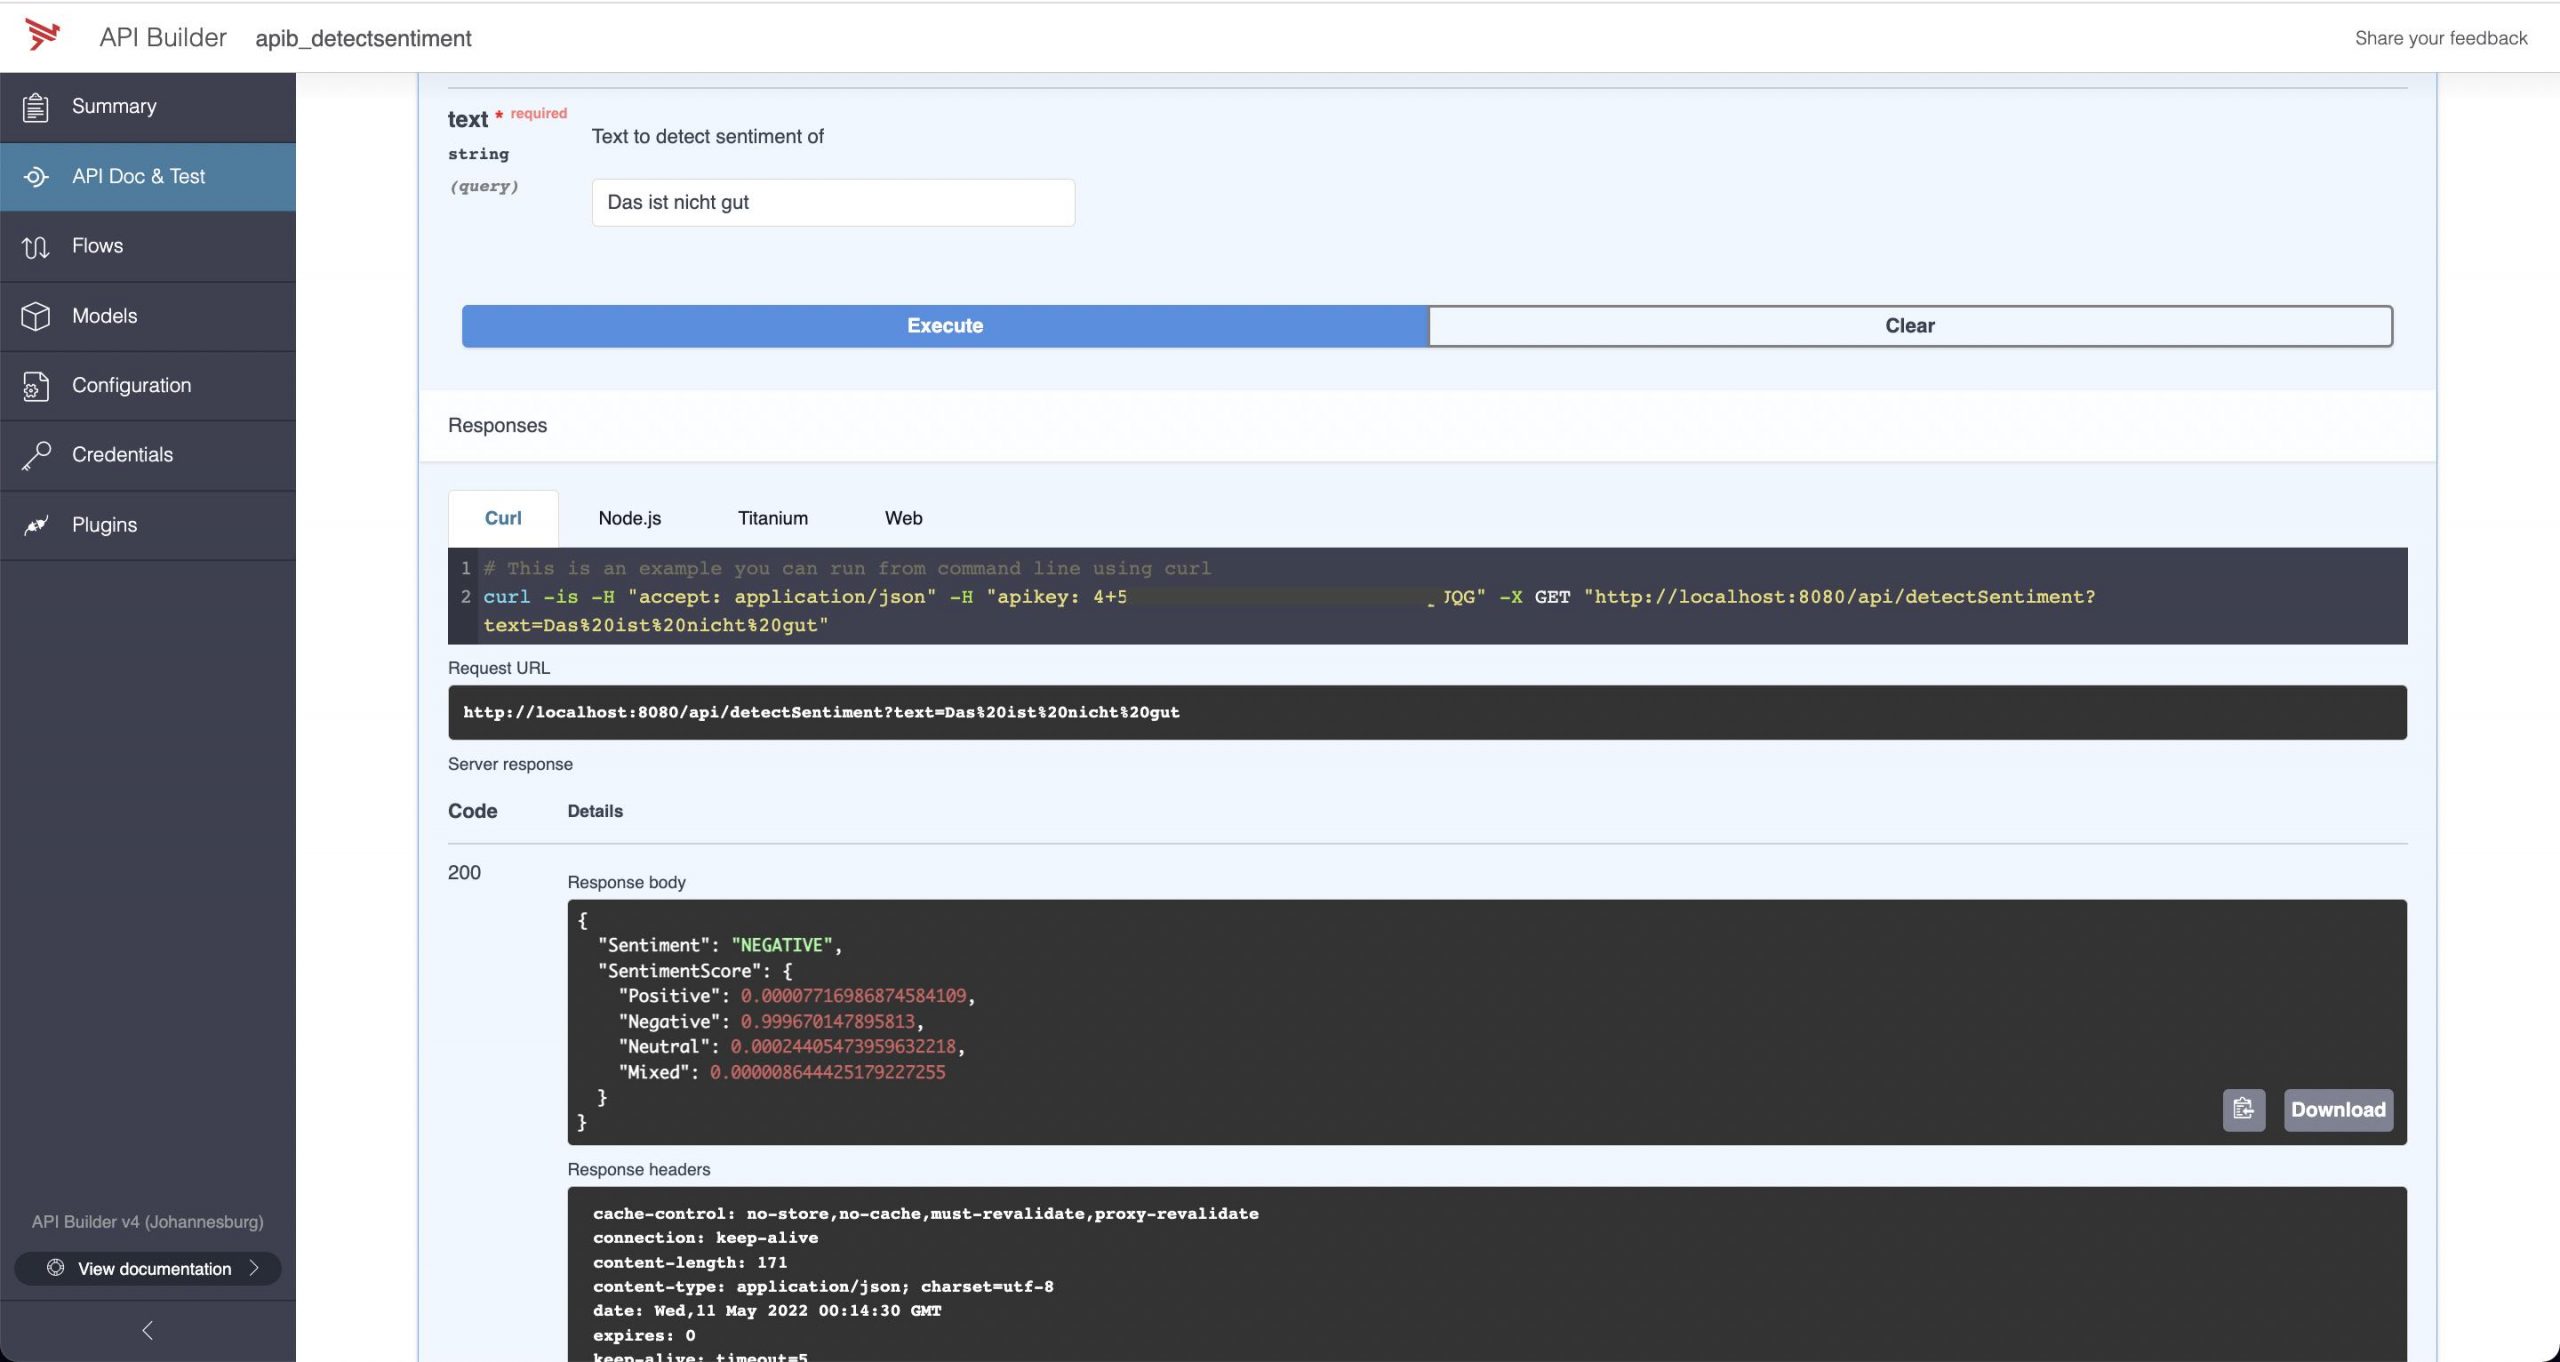
with the following sample response:
{
  "Sentiment": "POSITIVE",
  "SentimentScore": {
    "Positive": 0.9985805749893188,
    "Negative": 0.00013431961997412145,
    "Neutral": 0.0008679831516928971,
    "Mixed": 0.00041714494000189006
  }
}
Since we already described using API Builder and Stoplight for API First API creation in prior blog posts we’ll skim over some of the detailed instructions.
Stoplight
Again, we’ll use Stoplight to design the OpenAPI 3.0 specification for our API. Then we’ll export the spec and import it into API Builder to build the API.
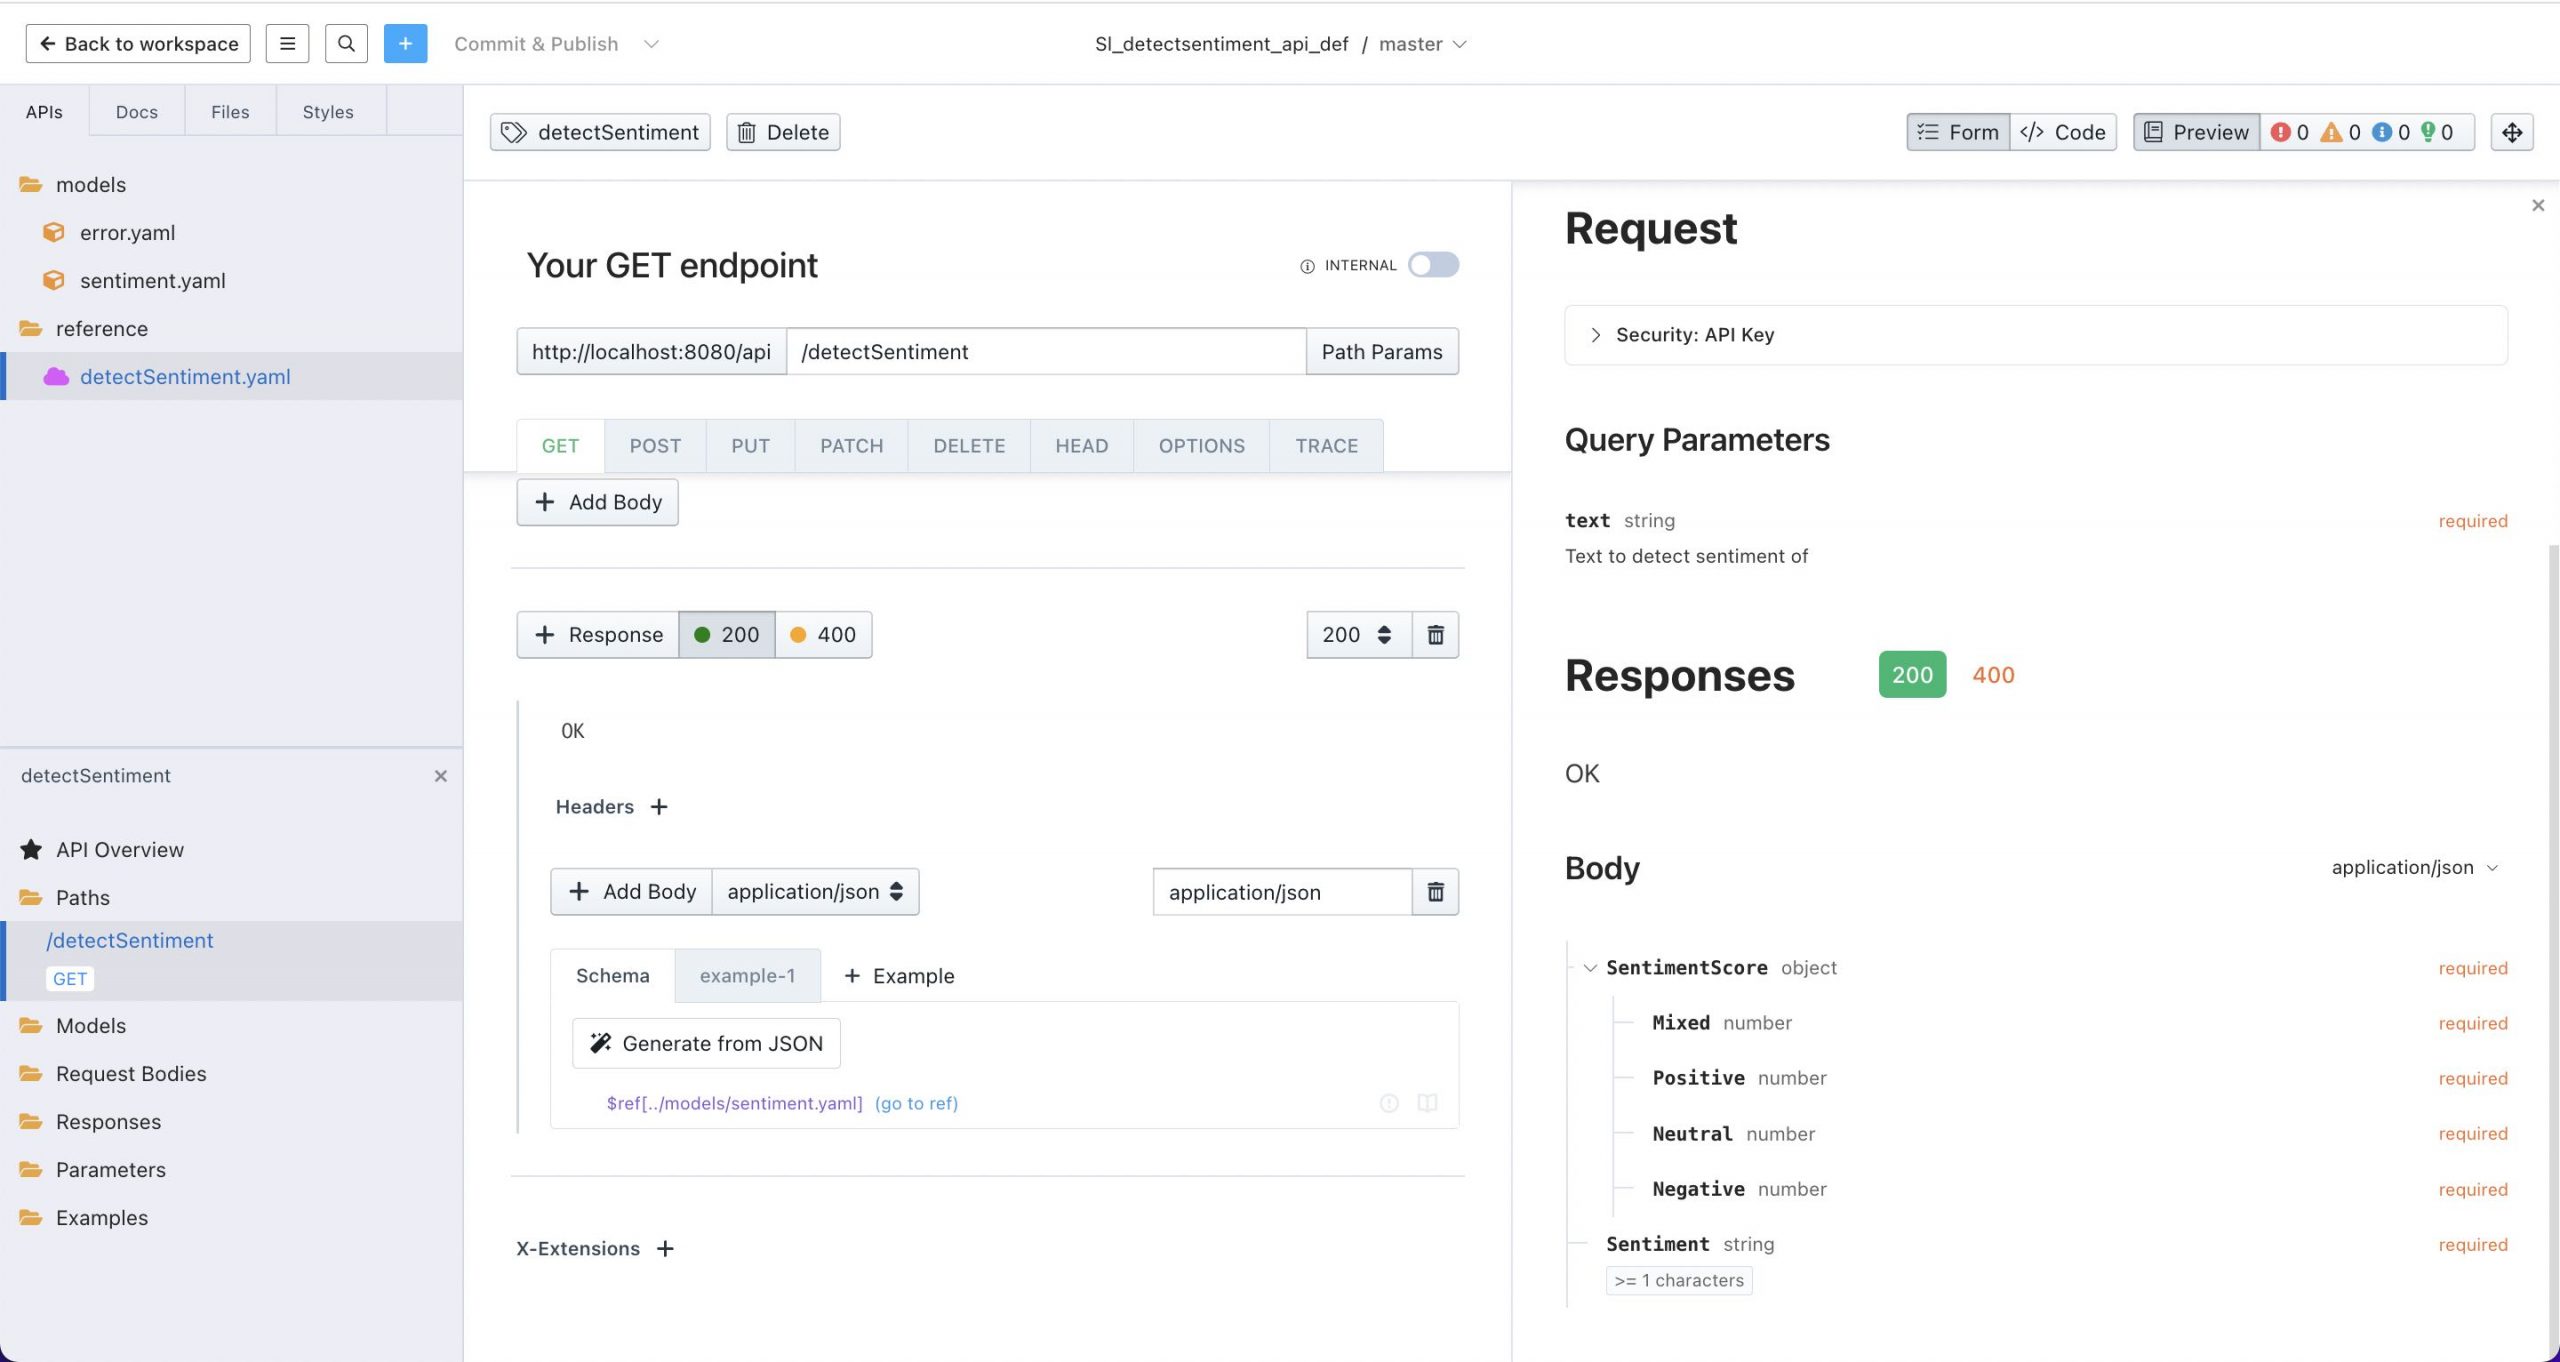
The API design is quite simple. First, we’ll define a sentiment model for the response shown below:
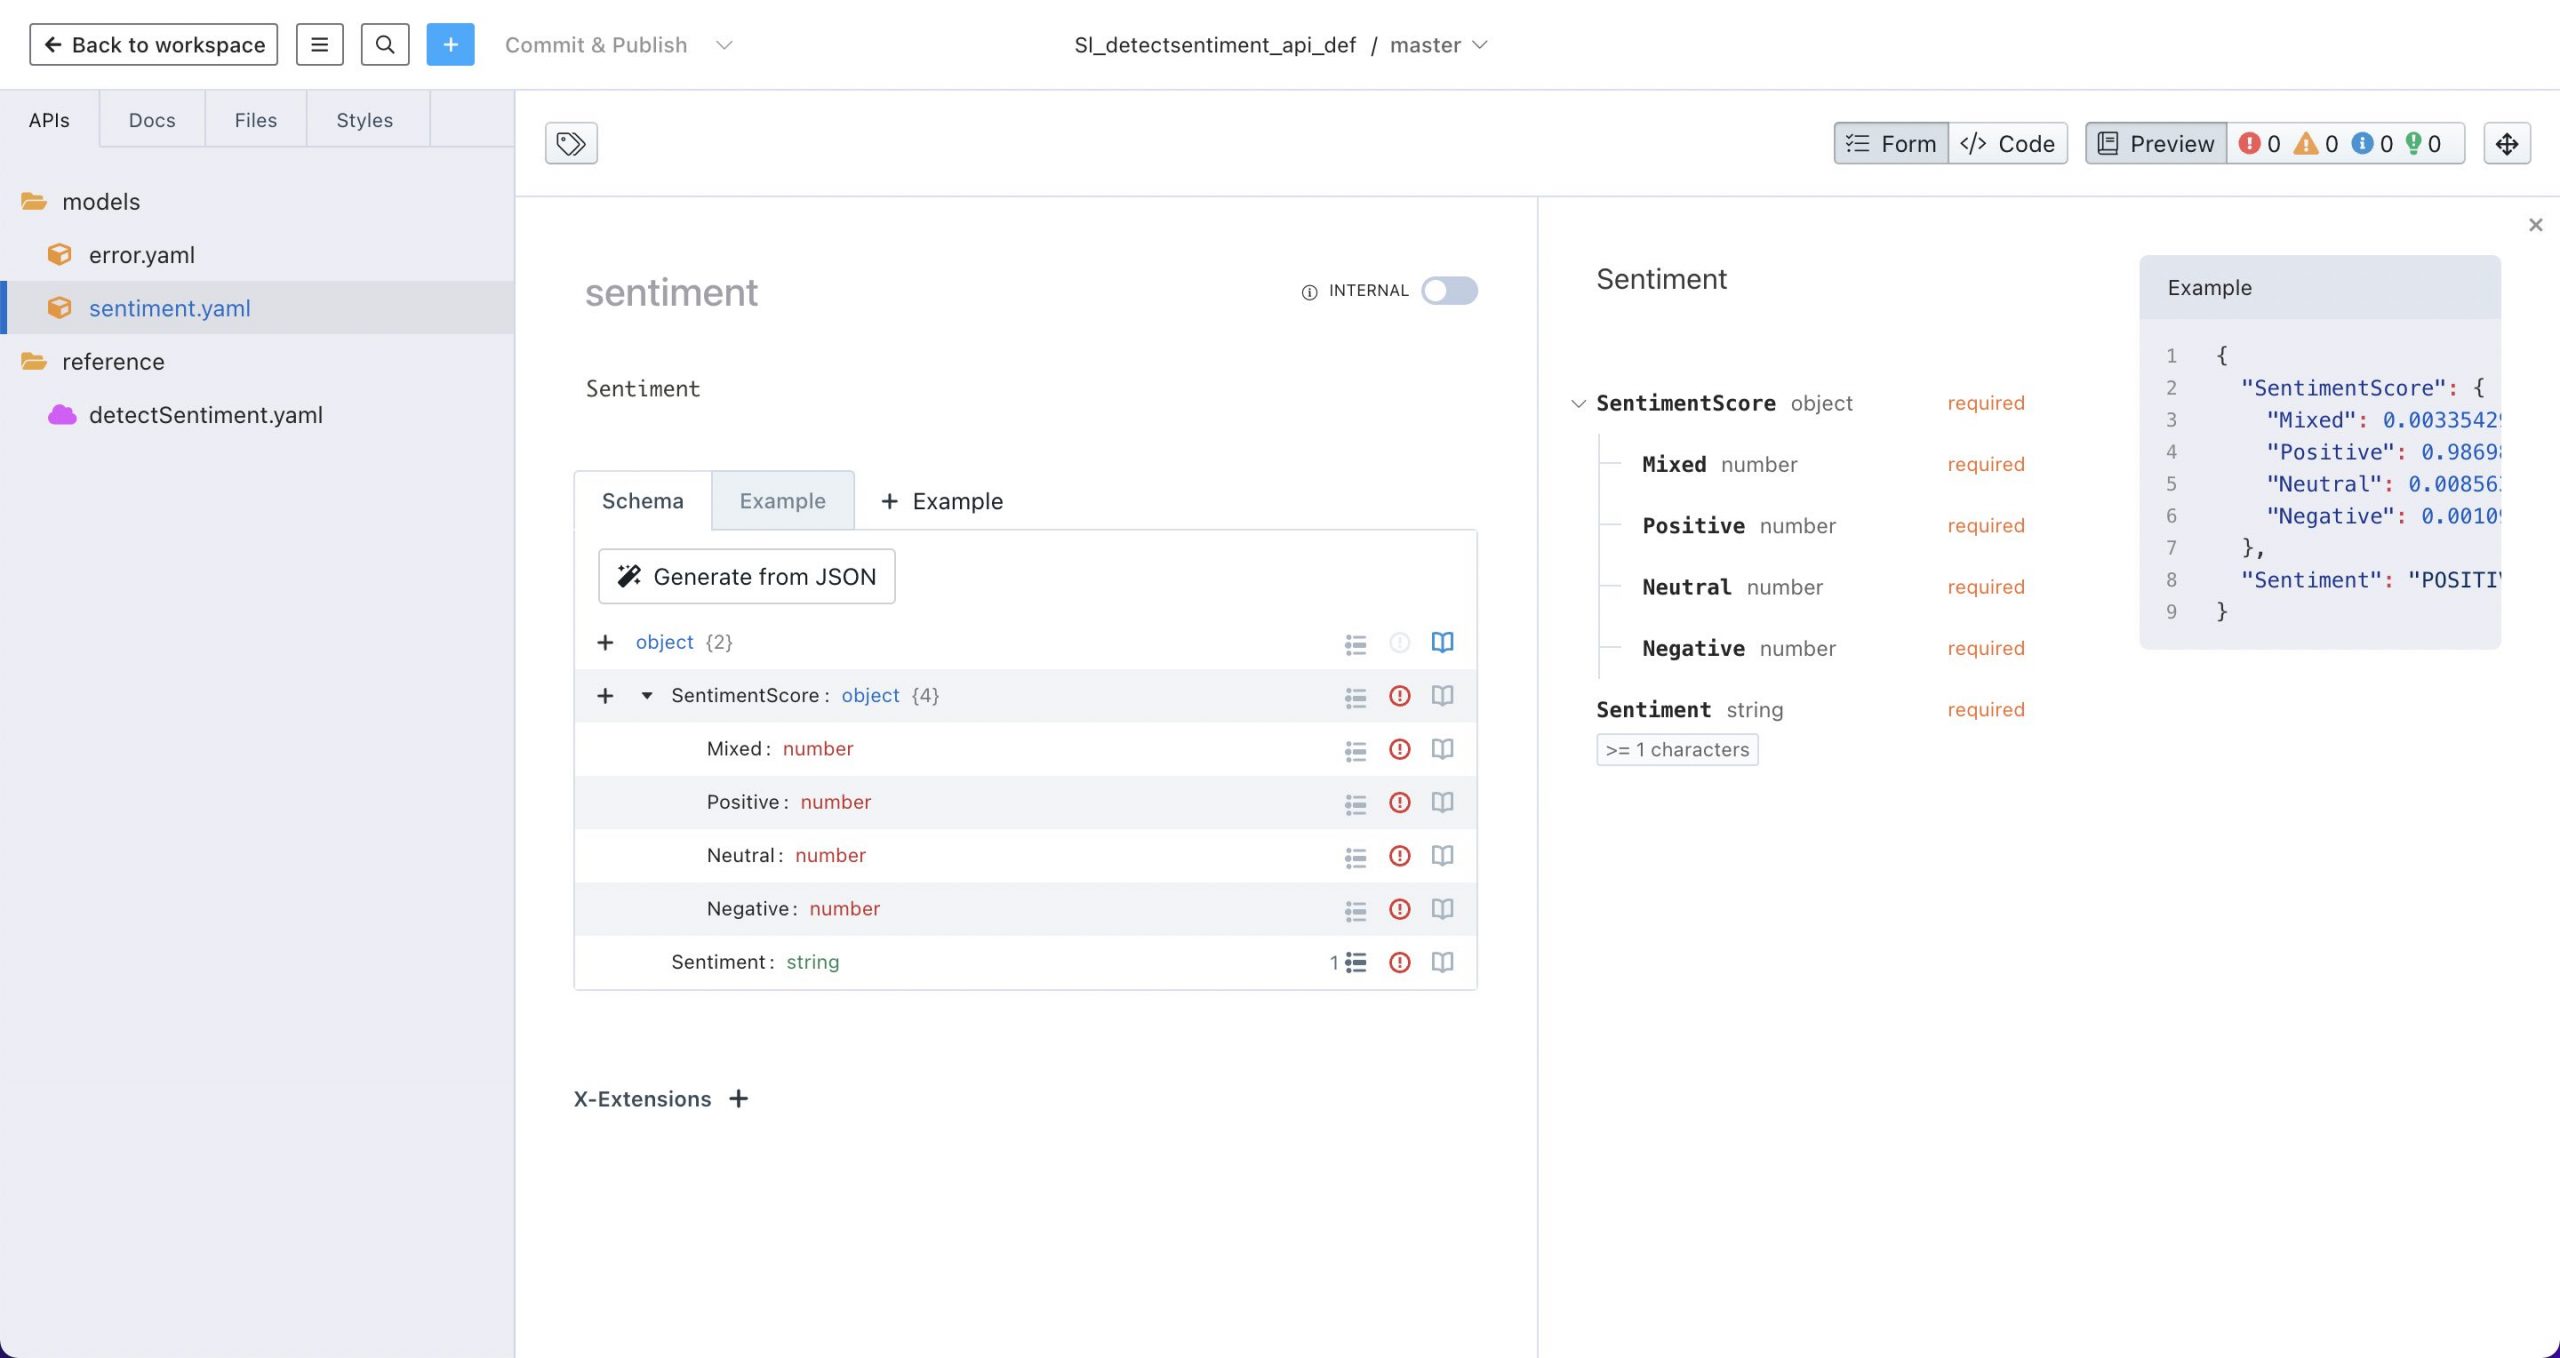
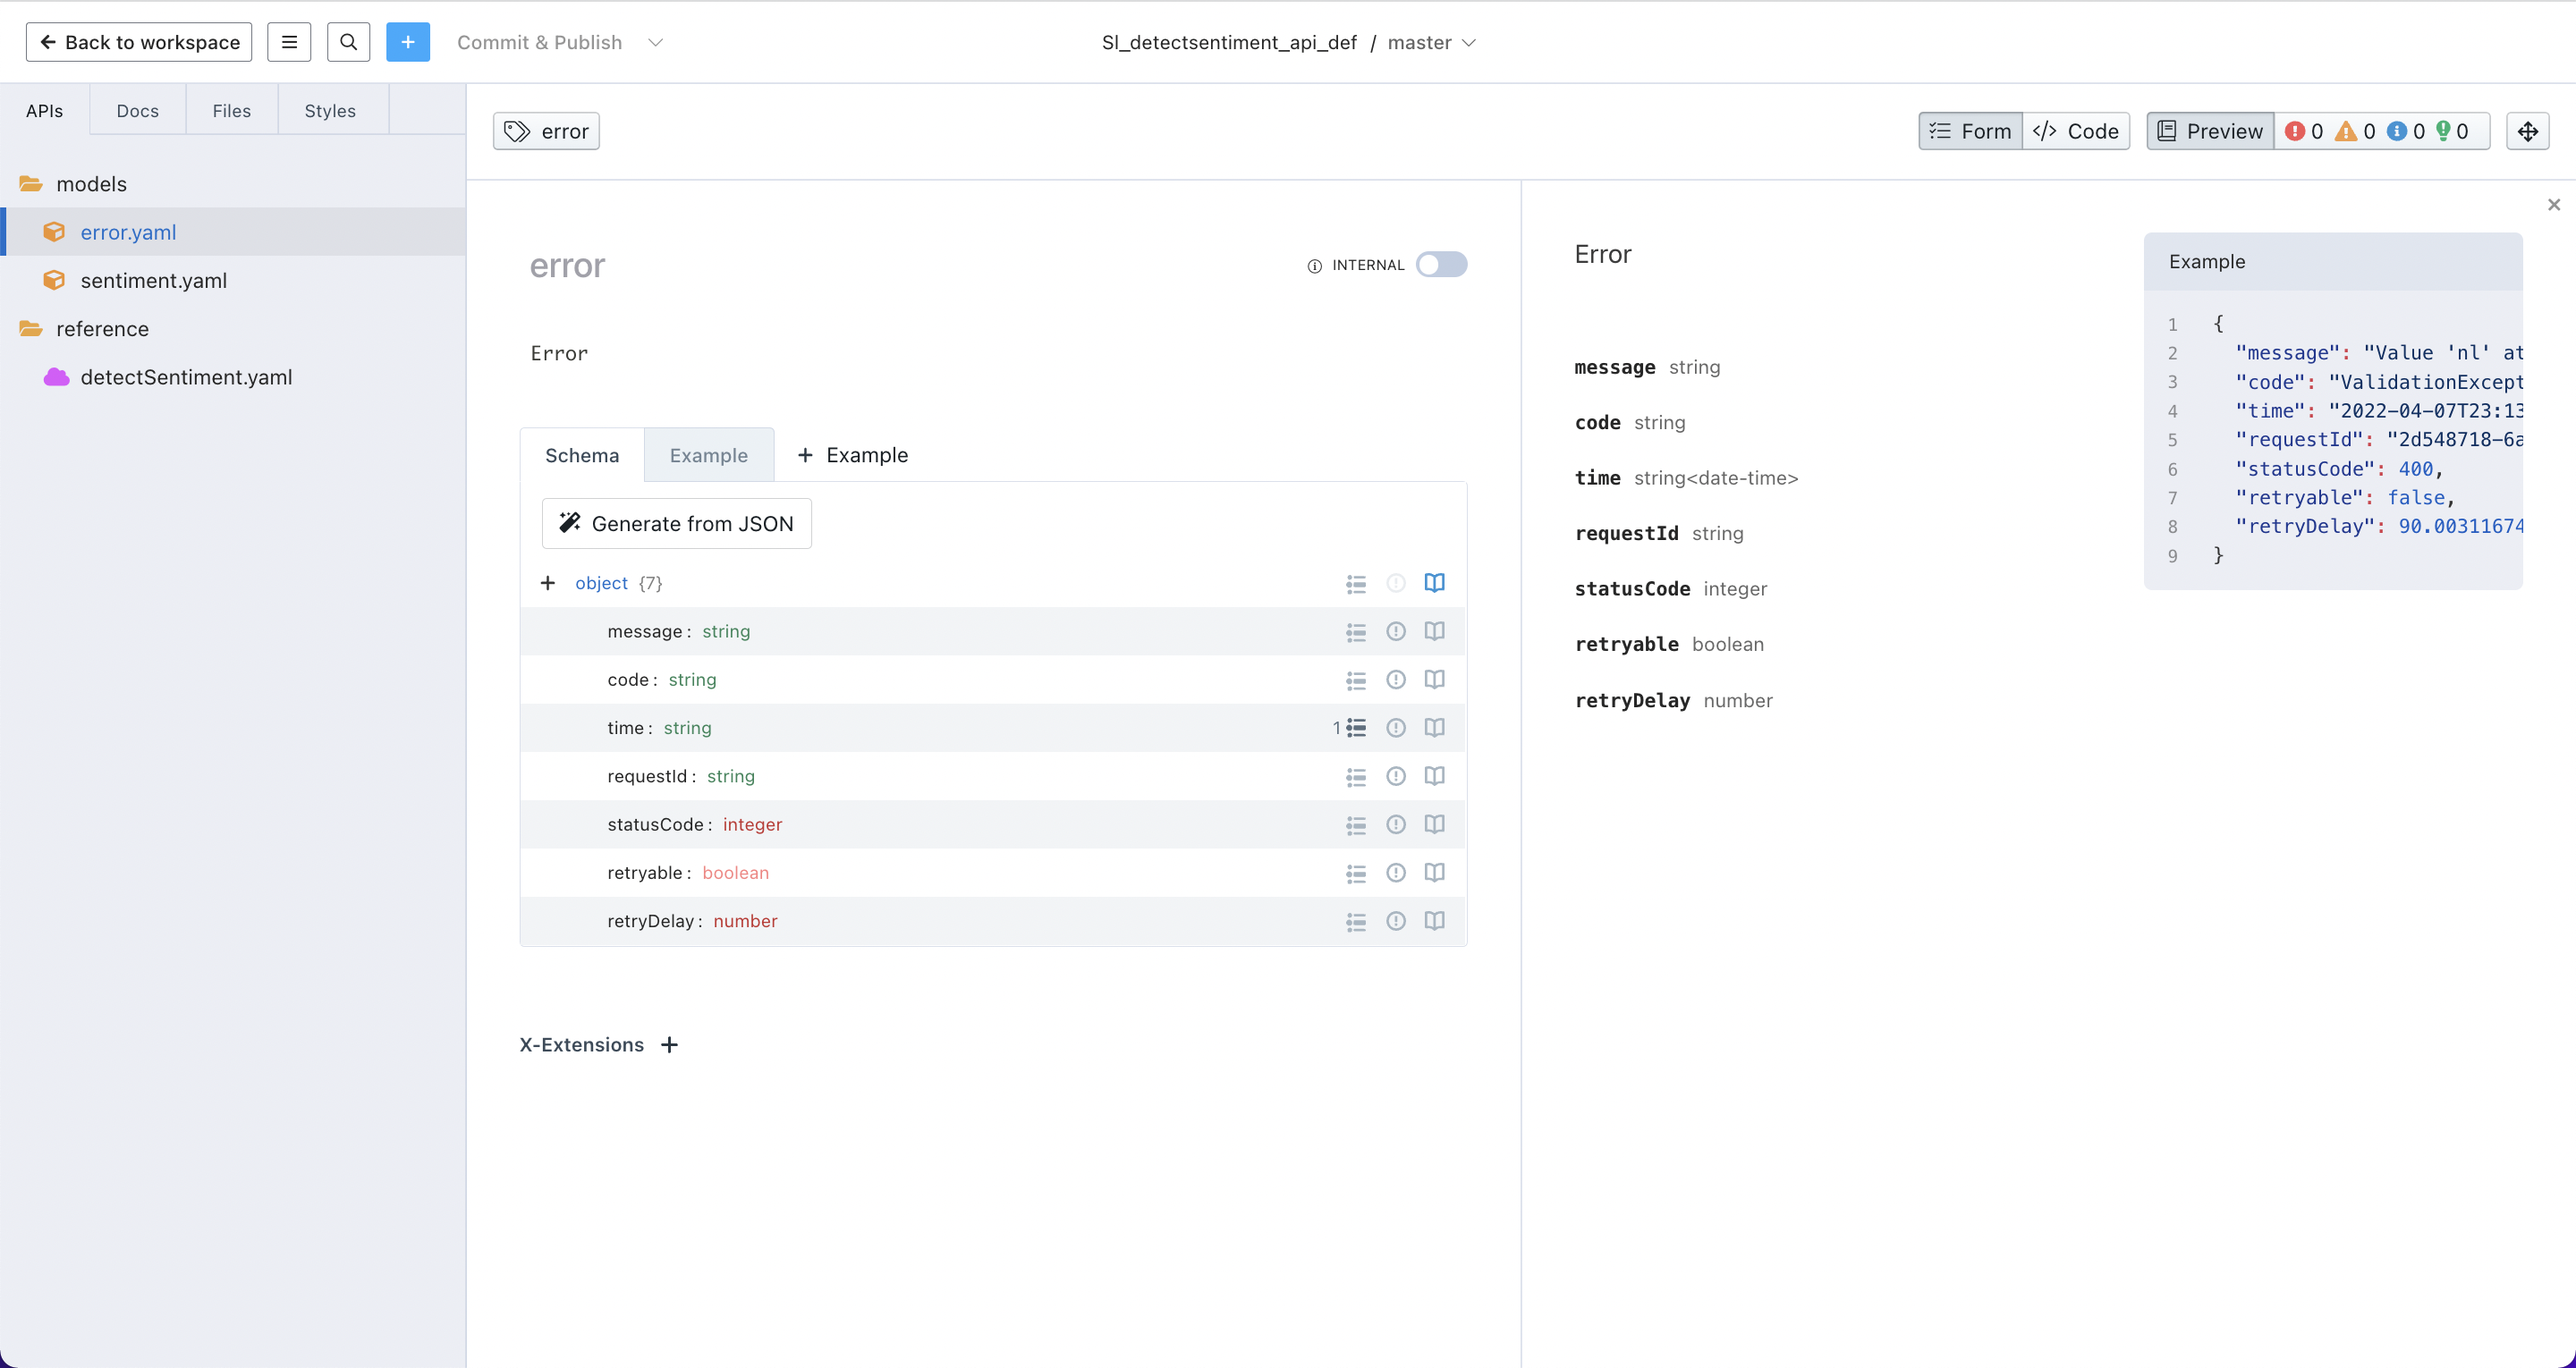
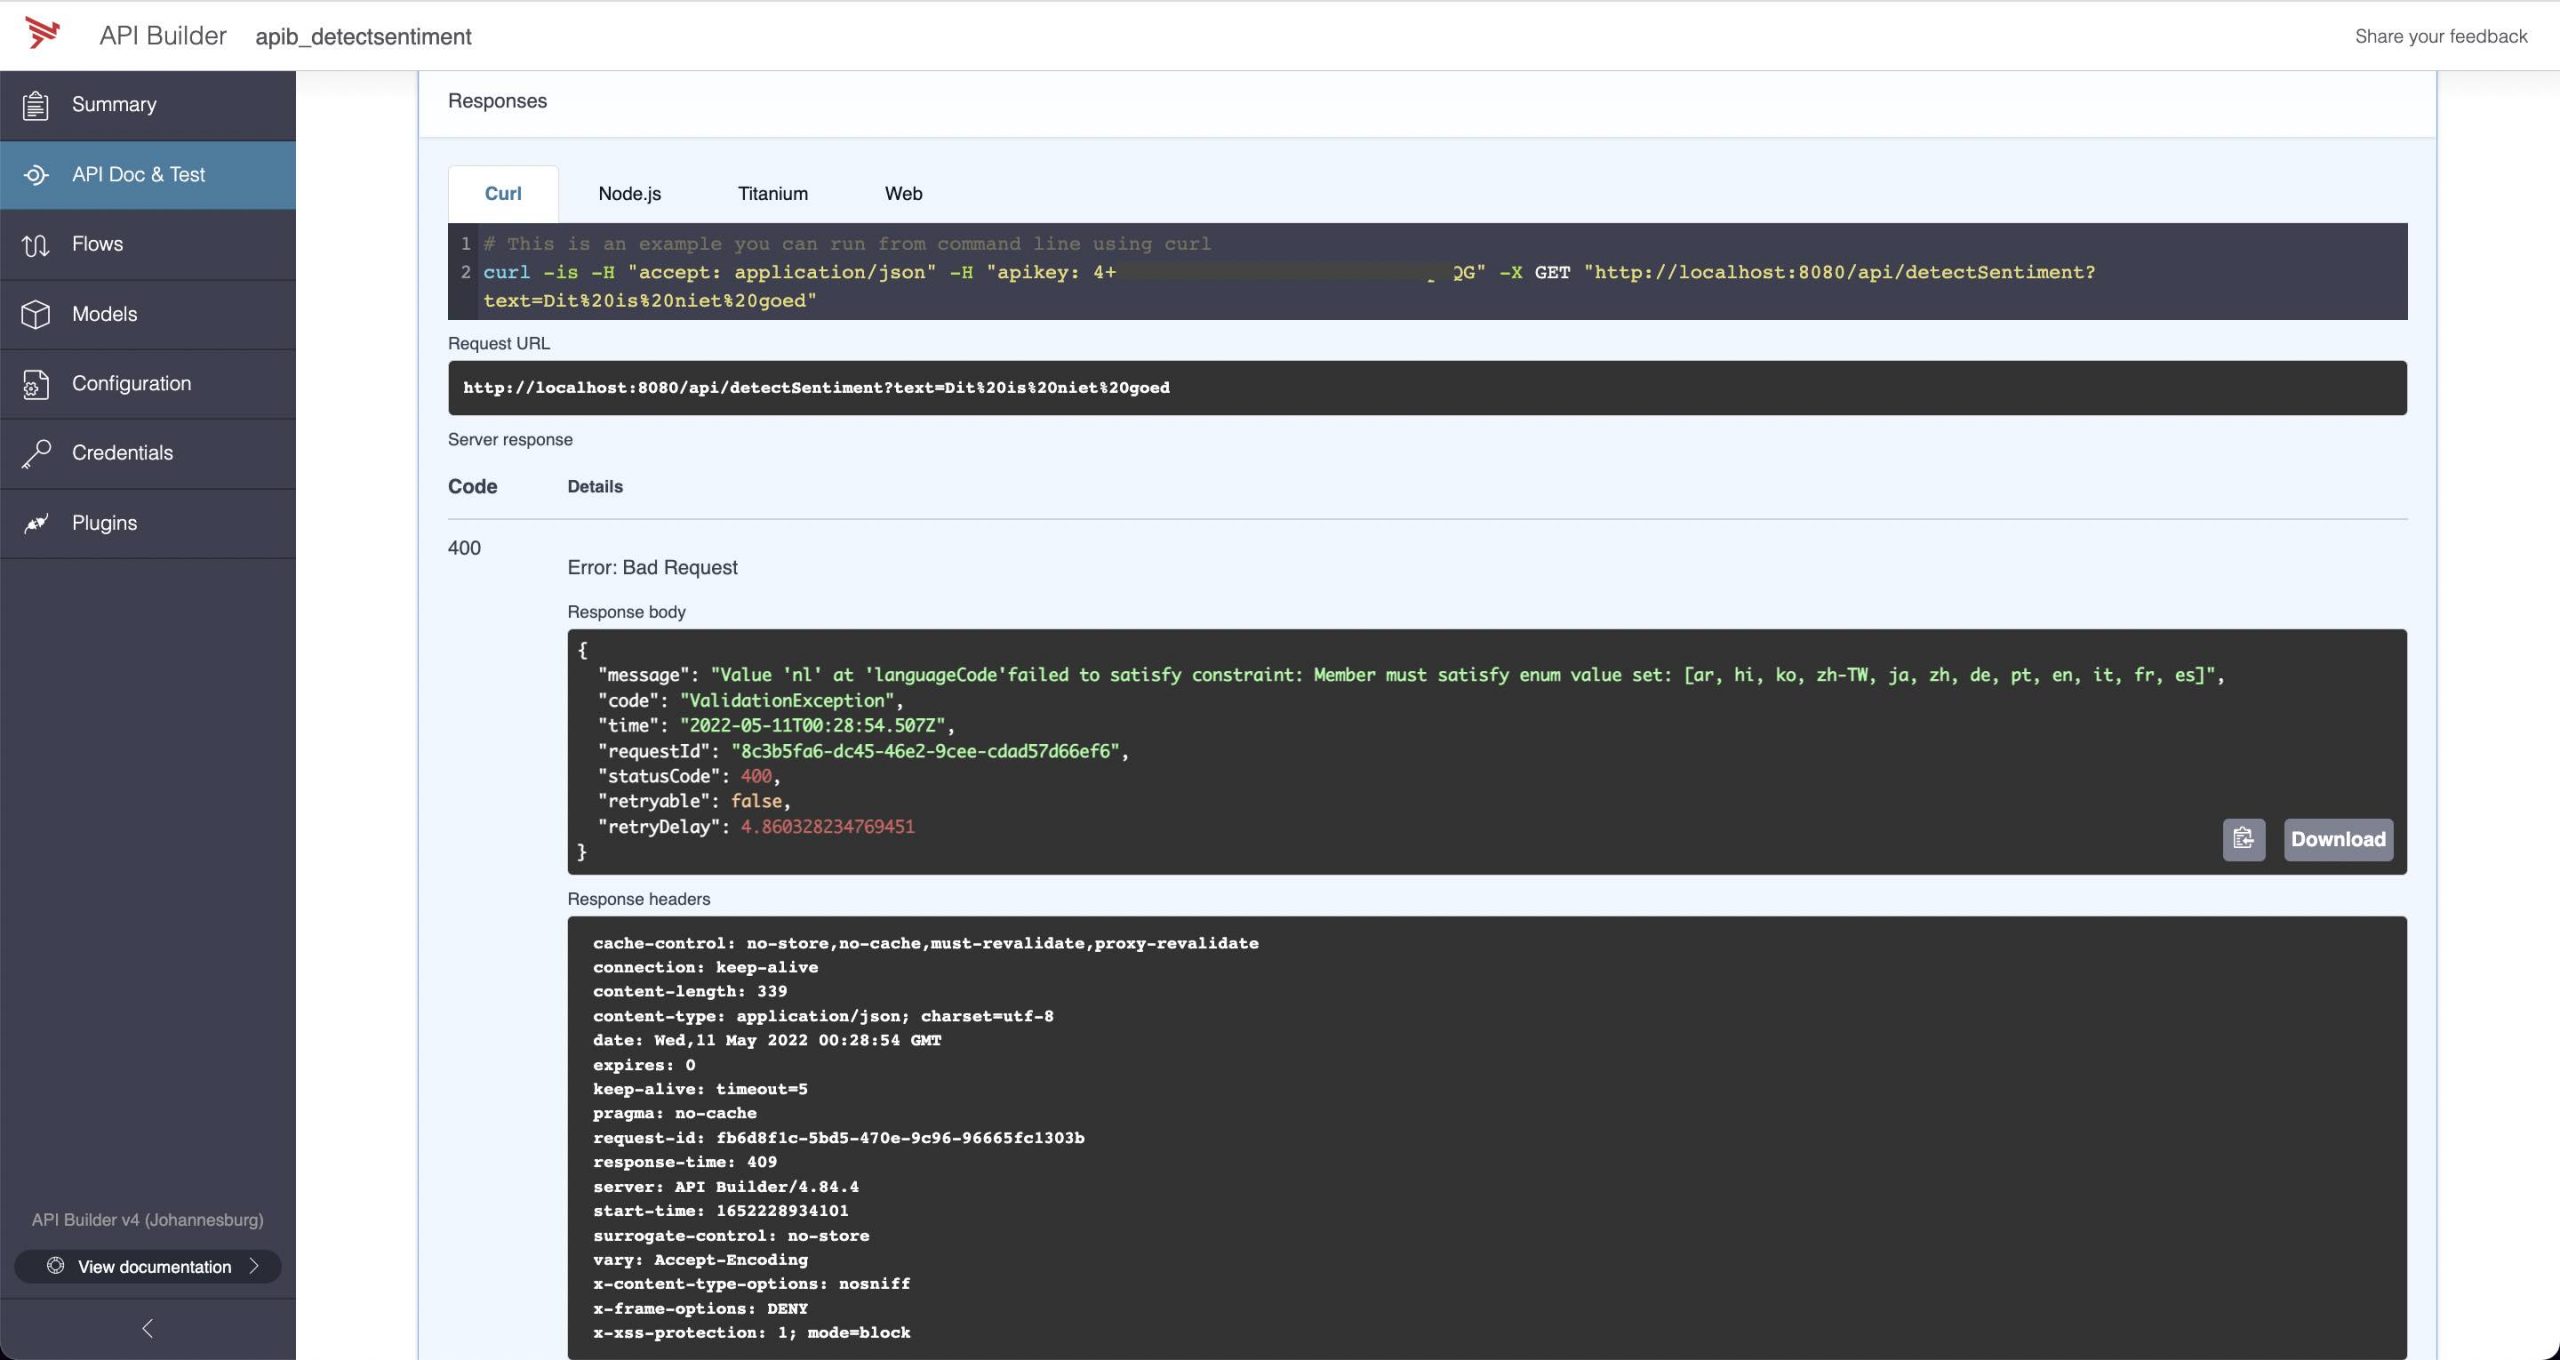
Then we’ll define an error model for the error response shown below:
{
  "message": "Value 'nl' at 'languageCode'failed to satisfy constraint: Member must satisfy enum value set: [ar, hi, ko, zh-TW, ja, zh, de, pt, en, it, fr, es]",
  "code": "ValidationException",
  "time": "2022-04-07T23:13:35.103Z",
  "requestId": "2d548718-6aaa-4be7-b8f6-702b3f0669f7",
  "statusCode": 400,
  "retryable": false,
  "retryDelay": 90.00311674193672
}
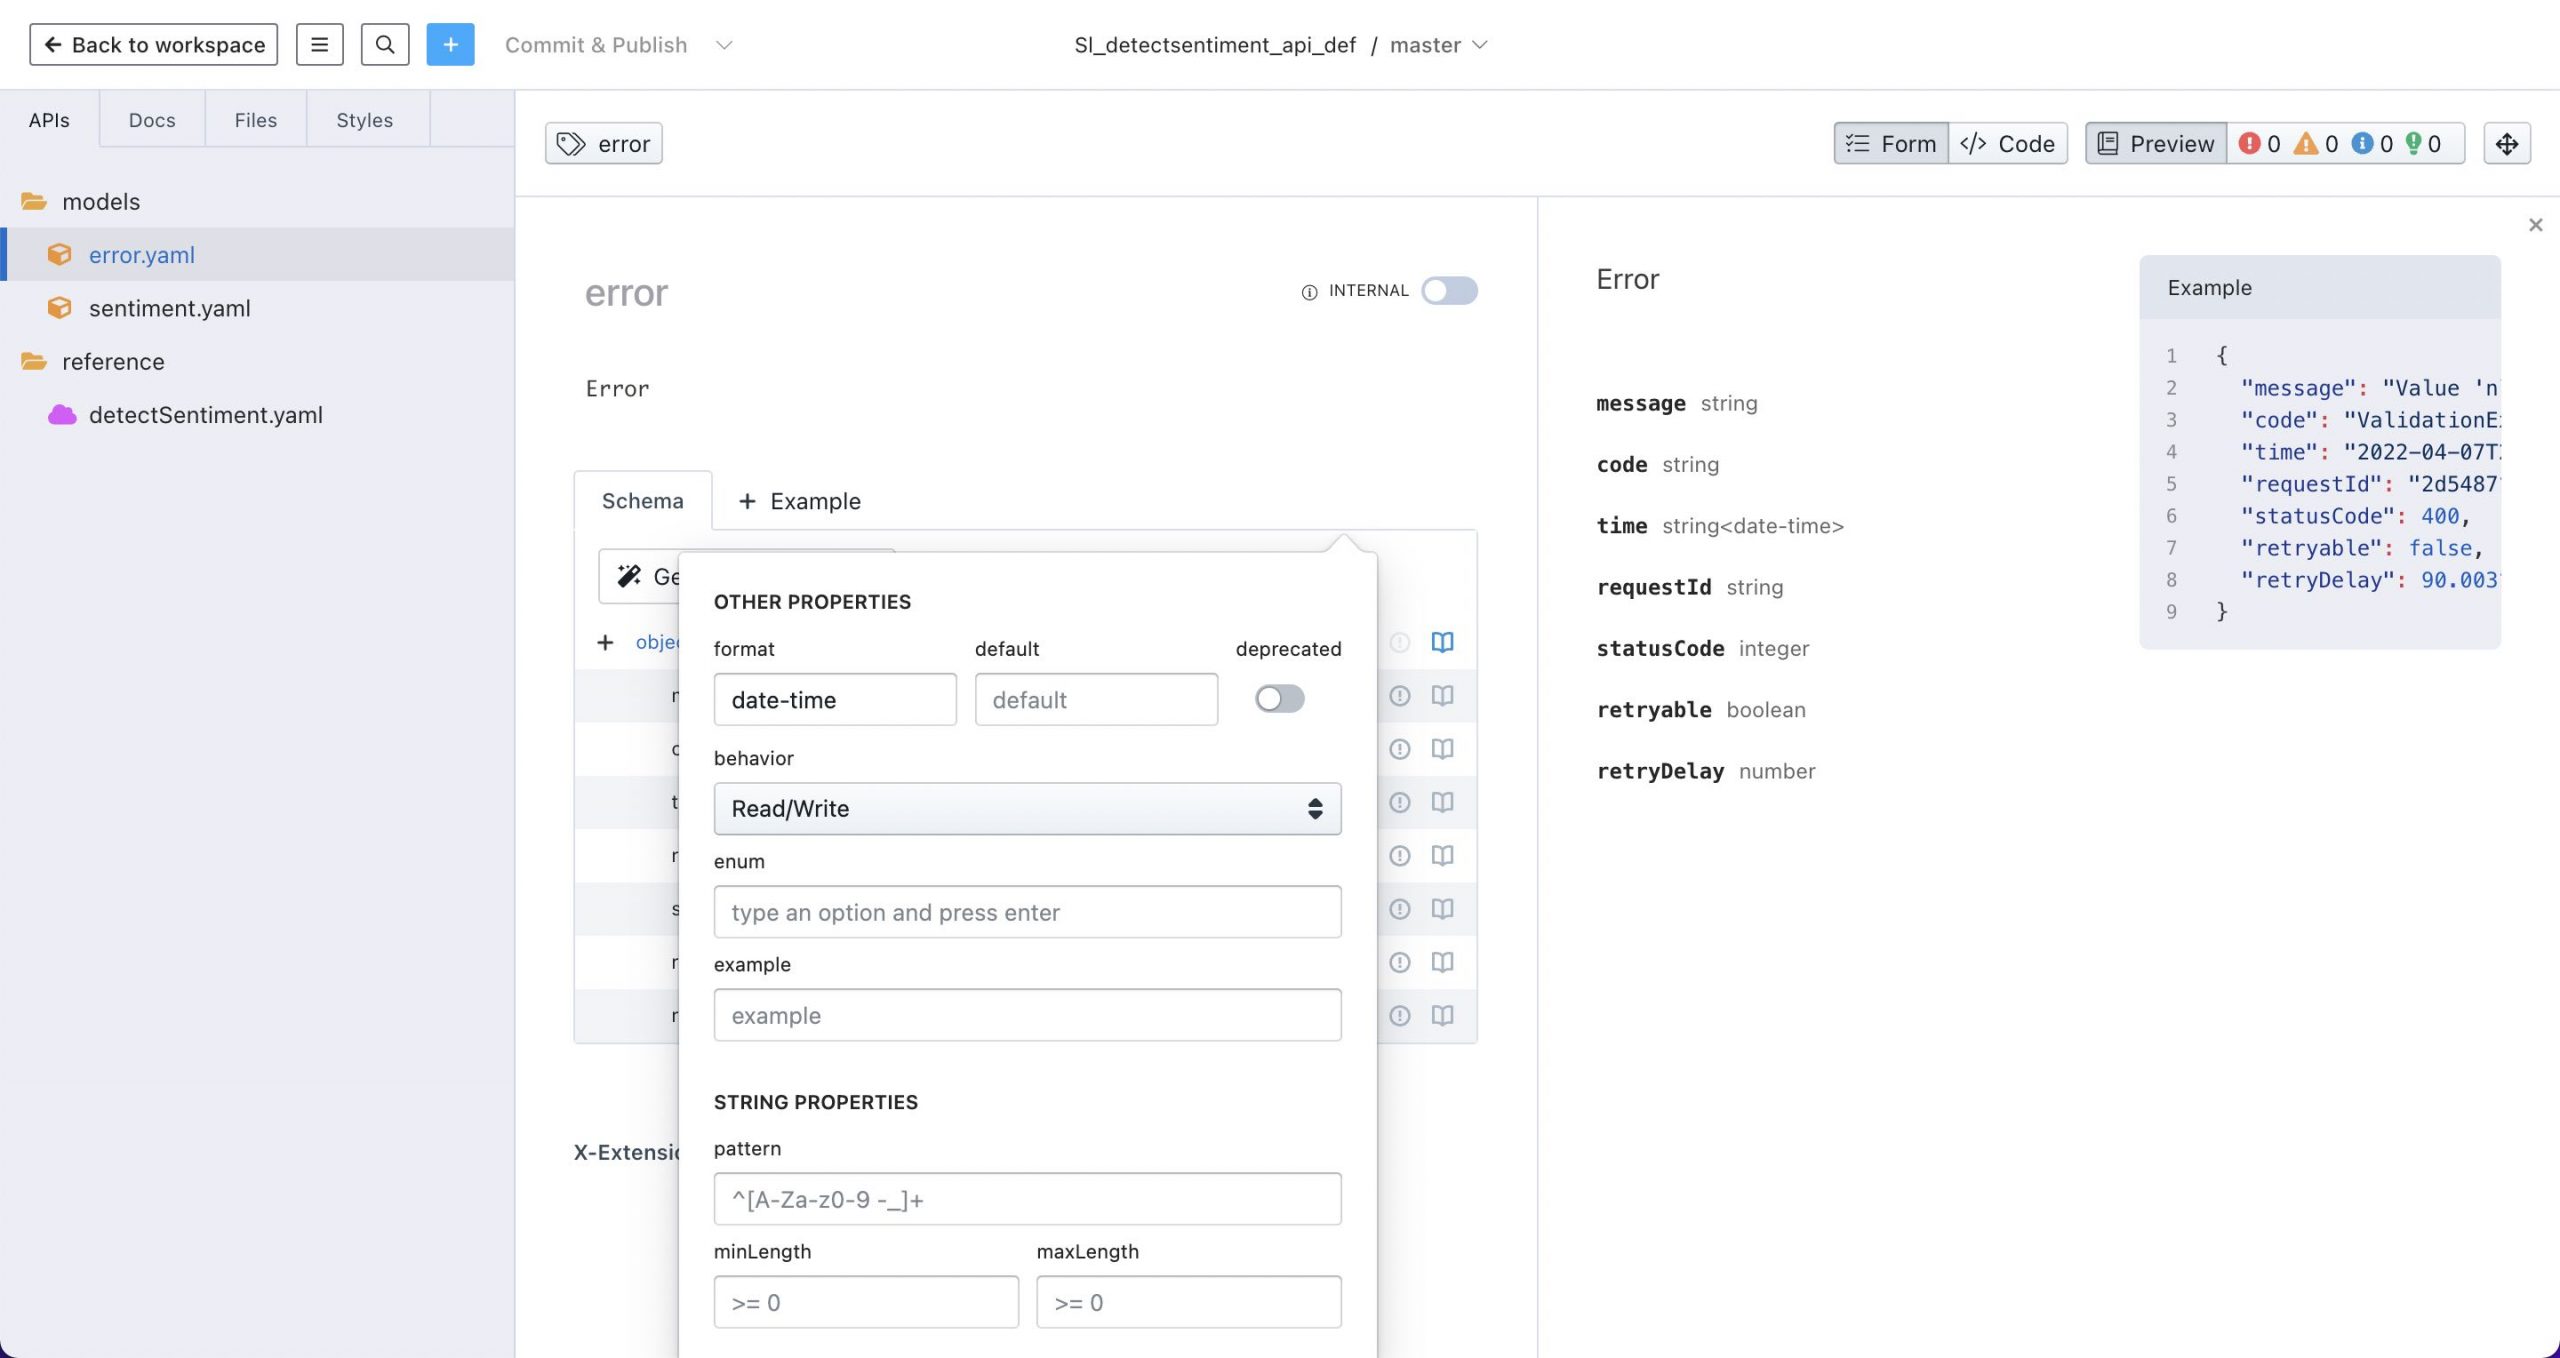
Note that the time property’s format is set to date-time
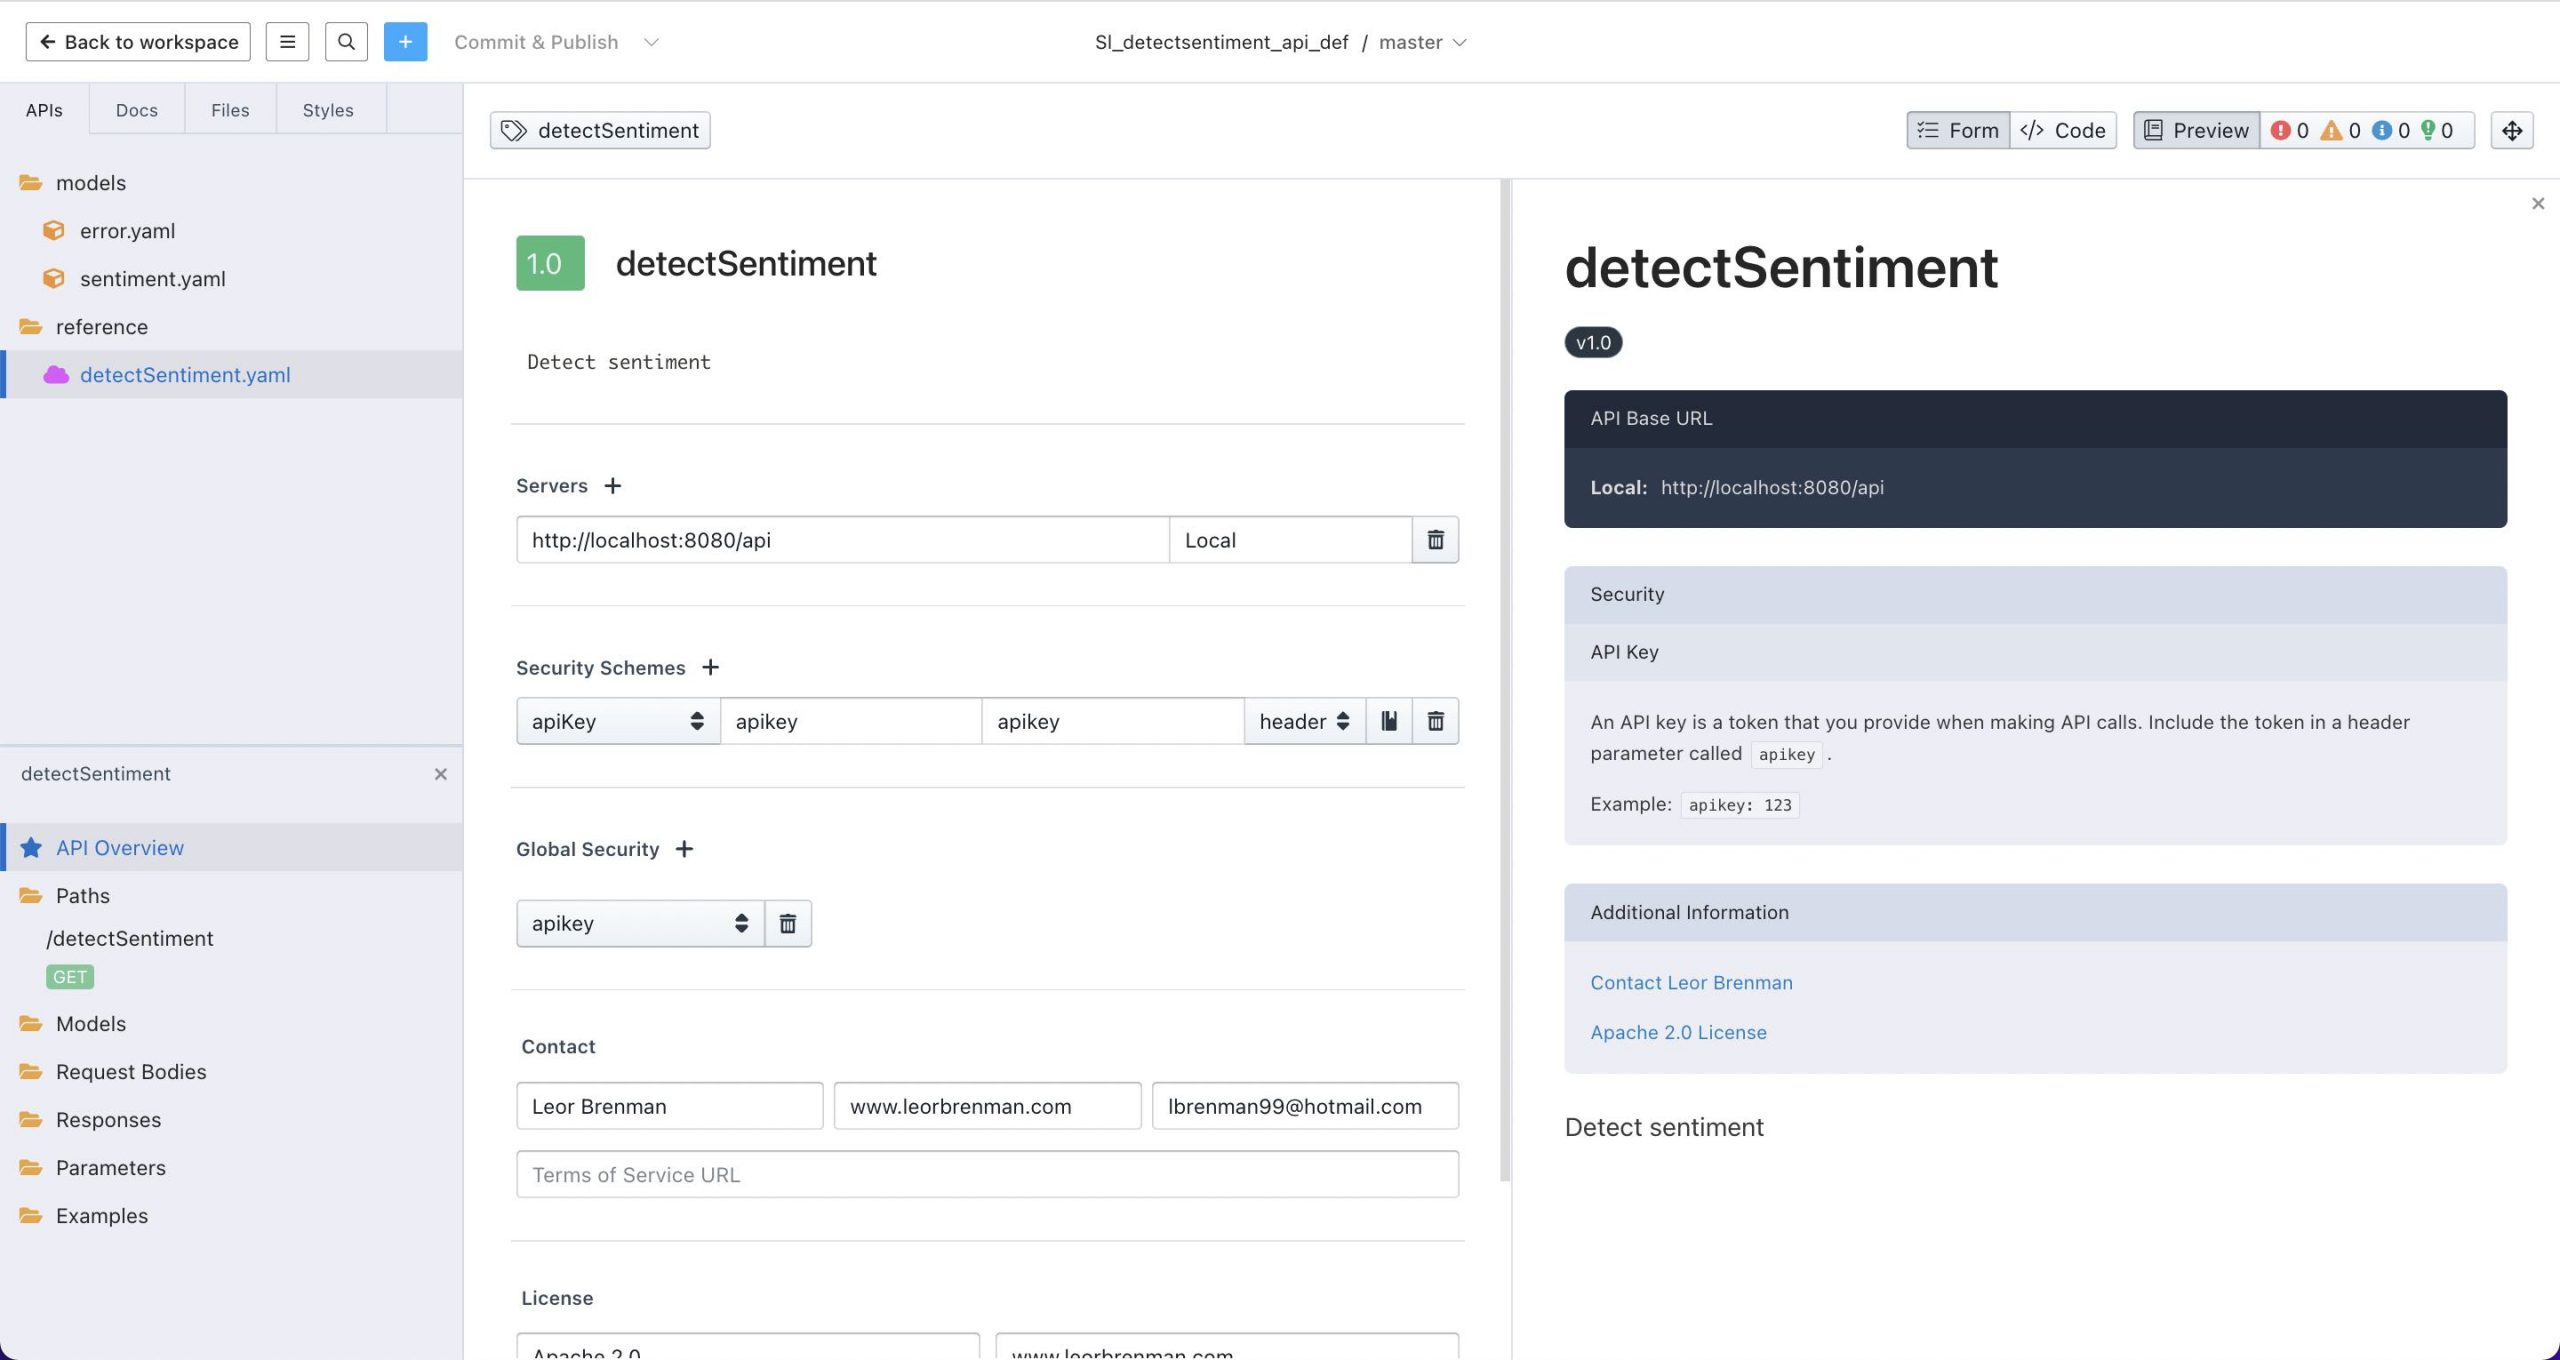
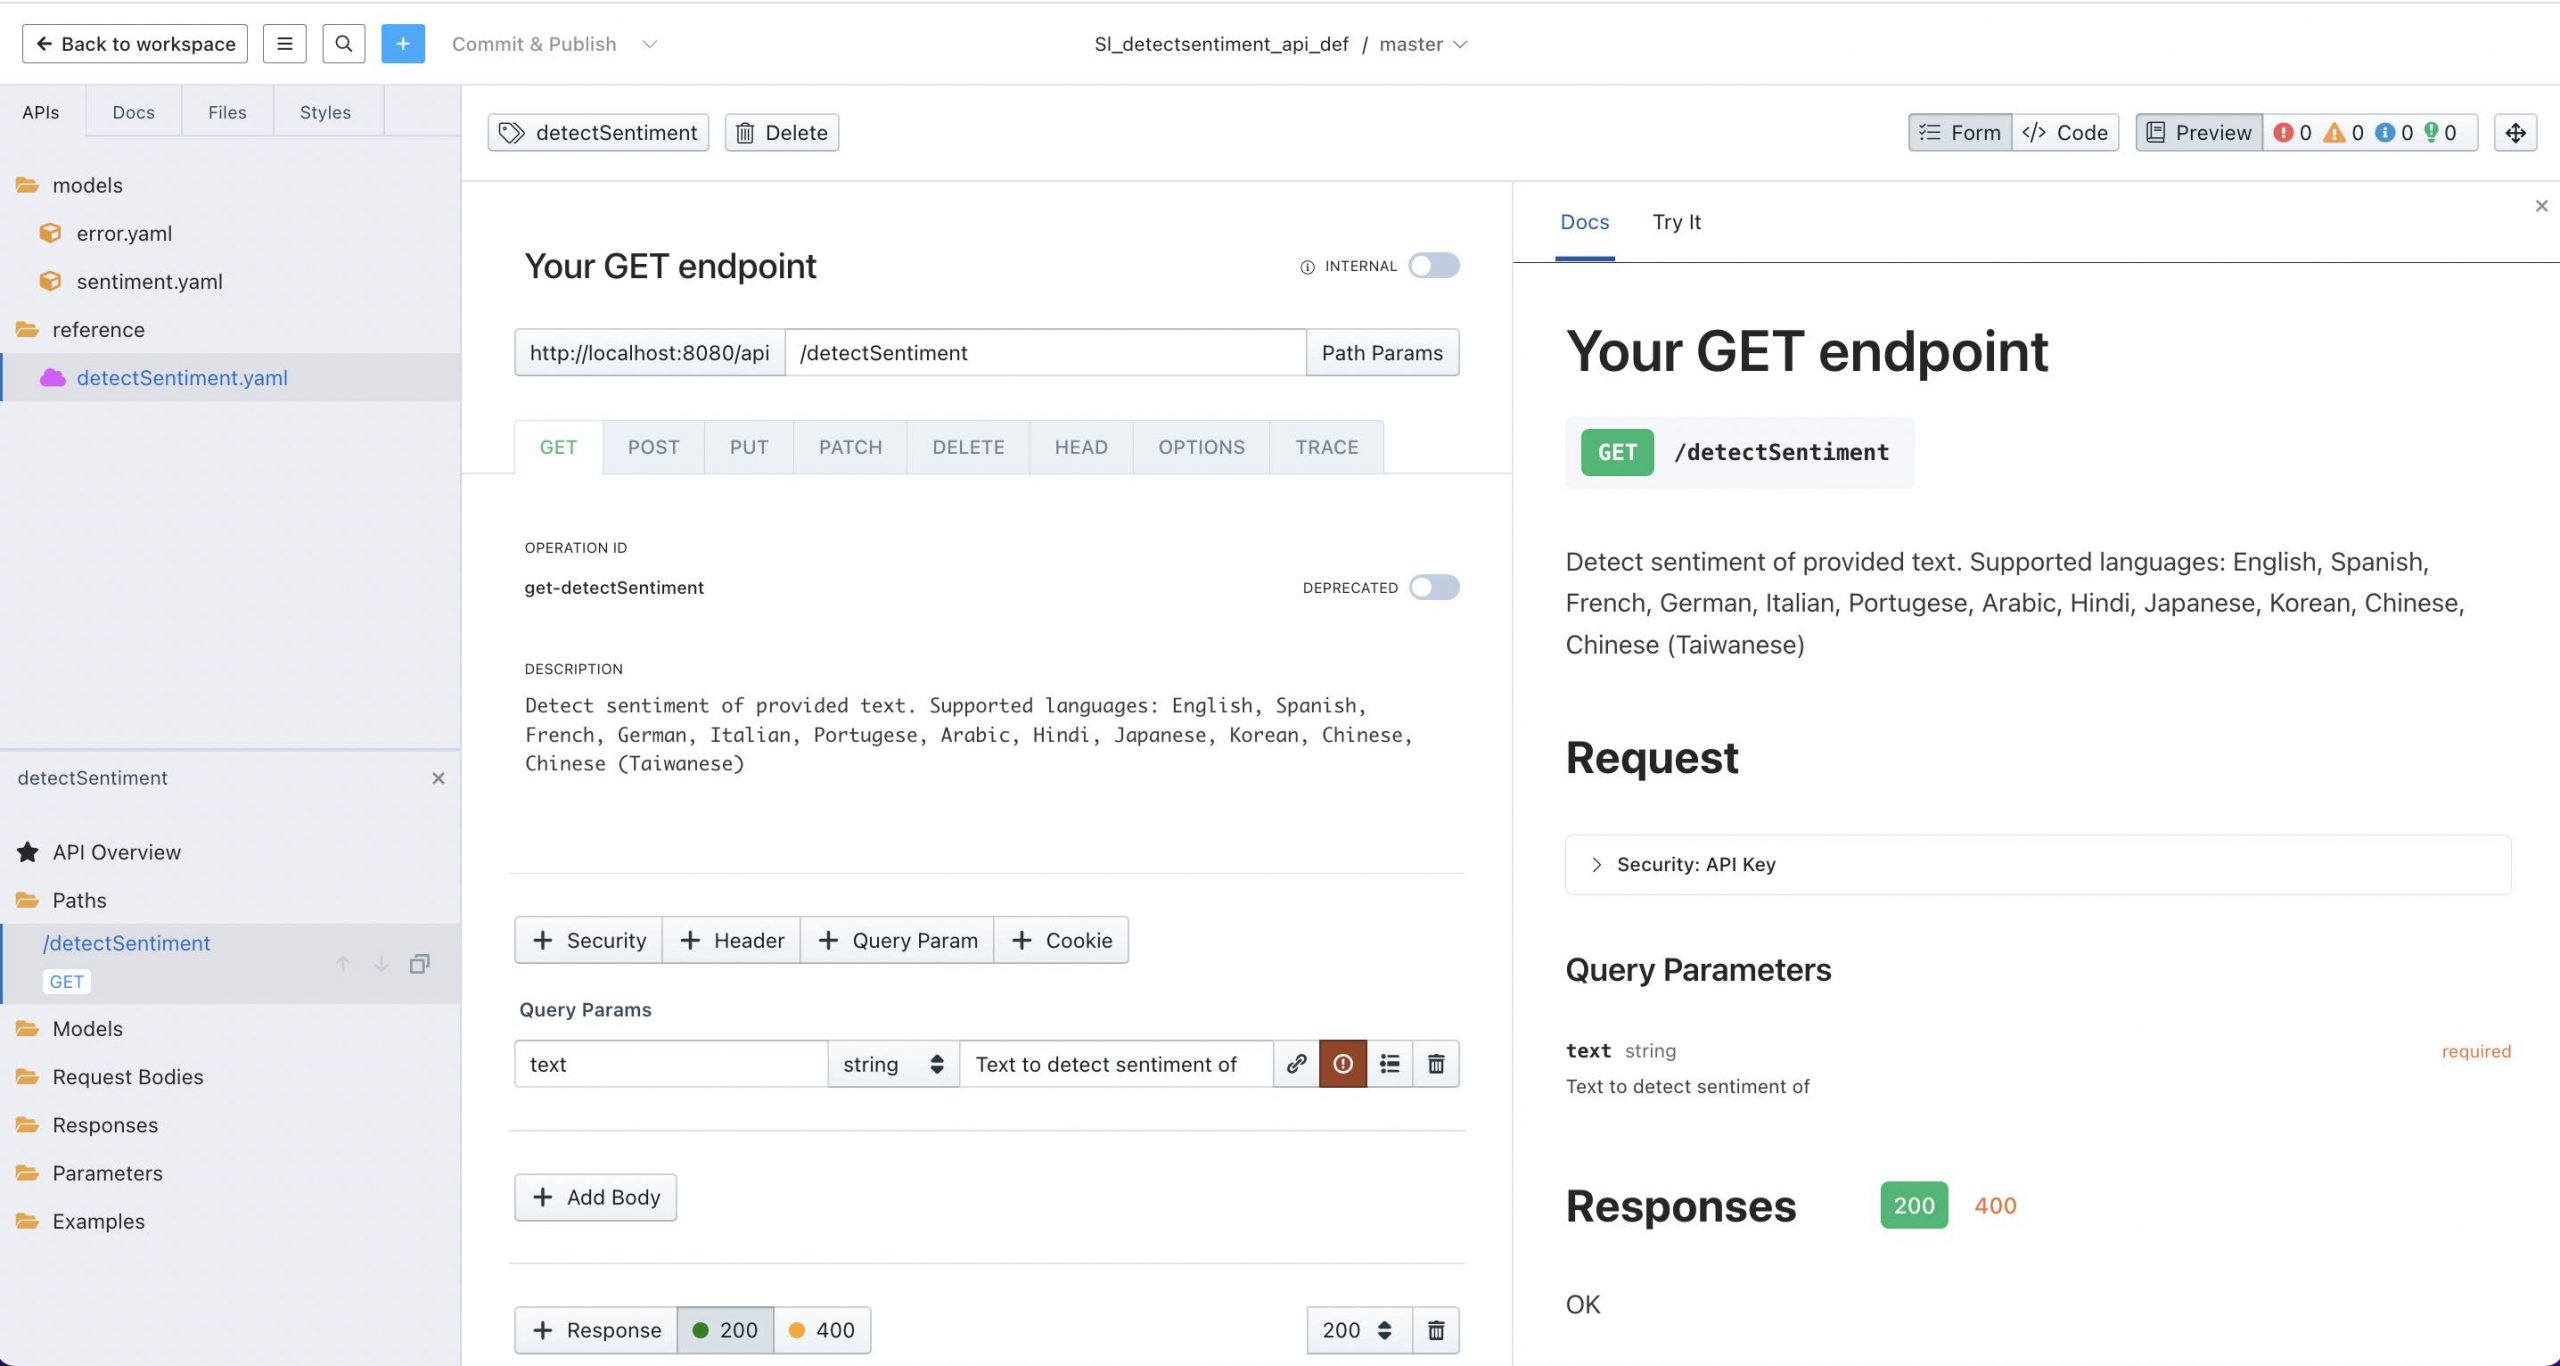
The API detectSentiment is defined to have a /api in the base path as is required for API Builder API’s. Also, I specified an API Key called apikey for the API Builder API security.
Then we can design the method, GET /detectSentiment that takes a required query parameter, text:
and references the sentiment model for the 200 response of the method:
The 400 response will be an error object:
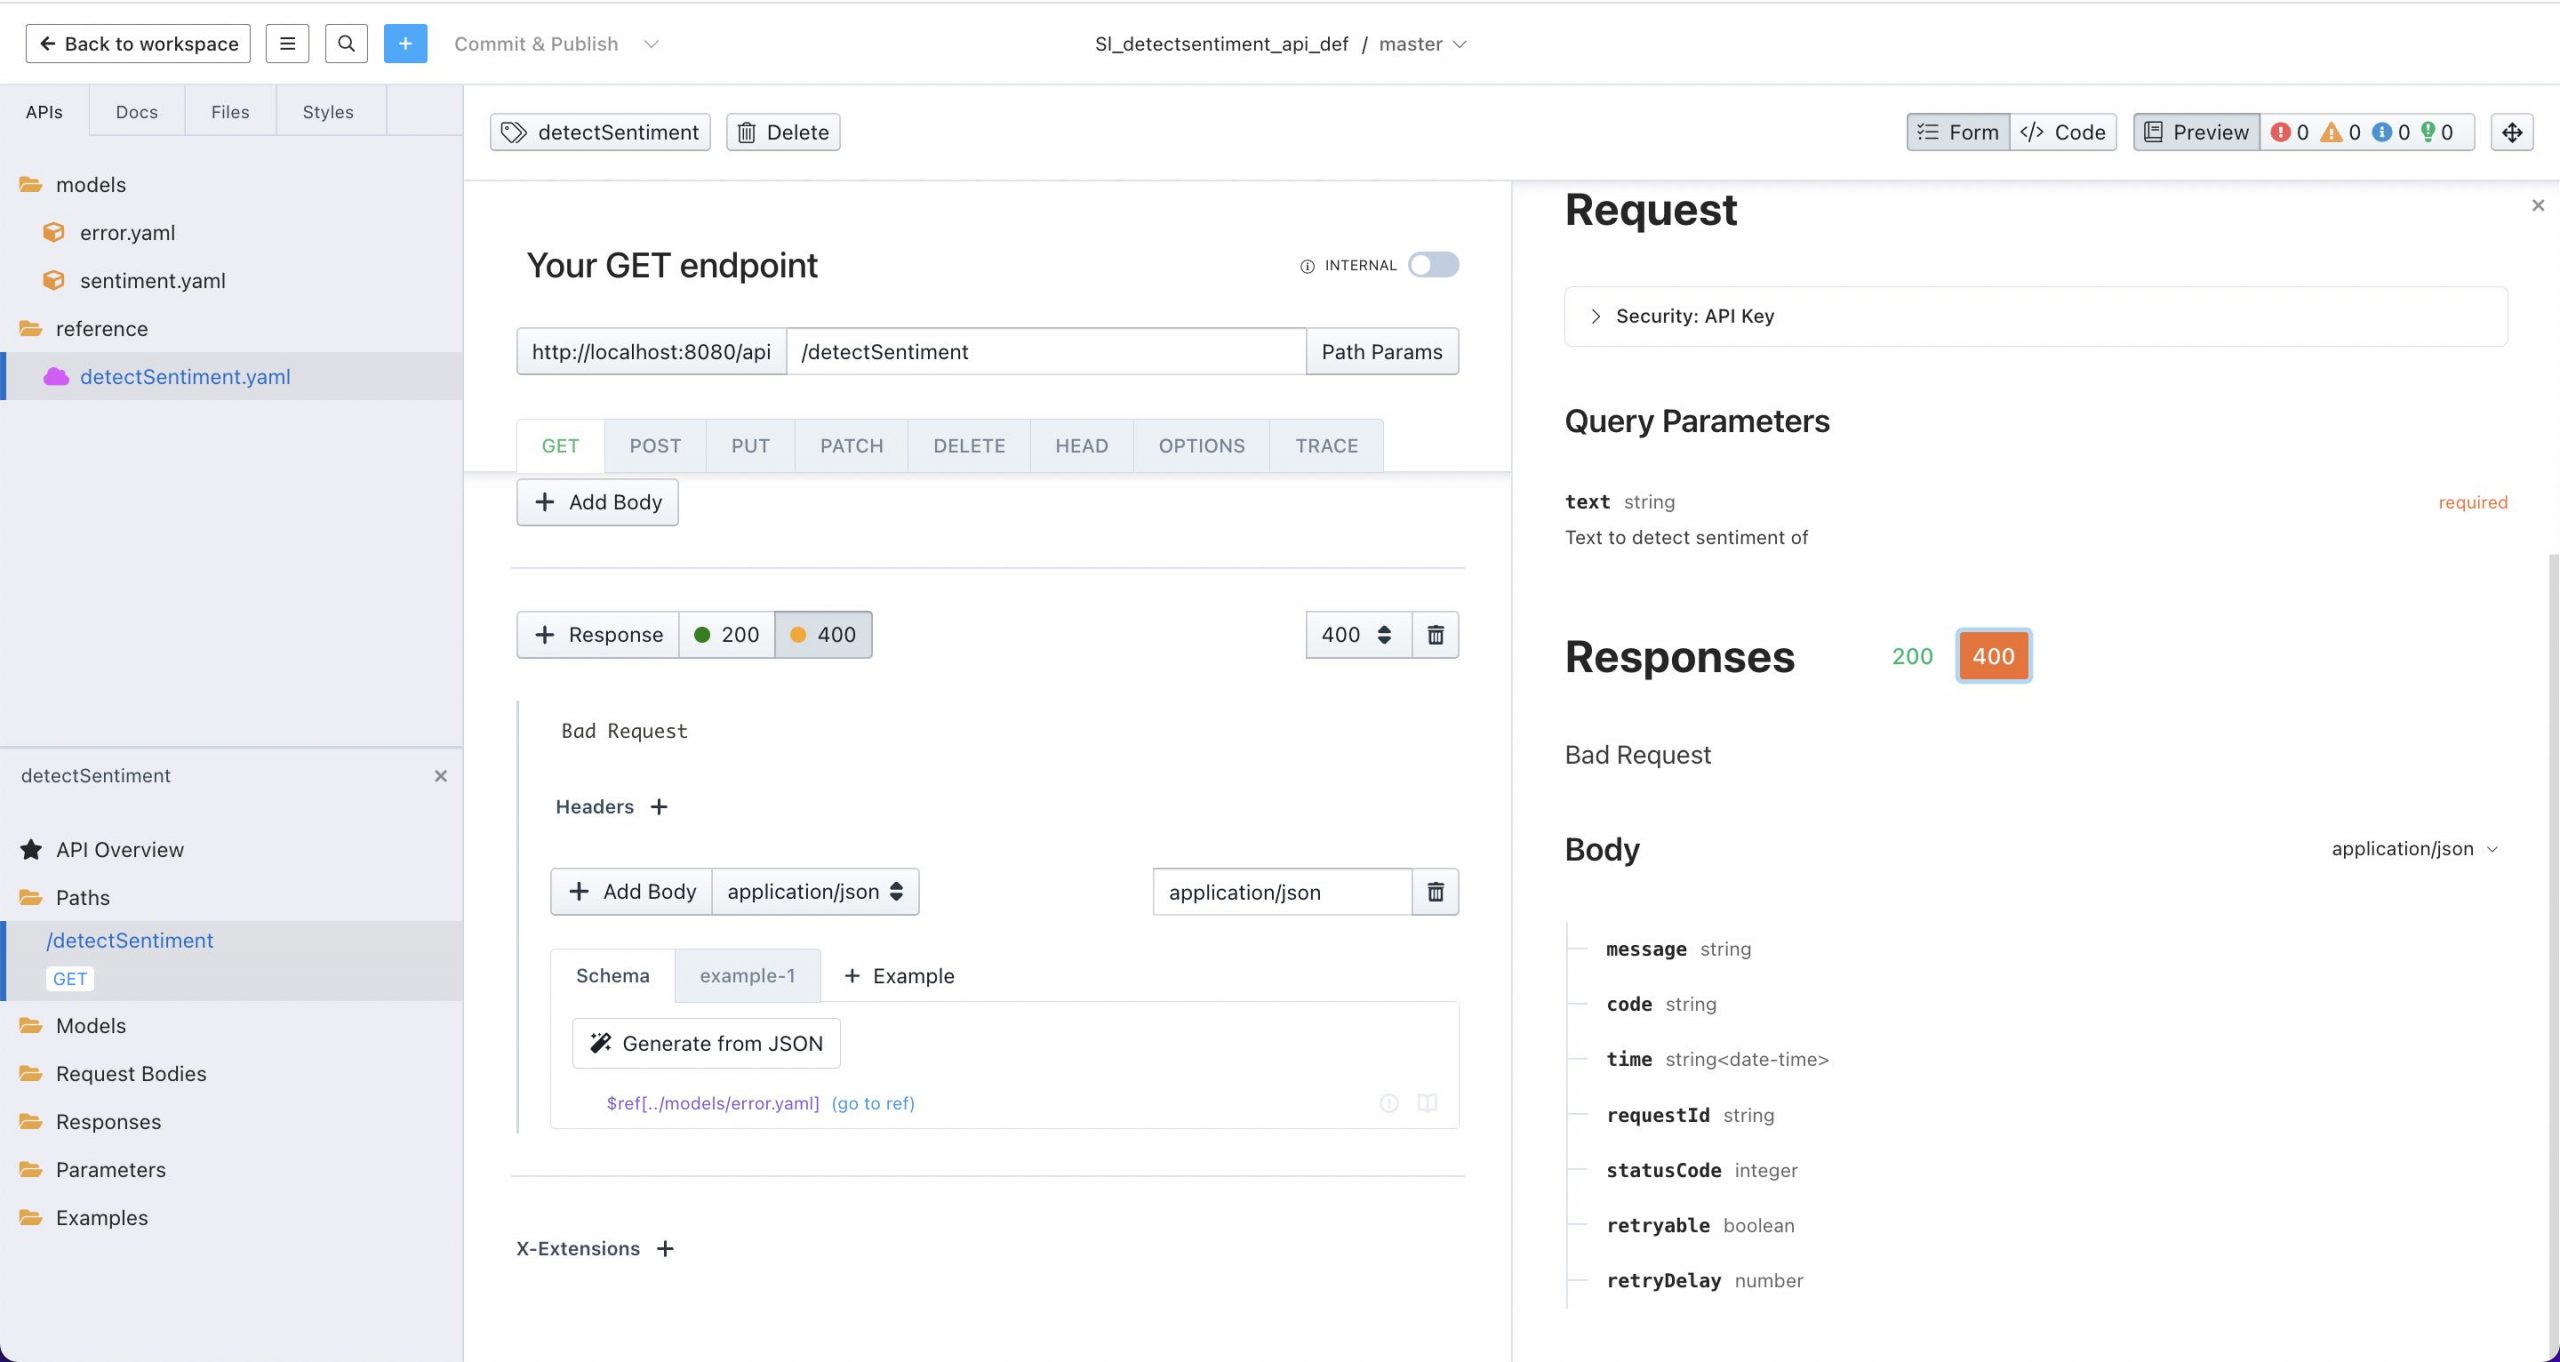
These responses are the raw response from AWS Comprehend DetectSentiment API described here.
The Stoplight Github repo can be found here.
API Builder
The API Builder project was created as follows:
- I created a new API Builder Project called
apib_detectsentiment - I changed to API Key authentication and environmentalized the API Key as API_KEY and added it to the
/conf/.envfile - I installed the API Builder Plugin for AWS Comprehend for NLP using
npm install api-builder-plugin-comprehend-sdk - I added the following two AWS SDK environment variables required by the plugin to the
/conf/.envfile:- AWS_ACCESS_KEY_ID
- AWS_SECRET_ACCESS_KEY
- I imported the Open API 3.0 spec that I exported from the Stoplight project
- I used the Comprehend-SDK flow node Detect Dominant Language method to detect the language of the text and then the Detect Sentiment method to detect the sentiment of the text. This removes the need for the user to set the language when they make the API call and provides a better API consumer experience
- I changed the default error output for the two methods to
$.comprehendErrorso I can pass the same JSONPath variable to the Set HTTP Error Response flow node - The flow is shown below:
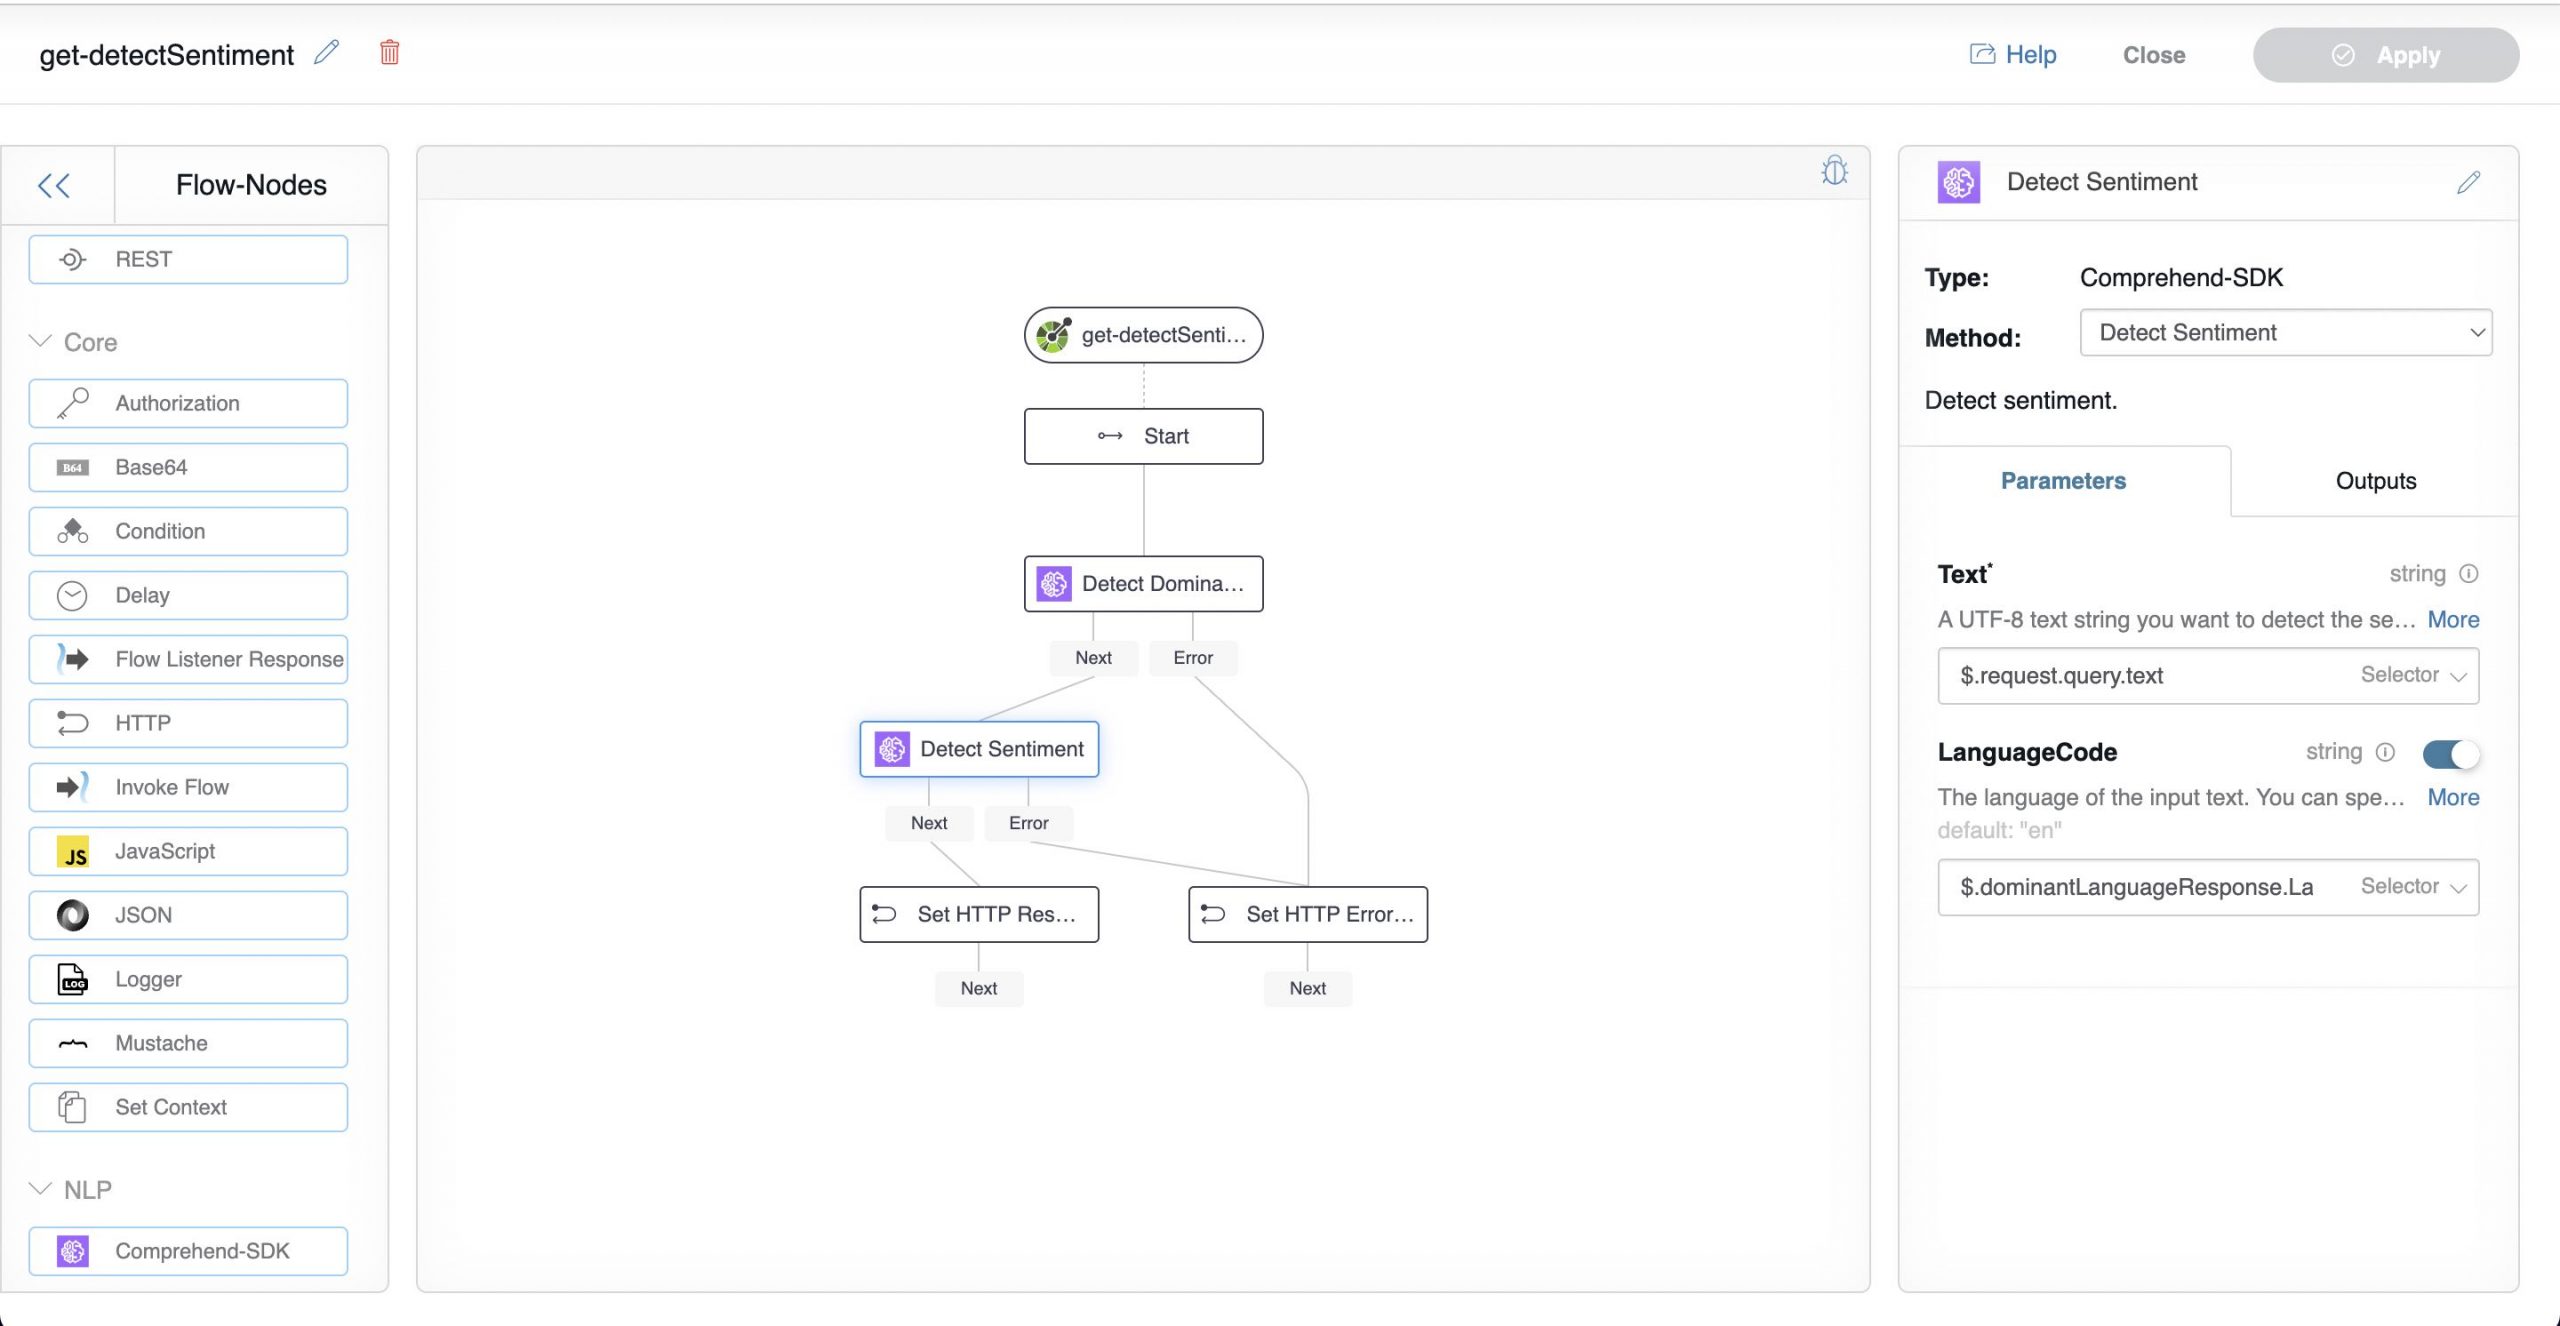
API Builder Flow - My
/conf/.envfile is shown below:PORT=8080 LOG_LEVEL=debug API_KEY=<AN API KEY THAT YOU PROVIDE> AWS_ACCESS_KEY=<YOUR AWS ACCESS KEY> AWS_SECRET_ACCESS_KEY=<YOUR AWS SECRET>
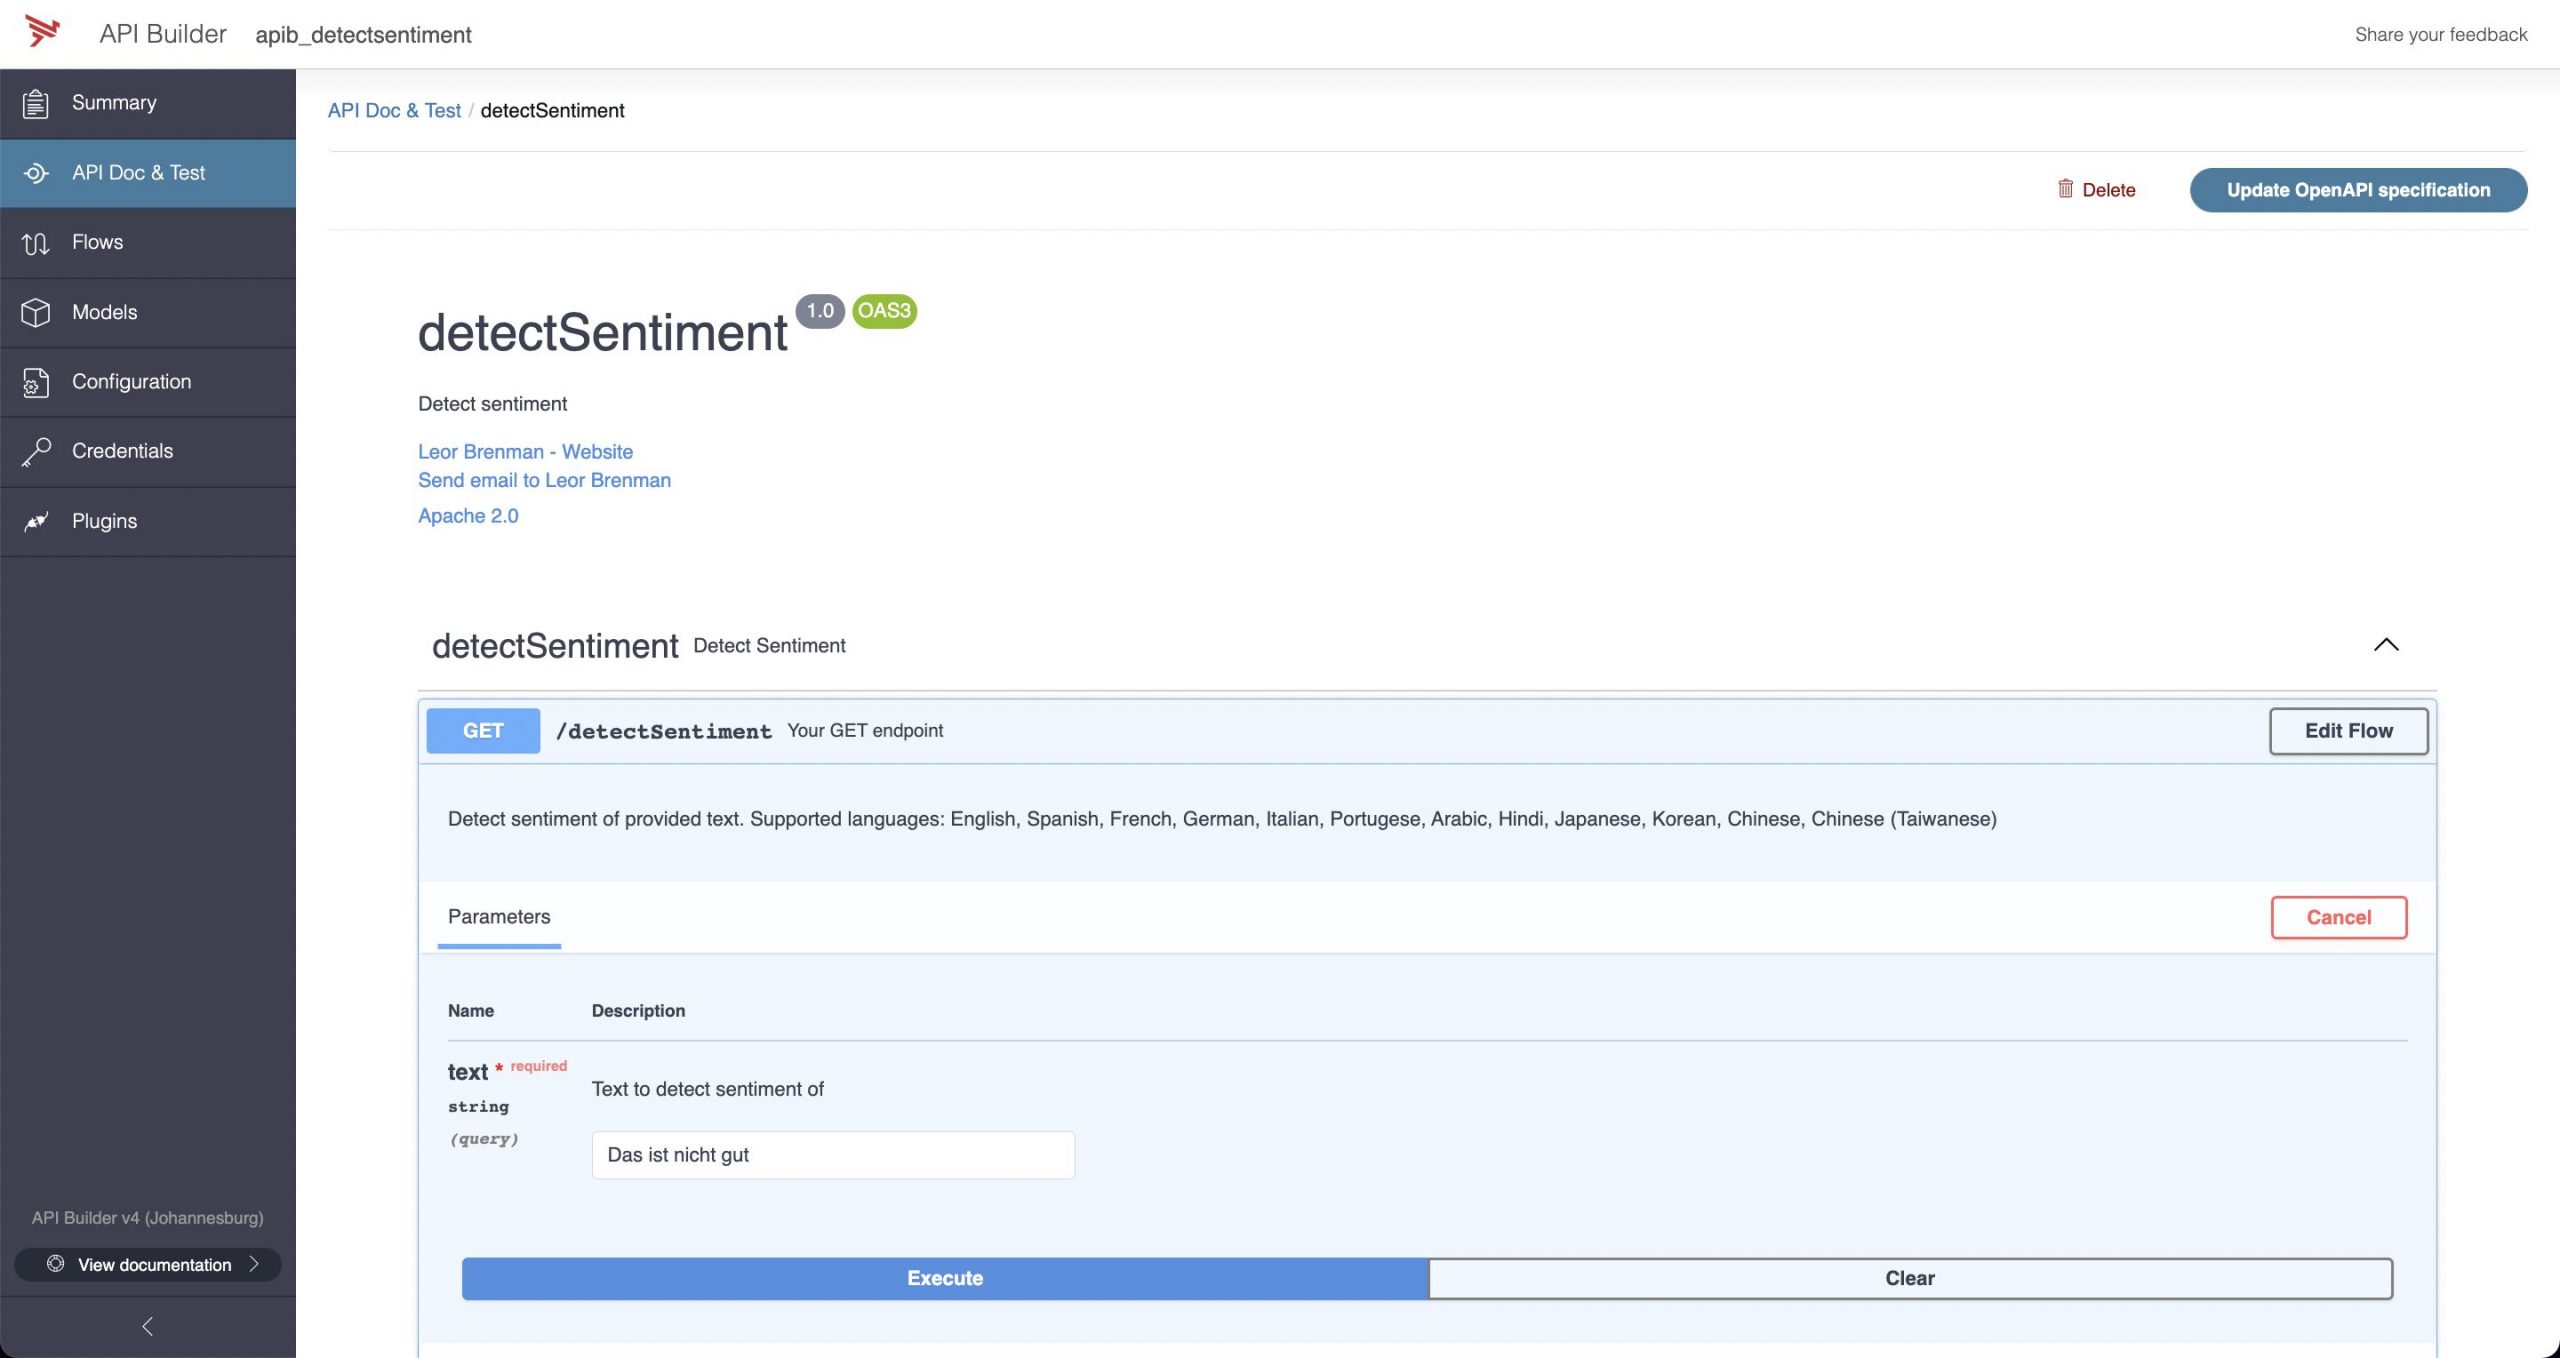
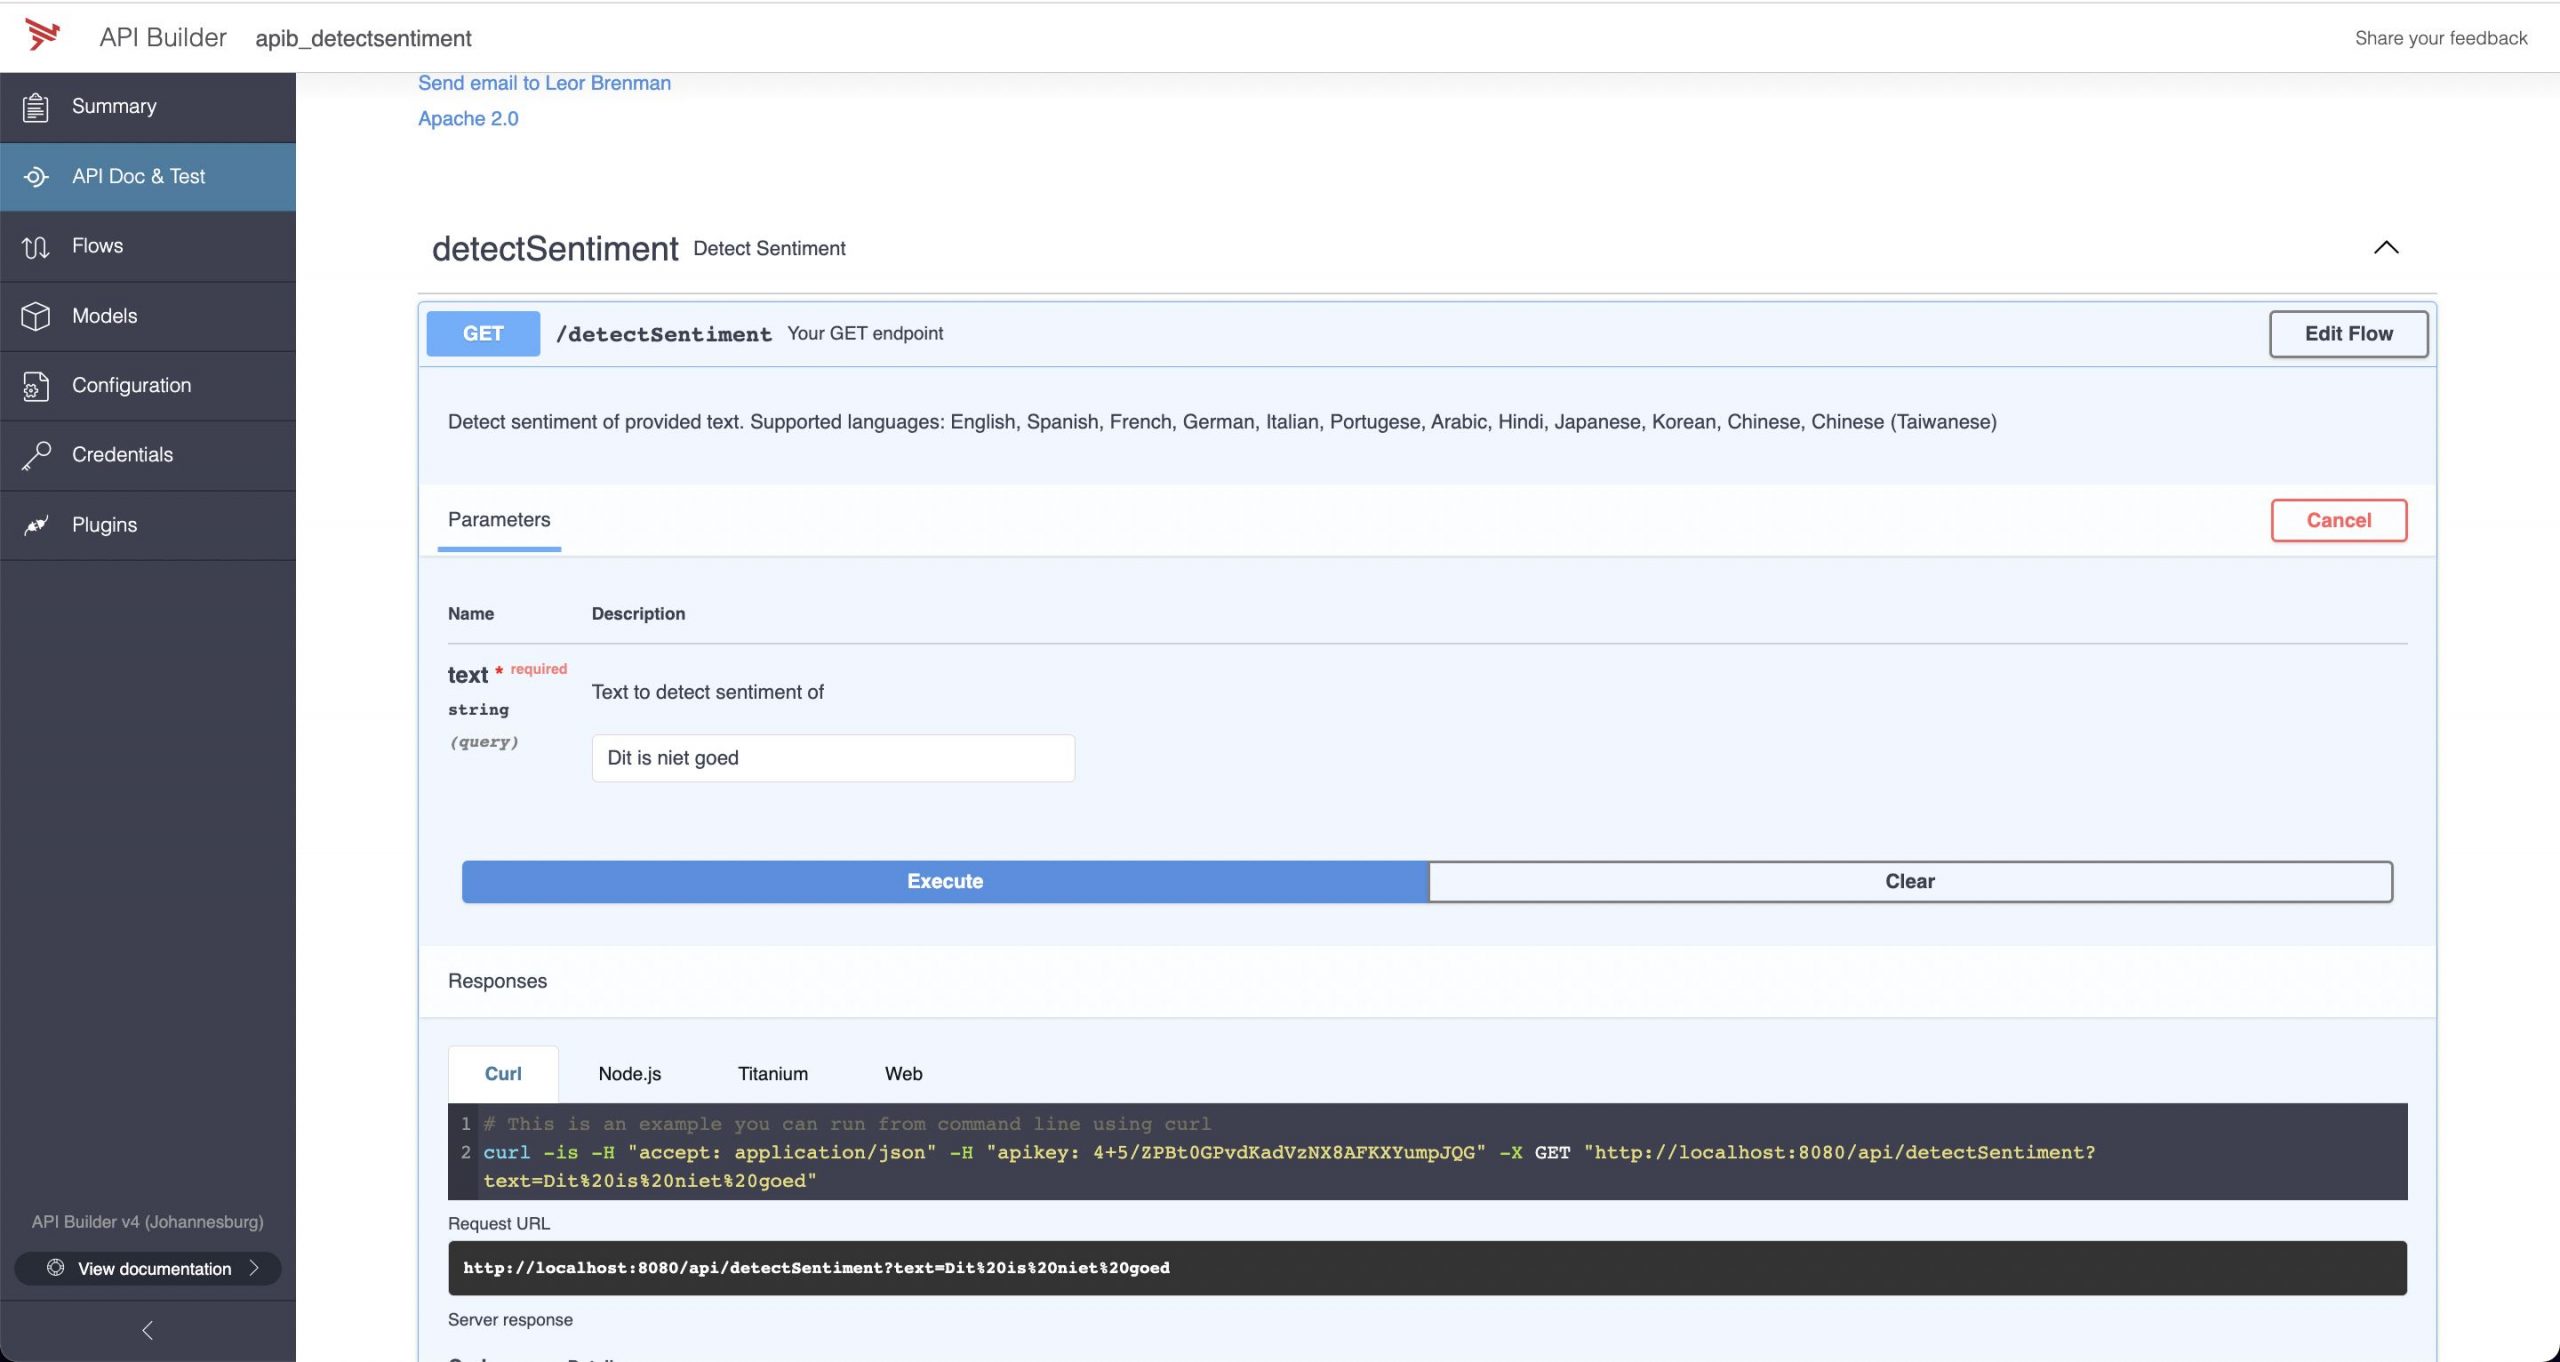
Then I tested the API in the API Builder console:
The API can be called using curl as follows:
curl -H "accept: application/json" -H "apikey: <THE API KEY THAT YOU PROVIDED>" -X GET "http://localhost:8080/api/detectSentiment?text=Tomorrow%20will%20be%20a%20great%20day"The response should be:
{
  "Sentiment": "POSITIVE",
  "SentimentScore": {
    "Positive": 0.9924724102020264,
    "Negative": 0.0006107454537414014,
    "Neutral": 0.006818109191954136,
    "Mixed": 0.00009871972724795341
  }
}
Now that my API is designed, created and tested, I can dockerize it using this guide and publish to my container (e.g. Kubernetes) environment.
The API Builder Github repo can be found here.
A docker container can be found here.
You can run the container as follows:
docker run --name apib_detectsentiment -e API_KEY=<AN API KEY THAT YOU CAN CREATE> -e AWS_ACCESS_KEY_ID=<YOUR AWS ACCESS KEY> -e AWS_SECRET_ACCESS_KEY=<YOUR AWS SECRET> -p 8080:8080 --rm lbrenman/apib_detectsentiment:latestThen you can test it using the same curl command (and response) as above.
Summary
In this blog post, we saw how we can use API Builder and Stoplight to easily create a sentiment analysis API using API-First principles with little to no code.
Need help with API Builder? Extend your skills with Axway University.


