Simon Buckingham is a designer, UX specialist, animator, creative and technical director and developer with more than 20 years experience. He has been making cross-platform iOS/Android mobile apps with Titanium for more than 5 years. Simon runs his own company Icecandy Entertainment, based in London, UK. You can find out more about his digital career at simonbuckingham.me.
This tutorial shows how you can smoothly animate colour associated with a view in Axway Appcelerator Titanium. Examples might be using it in an icon or other graphics animation or animating a smooth transition of elements on screen. This article assumes that you have basic knowledge of how to use Titanium and Alloy. The example project was developed using Ti SDK 6.2.2 on OS X 10.12.6 (with XCode 8.3.3) and tested on iOS 10.3 and Android 4, 5 and 6.
To do this, we are using a great JavaScript library from Gregor Aisch called chroma.js. It provides a suite of handlers to control various aspects of colour such as hue, brightness and saturation and to convert between different colour models. We all know about RGB colour which is the basis for most computer graphics, but colour can be represented in several different ways, in different models. Just like the Cartesian 3-dimensional space coordinates of X, Y and Z, colour can be represented in an arbitrary n-dimensional space as well. RGB with red, green and blue values is only one way of representing colour. Some others are HSV (Hue, Saturation and Value), HSL (Hue, Saturation and Lightness), Lab Colour (L — lightness, a — a red-green measure — and b — a blue-yellow measure)) and CMYK (Cyan, Magenta, Yellow and Black — most often used in print applications — which is an odd one out as it has four dimensions, not the usual three). A good review of colour theory can be found here. Some of these spaces don’t match exactly and only overlap in a certain range of colours. Also, the devices that we use to display our apps on, only show a certain limited range from a much bigger gamut of colours. Here are some graphic examples of 3-dimensional colour spaces:
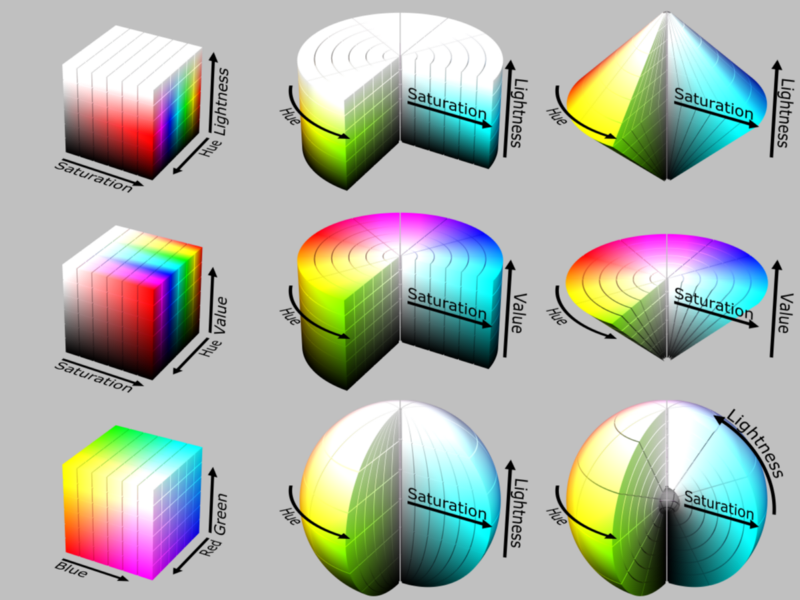
By SharkD, via Wikimedia Commons [CC BY-SA 3.0]
Colour modeling is complicated. Not just by the mathematical models used to represent it and the devices that render that colour, but also in our perception of it, which is not only optical — governed by our eyes — but also in how the brain interprets and registers colour. For example, some people have colour blindness (most commonly not being able to distinguish between red and green) and more extreme cases exist where a person only perceives the visual field in black and white (or grey scale) and cannot distinguish any colour at all (see for example the work of Oliver Sacks). Another interesting fact is that humans perceive the relative brightness of colours differently. In other words, our perception does not necessarily match the values that the physics tells us. For instance, we perceive or see a fully saturated yellow as a lot brighter than a fully saturated blue. This difference in the perception of the brightness of colours is represented in the LAB colour model. Most of this theory is outwith our remit of making mobile apps, but it is interesting and useful background. We should also be aware of accessibility issues associated with, for example, colour blindness.
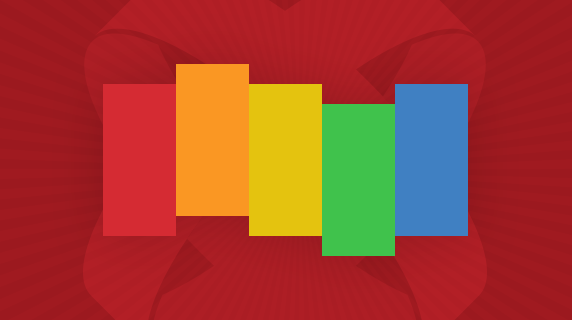
So, we are going to create a simple example of a set of boxes, which are just square Ti.UI.View’s. The first box we will animate in a cycle of red to blue, bouncing back and forth (red to blue to red etc). The second set we will add Ti.UI.Slider’s to show how colour can be controlled interactively in an app. See the screen grab below for the layout, but if you would like to see a Vimeo video of the example working in the iOS simulator watch here.
Let’s just start with a much more simplified setup of an animated box at the top and a single slider and slider controlled box below it in a vertical layout:
index.xml
<Alloy>
  <Window id=”win”>
    <View id=”container” layout=”vertical”>
      <View id=”animatedBox” class=”box”/>
      <Slider id=”slider” onChange=”onSliderChange” top=“40”/>
      <View id=”box” class=”box” top=“10”/>
    </View>
  </Window>
</Alloy>
index.tss:
“Slider” : {
  width: 150,
  height: 40,
  min: 0,
  max: 100,
  value: 0
}
“.box” : {
  width: 80,
  height: 80
}
“#container” : {
  height: Ti.UI.SIZE
}
Here is how it looks:
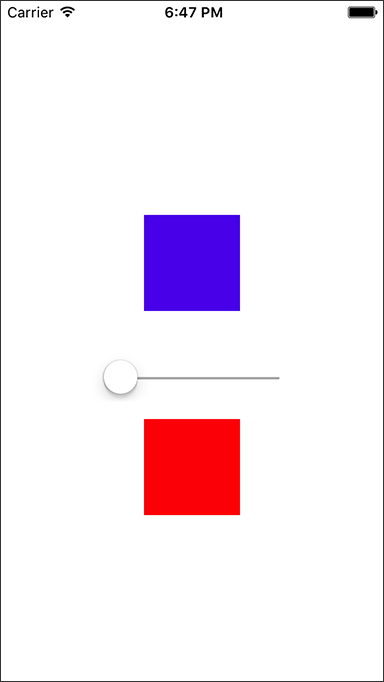
We set the Slider minimum value to 0 and the maximum value to 100. Upon adding an event listener to the “change” event of the slider, we can find the value in the range [0, 100] at which the slider is actually set.
index.js:
//Require the Chroma library stored in the /lib folder
var Chroma = require(‘Chroma’);
//CONSTANTS
var COLOUR1 = ‘#FF0000’, //red
    COLOUR2 = ‘#0000FF’; //blue
//init box colours
$.box.backgroundColor = COLOUR1;
//set a chroma scale — an even colour gradient between colours 1 & 2
var chromaScale = Chroma.scale([COLOUR1, COLOUR2]).mode(‘lab’);
//change the colour interactively
function onSliderChange(_evt) {
  var scaleFactor = _evt.value / 100;
  $.box.backgroundColor = chromaScale(scaleFactor).hex();
}
By setting the backgroundColour of our boxes, we can change the colour either interactively or in an animation (to follow). Another application might be to change the tintColor property of an image or view (see my Medium article on rendering SVG icons for example). The handler Chroma.scale() creates a linear gradient between a set of colours. Using the mode “lab” sets the handler to use the Lab colour model in the calculation, which creates a much smoother interpolation of colour than with RGB colour. This is because often with two-colour RGB gradients they go through a range of muddy or greyish colors, whereas Lab interpolation uses a human colour perception model to better represent the colour change (as mentioned earlier). .hex() converts the Chroma colour object into our commonly used hex value for colour.
Now, let’s do some animation using the same chromaScale that we have created for the slider control. Animation that appears smooth to the human eye is generally perceived to be about 15 frames per second (fps) or higher. PAL (UK) TV uses a frame rate of 25 fps, NTSC (US) TV 30 fps and film 24 fps. We’ll choose a value of 20 fps. We’ll also choose a period for the colour animation (the time taken to change from red to blue) of 2 seconds (2000 milliseconds).
We’ll do this by adding a setInterval timer and on the frame update change the background colour of the animated box. The interval id we save as a var to clear the interval later on a window close event (to tidy up nicely):
index.js:
//CONSTANTS
var FRAME_RATE = 20, //frames per second
    ANIMATION_PERIOD = 2000; //millisecs for one cycle of animation
var frameCount = 0; //used to count the number of frames passed
var intervalID = setInterval(function() {
  updateAnimation();
}, 1000 / FRAME_RATE);
function updateAnimation() {
  frameCount++;
  var time = frameCount * 1000 / FRAME_RATE;
  //phase
  var phase = Math.floor(time / ANIMATION_PERIOD) % 2;
  //cycle the animation
  time = time % ANIMATION_PERIOD;
  var scaleFactor = time / ANIMATION_PERIOD;
  //if we are in an odd phase then reverse the animation
  if (phase === 1)
    scaleFactor = 1 — scaleFactor;
  $.animatedBox.backgroundColor = chromaScale(scaleFactor).hex();
}
The maths used to calculate the scaleFactor in updateAnimation() is a bit involved, but essentially — because we want the colour values to cycle back and forth between red and blue — we calculate the phase of the animation as being odd or even over the time elapsed of the animation (time) by using the modulo operator “%”. If the phase is odd we reverse the animation by inverting the scaleFactor value (1 — scaleFactor).
This then produces a smooth, constantly cycling, colour animation of the animatedBox.
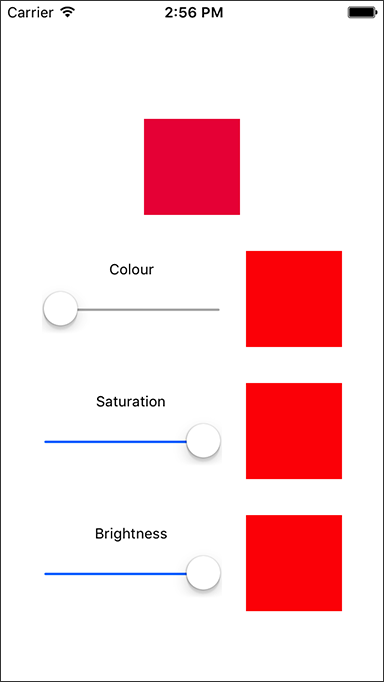
In the final project, I have also added a couple more slider and box pairs to show how changing the saturation or lightness/brightness of a colour can be controlled by using the saturation or value values in the Chroma library calls in the HSV colour model (or equivalently saturation and lightness in the HSL colour model. The difference between these very similar models is subtle and complex but you can read more about it here). Hue is the color angle in degrees in the range [0, 360], saturation and value/lightness values are in the range [0, 1]. A hue value of 360 degrees corresponds to our red test colour.
//interactively control the colour saturation
function onSlider2Change(_evt) {
  var scaleFactor = _evt.value / 100;
  $.box2.backgroundColor = Chroma(360, scaleFactor, 1, ‘hsv’).hex();
}
//interactively control the colour value/brightness
function onSlider3Change(_evt) {
  var scaleFactor = _evt.value / 100;
  $.box3.backgroundColor = Chroma(360, 1, scaleFactor, ‘hsv’).hex();
}
You can see the full completed project here on GitHub.
Follow us on social