
Google Kubernetes Engine (GKE) provides a managed environment for deploying, managing and scaling your containerized applications using Google infrastructure. The environment GKE provides consists of multiple machines (specifically, Google Compute Engine instances) grouped together to form a cluster.
In this blog post, we’ll describe how to deploy an API Builder Microservice Container to GKE following their online guide.
Objectives
To package and deploy your application on GKE, you must:
- Package your app into a Docker image
- Run the container locally on your machine (optional)
- Upload the image to a registry
- Create a container cluster
- Deploy your app to the cluster
- Expose your app to the Internet
- Scale up your deployment
We’ll use my pre-built API Builder MongoDB container image on Docker Hub so we’ll skip the parts about creating a docker container of your app (1) and publishing to a repository (3). However, you will need a MongoDB connection URL to an instance with a database with a collection with data in it. You can easily set up a MondoDB Atlas instance for free. Also, we will test the container locally on your machine (2).
Prerequisites
In order to proceed, you need to make sure you have the following prerequisites:
- Docker installed on your machine
- MongoDB Database with a Collection with Data. You’ll need the connection URL for this database.
Preparation
Before you begin
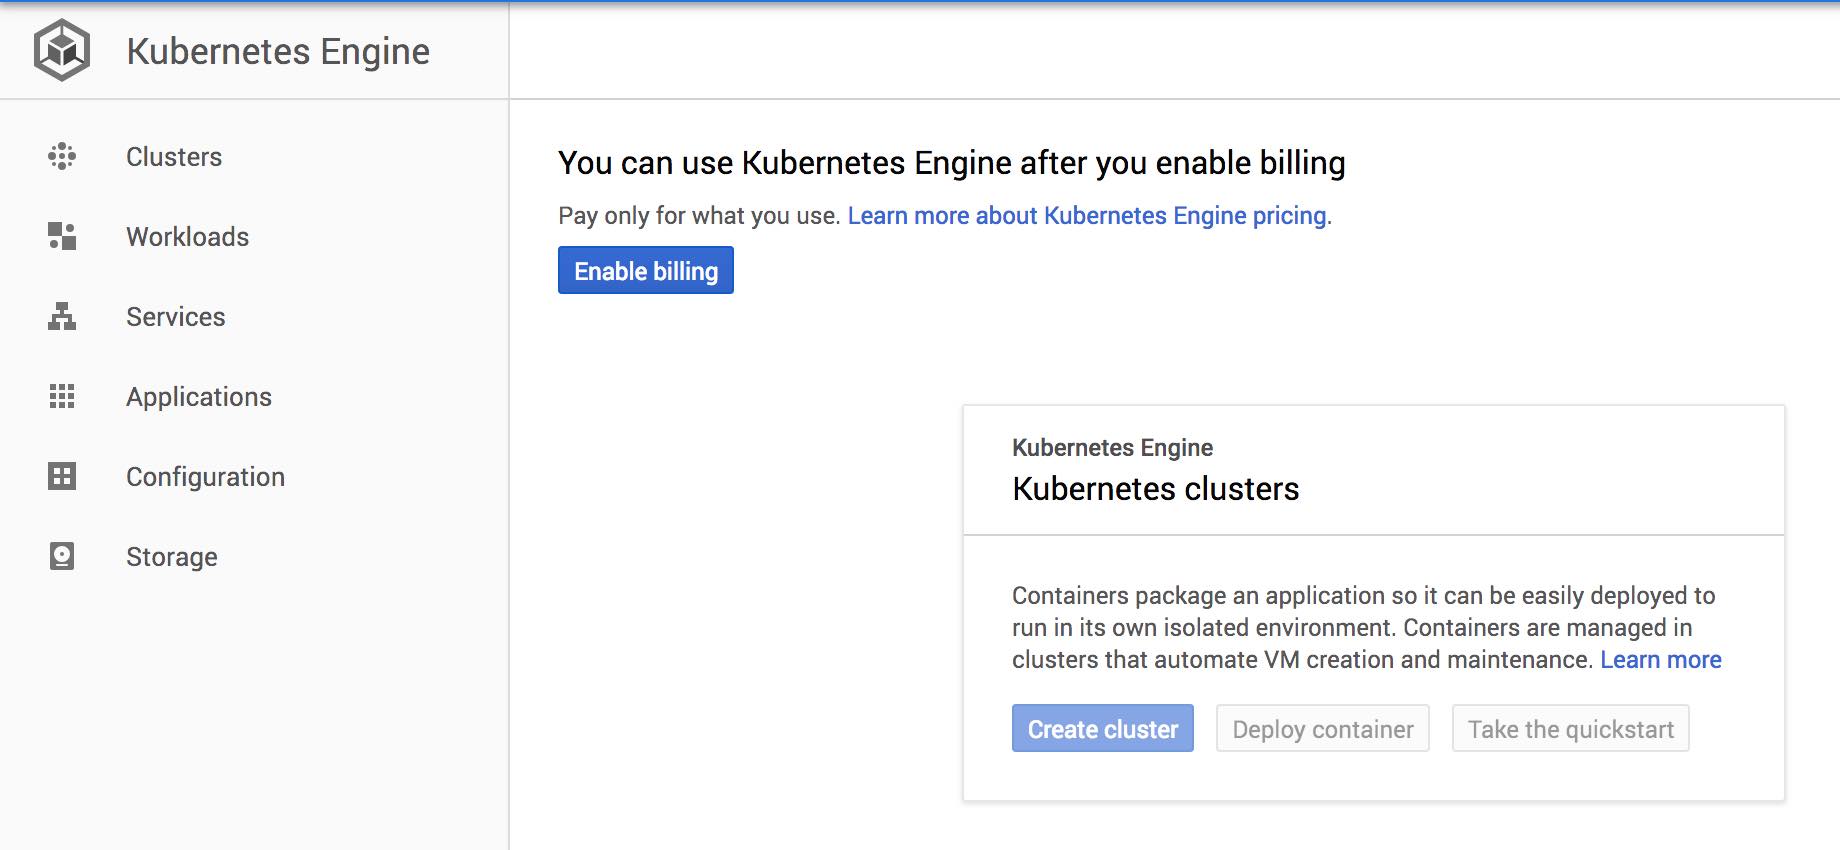
Take the following steps to enable the Kubernetes Engine API:
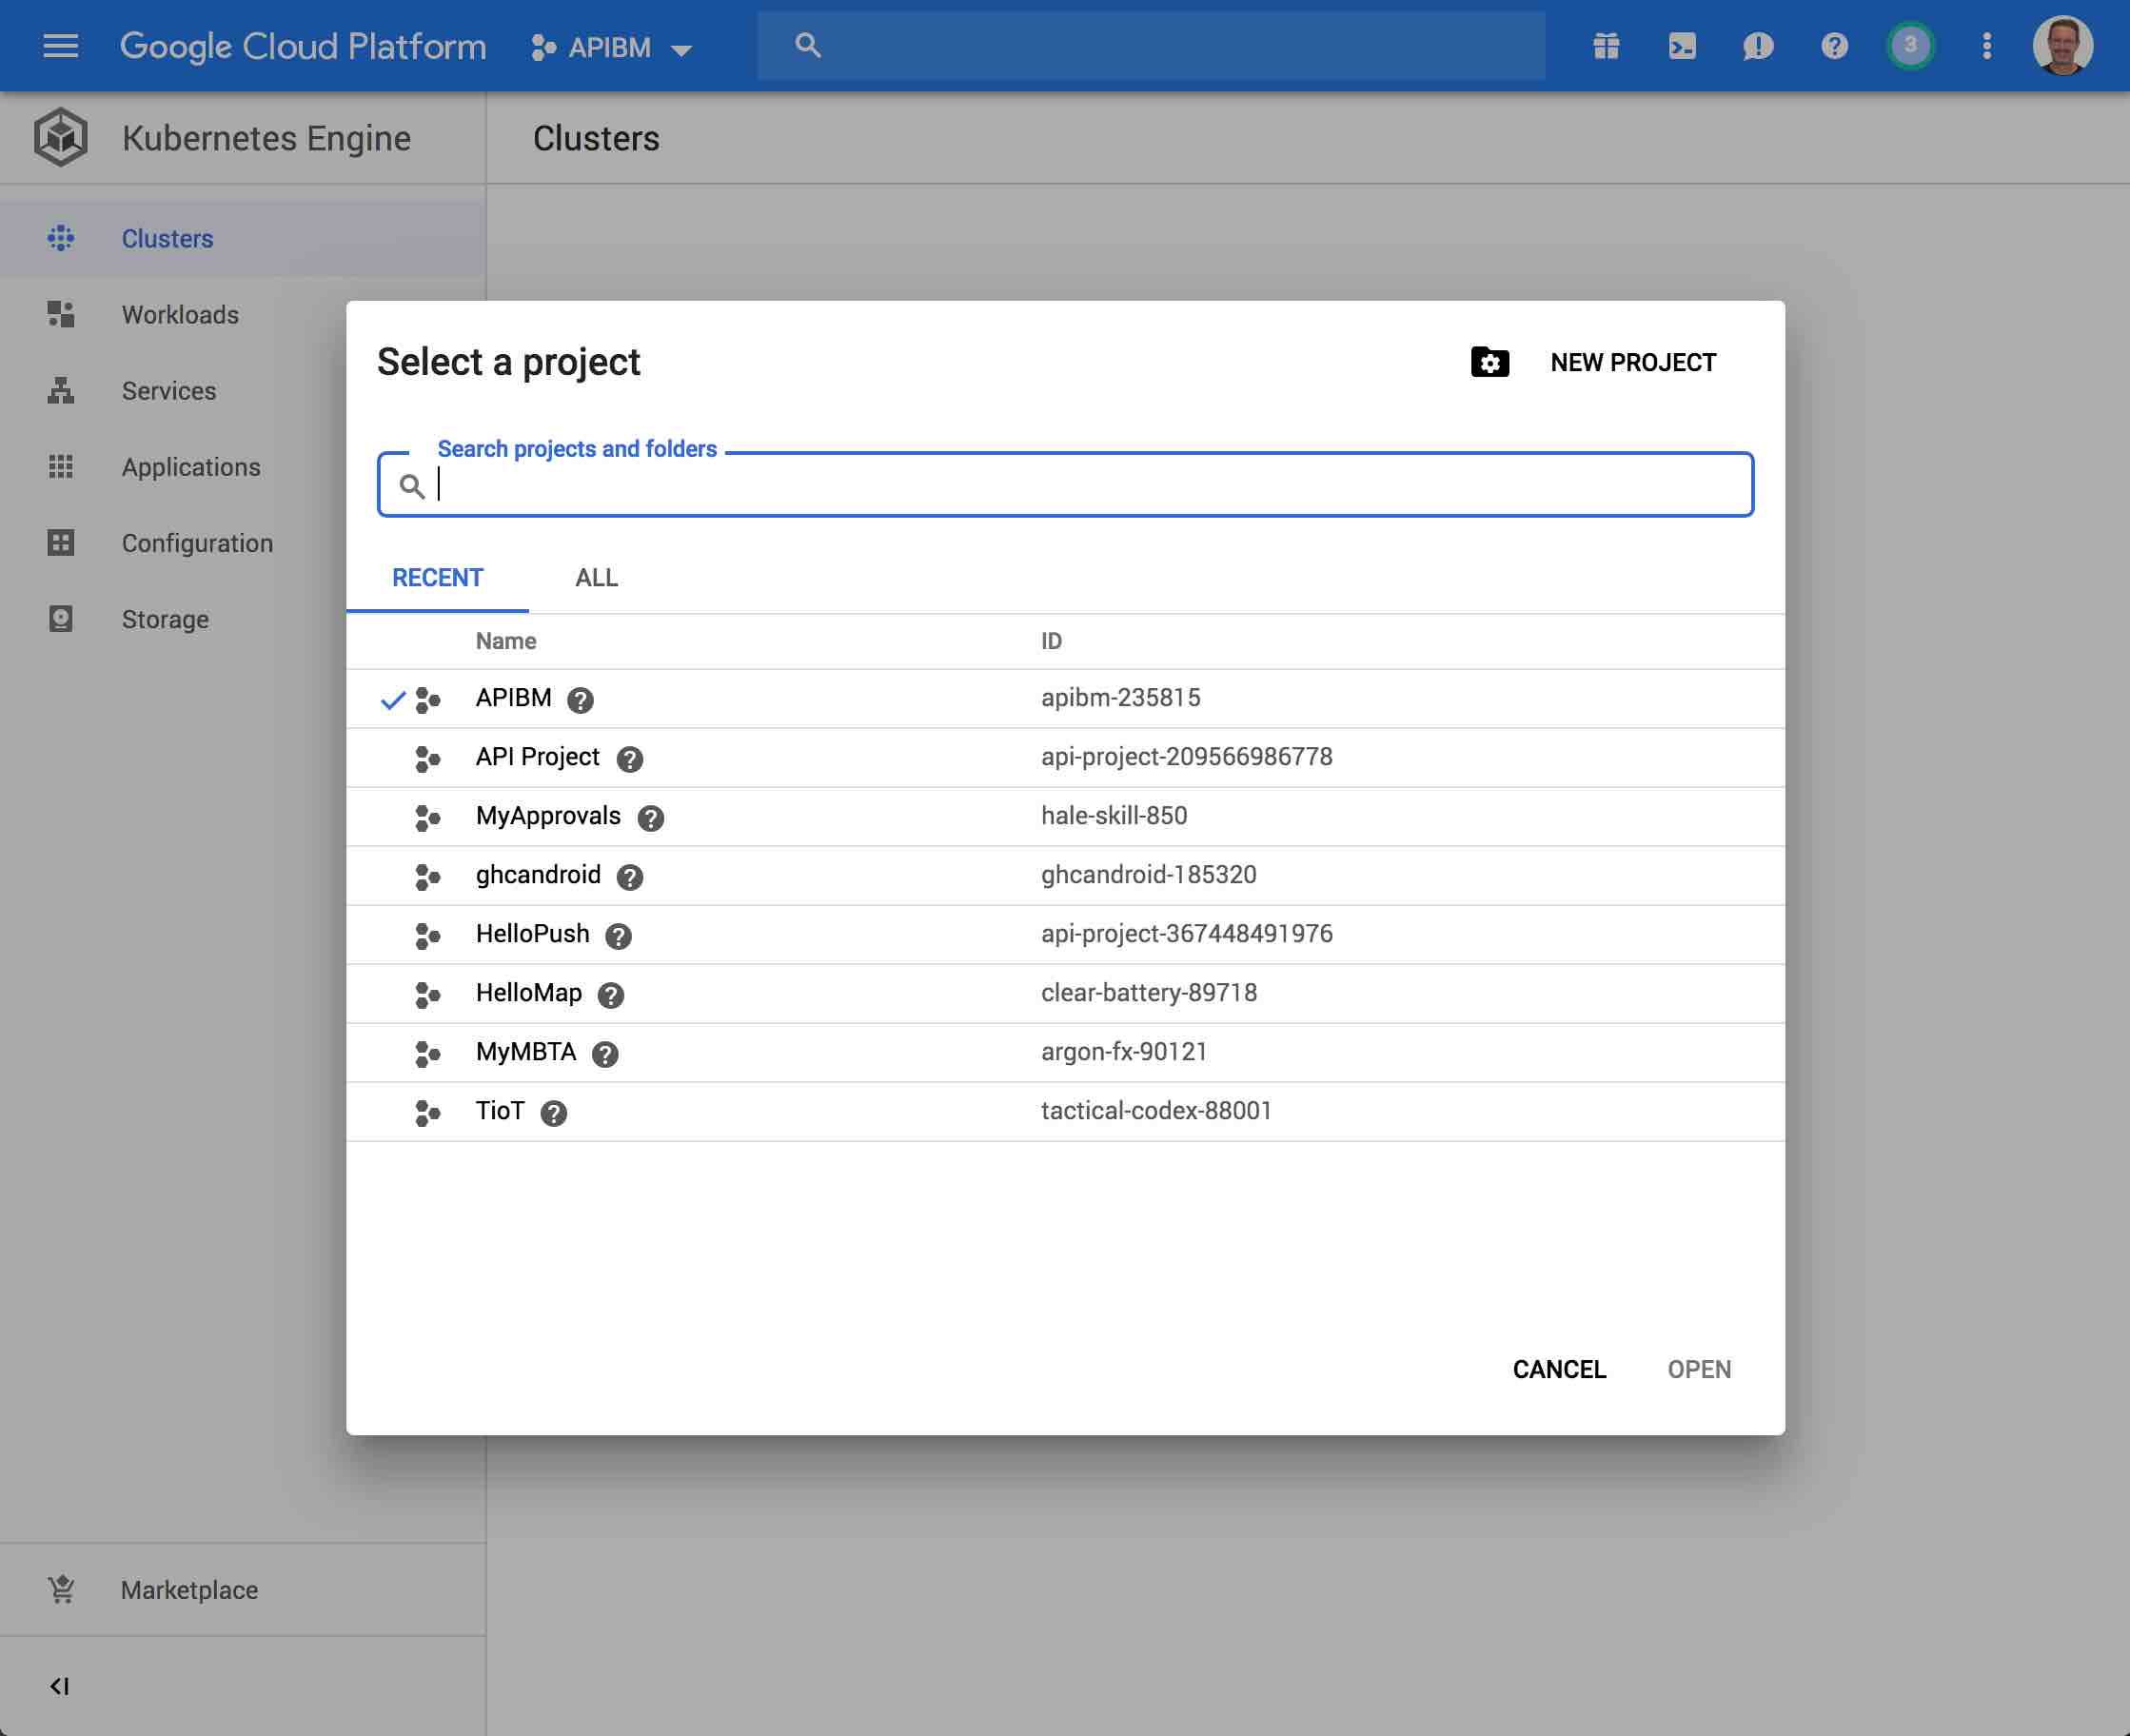
- Visit the Kubernetes Engine page in the Google Cloud Platform Console
- Create or select a project.
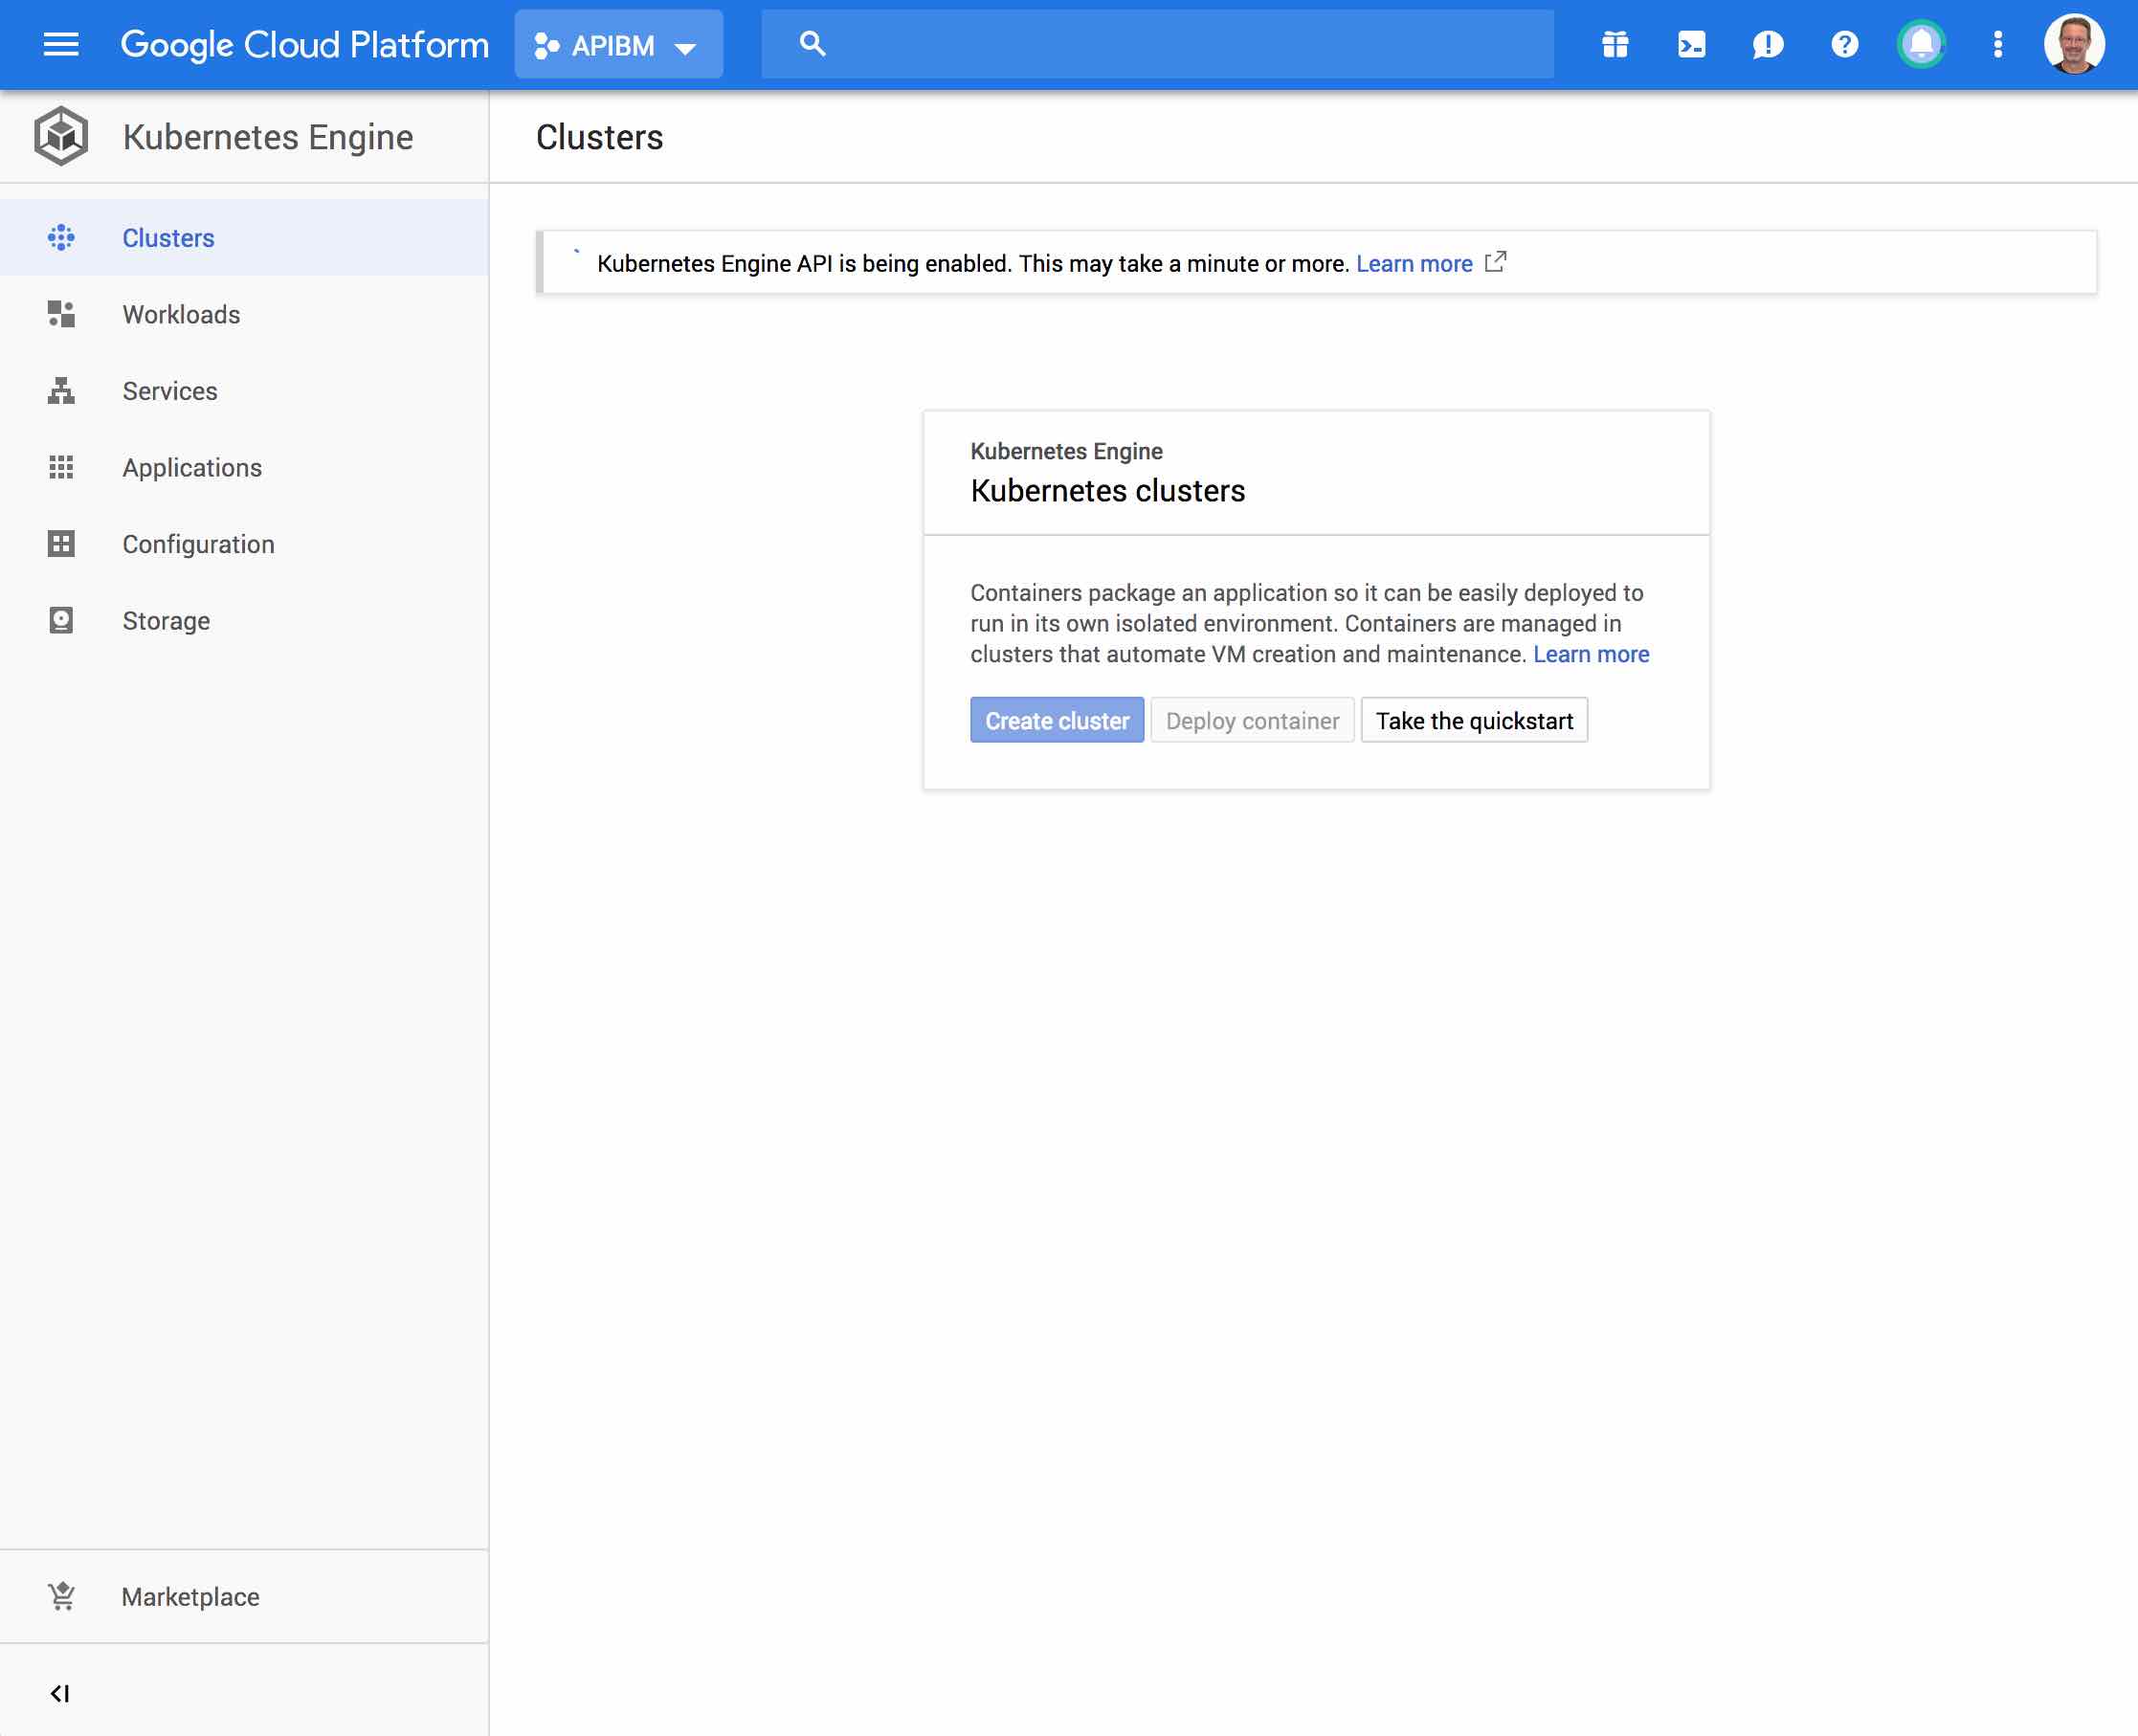
- Wait for the API and related services to be enabled. This can take several minutes.
- Make sure that billing is enabled for your Google Cloud Platform project.
The following screenshots illustrate some of these steps for clarity:
Use Google Cloud Shell
There are two options for proceeding, we’ll use Option A – Use Google Cloud Shell. This is nice as you can do all your work in a browser and there is nothing to install on your machine.
- Go to the Google Cloud Platform Console
- Click the Activate Cloud Shell button at the top of the console window
The following screenshots illustrate some of these steps for clarity:

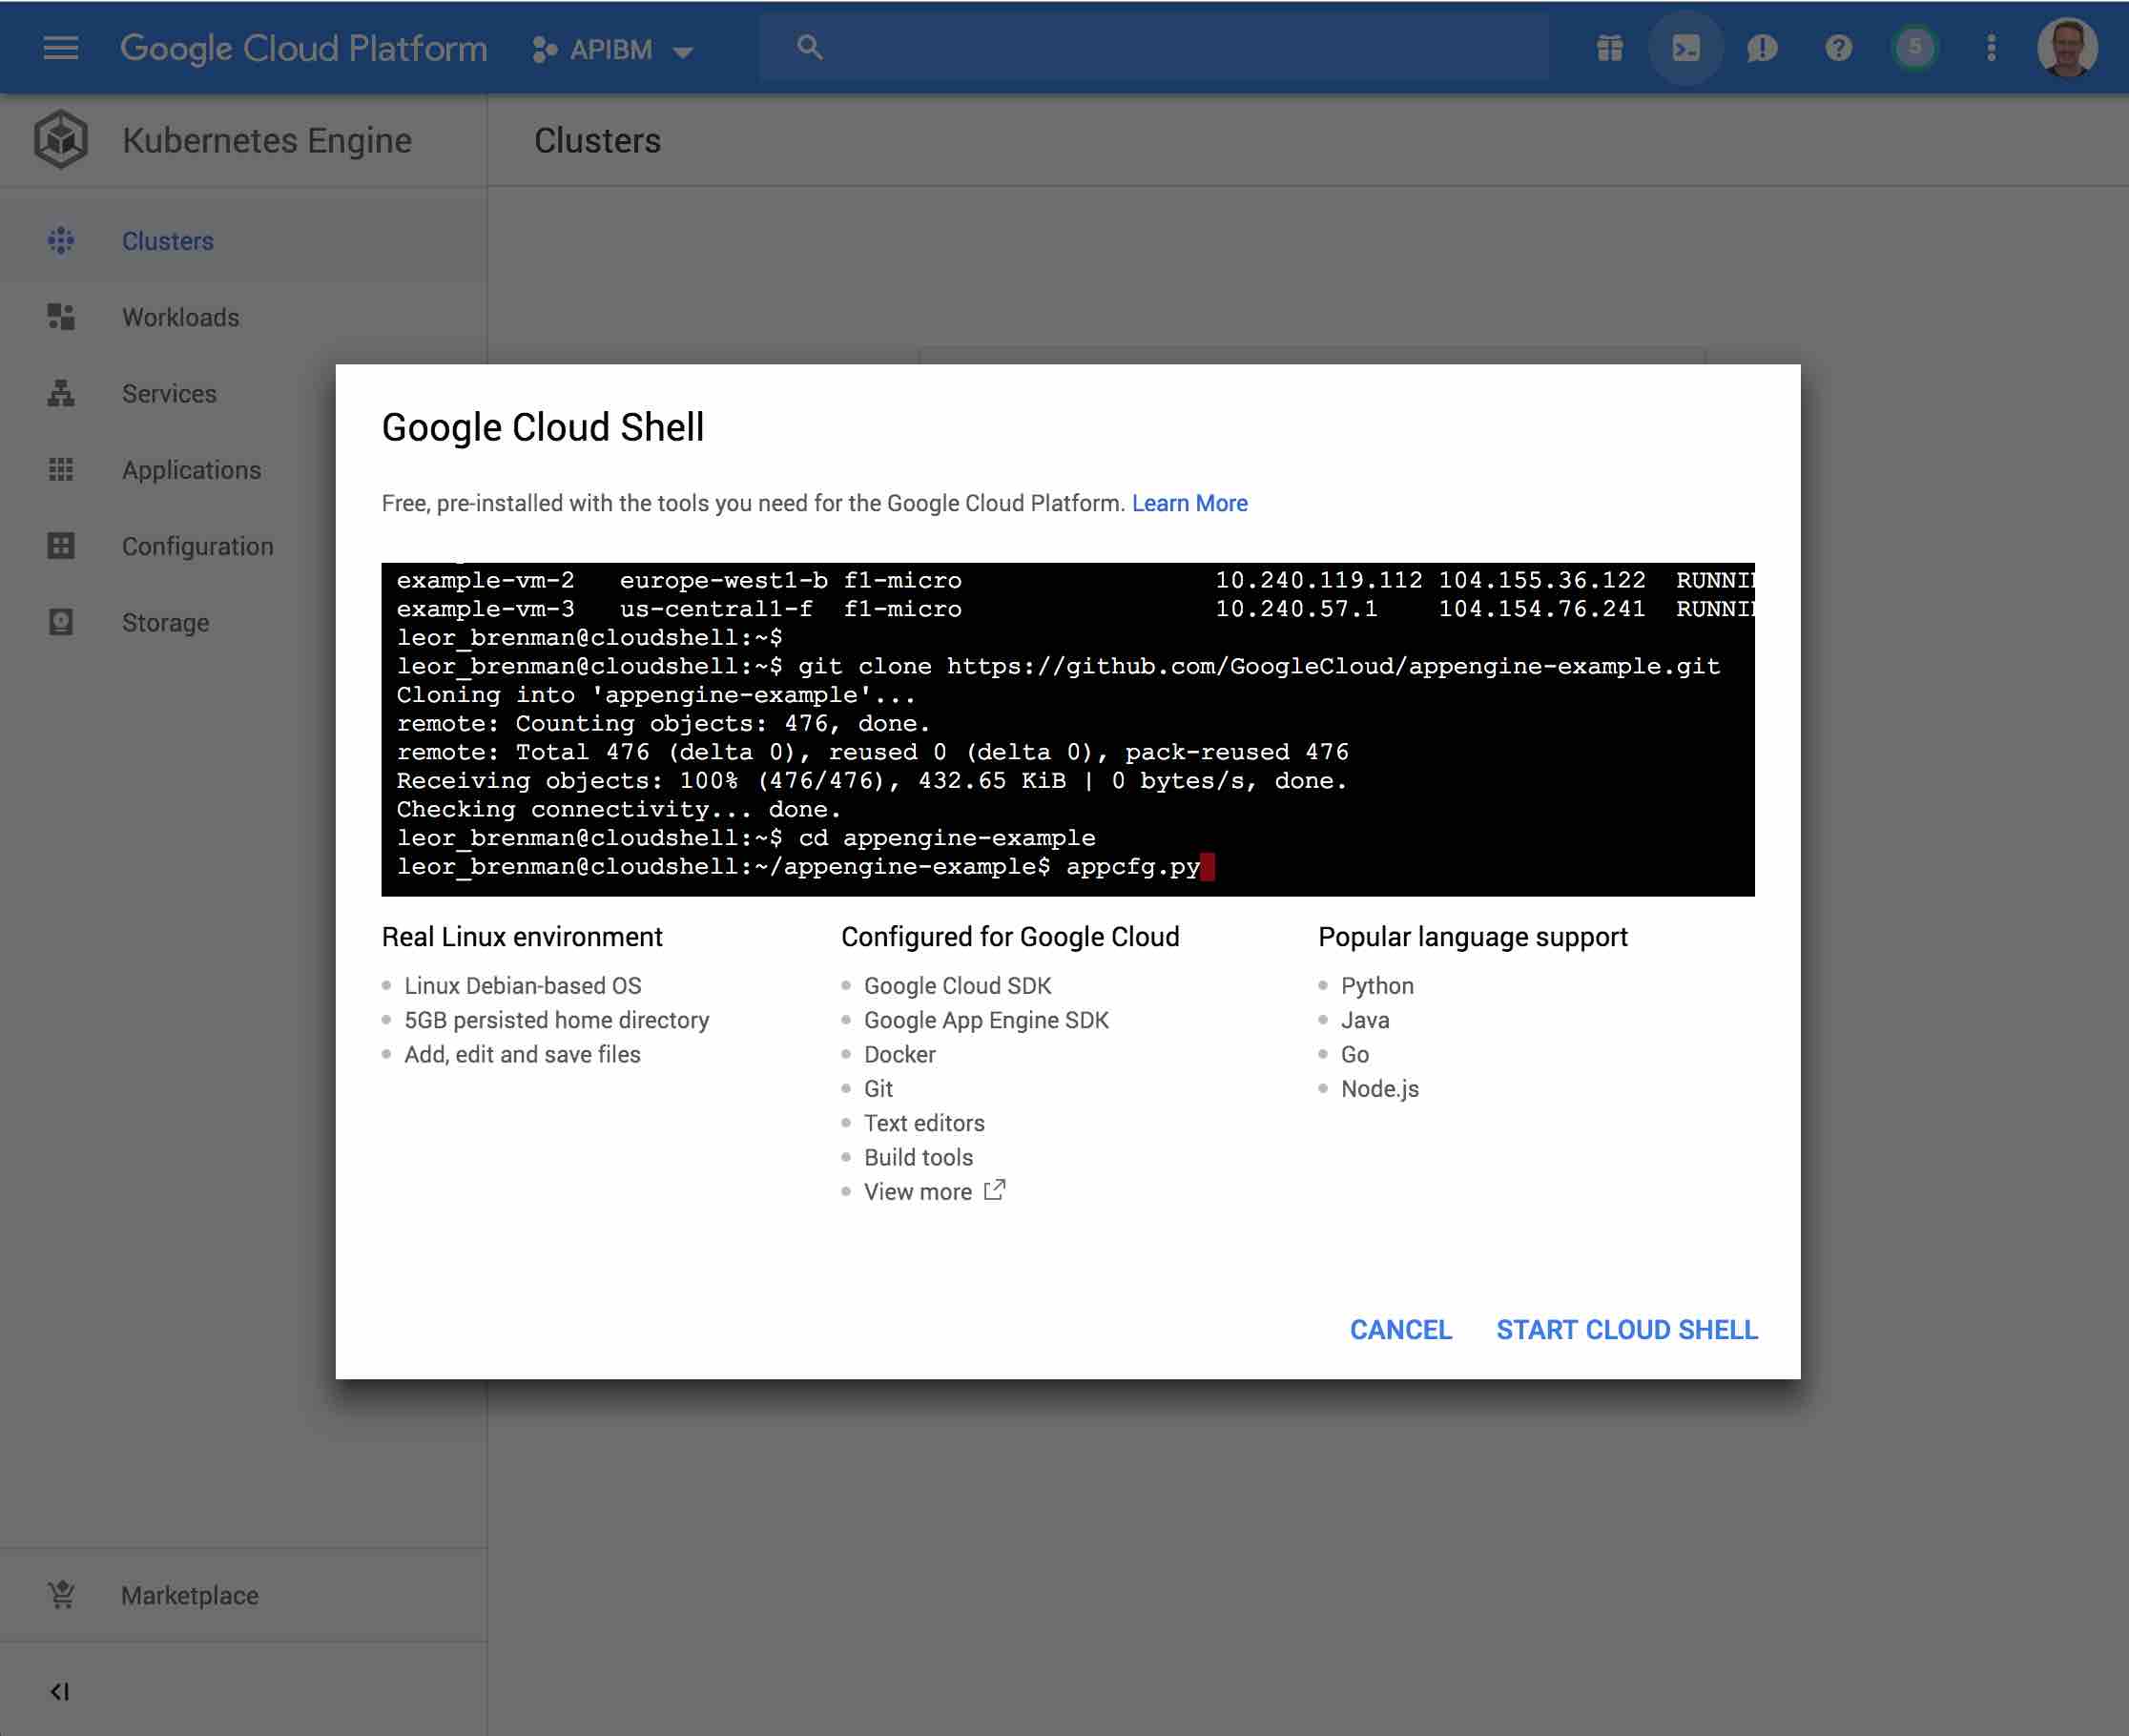
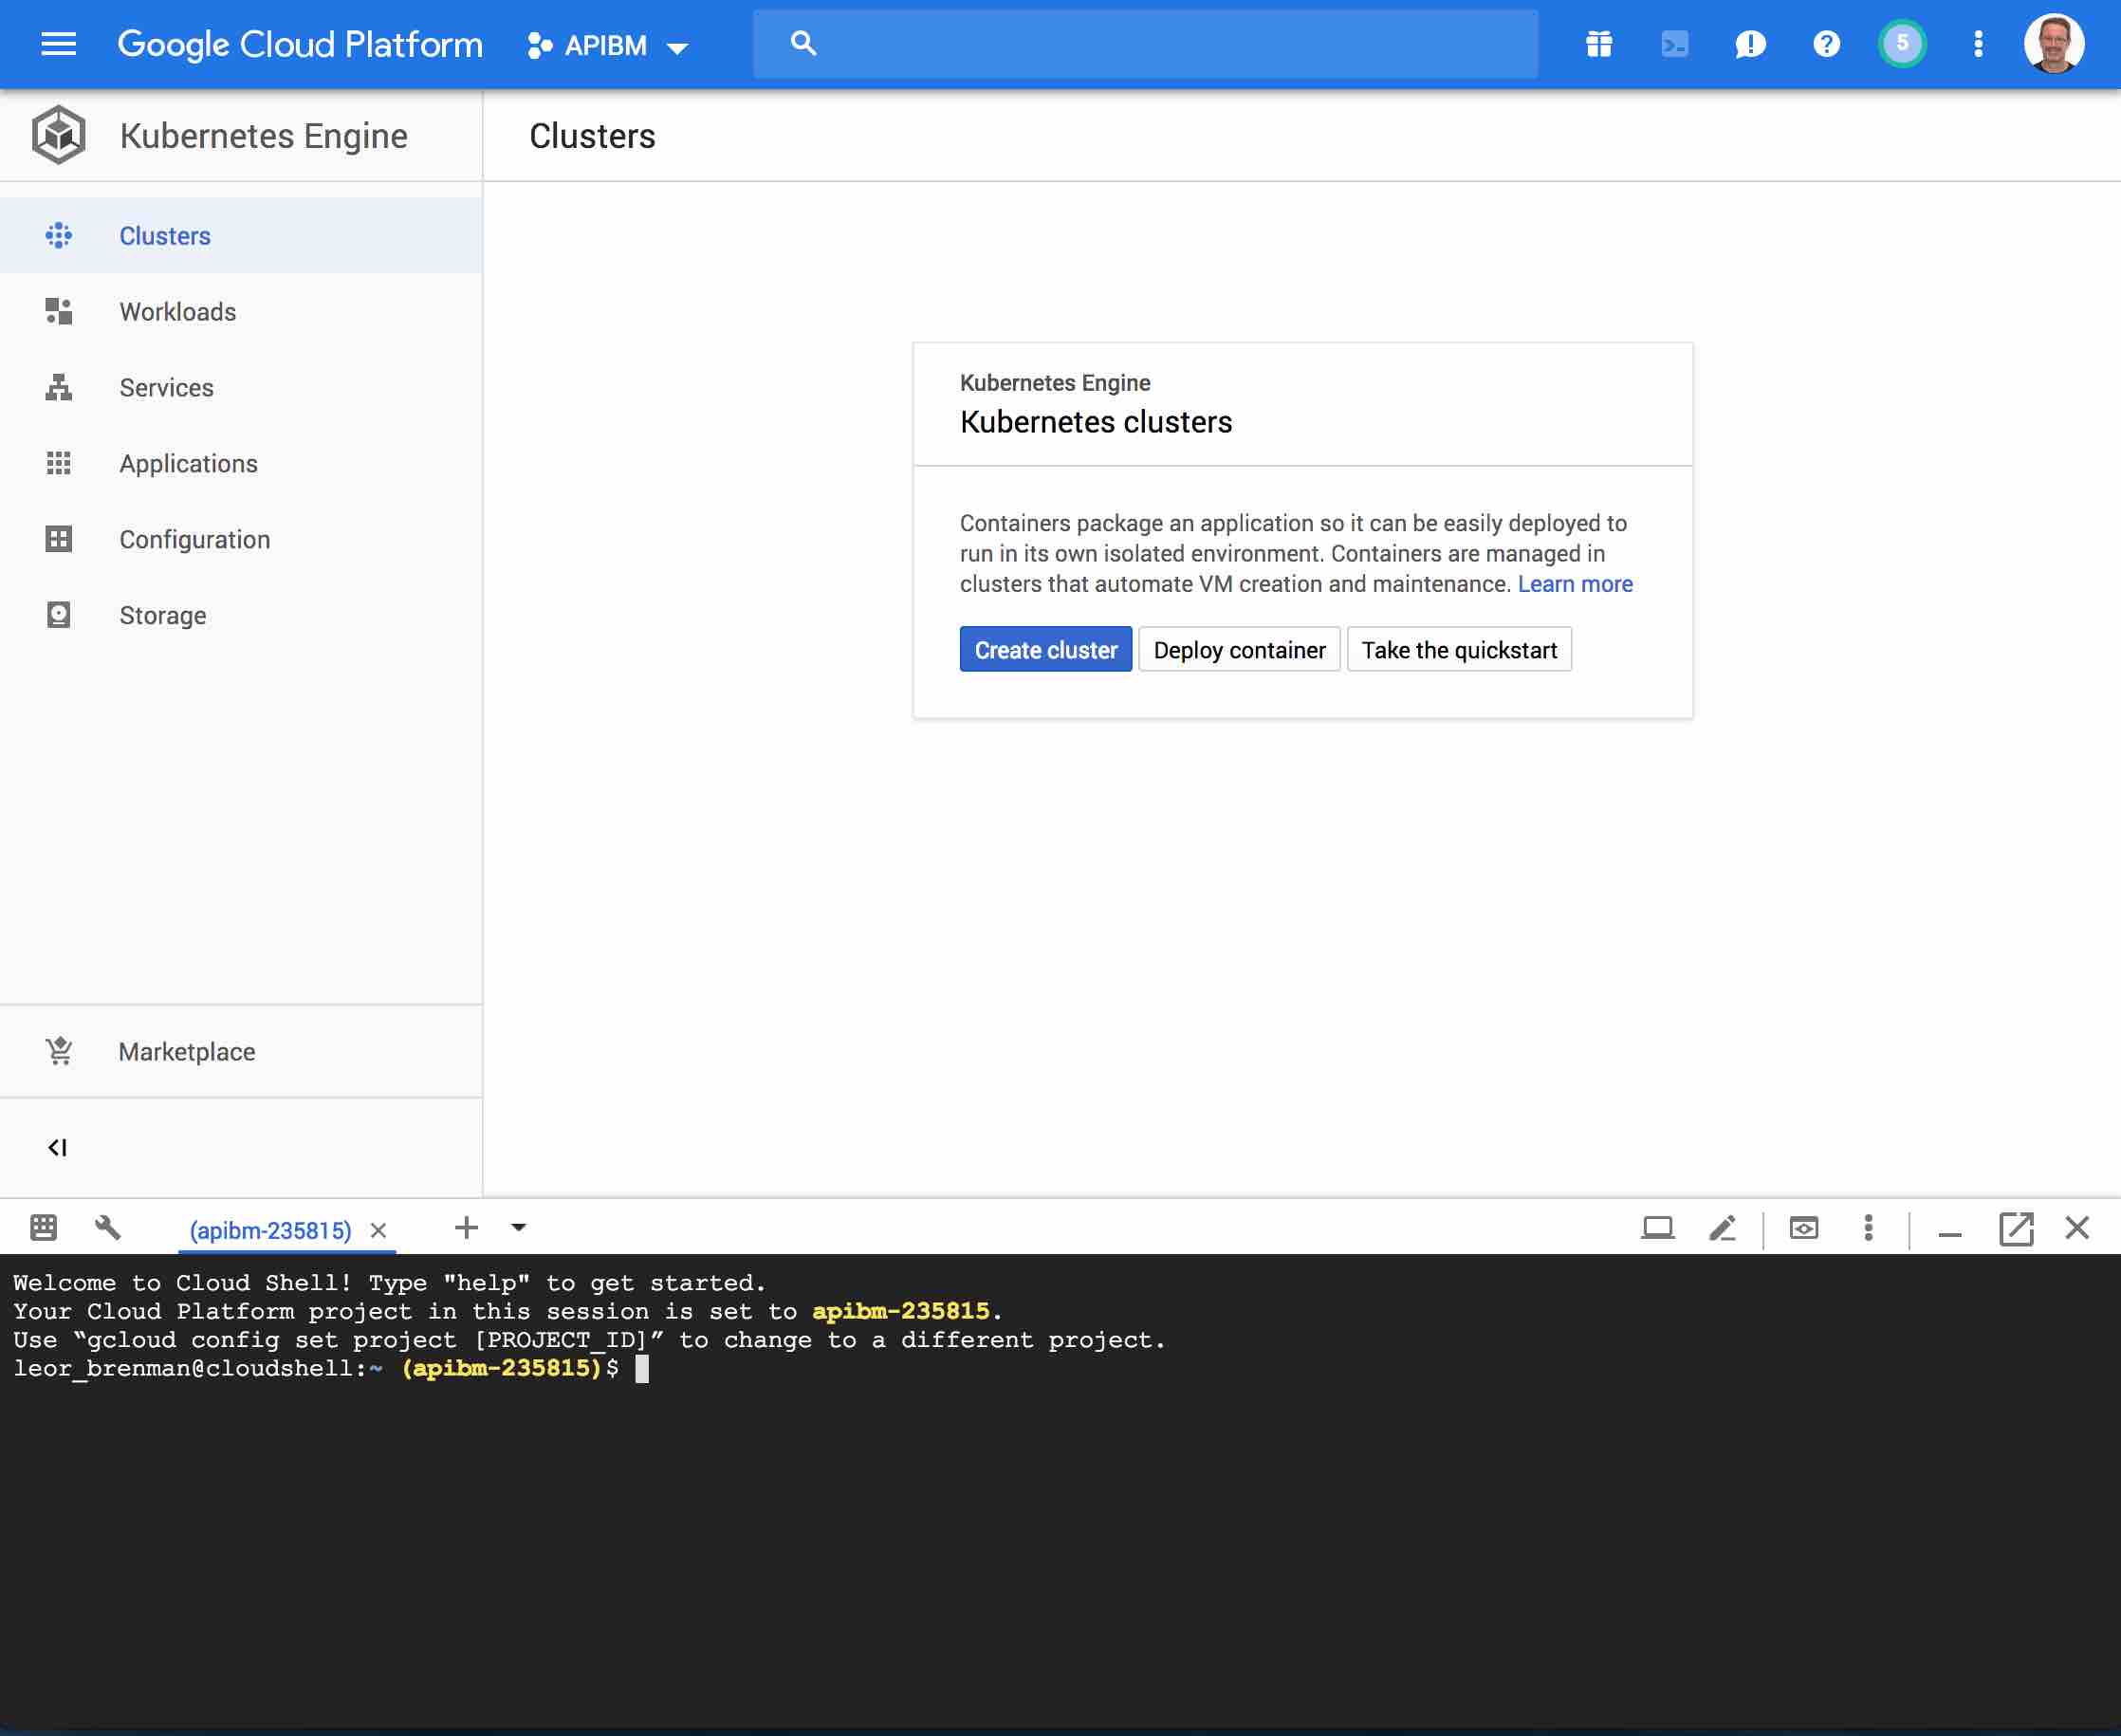
Note the Cloud Shell console at the bottom of the Google Cloud Platform console in the screenshot above. This is where you will enter most of the CLI commands we will use below.
Note: Make sure the project your session is configured for is set properly. Mine is apibm-253815.
Package your app into a Docker image
My API Builder Mongo Container Image is in Docker Hub so no need to do this, but you do need a MongoDB connection URL for your MongoDB instance. You can use MongoDB Atlas for this.
Run the container locally on your machine (optional)
It’s a good idea to do this to make sure the container image and your MongoDB database are working properly. Use the following command in a terminal on your computer (not in the Google Cloud Shell):
docker run --rm --name apibm -p 80:8080 -e MONGO_URL= lbrenman/apibmongodb:1.0.1
I’ll use curl to test an API in my API Builder container. For my MongoDB instance a curl command to get all dogs is:
curl http://localhost/api/mongo/dog
with response:
{
  "success": true,
  "request-id": "5f2f0e2c-3e13-43dd-ae3b-c50a8599dc87",
  "key": "dogs",
  "dogs": [
    {
      "id": "5a24a9a67779e860d007b13e",
      "breed": "Poodle",
      "name": "Fido"
    },
    {
      "id": "5a24a9d27779e860d007b140",
      "breed": "Lab",
      "name": "Fred"
    },
    ...
    {
      "id": "5b3aafcb9de9003840480fe7",
      "breed": "Doberman",
      "name": "Doobie"
    }
  ]
}
With that response, I am sure that the container and database are working together and I can make API calls. We can move on.
Upload the image to a registry
Since our image is already on Docker Hub, we can skip this step
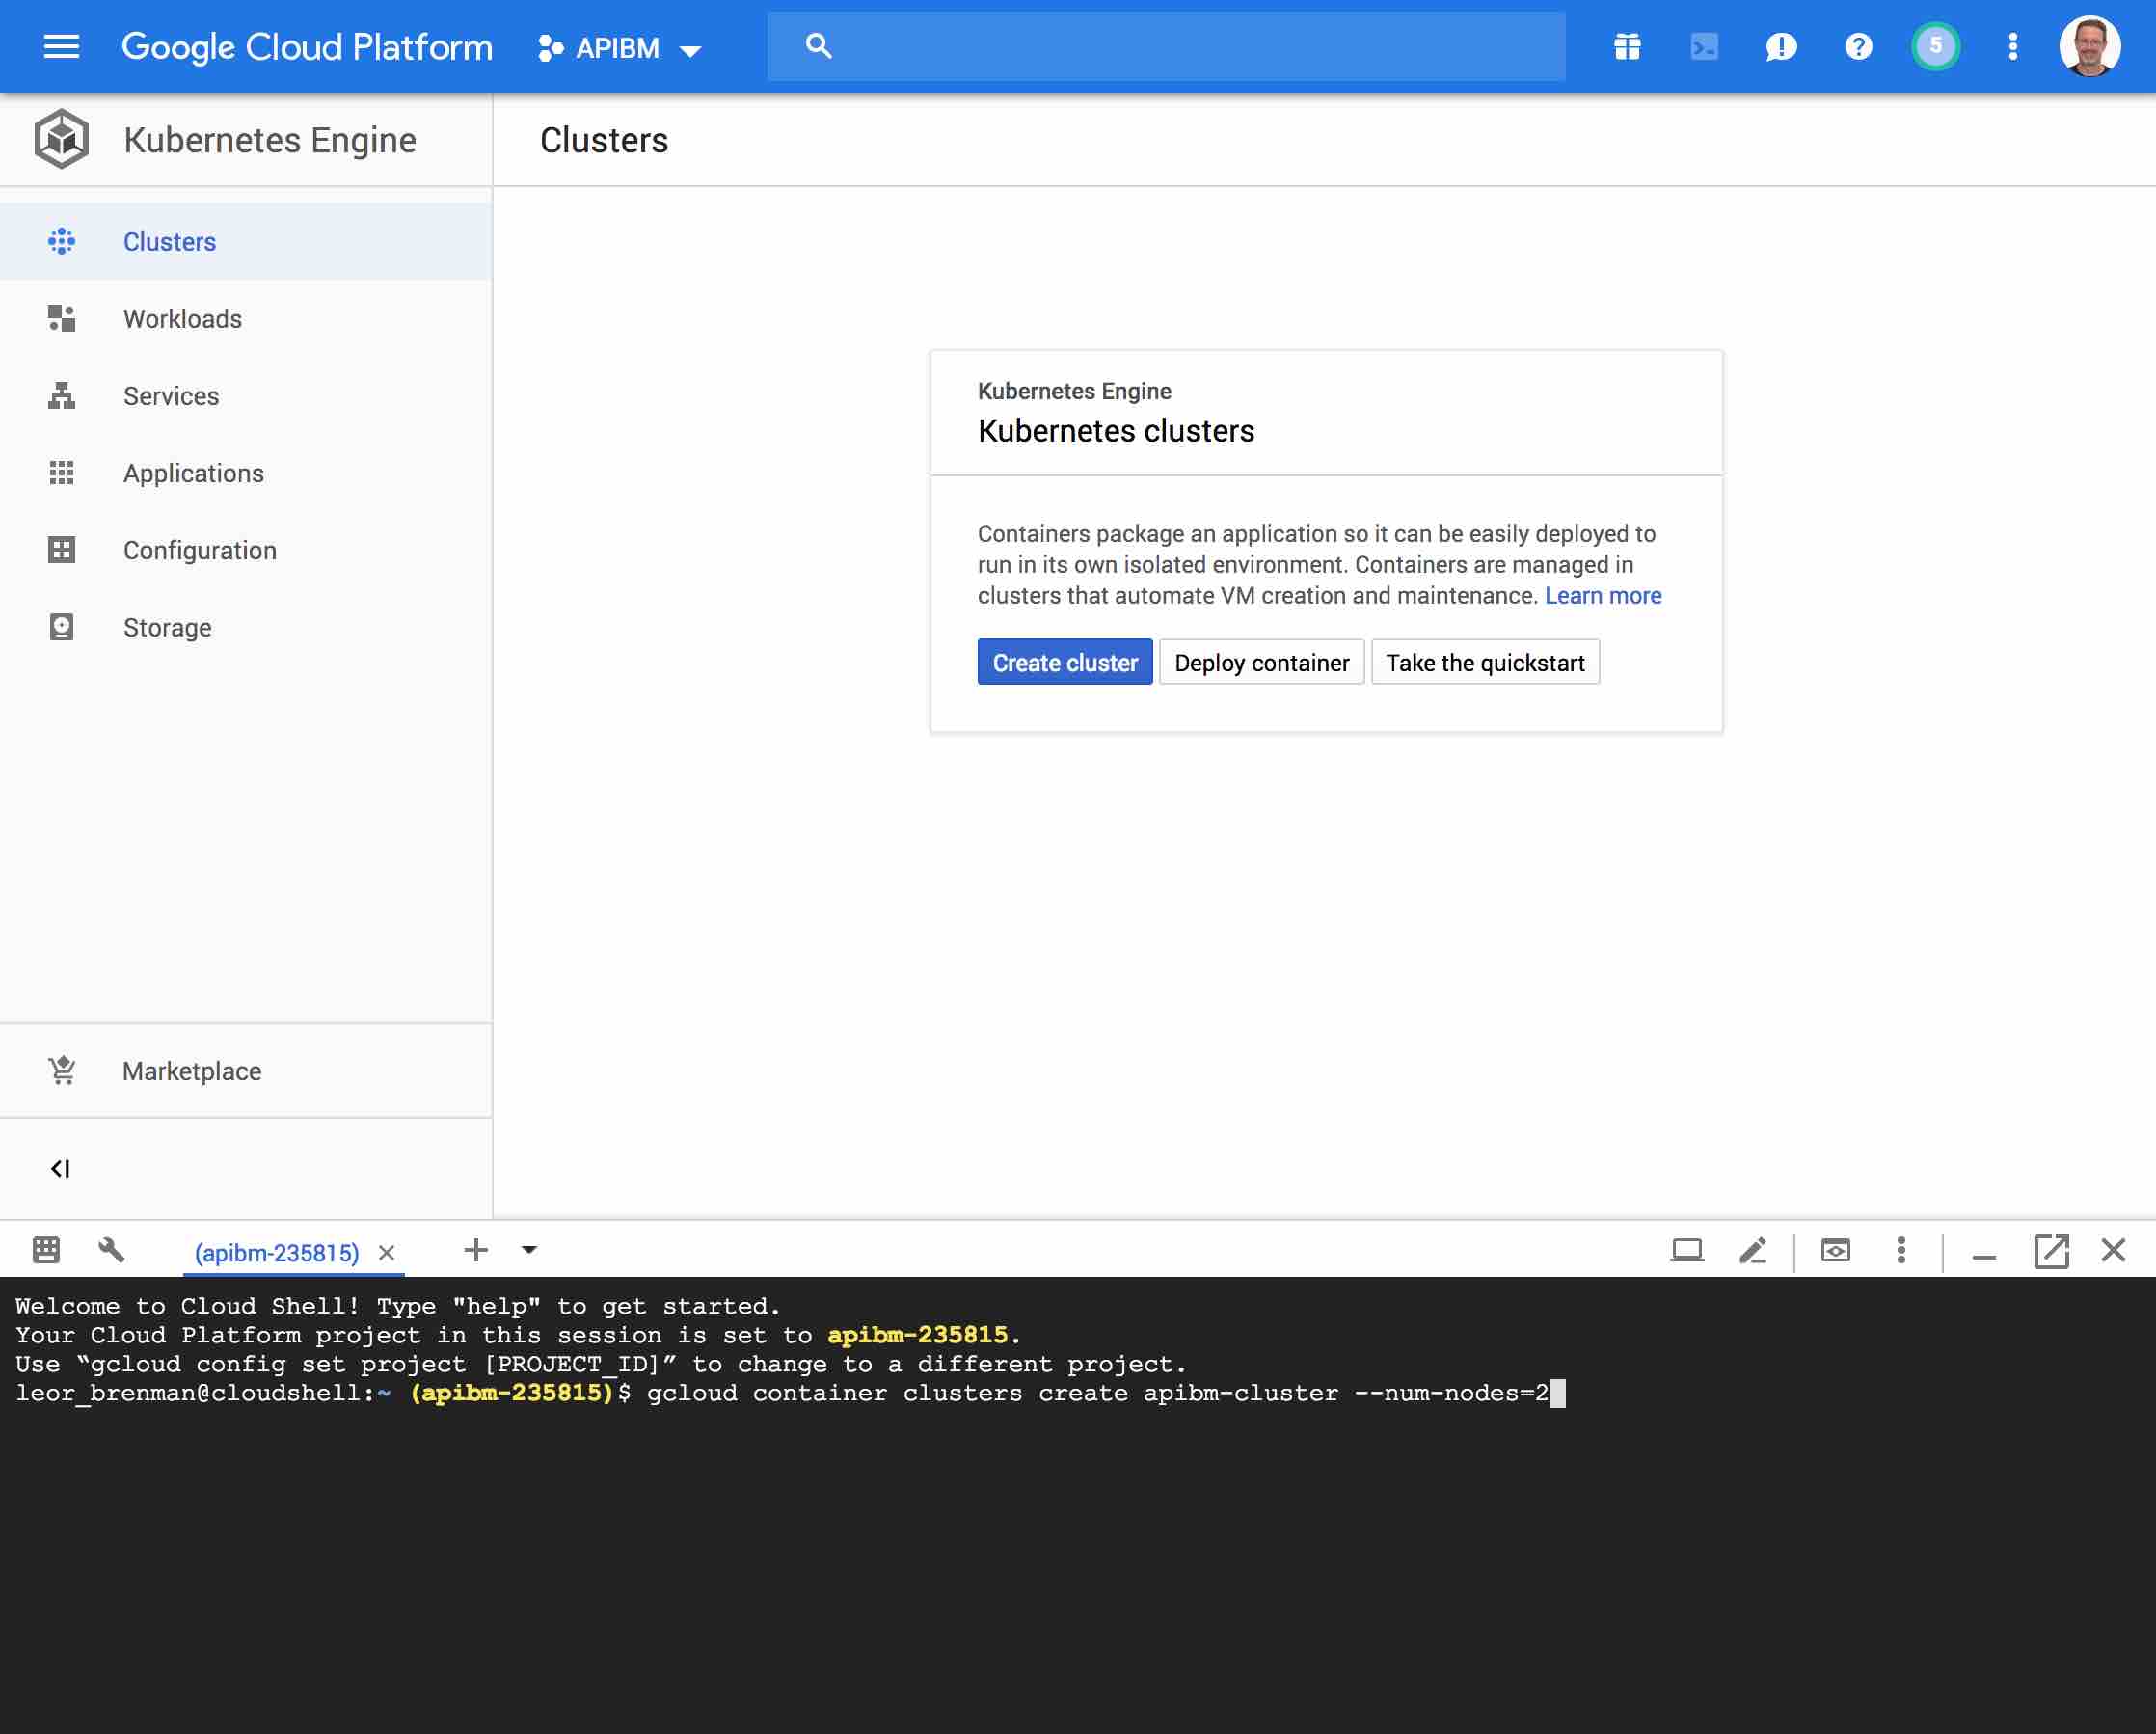
Create a container cluster
From here on in, all CLI commands are to be entered in the Google Cloud Shell in your Google Cloud Platform Console.
Let’s create a cluster called apibm-cluster as follows:
gcloud container clusters create apibm-cluster --num-nodes=2
Note that if you get a location error, then set the region or zone using ‘gcloud config set compute/zone us-east1-b’ with the zone of your choosing. Regions and zones are described here
Screenshots are below:
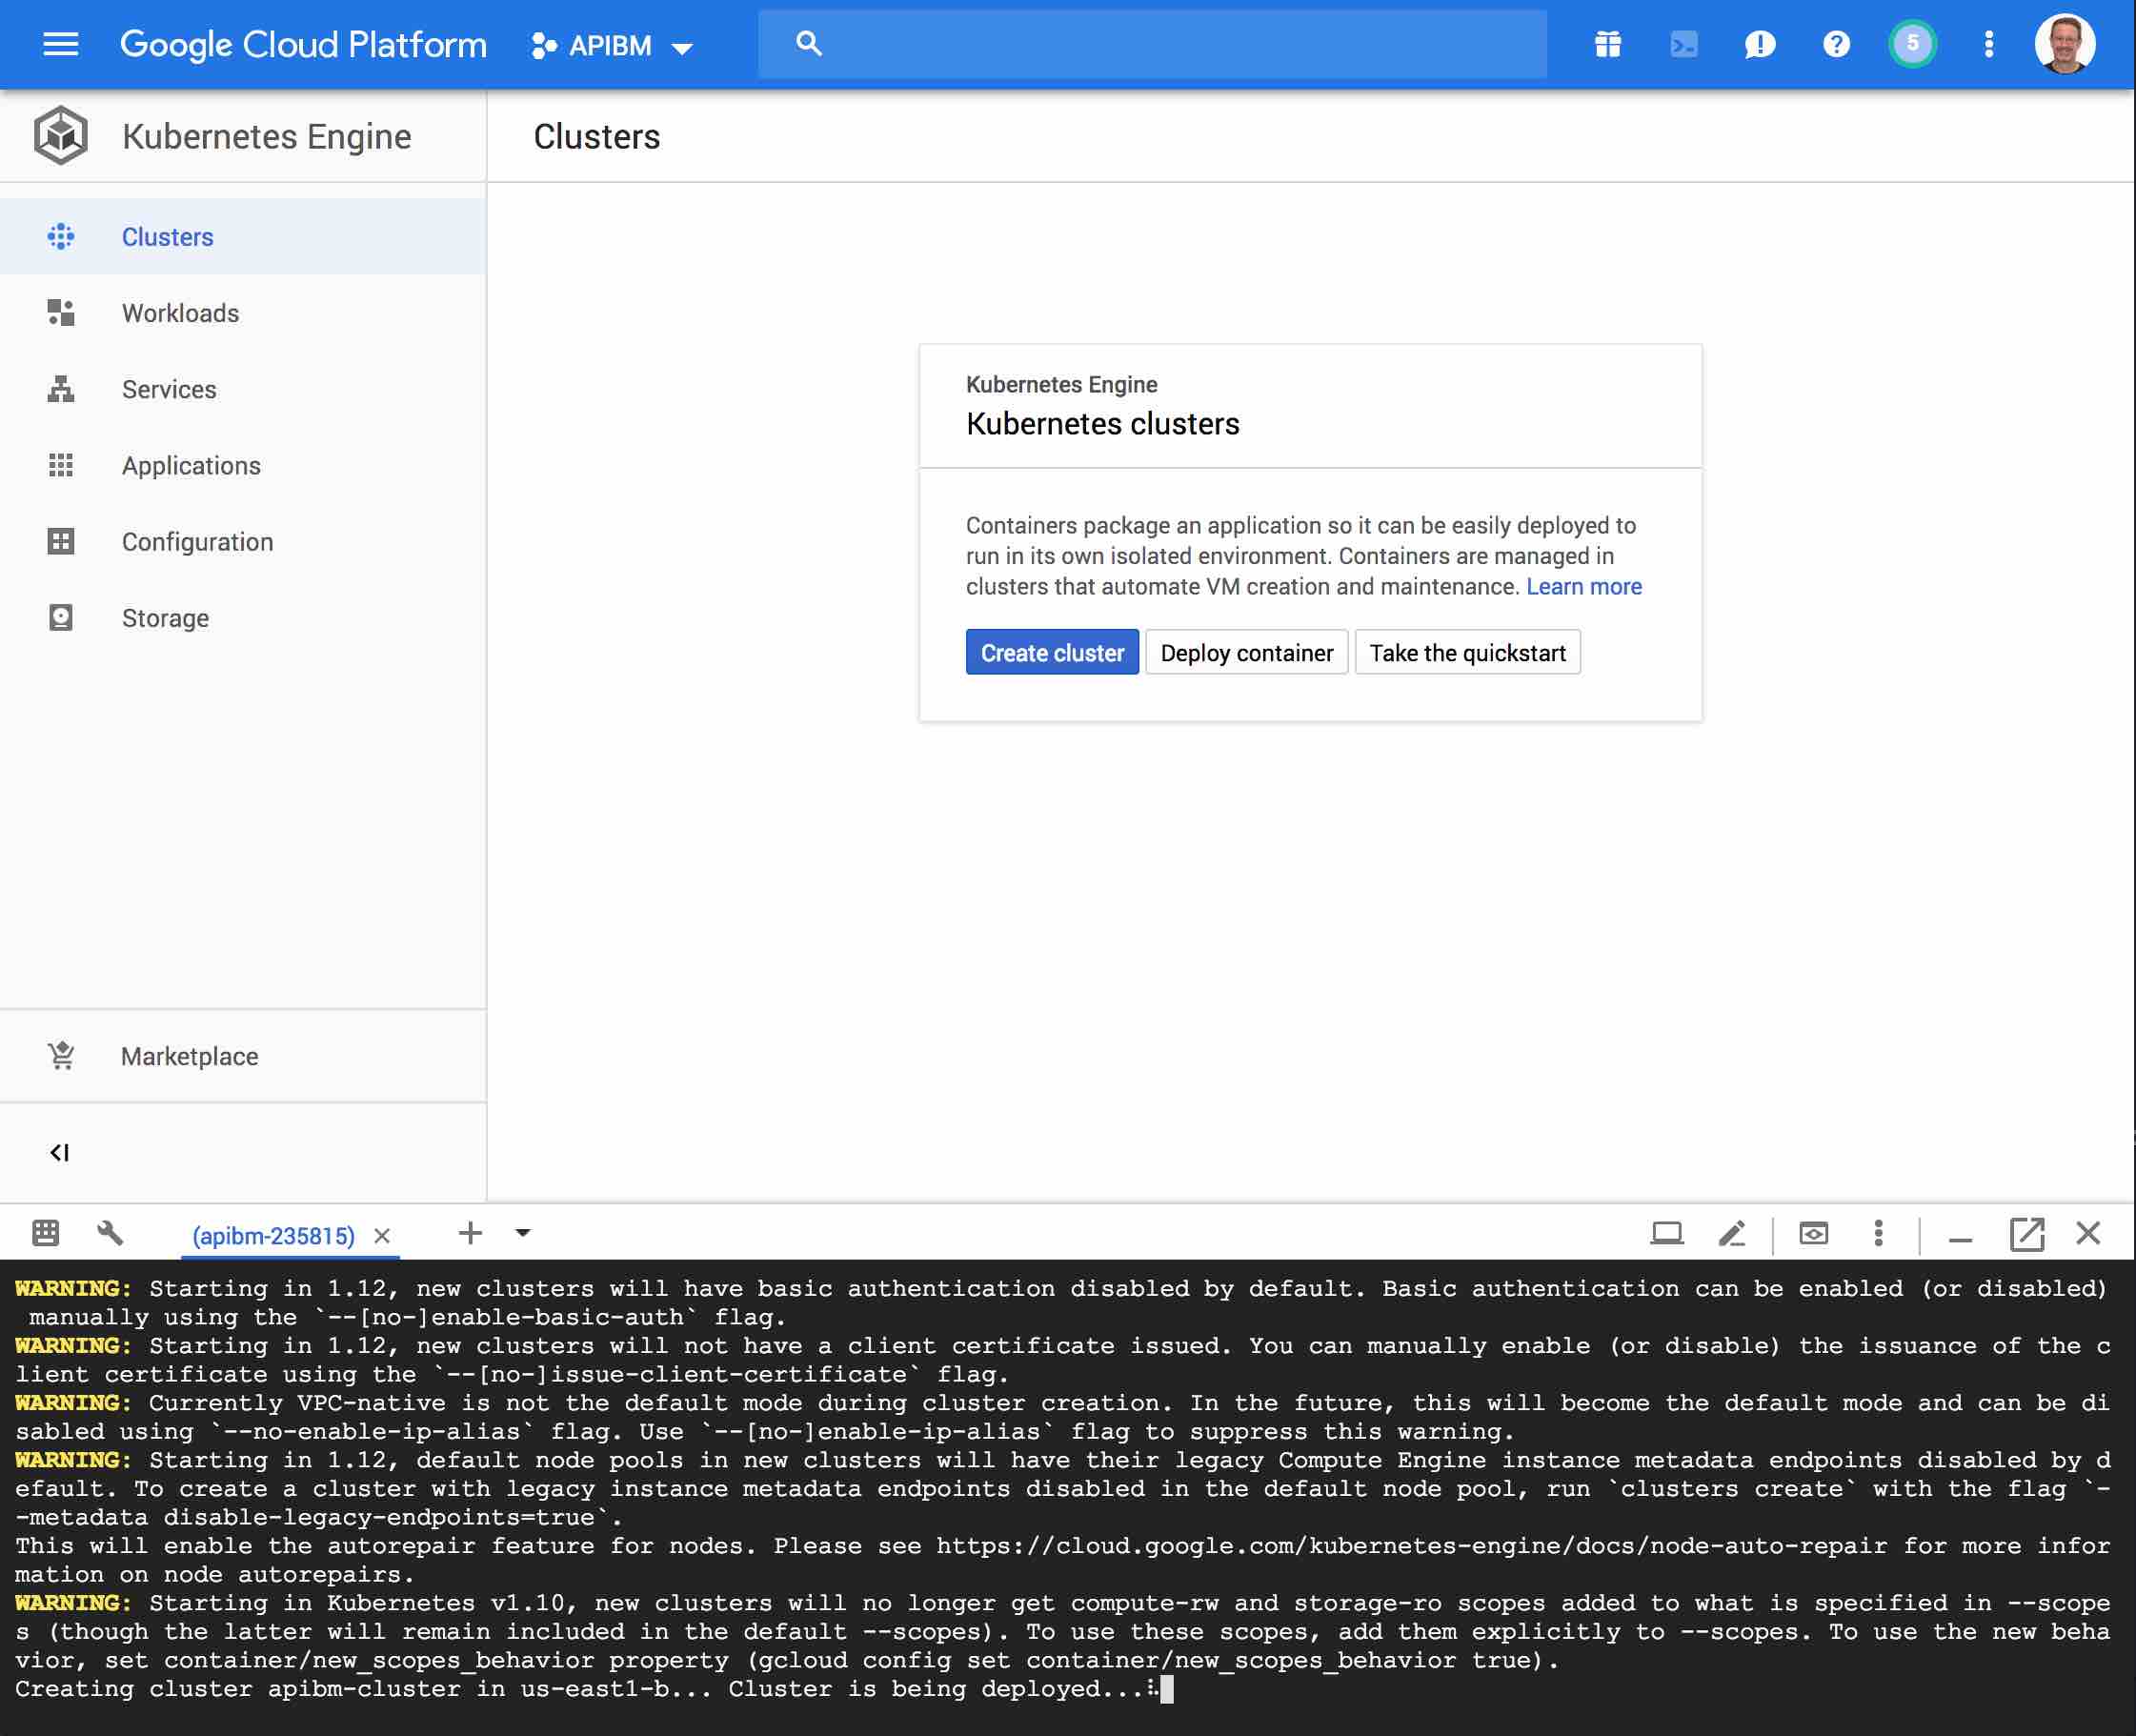
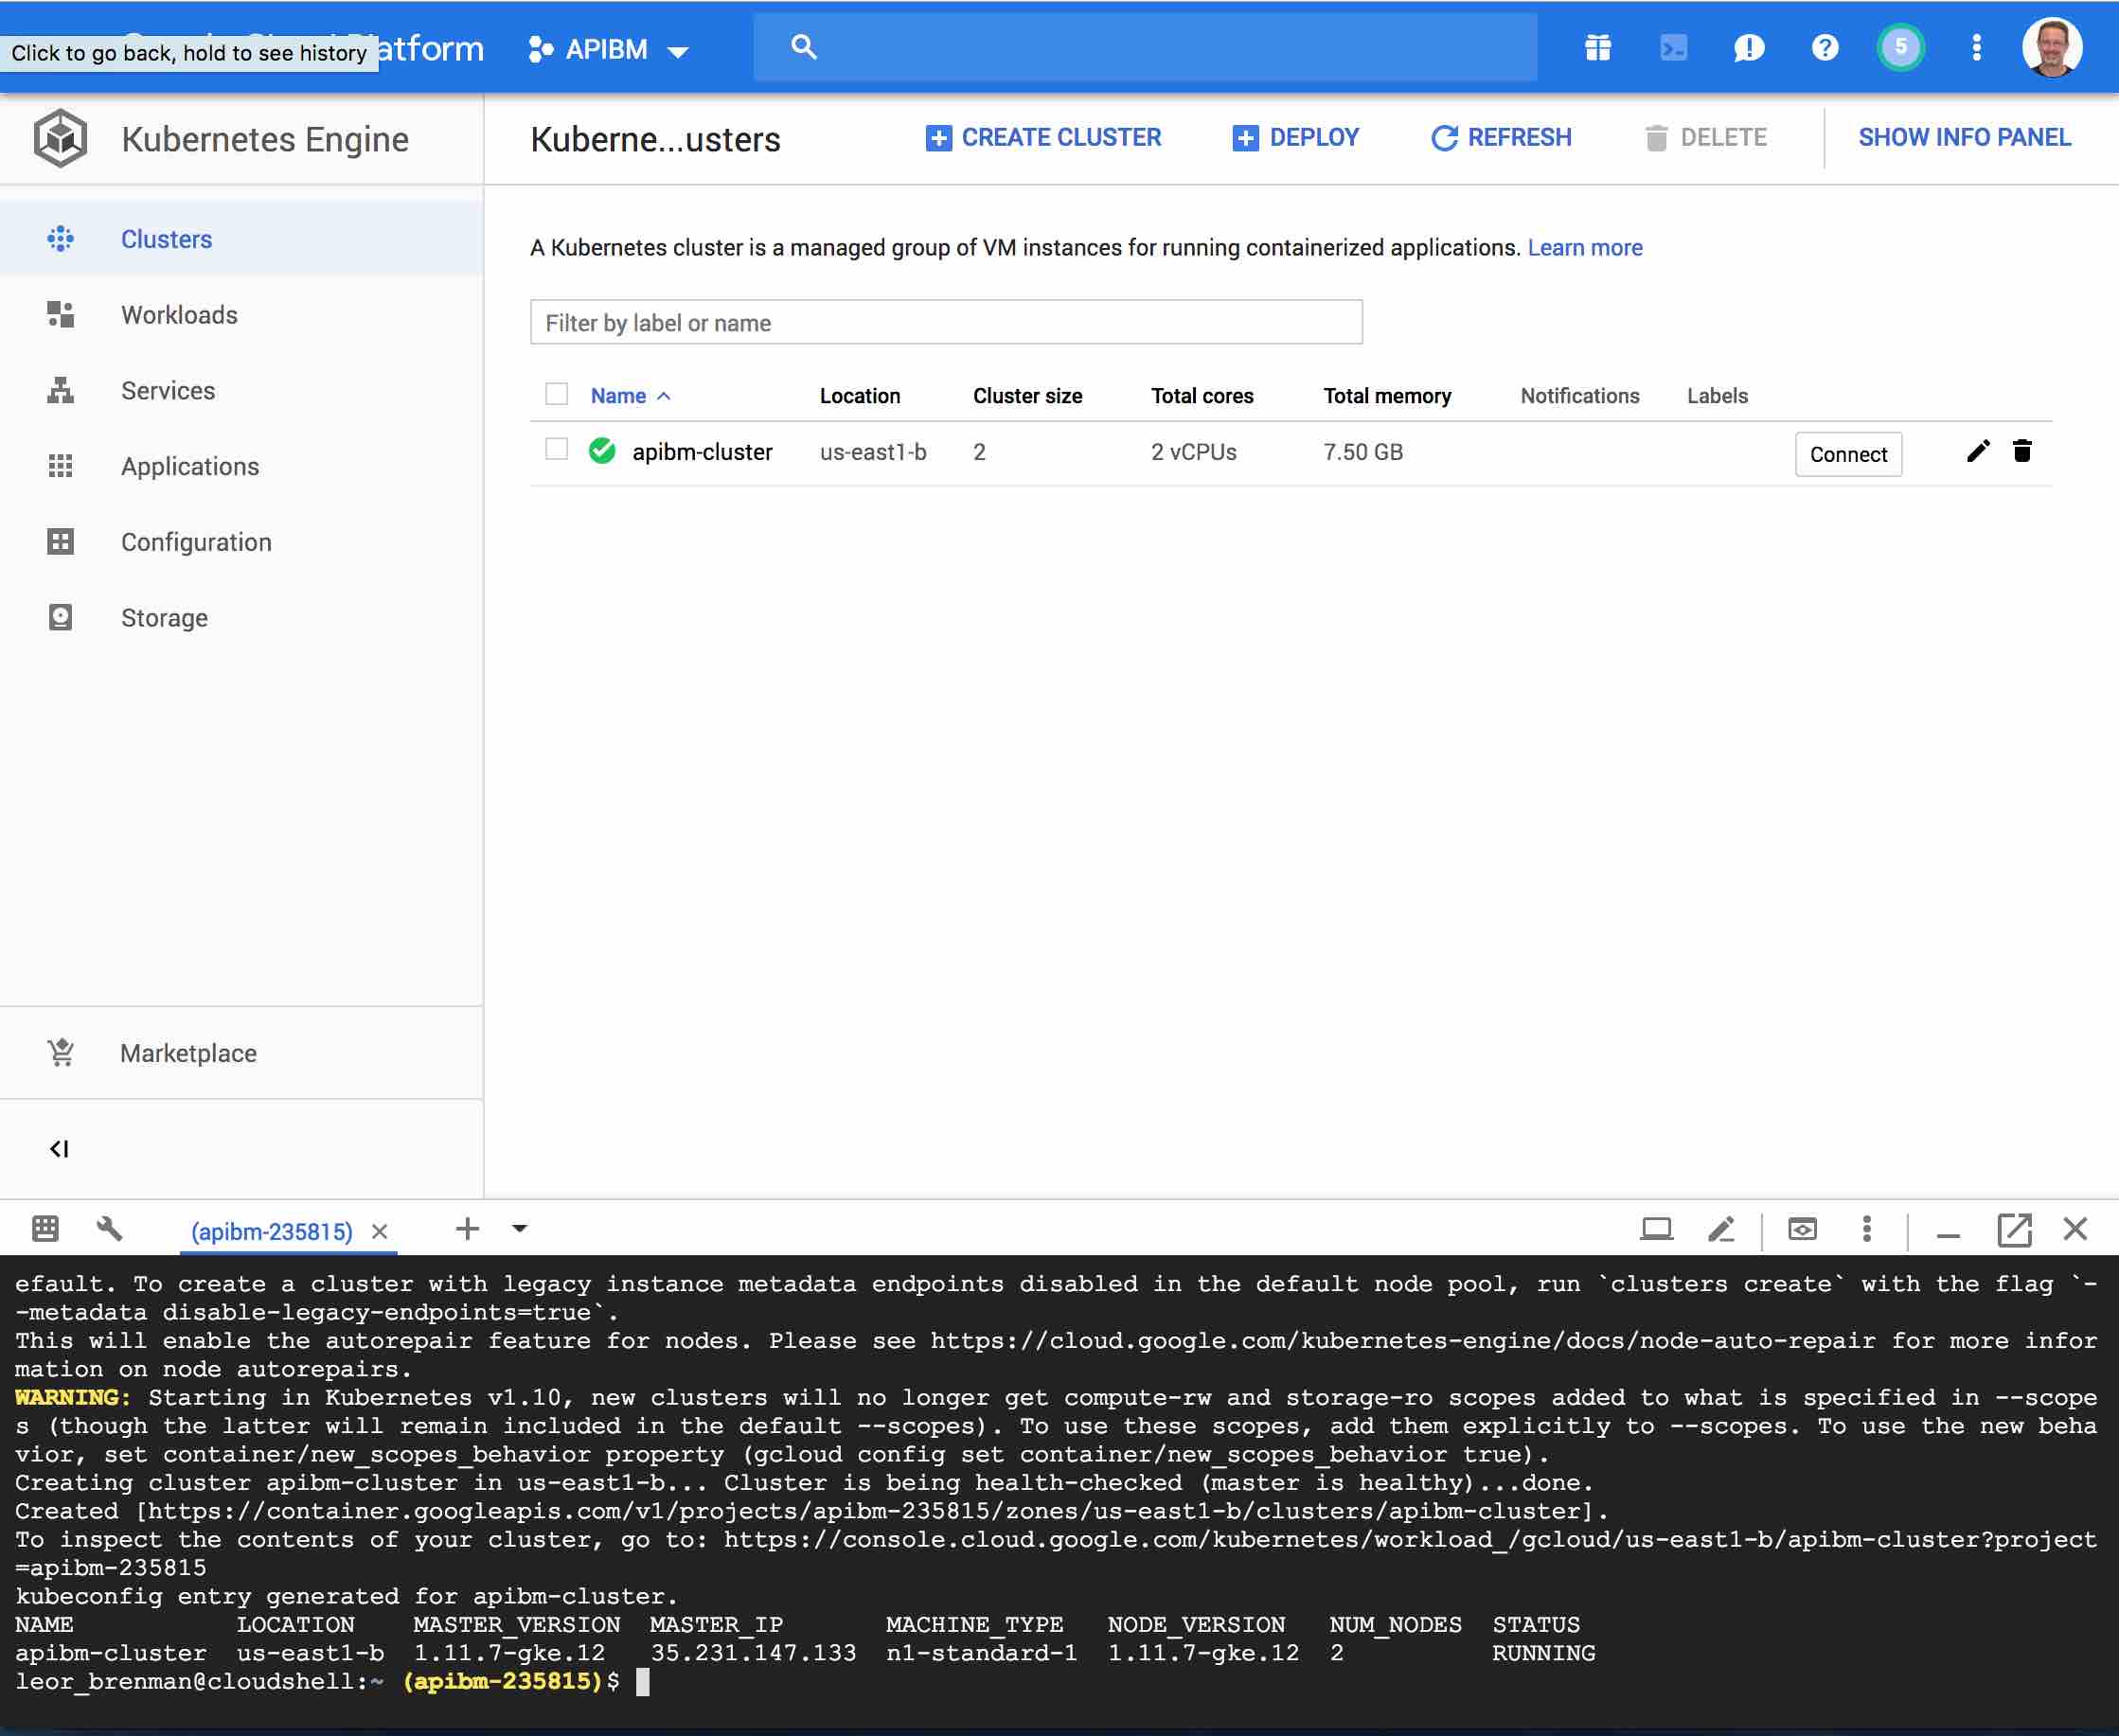
It may take several minutes for the cluster to be created. Once the command has completed, run the following command and see the cluster’s two worker VM instances:
gcloud compute instances list
with response:
NAME ZONE MACHINE_TYPE PREEMPTIBLE INTERNAL_IP EXTERNAL_IP STATUS
gke-apibm-cluster-default-pool-7dcad81e-bgvv us-east1-b n1-standard-1 10.142.0.3 35.229.71.216 RUNNING
gke-apibm-cluster-default-pool-7dcad81e-c69r us-east1-b n1-standard-1 10.142.0.2 104.196.17.88 RUNNING
Deploy your application
To deploy and manage applications on a GKE cluster, you must communicate with the Kubernetes cluster management system. You typically do this by using the kubectl command-line tool.
The kubectl run command below causes Kubernetes to create a Deployment named apibm on your cluster. Note that we need to add the environment variable MONGO_URL with your MongoDB connection URL.
kubectl run apibm --image=docker.io/lbrenman/apibmongodb:1.0.1 --port 8080 --env="MONGO_URL="
To see the Pod created by the Deployment, run the following command:
kubectl get pods
Response:
NAME READY STATUS RESTARTS AGE
apibm-7844ccbfd-zsh8t 1/1 Running 0 16s
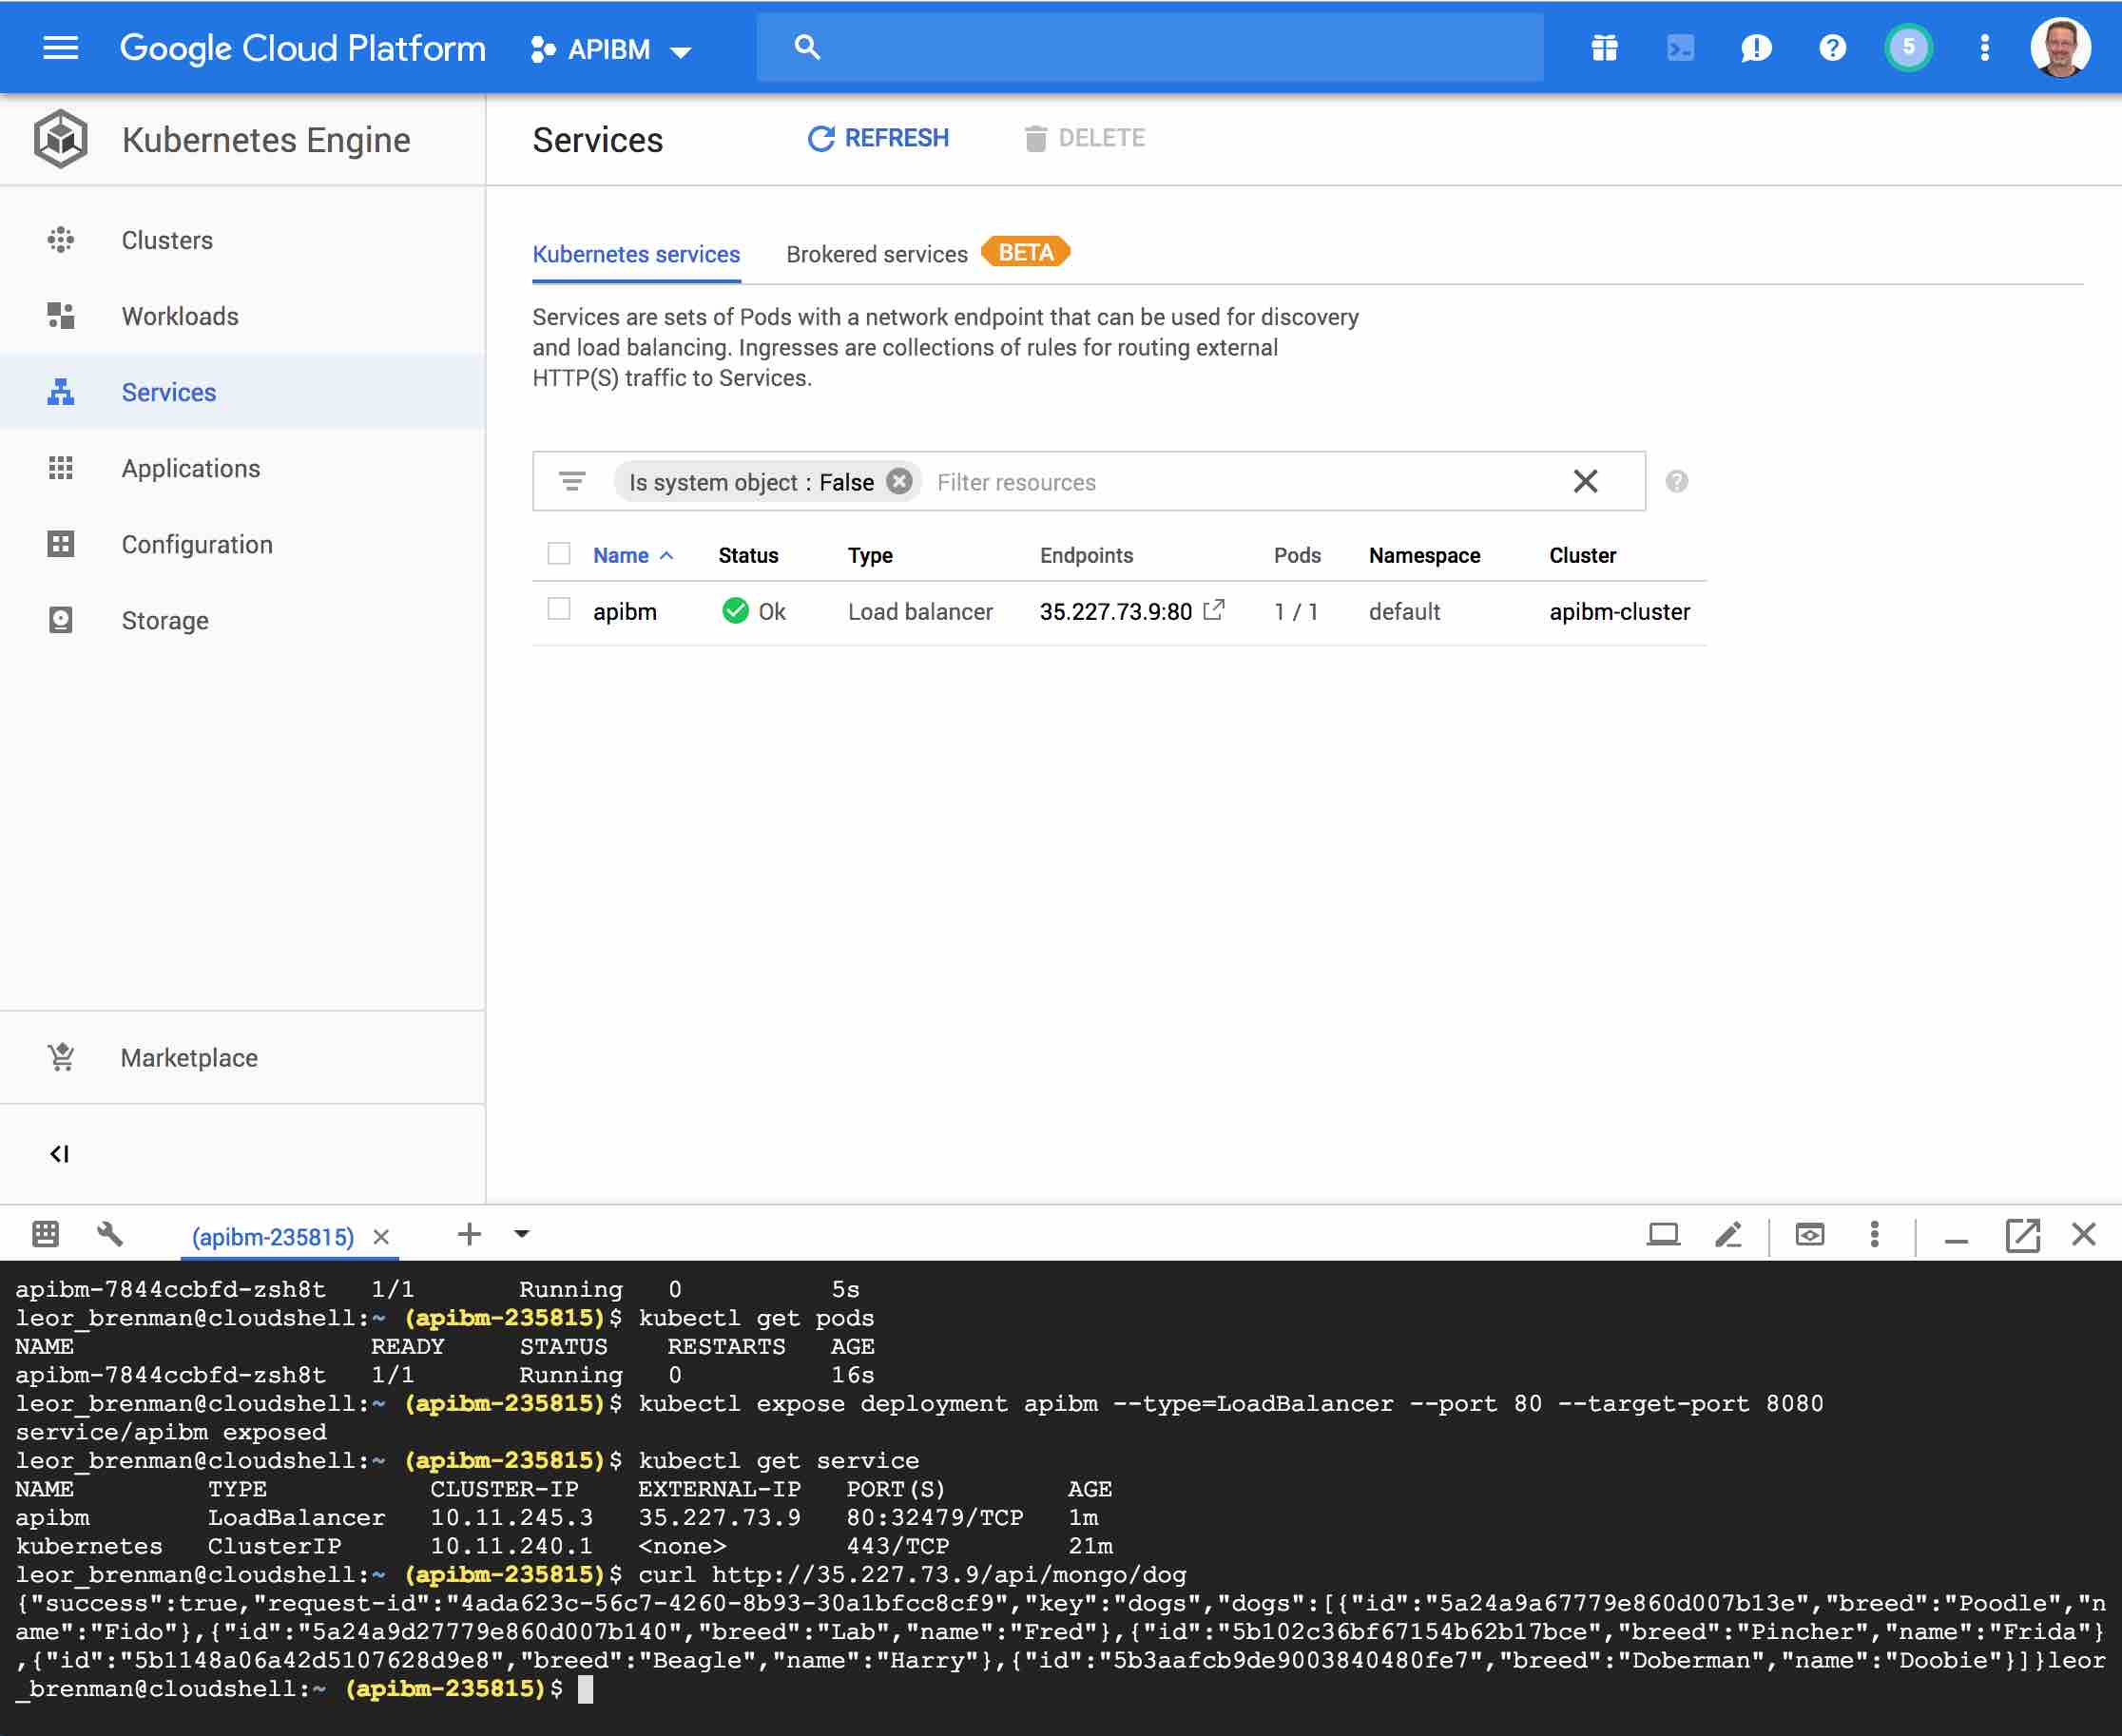
Expose your application to the Internet
By default, the containers you run on GKE are not accessible from the Internet, because they do not have external IP addresses. You must explicitly expose your application to traffic from the Internet, run the following command:
kubectl expose deployment apibm --type=LoadBalancer --port 80 --target-port 8080
Response:
service/apibm exposed
GKE assigns the external IP address to the Service resource—not the Deployment. If you want to find out the external IP that GKE provisioned for your application, you can inspect the Service with the kubectl get service command:
kubectl get service
Response:
apibm LoadBalancer 10.11.245.3 35.227.73.9 80:32479/TCP 1m
kubernetes ClusterIP 10.11.240.1 443/TCP 21m
Note that my IP address is 35.227.73.9
Now that we have an externally accessible load balancer, we can test our API as follows:
curl http://35.227.73.9/api/mongo/dog
You should expect the same results as when you ran the API Builder container on your machine earlier. Read more about API Builder v3 vs v4.
Scale up your application
You can add more API Builder replicas to your application’s Deployment resource by using the kubectl scale command. To add two additional replicas to your Deployment (for a total of three), run the following command:
kubectl scale deployment apibm --replicas=3
Response:
deployment.extensions/apibm scaled
You can see the new replicas running on your cluster by running the following commands:
kubectl get deployment apibm
Response:
NAME DESIRED CURRENT UP-TO-DATE AVAILABLE AGE
apibm 3 3 3 3 10m
List all your pods as follows to see each API Builder instance.
kubectl get pods
Response:
NAME READY STATUS RESTARTS AGE
apibm-7844ccbfd-ck5td 1/1 Running 0 1m
apibm-7844ccbfd-x4h2m 1/1 Running 0 1m
apibm-7844ccbfd-zsh8t 1/1 Running 0 11m
Now, you have multiple instances of your application running independently of each other and you can use the kubectl scale command to adjust the capacity of your application.
The load balancer you provisioned in the previous step will start routing traffic to these new replicas automatically.
Run your curl command a few times and then check each pod’s logs to see that traffic is being routed to each pod using the following kubectl command:
kubectl logs apibm-7844ccbfd-zsh8t
You should see API response in each pod something similar to the following:
...
1553722697172 [request-id: d13c6b7b-d8bc-4a67-9442-8276b3128ae2] Request {"method":"GET","url":"/api/mongo/dog","headers":{"host":"35.227.73.
9","user-agent":"curl/7.52.1","accept":"*/*"},"remoteAddress":"::ffff:10.8.1.1","remotePort":32942}
1553722697190 [request-id: d13c6b7b-d8bc-4a67-9442-8276b3128ae2] Response {"statusCode":200,"headers":{"server":"API Builder/4.5.8","request-
id":"d13c6b7b-d8bc-4a67-9442-8276b3128ae2","start-time":"1553722697172","content-type":"application/json; charset=utf-8","content-length":419
,"response-time":"17","content-md5":"1c1fd95b600cf658fff3fd1c44ac3f27","vary":"Accept-Encoding"},"body":"{\"success\":true,\"request-id\":\"d
13c6b7b-d8bc-4a67-9442-8276b3128ae2\",\"key\":\"dogs\",\"dogs\":[{\"id\":\"5a24a9a67779e860d007b13e\",\"breed\":\"Poodle\",\"name\":\"Fido\"}
,{\"id\":\"5a24a9d27779e860d007b140\",\"breed\":\"Lab\",\"name\":\"Fred\"},{\"id\":\"5b102c36bf67154b62b17bce\",\"breed\":\"Pincher\",\"name\
":\"Frida\"},{\"id\":\"5b1148a06a42d5107628d9e8\",\"breed\":\"Beagle\",\"name\":\"Harry\"},{\"id\":\"5b3aafcb9de9003840480fe7\",\"breed\":\"D
oberman\",\"name\":\"Doobie\"}]}"}
Clean Up
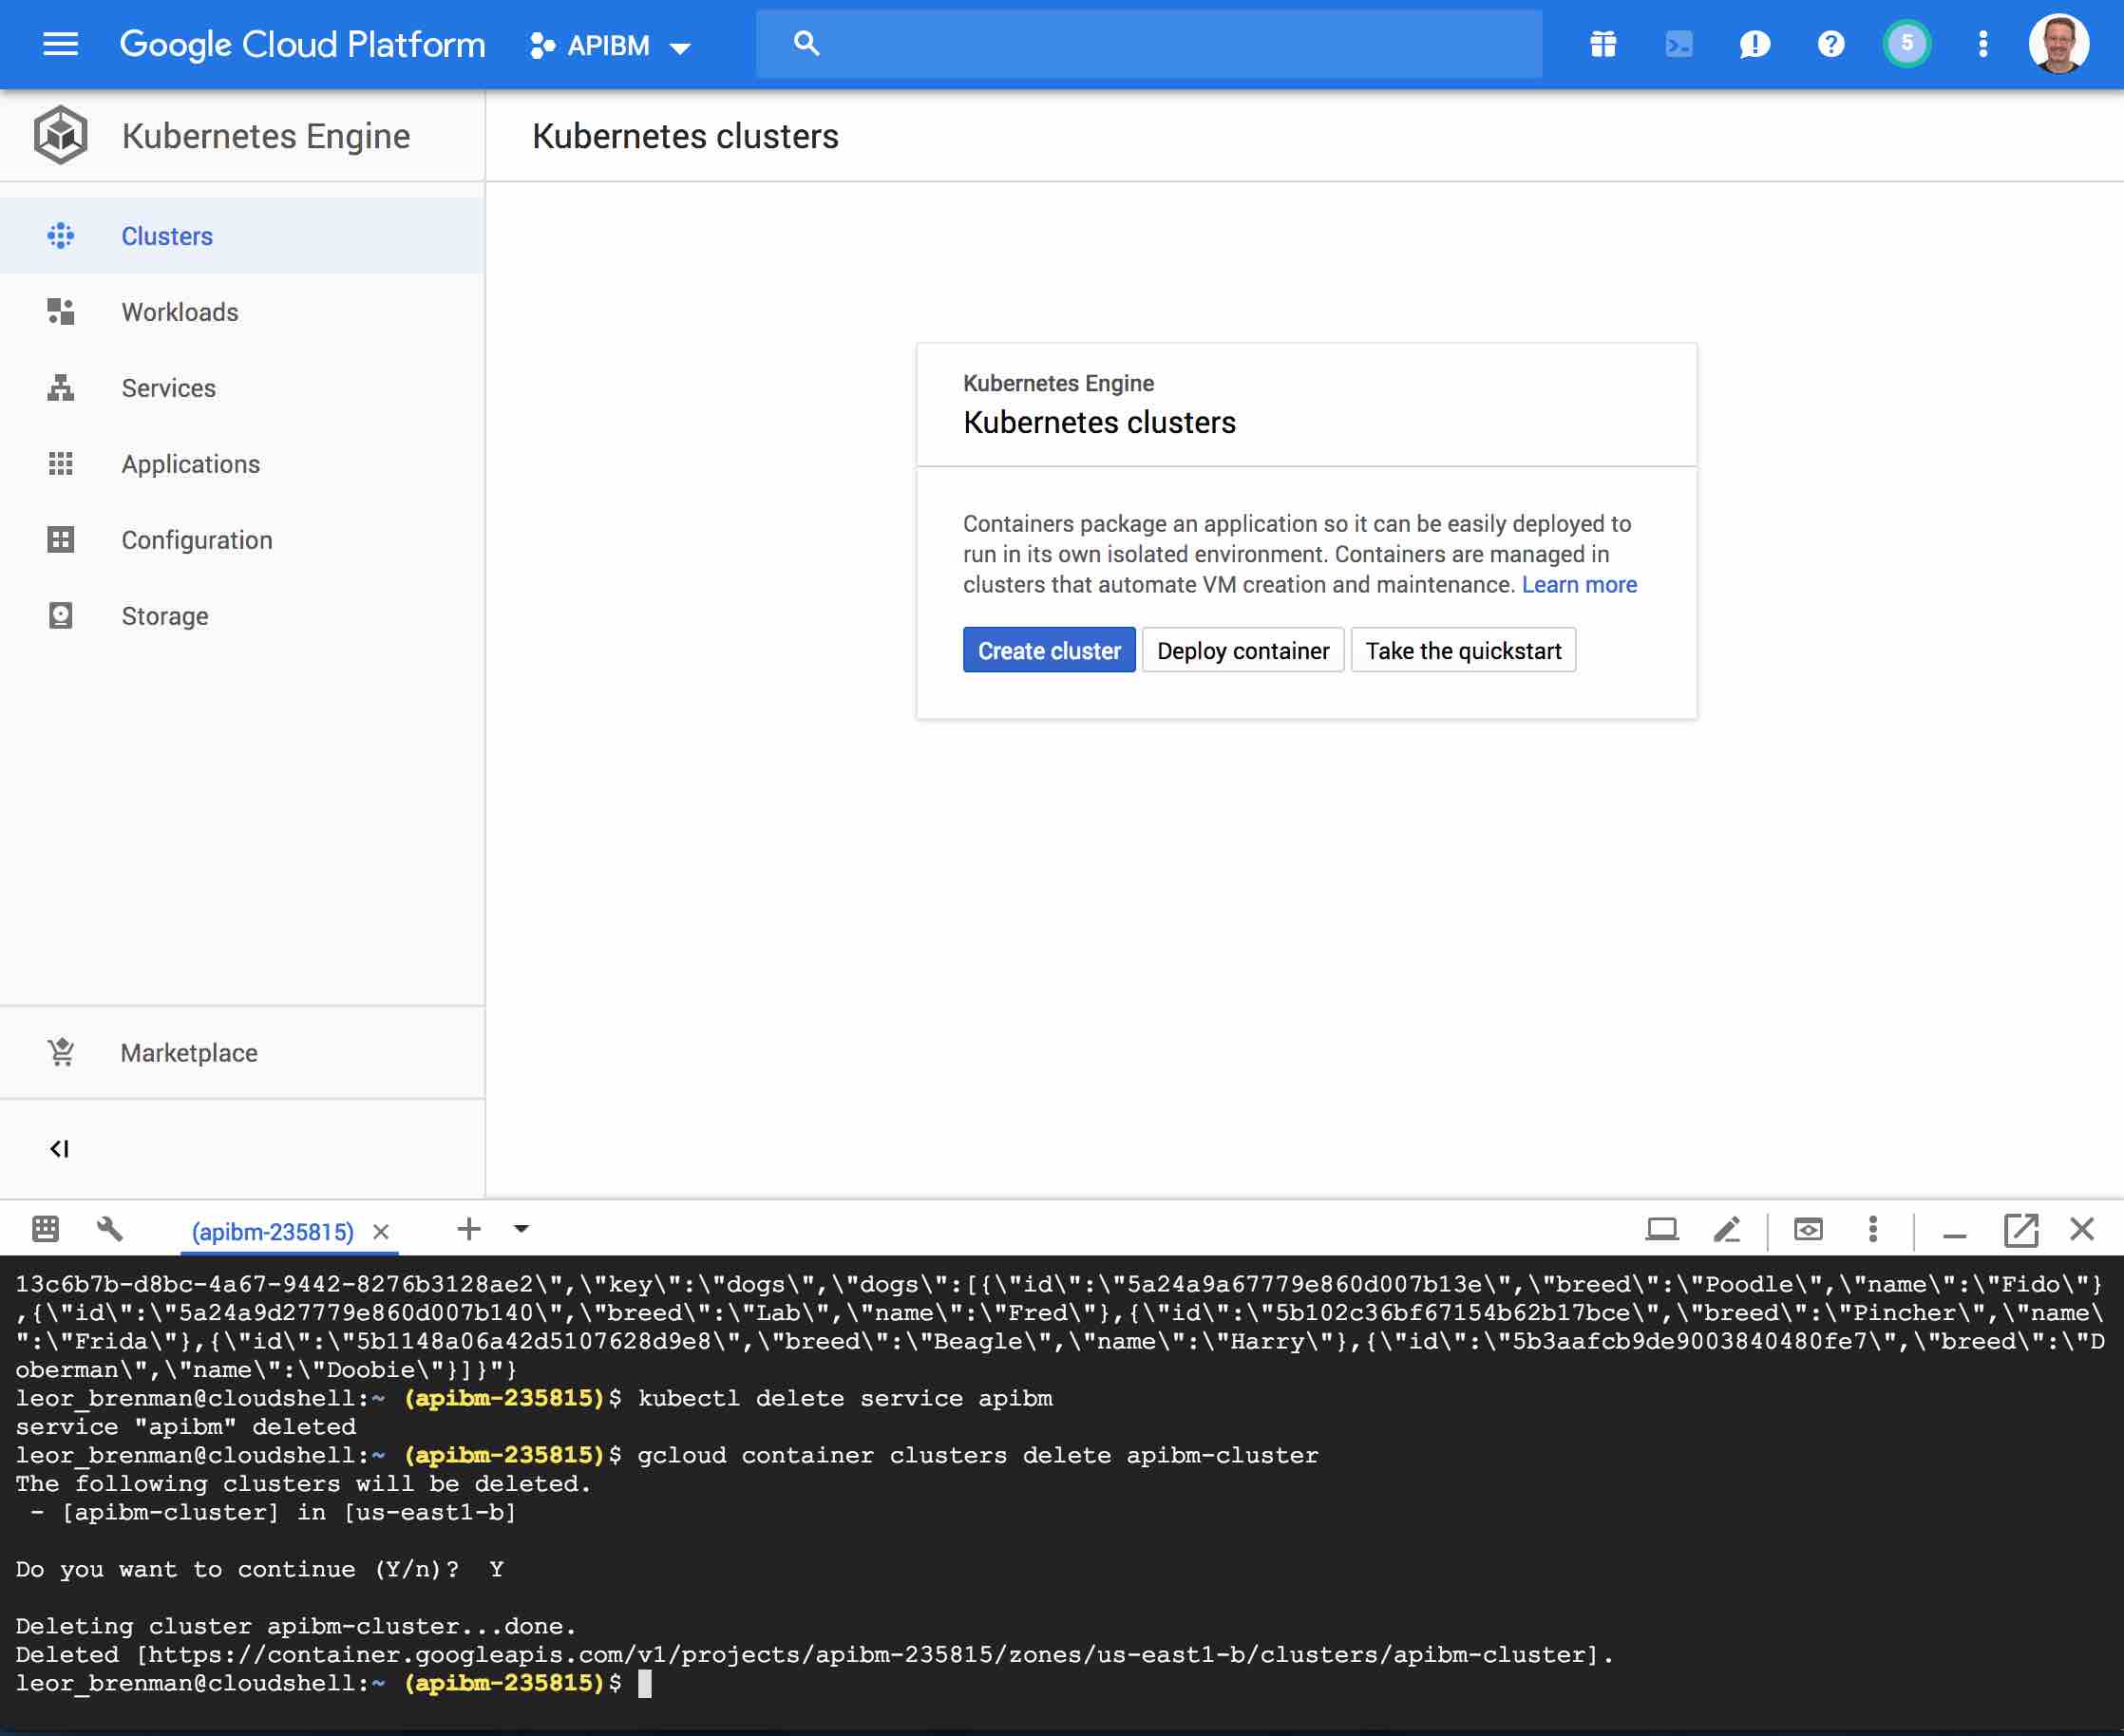
If you’d like to remove your application from GKE to eliminate charges, do the following:
- Delete the Service: This step will deallocate the Cloud Load Balancer created for your Service:
kubectl delete service apibm
- Delete the container cluster: This step will delete the resources that make up the container cluster, such as the compute instances, disks and network resources.
gcloud container clusters delete apibm-cluster
Summary
In this blog post, we saw how easy it is to deploy and scale an API Builder Microservice in Google Kubernetes Engine (GKE). By using the Google Cloud Shell we didn’t even need to install any tools on our local machine.
Follow us on social