
Calling Google Cloud Translation service
API Builder is tool that enables developers to rapidly create APIs and microservices with a low-code/no-code approach. API Builder achieves this by enabling you to develop your business logic using flows. A flow allows you to orchestrate your business logic visually as a graph of connected flow-nodes.
In this post, we’ll look at one of the default plugins that extends the features available in the flow – the Swagger Plugin. This plugin comes standard on all API Builder projects. It allows your flow to load an OpenAPI v2/Swagger for a third party service and interact with that service.
For this example, we’ll create an microservice that integrates with the Google Cloud Translation API.
Enable access to the Google API
Before you start, you will need to configure your Google APIs and enable the Cloud Translation API.
Sign in to the Google developer console, and open the Cloud Translation API:
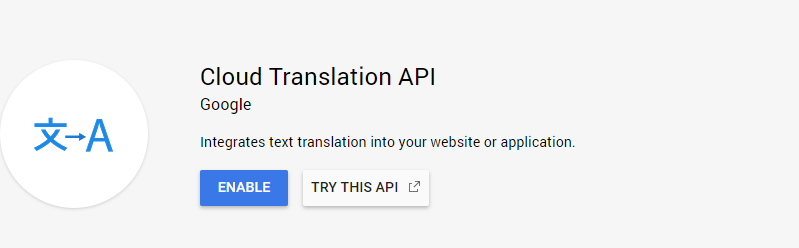
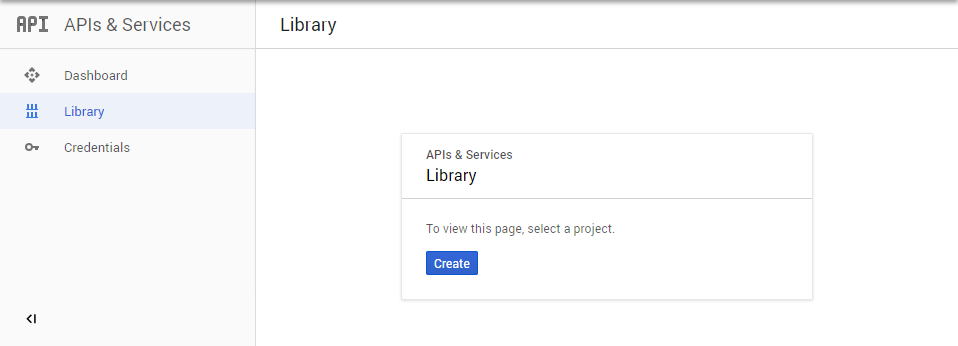
Enable the API. If this is your first time using the Google APIs, you will need to create a project first:
To access the API from API Builder, you also need to create a credential:
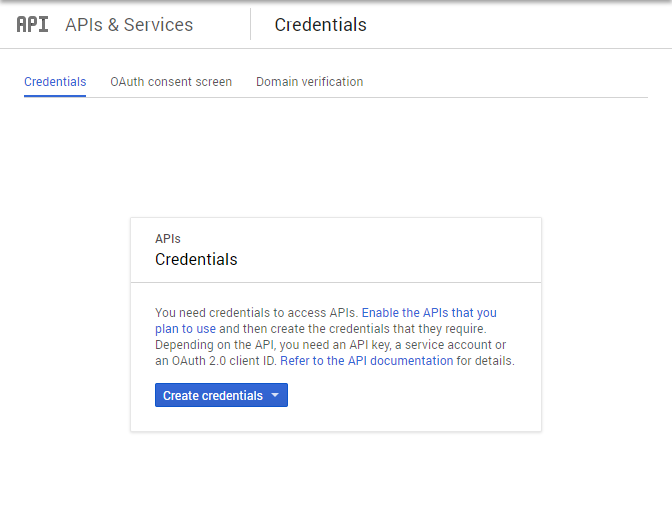
Click the Create button and for this example, we’ll create an API Key credential:

That’s it. Access to your Google API is now configured.
Create an API
The goal of this blog is to create an API for your microservice and implement that API so that it integrates with the Google Cloud Translation API. For this simple example, our API will take a string as a parameter and return the French translation of that string.
The first thing to do do is create the API Builder project and a mock of the API.
npx @axway/api-builder init swagger-demo
cd swagger-demo
npm install --no-optional
npm start
For more detailed information, see the API Builder Getting Started Guide.
API Builder will now be running and accessible on https://localhost:8080/console.
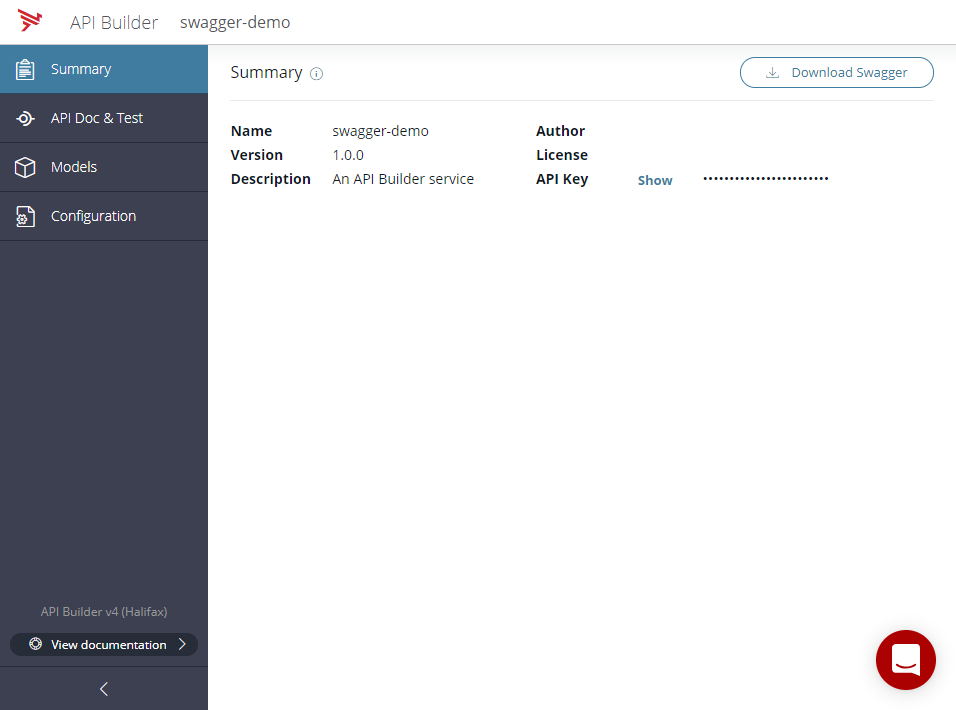
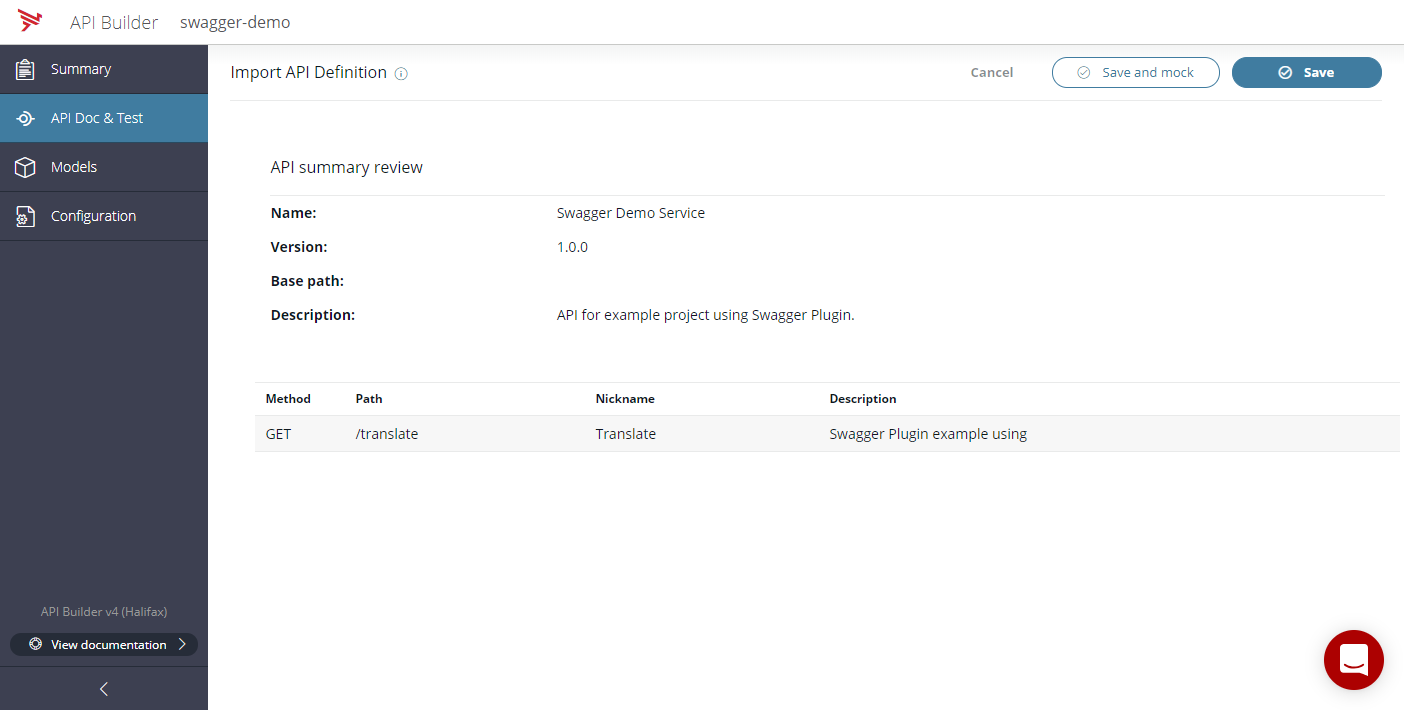
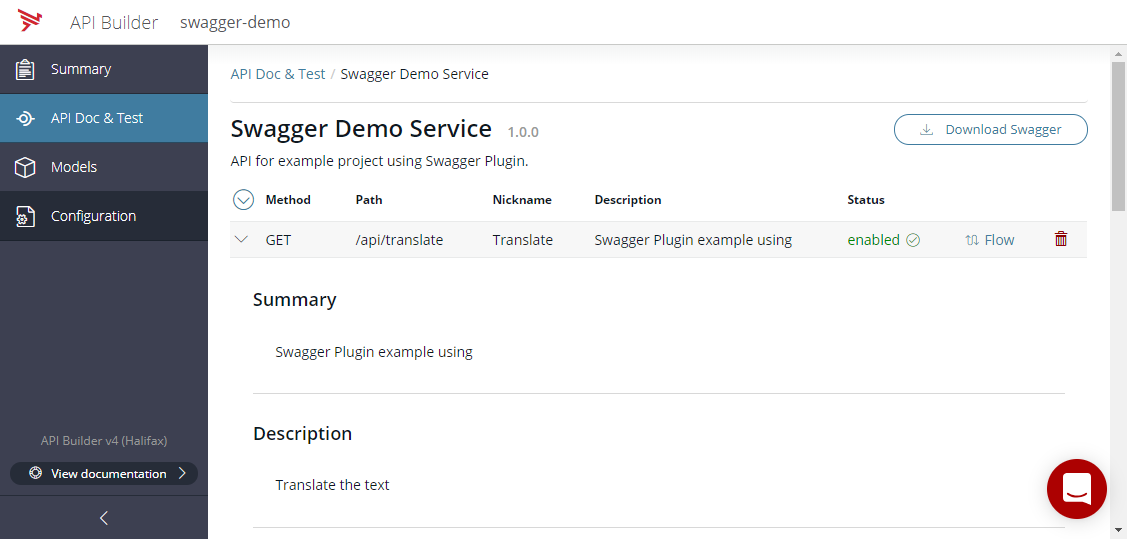
For this example, we will import a very simple API, SwaggerDemoService.json. This API has a single method, Translate, which takes a parameter, text, and returns the translated text.
Open API Doc & Test and click on the +API button. Select the SwaggerDemoService.json, and then click Save and mock.
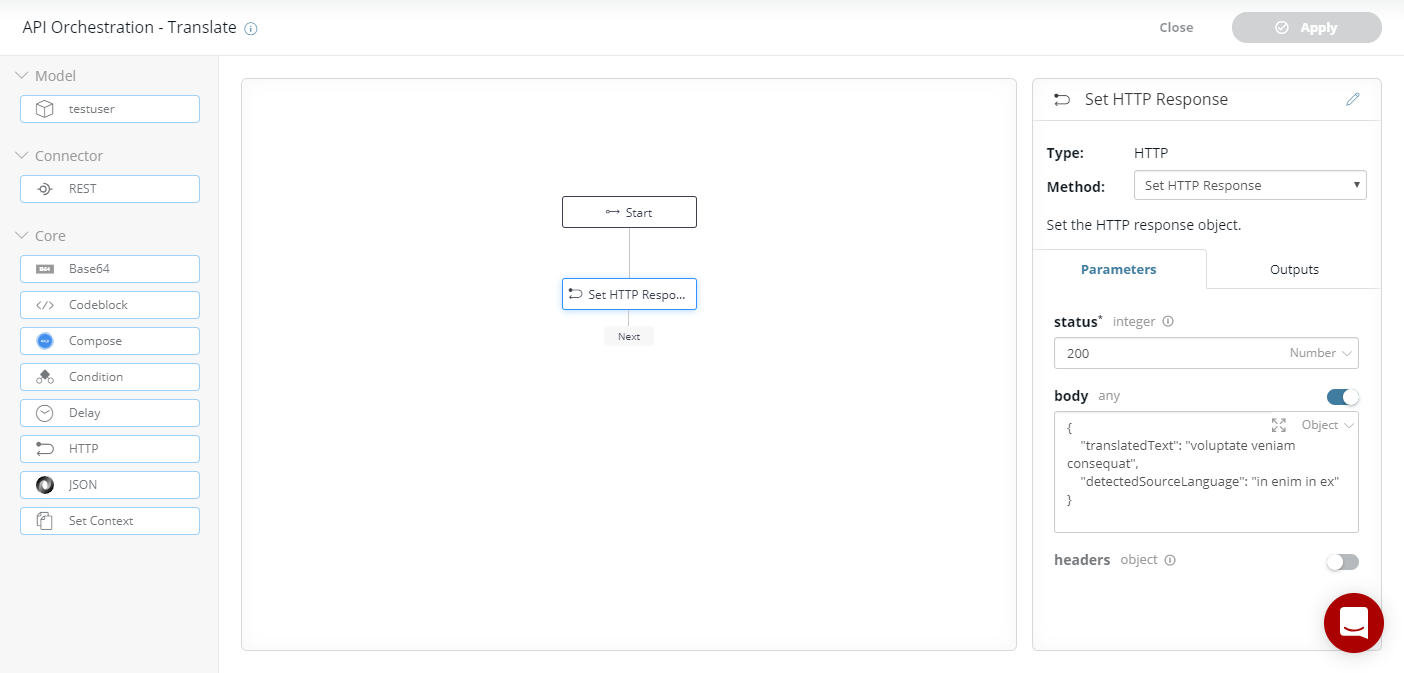
We can look at the automatically generated mock flow by clicking on the Flow link.

The automatically-generated mock flow simply has a static response. We’re going to replace this with an integration with the Google Cloud Translation API.
Integrate with Google Cloud Translation API
API Builder’s Swagger plugin loads OpenAPI/Swagger 2.0 documents and makes those services available as flow-nodes in the Flow Editor. While Google doesn’t provide OpenAPI/Swagger 2.0 documents for its services, they are available from third-party sources. For this example, we obtained the GoogleCloudTranslate.json Swagger from APIs.guru but even if there is none available you can use services like StopLight.io to create bespoke Swagger documents.
Add the connector
First copy the swagger doc for the Google Cloud Translation API GoogleCloudTranslate.json to the swagger folder of your API Builder project. API Builder will brand the nodes in the UI if there is a corresponding image file, so also copy the GoogleCloudTranslate.svg the swagger folder of your API Builder project.
Restart API Builder and open the the Flow Editor at https://localhost:8080/console/project/flows/swaggerDemoService-Translate/edit.
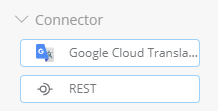
In the Connector section of the Tool panel, there is now a flow-node for Google Cloud Translation.
Build the flow
As mentioned, our Swagger Demo Service has a single method, Translate. For this example, we’re going to implement that method so that it translates the incoming text parameter to French and returns the result.
For this example, the simple integration with Google Cloud Translation API will look like this:
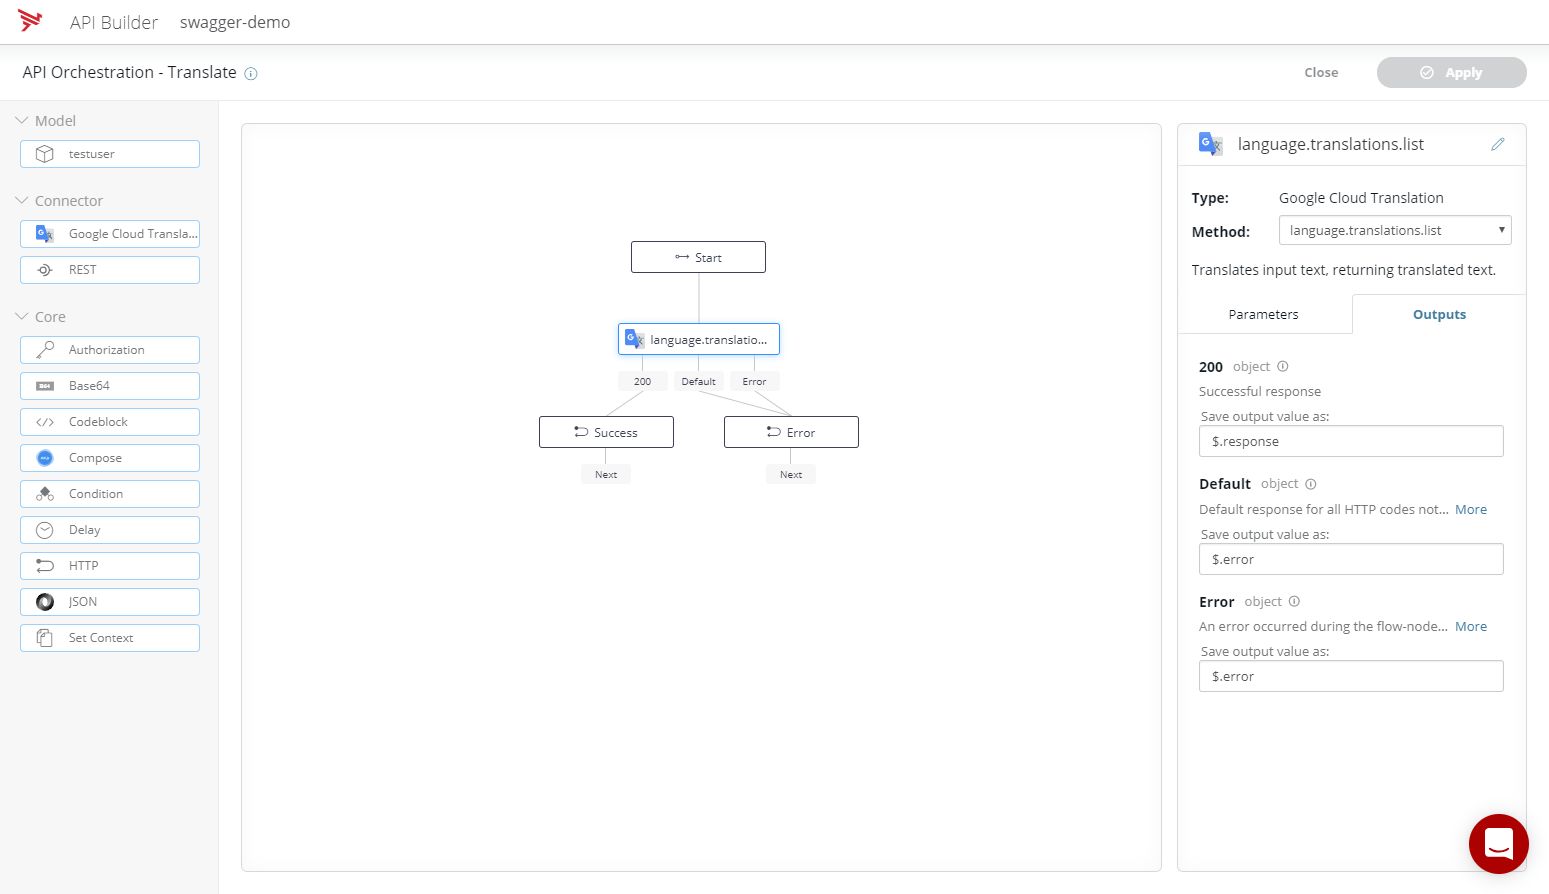
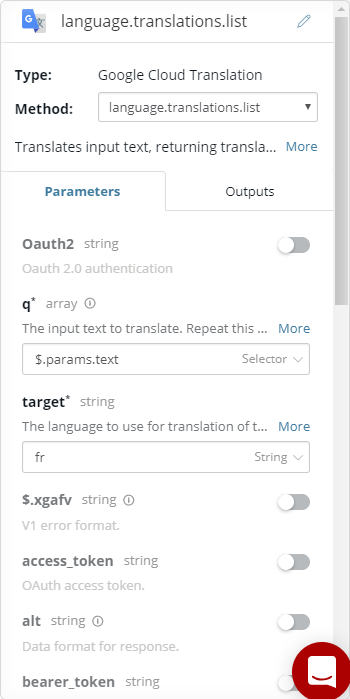
The flow is built around the language.translations.list method on the Google Cloud Translation flow-node. This method does the work of calling https://cloud.google.com/translate/docs/reference/translate.
The inputs to languages.translations.list flow-node are:
| Parameter | Value | Description |
|---|---|---|
| q | $.params.text | This is the text to translate. $.params are the parameters passed to your API. text is the name of the parameter we described in SwaggerDemoService.json. |
| target | fr | For this example, we’ll convert the input text to French. |
| format | text | This setting allows you to set whether the string should be HTML encoded or not. For this example, we’ll just use a plain text response. |
| key | AIzaSyCVeApzS_dgMqeSlngd3i40kAZR5wp22tg | This is the API key you create when adding the credentials on https://console.developers.google.com |
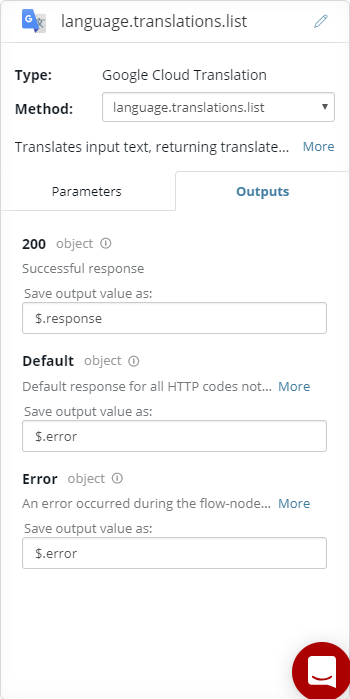
For convenience, update the Default output to be $.error as there are not valid responses expected other than a 200.
In API Builder, the response from a OpenAPI/Swagger 2.0 flow node is wrapped like this:
{
    "statusCode": 200,
    "data": {
        <api response>
    }
}
Looking at Google’s documentation for the Translate API, we can see the response format will be:
{
   "data": {
       "translations": [
           {
               "detectedSourceLanguage": string,
               "translatedText": string
           }, ...
       ]
   }
}
Combining these, the expected response from calling the language.translations.list method, that is the value that is stored as $.response (which is the output of the flow-node), will be:
{
"statusCode": 200,
"data": {
"data": {
"translations": [
{
"detectedSourceLanguage": string,
"translatedText": string
}, ...
]
}
}
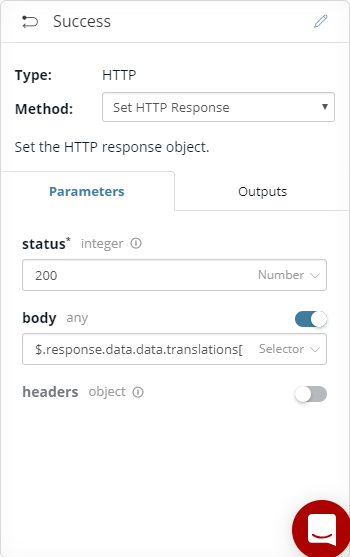
}For this example, we are passing in a single string to translate and so expect a single translation in the response. In our Success HTTP node, rather than return the entire API response, we’ll just return the single translation.
| Parameter | Value | Description |
|---|---|---|
| status | 200 | This simple flow only has one outcome – 200. |
| body | $.response.data.data.translations[0] | This is the first entry in translations response array, e.g. { “detectedSourceLanguage”: string, “translatedText”: string } |
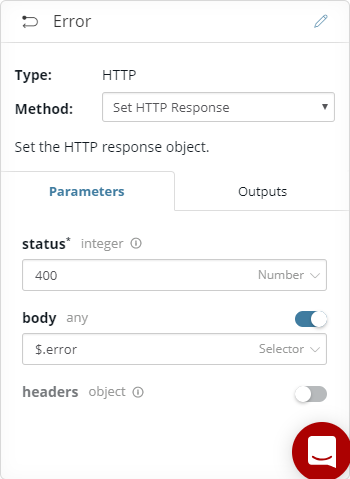
Finally, the Error HTTP node handles any error or unexpected response paths.
| Parameter | Value | Description |
|---|---|---|
| status | 400 | Bundling all errors together for this example. |
| body | $.error | For this example, just returning the error. |
Once you have completed your flow, click Close and then Save and exit to save your flow.
Test your API
API Builder has a test interface that allows you to invoke the APIs and test that they work. Open the API Doc & Test tab and click on the Swagger Demo Service.
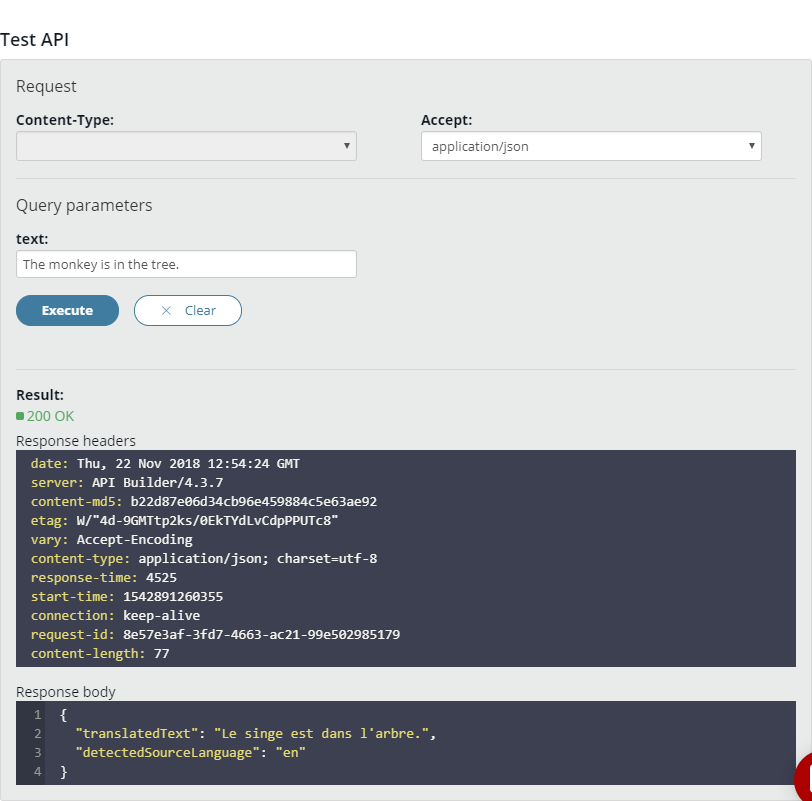
Scrolling down, there is a Test API section from which we can invoke the API. In this case, the API was invoked with “The monkey is in the tree.” The response is the translated text and the detected source language.
{
    "translatedText": "Le singe est dans l'arbre.",
    "detectedSourceLanguage": "en"
}
Summary
Integrating API Builder with a third party service is simply a matter of copying the OpenAPI/Swagger 2.0 document for that service into your project. This gives you the flexibility to integrate with whatever service you need to, without having to sacrifice the low-code/no-code experience API Builder provides.
This simple example showed how to integrate with just one third-party service. However, the power of API Builder comes from being able to orchestrate data from multiple REST services, on-premises RDBMS/NoSQL or other custom datasources.
It’s easy to extend this example, so that rather than reading text from an input parameter, it was instead reading it from a database. You could translate the content on the fly, providing quick and dynamic localization. Then, perhaps, integrate with Google’s Gmail API and deliver the content to a customer via email. Lots of possibilities!
Follow us on social